Description
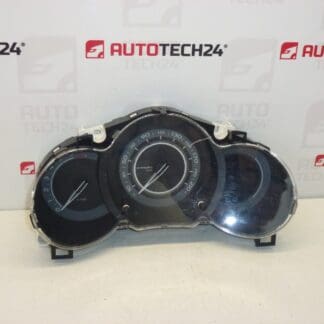
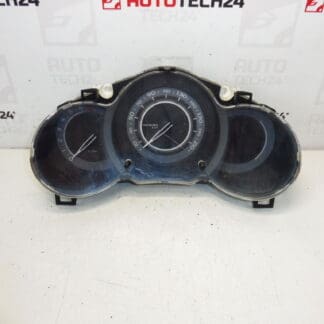
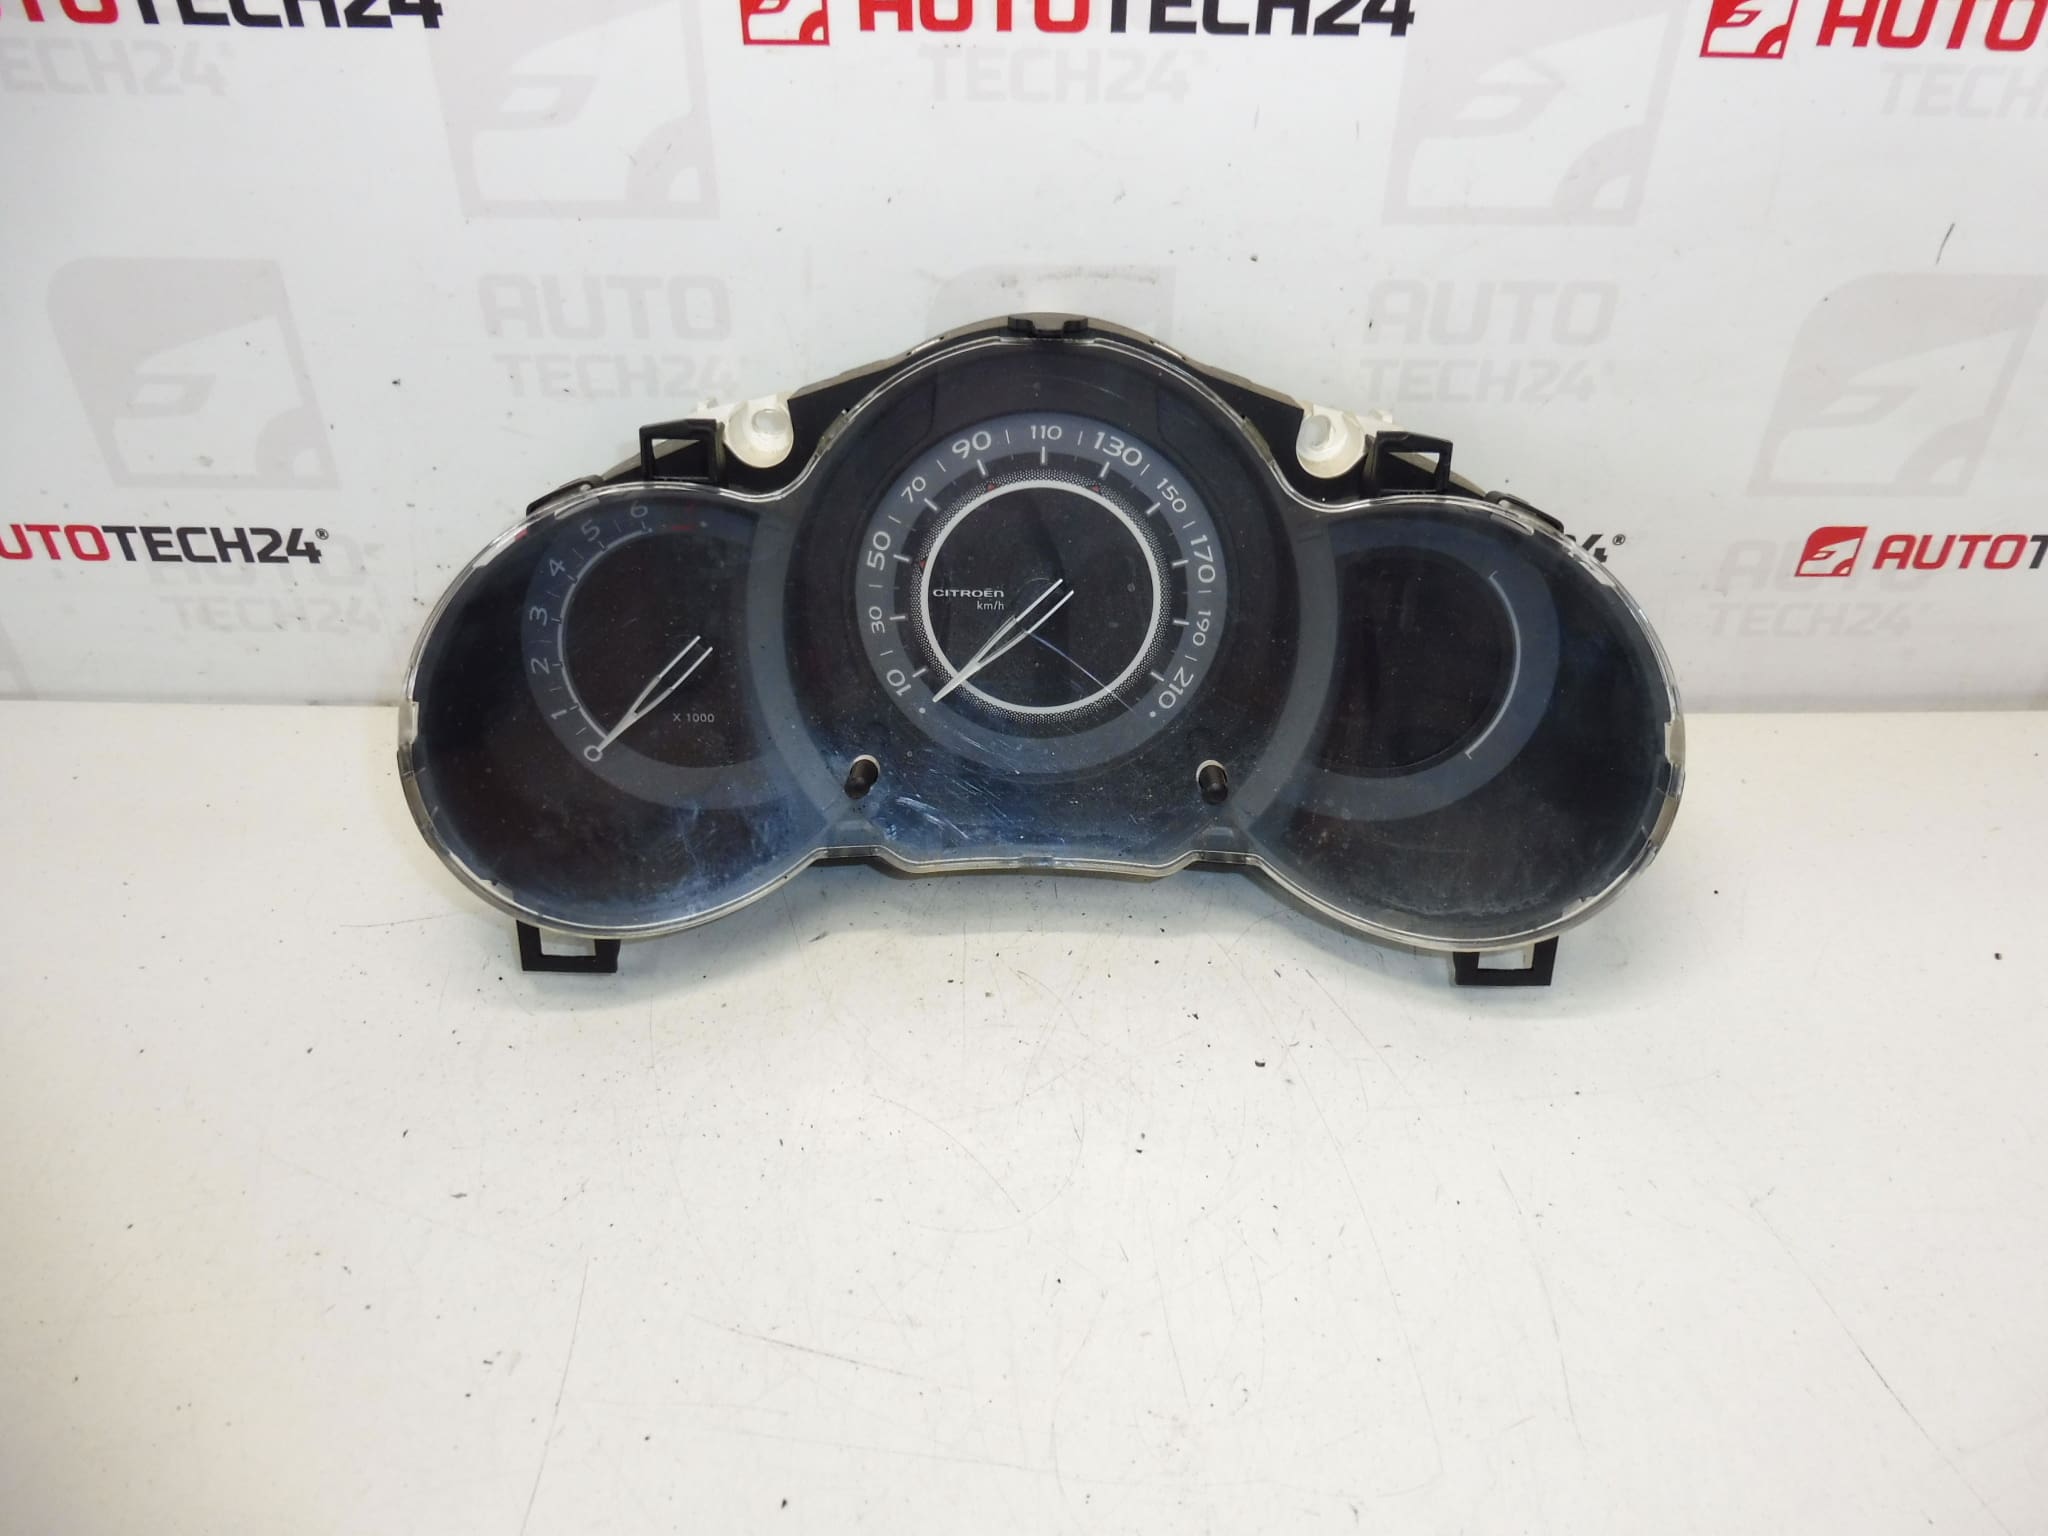
Complete instrument cluster CITROEN C3 II A51 from 2009 to 2016
Approximately 220,000 km driven
Part description
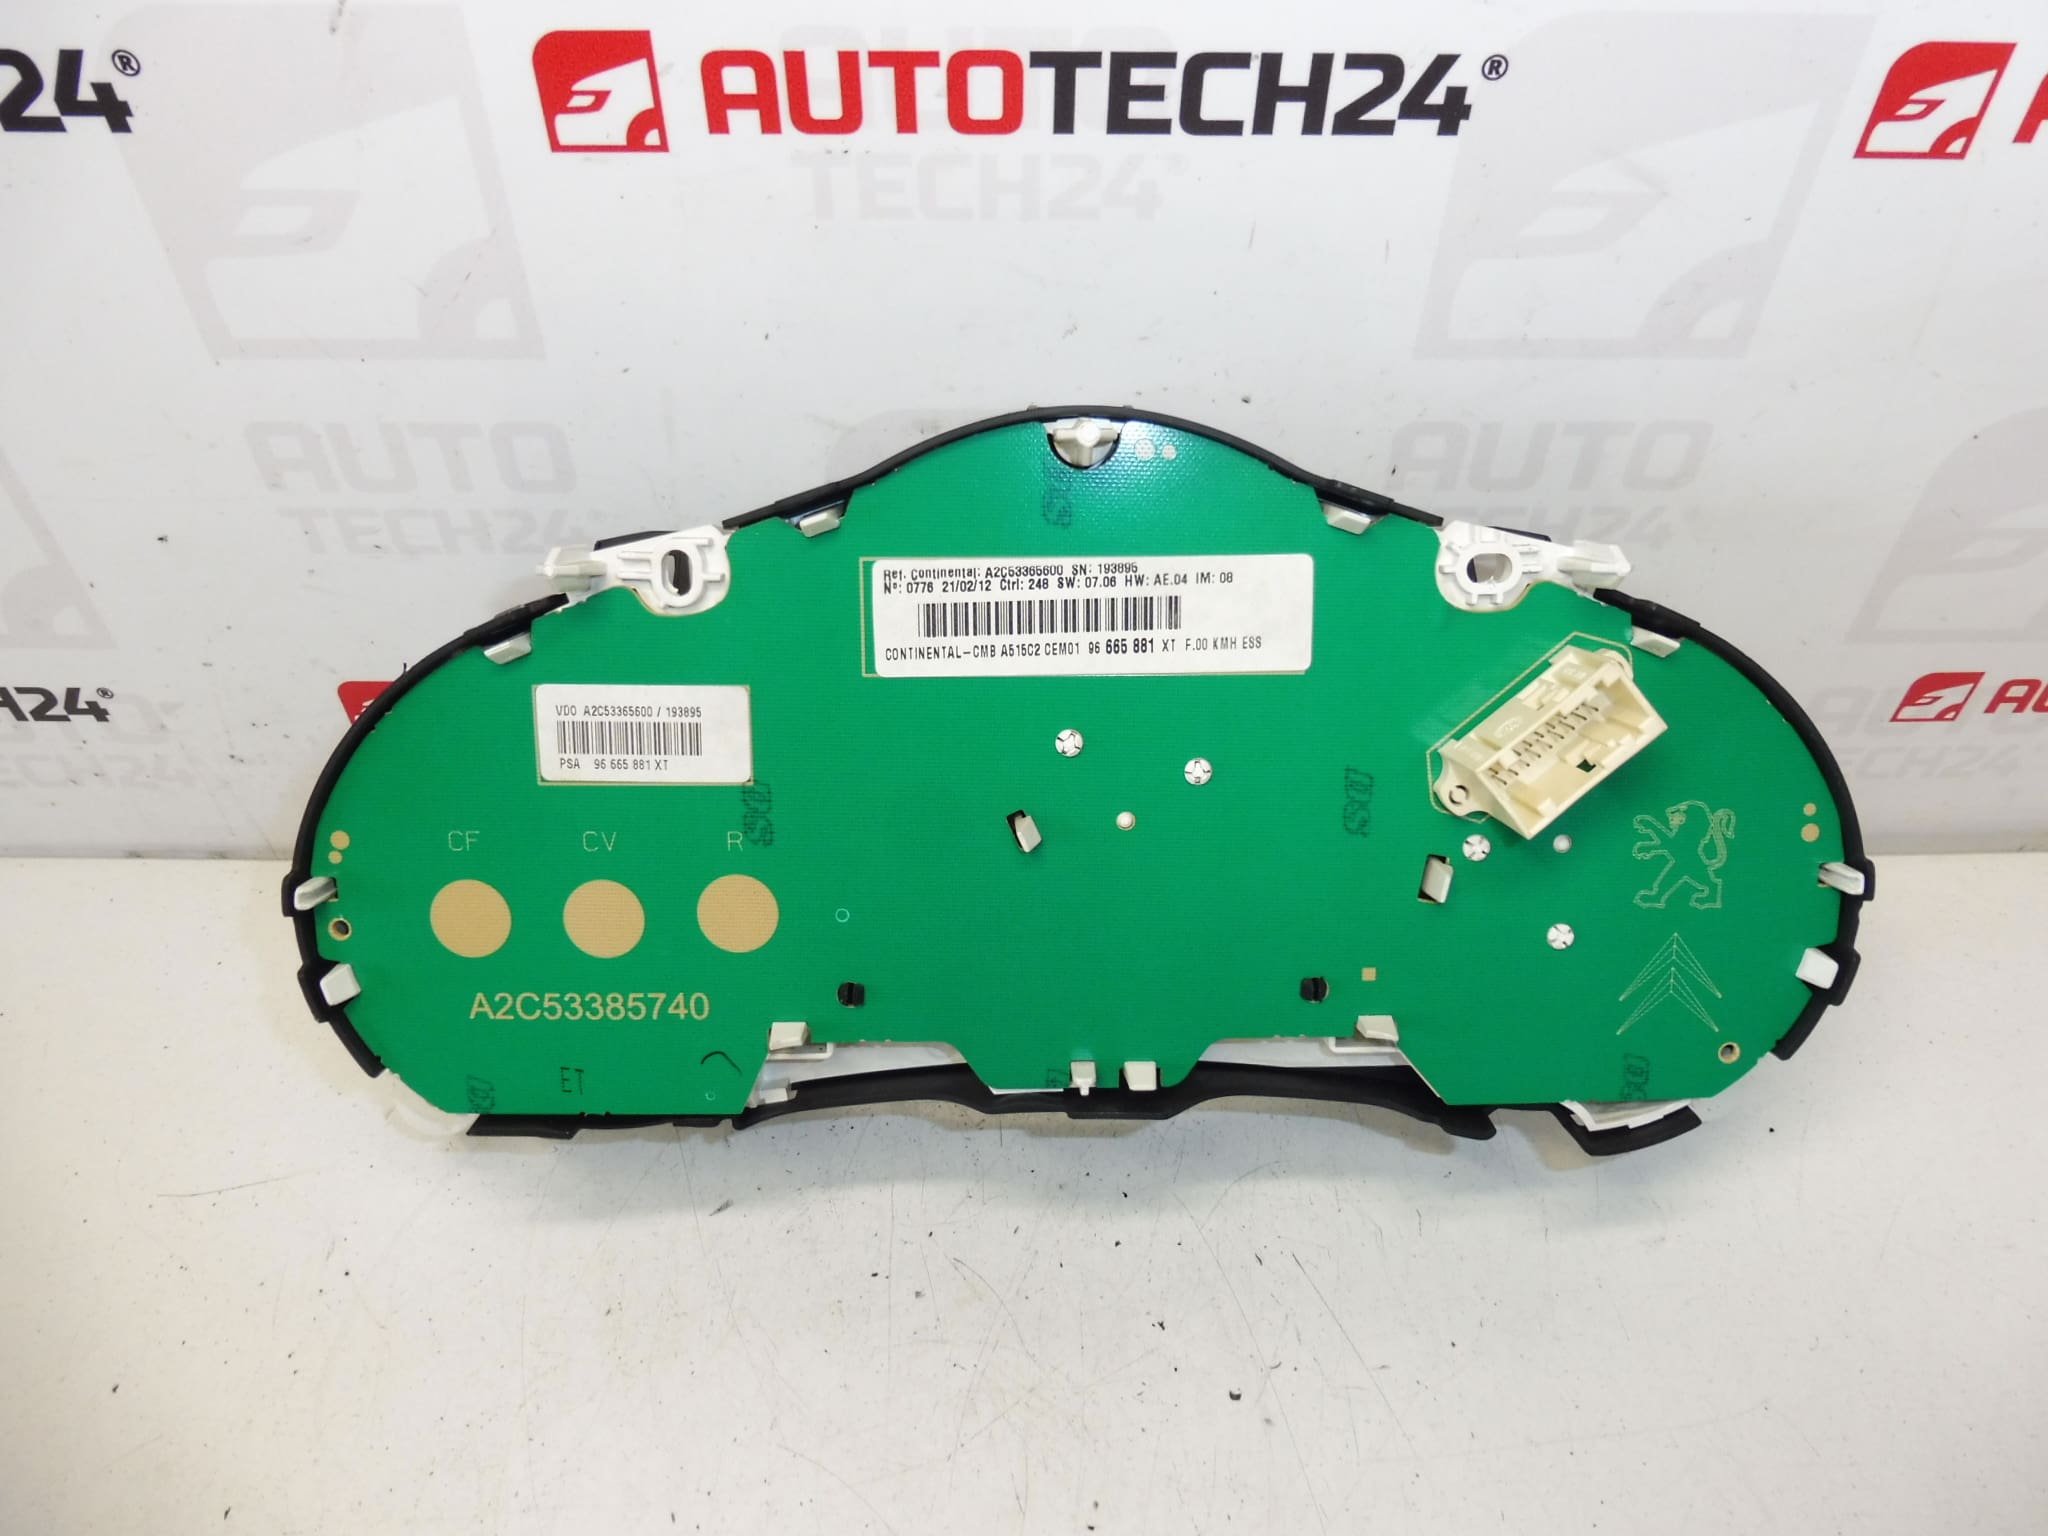
This used speedometer / instrument cluster is intended for Citroën C3 II A51 cars. It is a complete instrument panel, which is important for displaying the vehicle’s operating data while driving. Parts of this type are often searched by serial number, so we also list 96665881XT, 6103GG and 98041179XT.
The advantage is that it is an original used part from the Stellantis Citroën Peugeot group, which can be a suitable choice when replacing a non-functional, damaged or illegible instrument panel. The mileage stated in the documents is approximately 220,000 km.
Technical information
- Manufacturer: Stellantis Citroën Peugeot
- Model: Citroën C3 II A51
- Other numbers: 96665881XT, 6103GG, 98041179XT
Product codes
- Product codes: 96665881XT, 6103GG, 98041179XT
- Models: Citroën C3 II
Installation recommendations
Generally/typically for changing the instrument cluster, the exact procedure may vary depending on the specific car design and equipment.
1) Before assembly
- Check that all markings on the part and connectors match the old part.
- Visually check the condition of the cover, transparent shield, attachment points and electrical connectors.
- Compare the device layout, body shape and socket placement with the old part.
- Disconnect the battery before starting work to reduce the risk of damage to the electronics.
2) Necessary tools and materials
- Set of common hand tools
- Plastic pry bar for panel removal
- Screwdrivers or bits corresponding to the fasteners used
- A clean cloth for wiping the part and around the assembly
- Work gloves
3) Step-by-step assembly procedure
- Park the vehicle in a safe place and turn off the ignition.
- Disconnect the battery and wait for the electrical system to calm down.
- Carefully remove the plastic covers and trim around the instrument panel.
- Undo the fasteners of the old cluster.
- Eject the original device so that the connectors are safely accessible.
- Unplug the electrical connectors without using excessive force and check their condition.
- Compare the old and new part, especially numbers, connectors, mounts and overall design.
- Connect the connectors to the new device and make sure they are properly seated.
- Place the part in place and fasten it carefully.
- Reinstall the removed paneling and cover elements.
- Connect the battery.
- Turn on the ignition and verify the basic functionality of the display and instruments.
-
4) Post-assembly checks and test drive/function verification
- Check if the device lights up and displays the data legibly when switched on.
- Verify the function of the backlight, indicator lights and displayed information.
- During a short test drive, observe whether the device works stably without interruptions.
- After the ride, check again that there is no squeaking, looseness and the connectors hold properly.
5) The most common assembly mistakes + how to avoid them
- Plastic damage during disassembly – use appropriate plastic tools and do not use force.
- Insufficient seating of the connector – always check its security after connection.
- Exchanging a part with a different designation – carefully compare all codes before assembly.
- Working under voltage – always disconnect the battery before handling electronics.
- Loose mounting of the device – after assembly, check that the part is firmly seated and there are no vibrations.
Reasons why the part is damaged
- normal wear and tear during long-term operation of the vehicle,
- defects in the electrical installation or voltage fluctuations,
- damage to connectors or contacts,
- reckless disassembly or assembly,
- intrusion of moisture or dirt into the electronics of the device.