Description
Heating Servo Motor VALEO For Citroën And PEUGEOT Vehicles
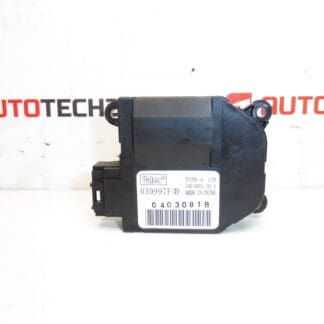
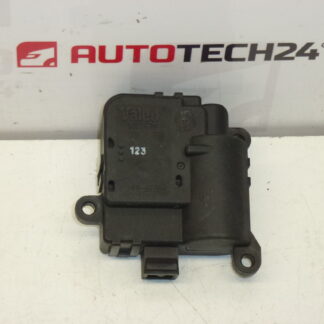
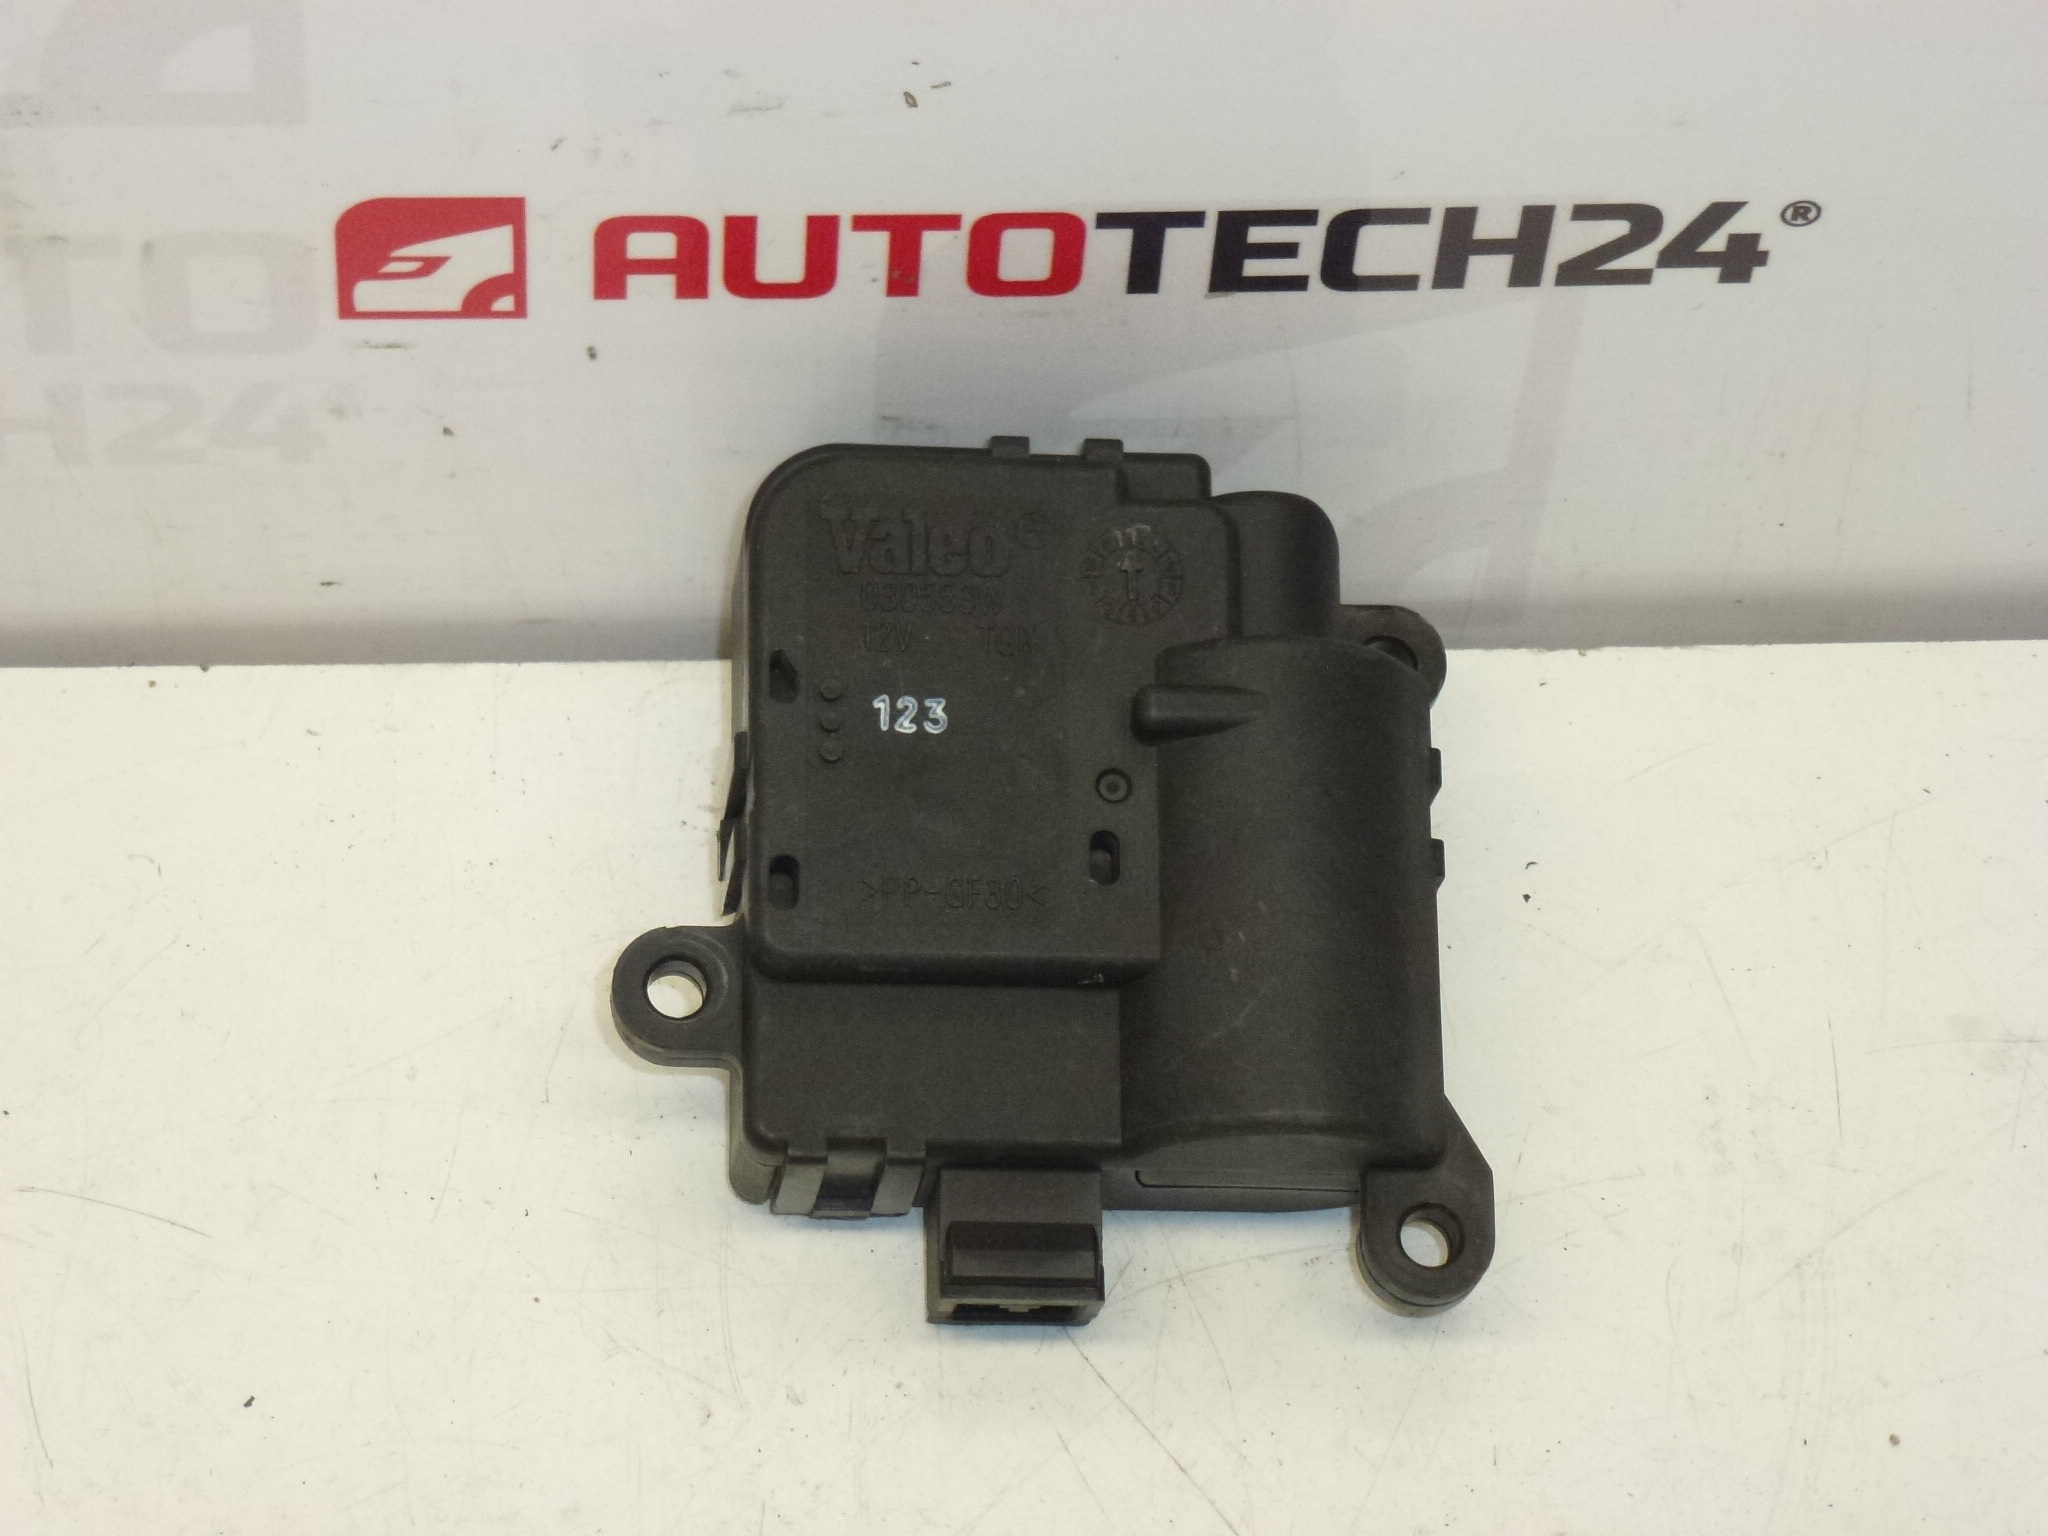
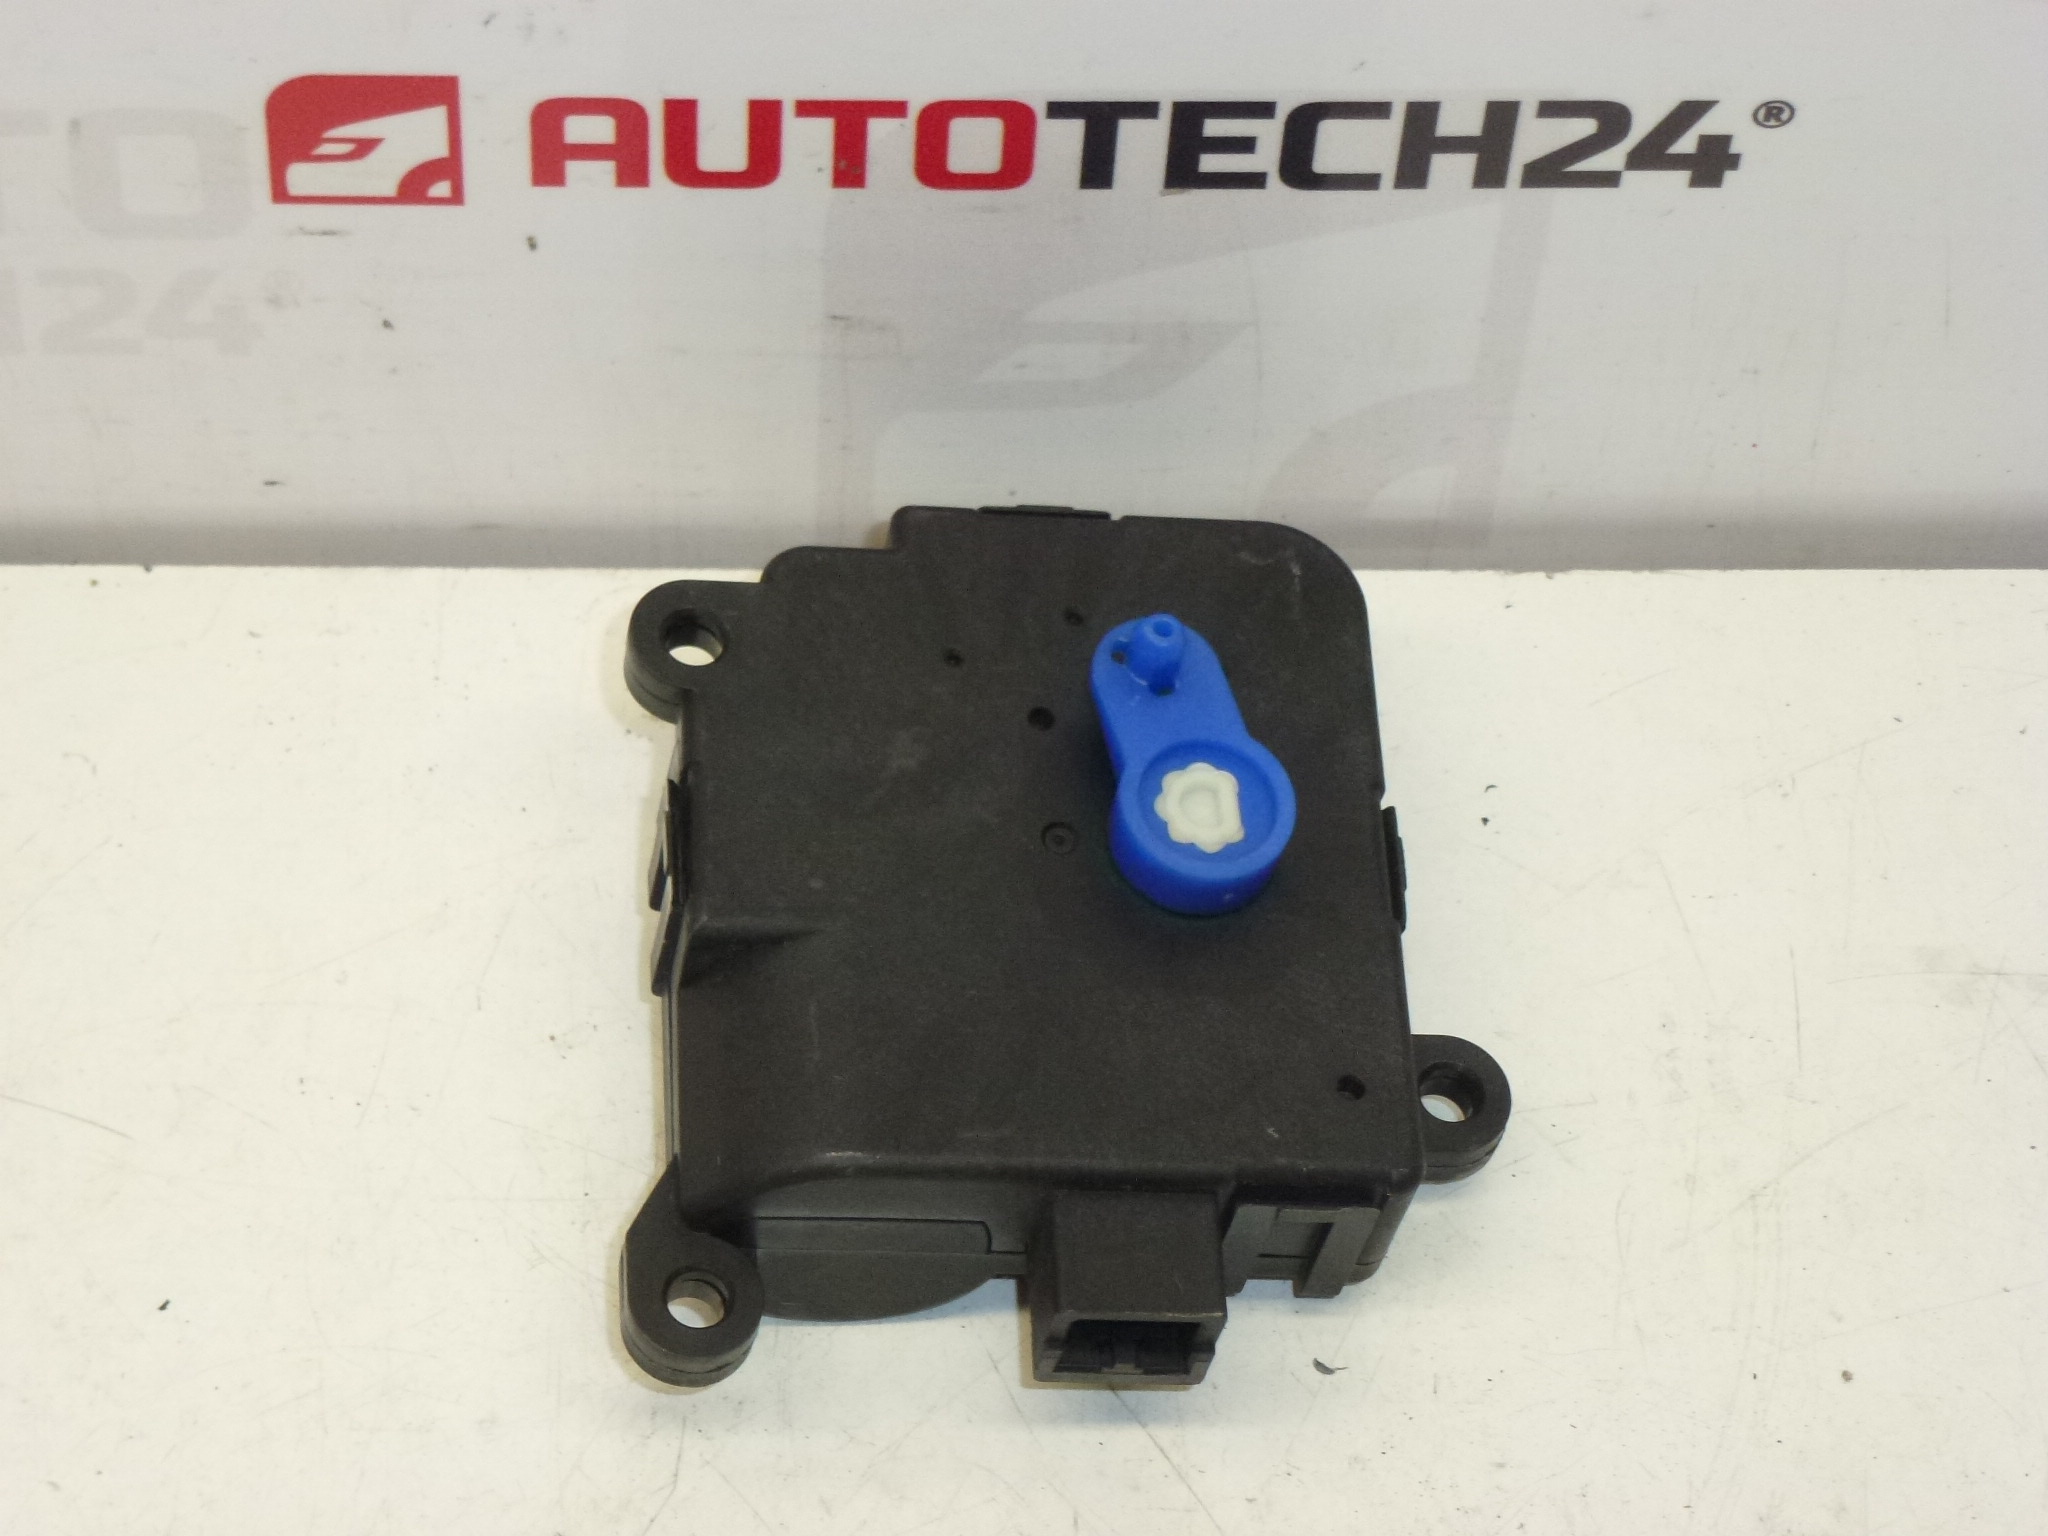
This Valeo Heating Servo Motor is a direct-fit HVAC actuator commonly used on Citroën Berlingo I and Peugeot Partner I models. Ideal for professional workshops and DIY mechanics, this replacement part restores reliable control of the heater/ventilation flaps to eliminate incorrect cabin temperature, intermittent airflow, or clicking noises. Frequently Searched As Part Numbers 030553W And 6447GF, This Unit Is Sought After When The Climate System Loses Proper Blend Door Control.
Function And Typical Symptoms
The servo motor actuates the HVAC blend/air distribution flaps inside the heater box, regulating airflow direction and temperature mixing between heater core and fresh/recirculated air. Common failure Symptoms Include:
- Loss Of Temperature Control Or Inability To Reach Set Temperature
- Airflow Stuck To One Vent Position Or No Airflow Change When Adjusting Controls
- Audible Clicking Or Grinding From Dashboard Area
- Intermittent Or Non‑Responsive Operation Of The Climate Controls
Compatibility And Fitment
Typical Fitment: Citroën Berlingo I, Peugeot Partner I. This Valeo actuator is commonly referenced under the product codes 030553W and 6447GF and is used in HVAC assemblies of the above models. Always compare connector shape and mounting points with the removed unit to confirm fit before final installation.
Technical Information
- Manufacturer: Valeo
- Model: Heating Servo Motor / HVAC Blend Door Actuator
- Product Codes: 030553W, 6447GF
- Additional Numbers: 030553W | 6447GF
Installation Recommendations
Recommended For Professional And Experienced DIY Mechanics. General Replacement Steps:
- Disconnect The Battery Before Starting To Prevent Short Circuits And Protect The Vehicle Electronics.
- Access The HVAC Unit By Removing The Glovebox Or Lower Dashboard Trim Depending On Vehicle Layout.
- Unplug The Electrical Connector From The Actuator And Remove The Mounting Screws Or Clips Holding The Unit In Place.
- Fit The Replacement Servo Motor Ensuring Correct Orientation Of The Output Shaft And Proper Engagement With The Flap Mechanism.
- Reconnect The Connector, Reinstall Trim Pieces, Reconnect The Battery And Test All HVAC Modes To Verify Proper Operation.
Reason The Part Most Often Fails
Failure Typically Results From Mechanical Wear Of Internal Gears, Plastic Gear Tooth Breakage, Or Contamination And Moisture Entering The HVAC Box. High Cycle Use, Age, Or Debris From Deteriorating Ducting Can Cause Increased Load On The Motor And Lead To Intermittent Operation Or Complete Seizure. Electrical Issues Such As Corroded Connectors Or Failed Motor Brushes May Also Cause Loss Of Function.
Why Choose This Replacement
Replacing A Faulty Actuator Restores Precise Control Over Cabin Temperature And Air Distribution, Eliminating Driver Frustration And Preventing Further Strain On The HVAC System. The Unit Is Searched Commonly By Its Part Numbers 030553W And 6447GF, Making It Easy To Locate For Fast Repair.
Recommended Tools
- Trim Removal Tools
- Torx/Phillips Screwdrivers Or Socket Set (As Required By Vehicle)
- Multimeter For Quick Electrical Checks
Notes
Ensure The Replacement Unit Matches The Connector And Mounting Points Of The Original Actuator. After Installation, Verify That All Flaps Move Smoothly Through Their Full Range And That The HVAC Controls Respond Correctly.