Description
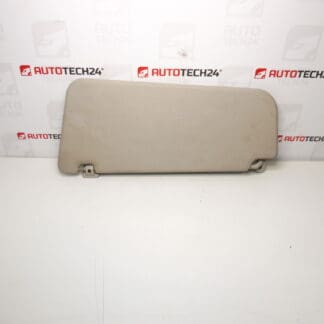
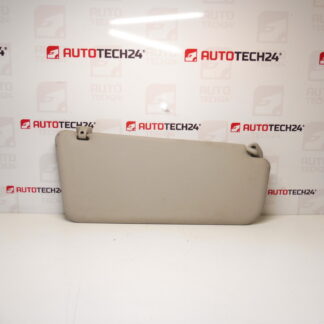
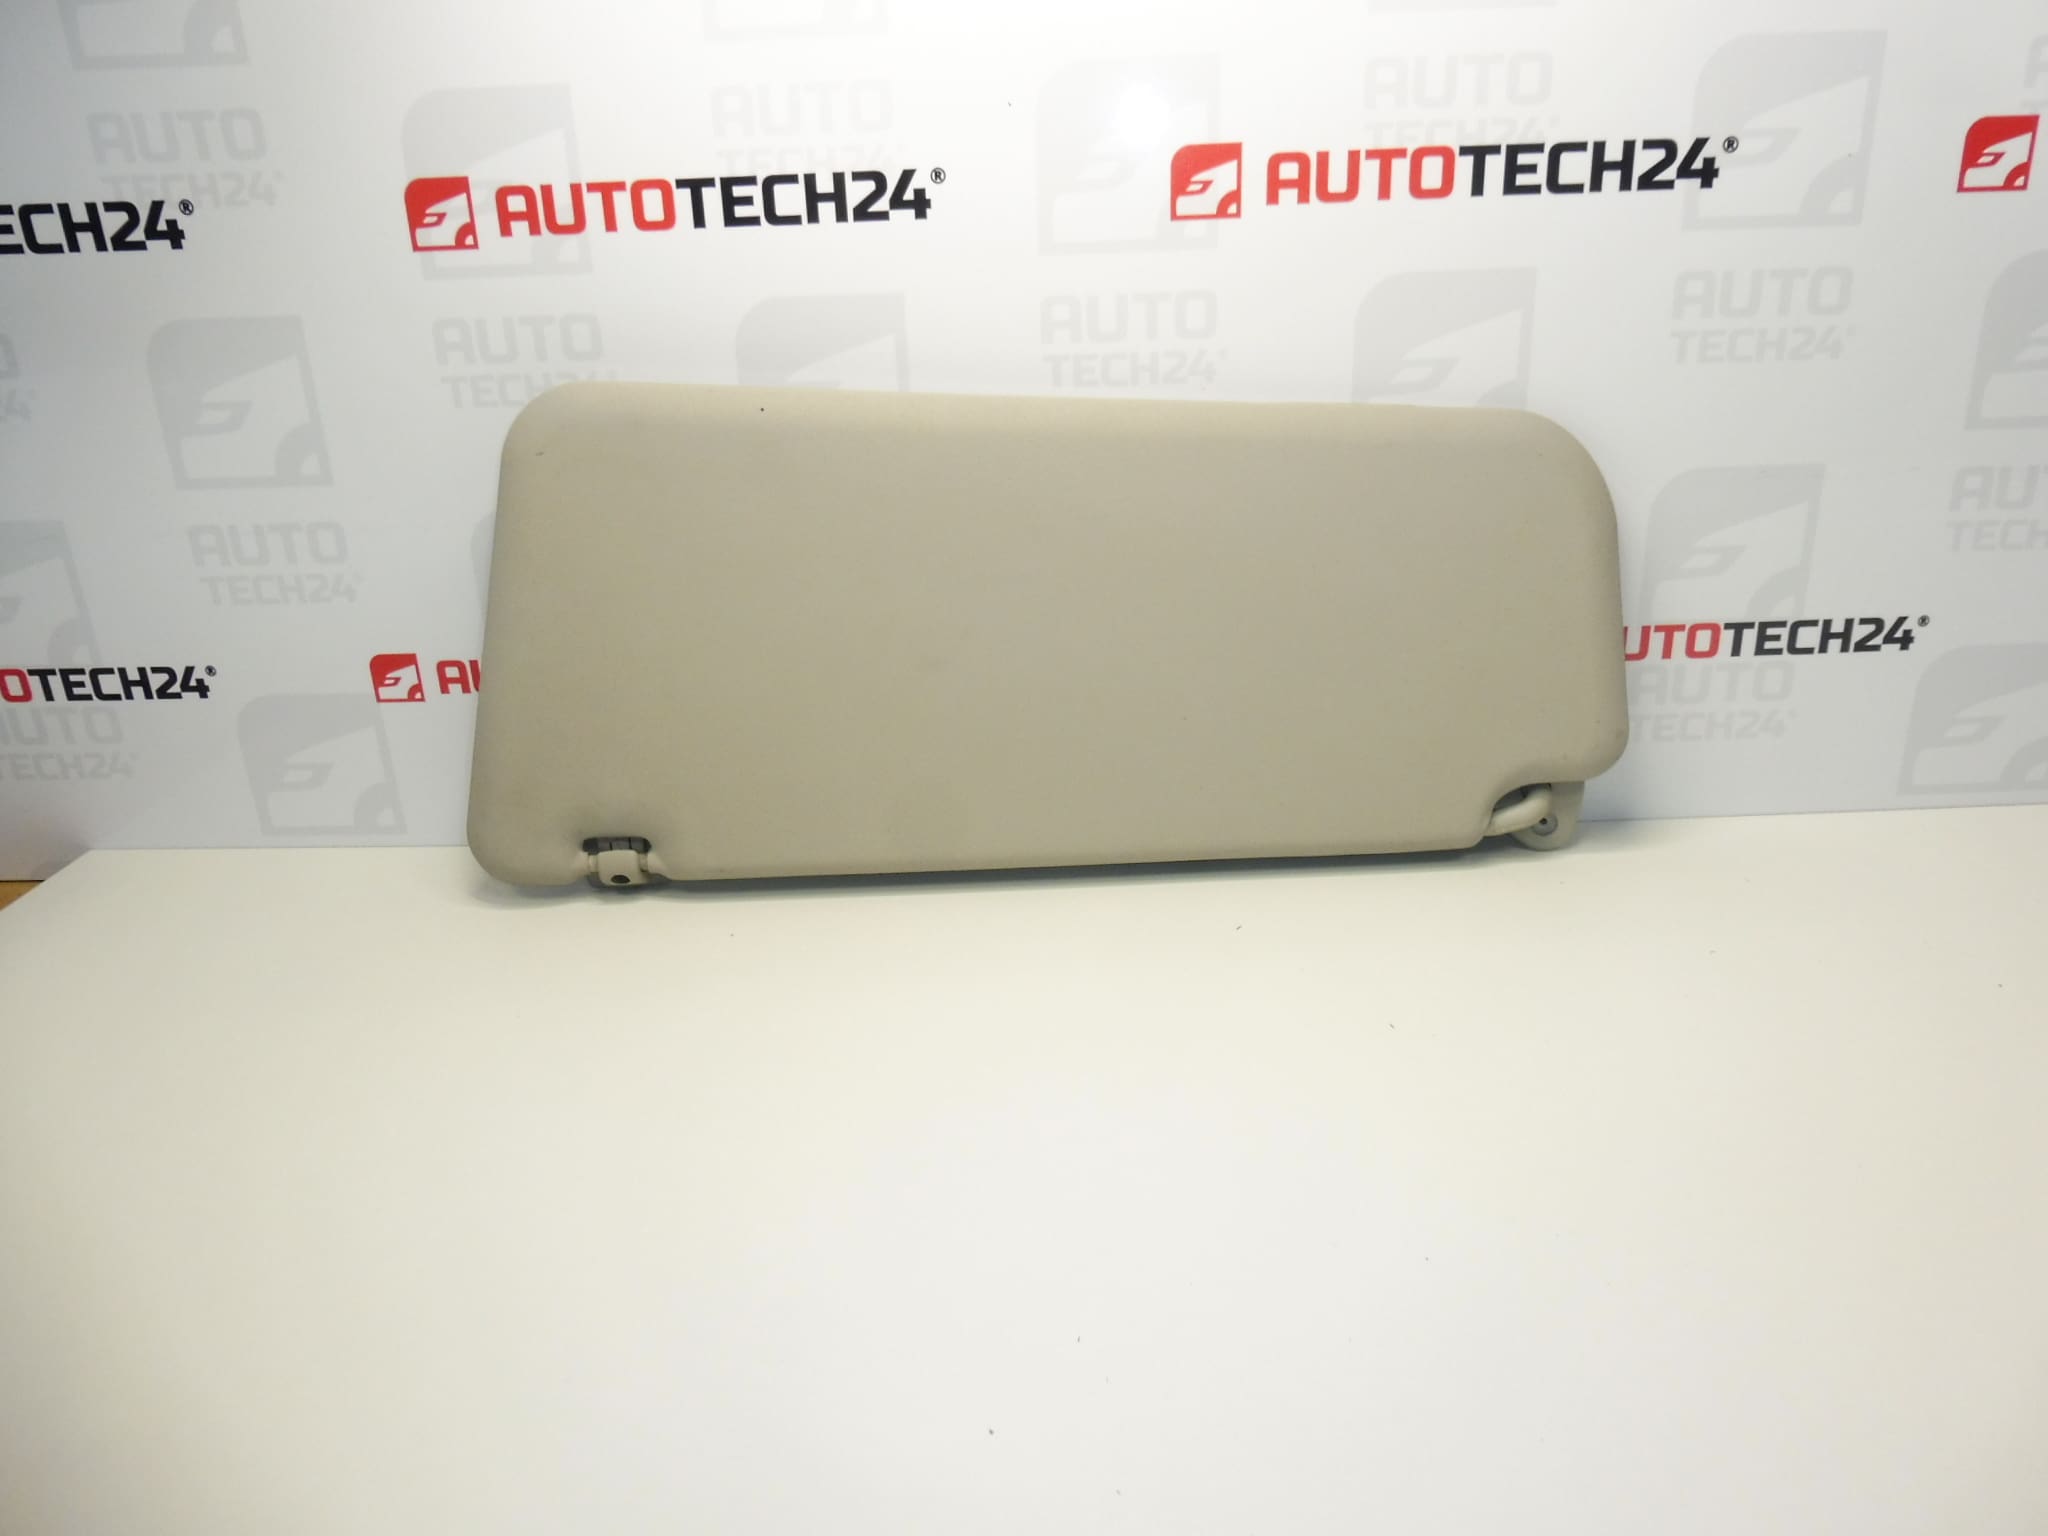
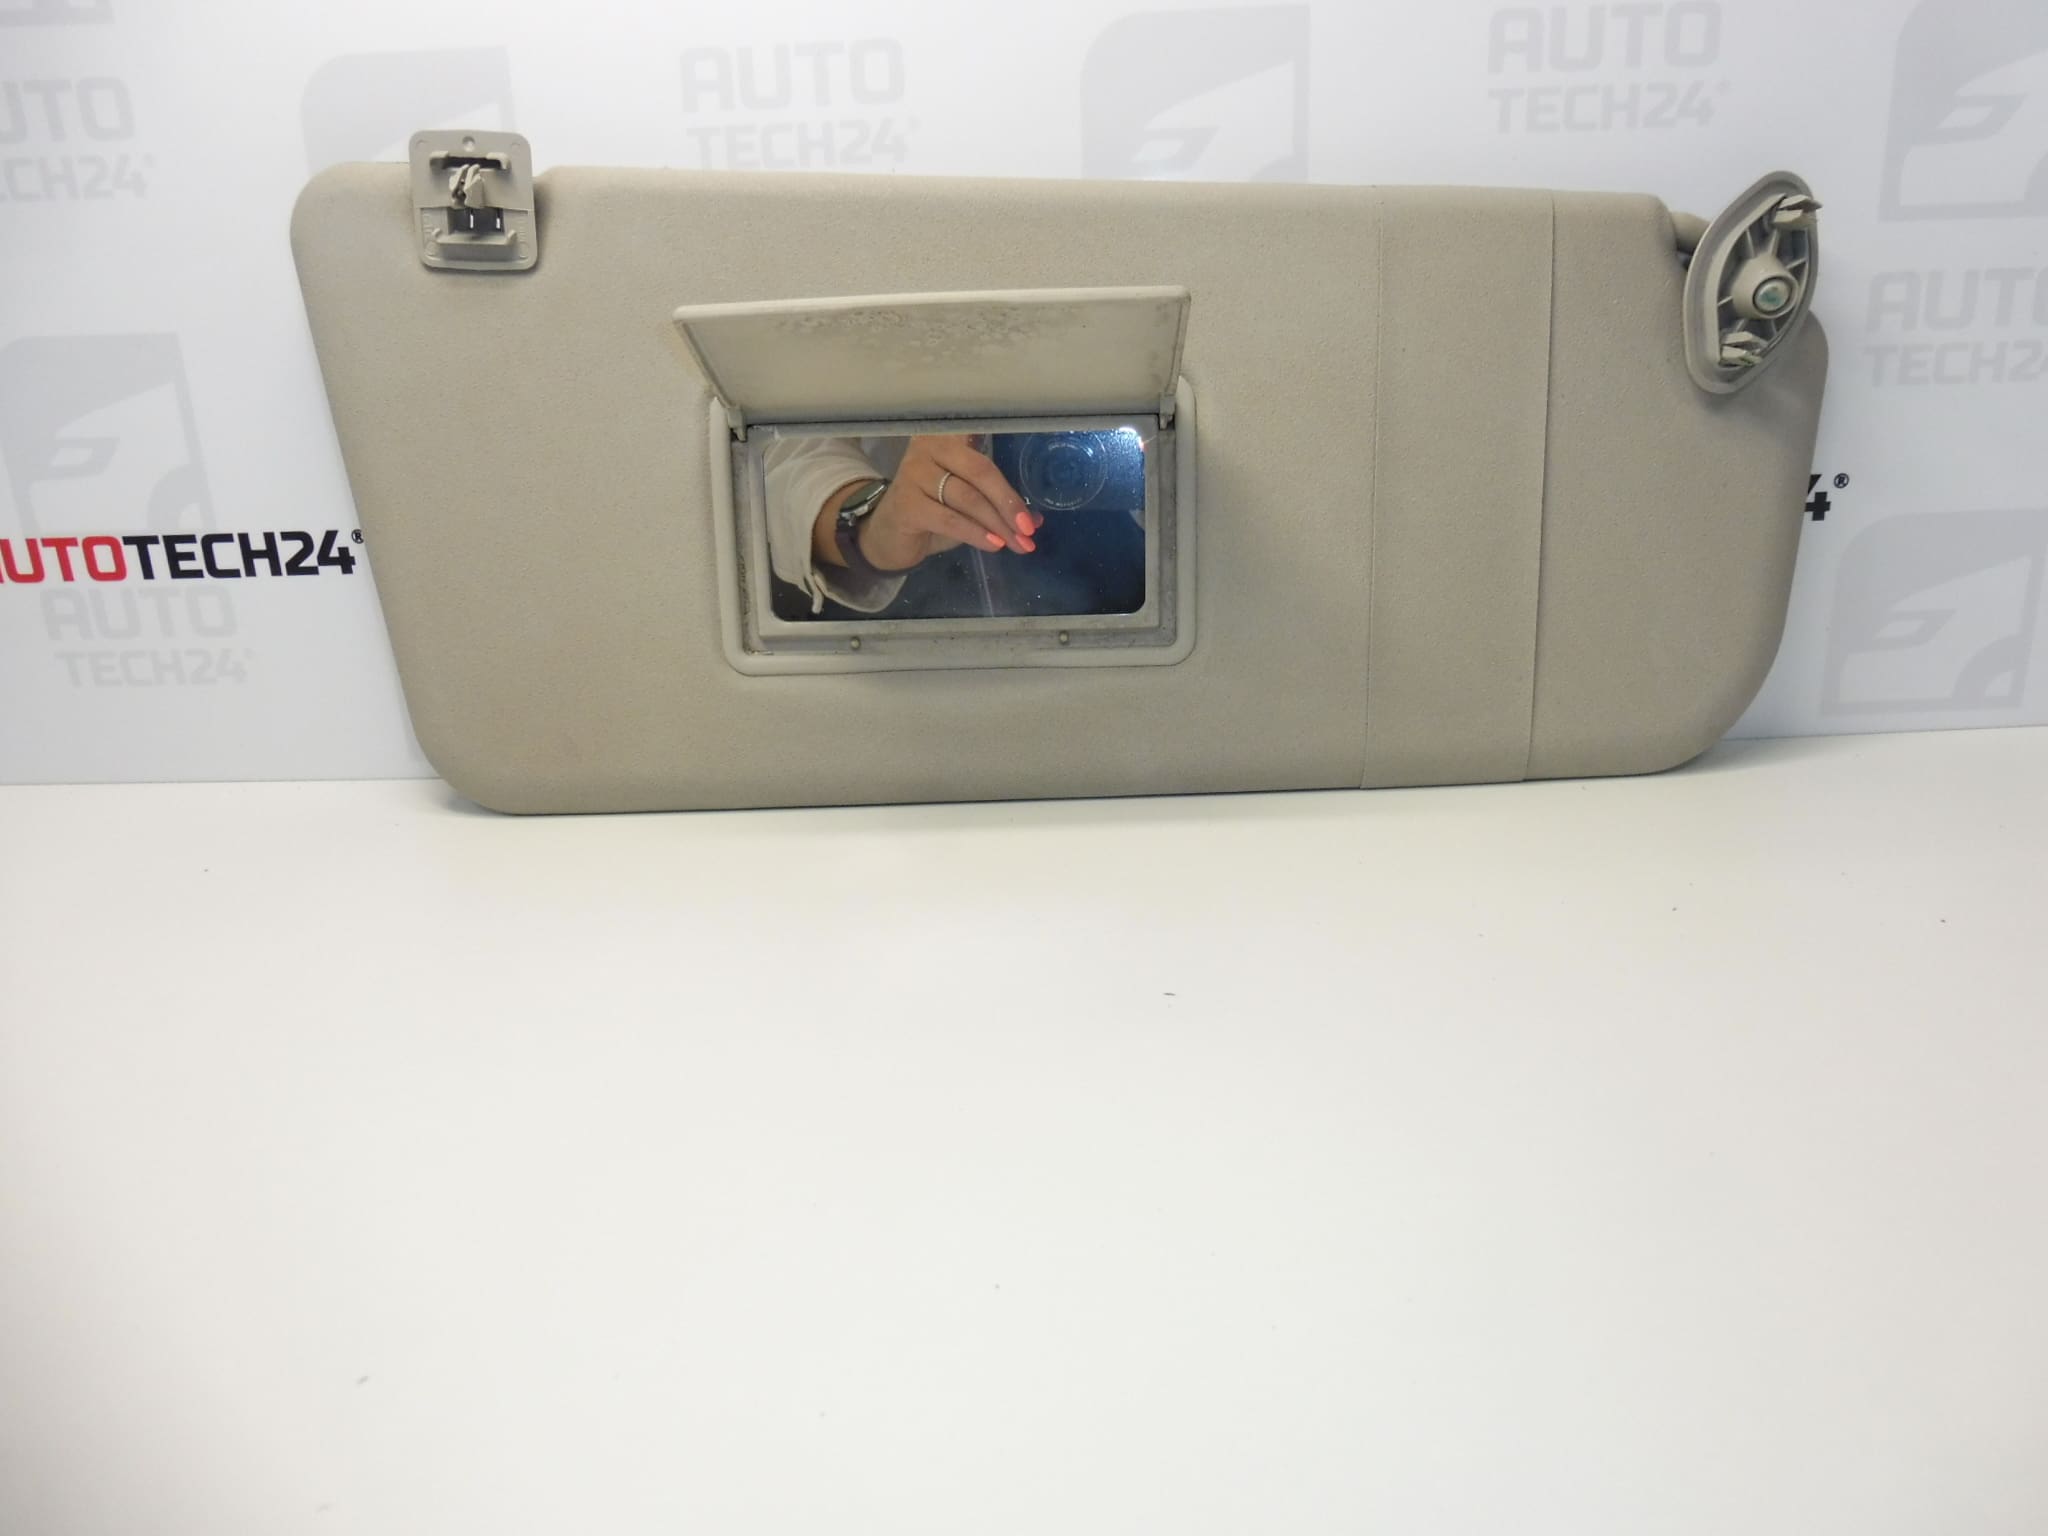
Sun visor for CITROEN BERLINGO II and PEUGEOT PARTNER II cars
This is a used item, it may be slightly dirty
Right side – passenger
Part description
This passenger sun visor is intended for Citroën Berlingo II and Peugeot Partner II cars. It is a practical interior part that helps reduce glare while driving and contributes to the comfort of the crew. Thanks to the markings 8143TG and 1618180980, the part can be easily traced by product number, which is especially appreciated by auto mechanics and car owners who handle repairs themselves.
As this is a used car part, it may show normal signs of use, such as light soiling. However, this usually does not affect the basic function of the part. The screen is intended for the right side – passenger.
Technical information
- Manufacturer: Stellantis Citroën Peugeot
- Model: Citroën Berlingo II, Peugeot Partner II
- Other numbers: 8143TG, 1618180980, NFP
Product codes
- Product codes: 8143TG, 1618180980
- Models: Citroën Berlingo, Peugeot Partner
Installation recommendations
Generally/typically, changing the sun visor is a relatively simple process for this type of interior part, but the exact steps may vary depending on the specific car design and how the part is mounted.
1) Before assembly
- Check that the new used part matches the old part in shape, color, mounting side and type of attachment.
- Compare the product numbers 8143TG and 1618180980 if they are legible on the part or label.
- Check the condition of the screen joint, attachment points and any covers.
- Make sure the part is not cracked, deformed or excessively worn at the point of attachment.
2) Necessary tools and materials
- A common set of hand tools
- A suitable screwdriver or bit according to the type of connecting material
- Plastic crowbar for interior parts
- Cleaning cloth
- Or a mild interior cleaner
3) Step-by-step assembly procedure
- Park the vehicle on level ground and turn off the ignition.
- Rotate the original screen to the working position for good access to the fixings.
- Carefully remove any caps that cover the connection points.
- Remove the fasteners of the old screen with a suitable tool.
- Remove the original part so as not to damage the surrounding upholstery or interior plastic parts.
- Compare the dismantled part with the spare part, including the attachment and orientation of the right side.
- Clean the installation area from dust and dirt.
- Place the used sun visor in the correct position.
- Install and tighten the fasteners evenly so that the part fits properly and there is no tension.
- Put back any caps and check the free movement of the aperture.
-
4) Post-assembly checks and function verification
- Verify that the aperture is firmly seated in the bracket and does not have excessive play.
- Check that the shutter smoothly folds down and returns to its original position.
- Check that there is no rubbing against the surrounding parts of the interior during handling.
- After a short ride, check again that the fastening has not loosened and the part does not make any noises.
5) The most common assembly mistakes + how to avoid them
- Swap Sides – always verify that it is the right passenger side before fitting.
- Damage to covers or upholstery – use suitable tools, ideally a plastic crowbar.
- Incorrect seating of the part – before tightening, check the exact position of the screen and the holder.
- Over-tightening – proceed with sensitivity to avoid damaging the plastic parts.
- Assembly without wear check – before installation, check the condition of the joint and the attachment of the used part.
Reasons why the part is damaged
- normal wear and tear from daily tilting and turning of the aperture,
- mechanical stress at the point of the joint or holder,
- reckless handling during folding or dismantling,
- cracking of plastic parts due to the age of the material,
- pollution and wear of the interior during long-term use.