Description
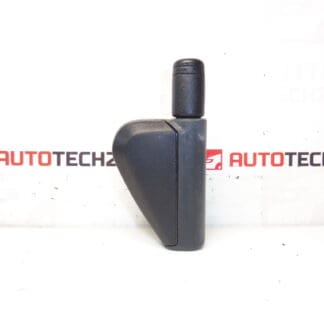
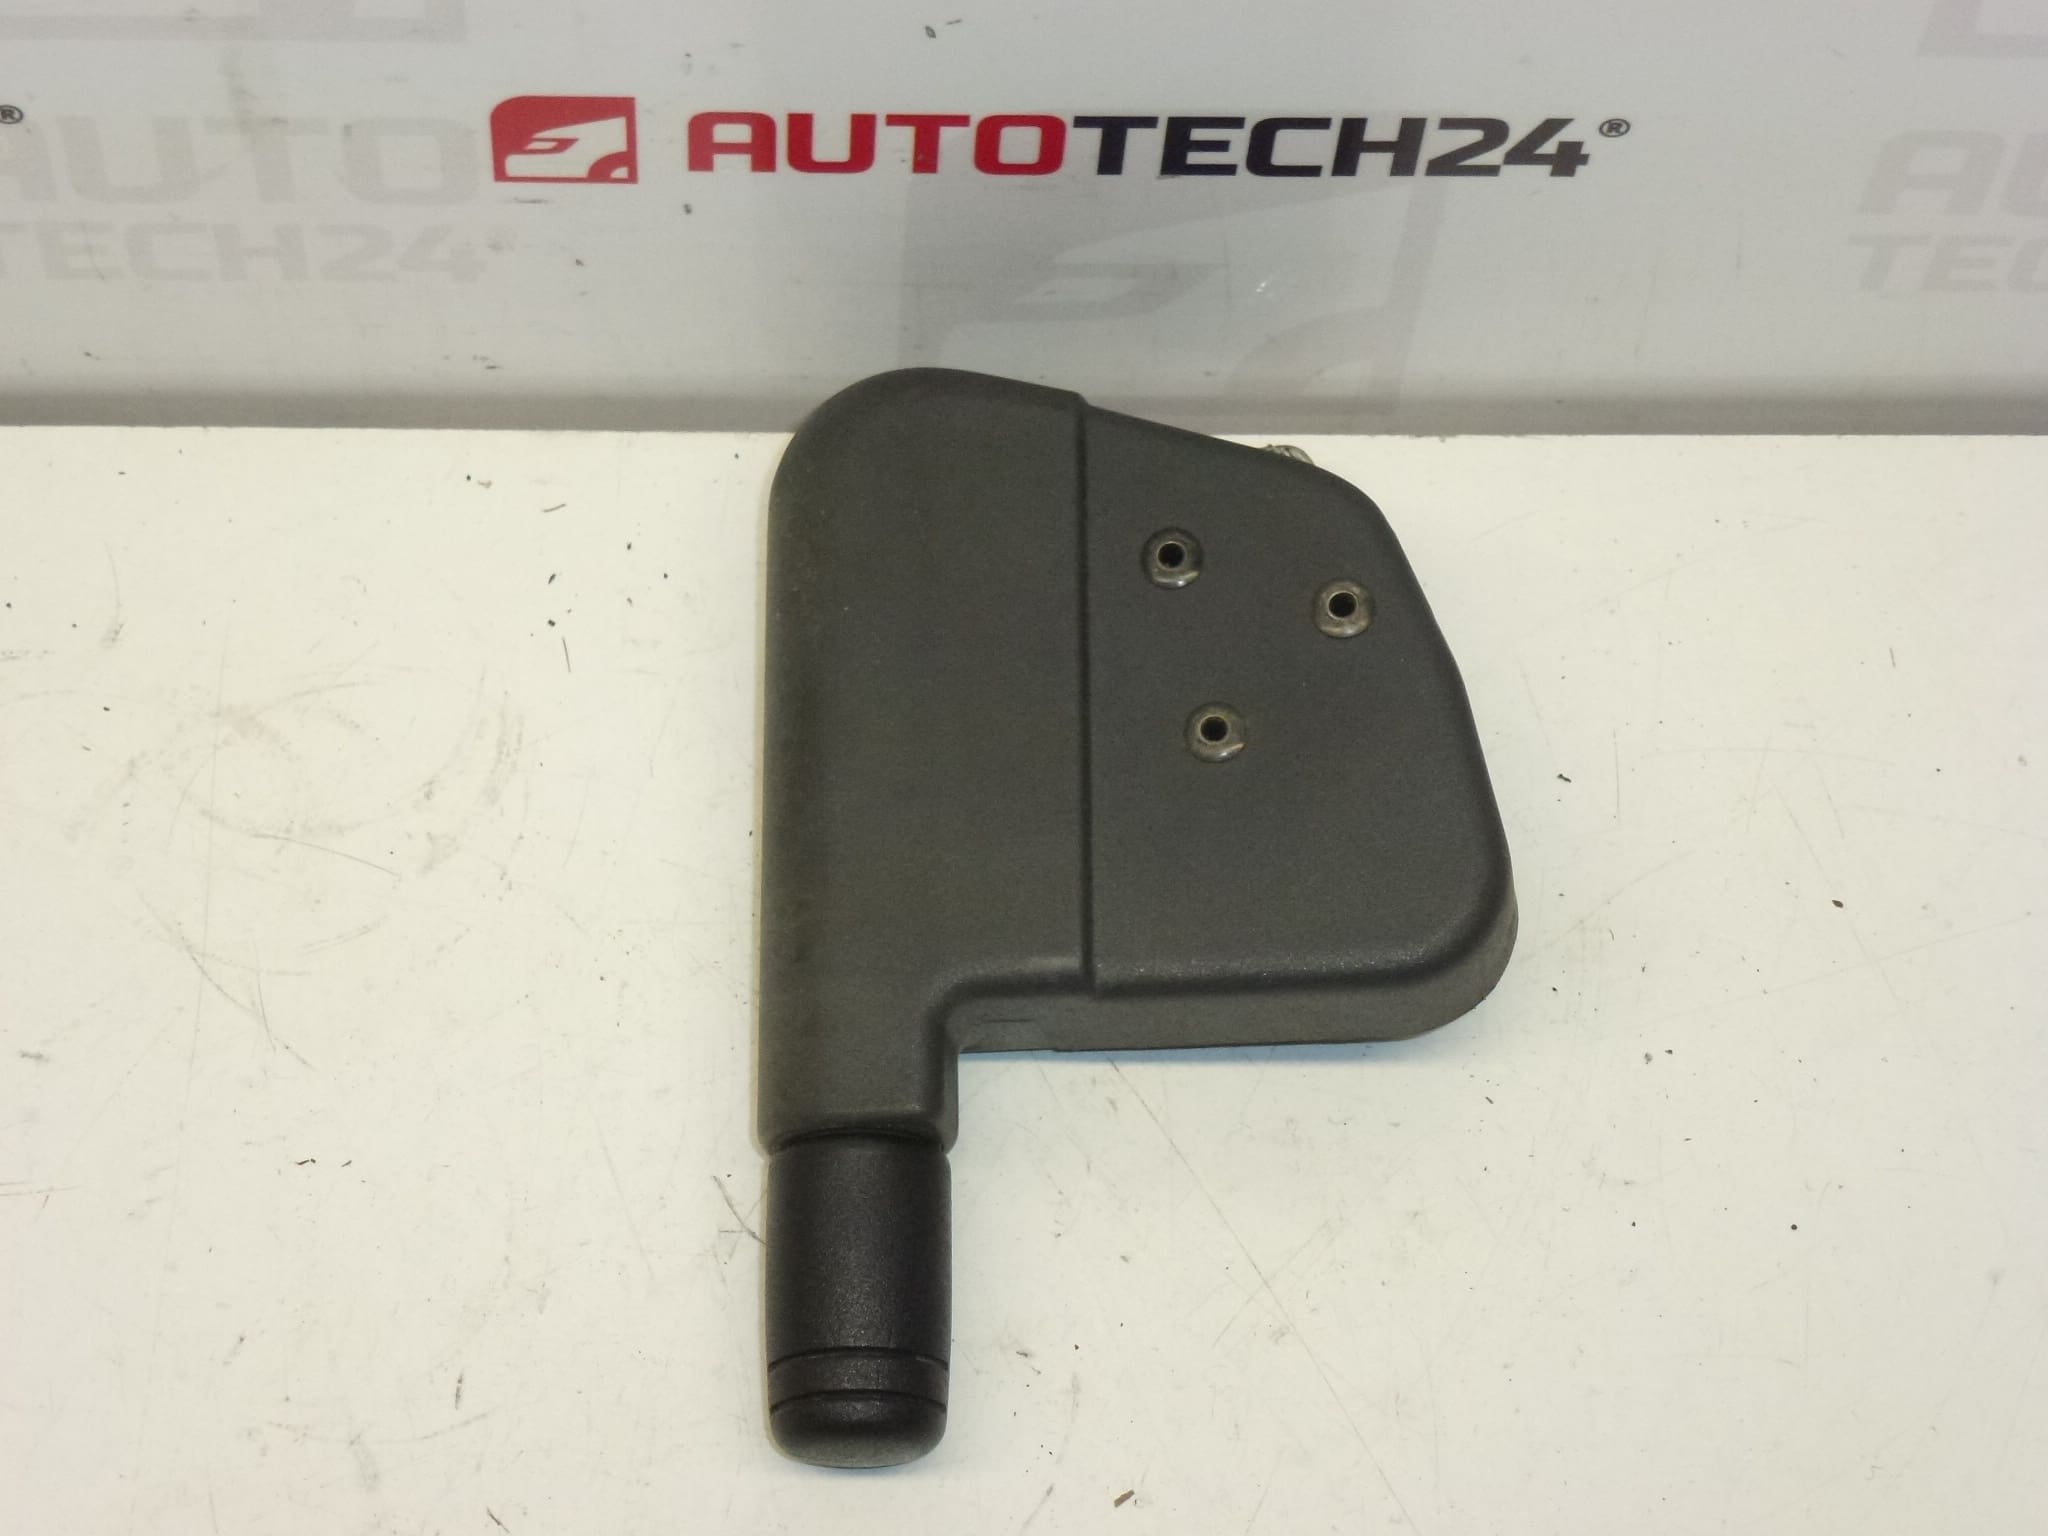
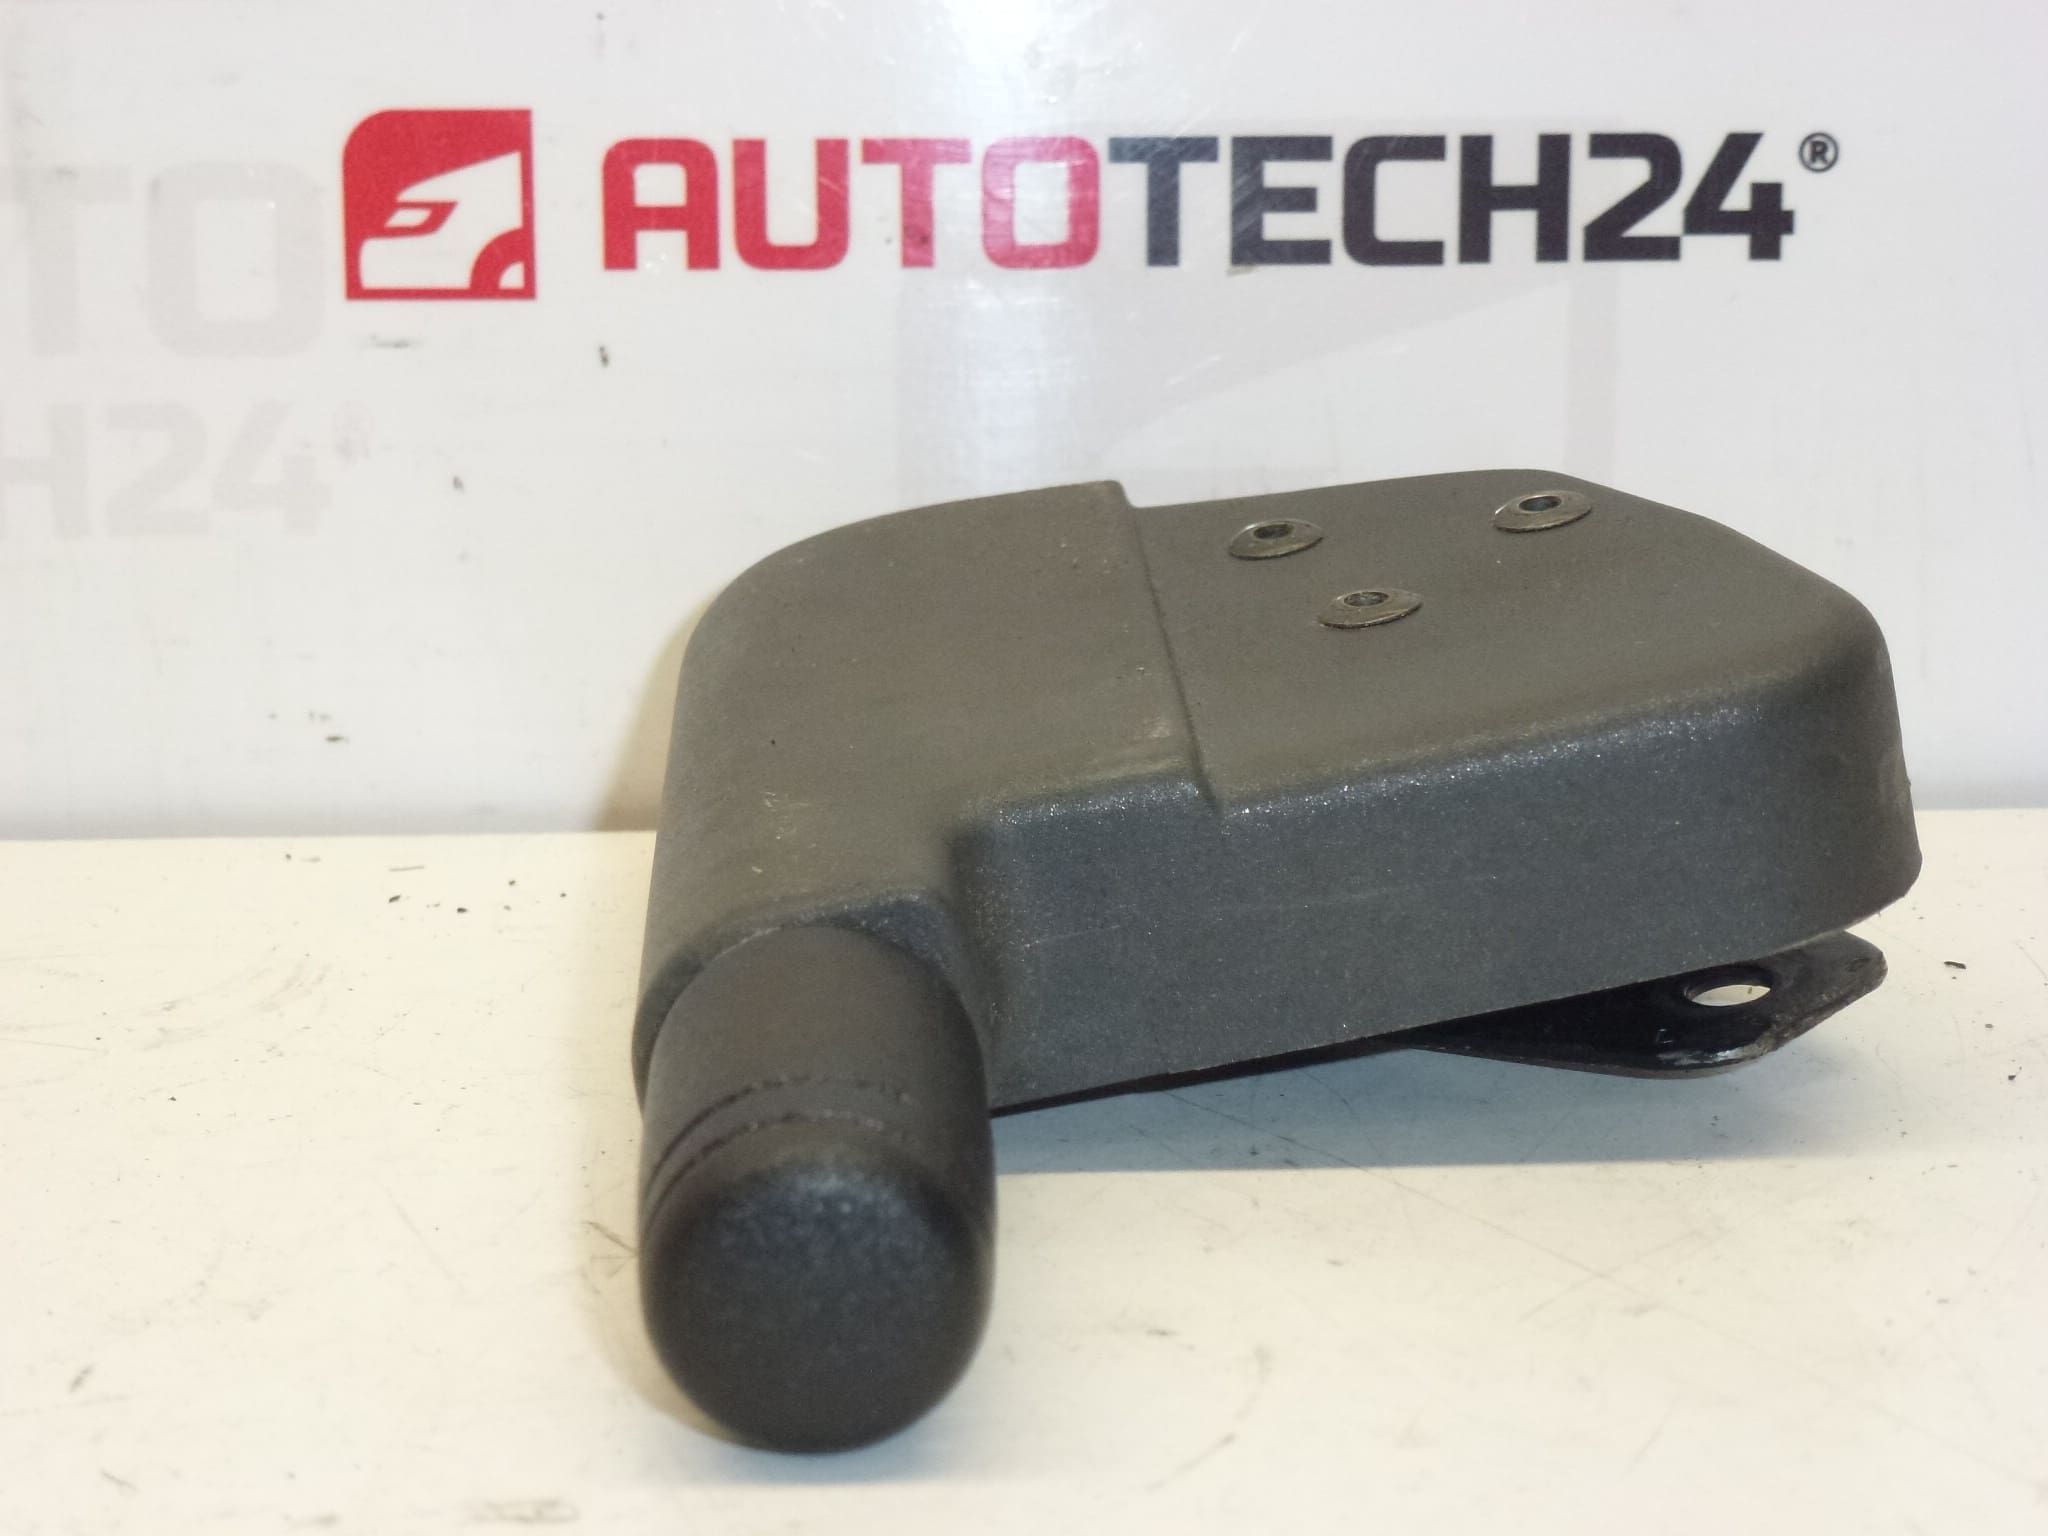
Seat Height Adjustment Control For Citroën Xsara And Xantia. Color FZL – Ouragan Gray. Driver Side.
This genuine-style driver-side electric seat height control is designed for Citroën Xsara and Xantia models and is often searched under part numbers 9608371177 or 8920K3. The unit operates the vertical adjustment of the driver seat, restoring comfortable seating position and proper ergonomics. Ideal For Professional Workshops And Experienced DIYers — the switch/module is a common replacement on higher-mileage vehicles where repeated use, moisture ingress or connector wear cause intermittent or complete loss of function.
Key Features
- Direct Fit For Driver Side Seat Height Adjustment On Citroën Xsara And Xantia
- Color: FZL – Ouragan Gray (Trim And Switch Bezel)
- Replaces Units With Product Codes 9608371177, 8920K3
- Restores Smooth Up/Down Seat Movement And Reliable Electrical Switching
Technical Information
- Manufacturer: Citroën (Stellantis)
- Model: Citroën Xsara, Citroën Xantia
- Product Codes: 9608371177, 8920K3
- Other Numbers: NFP
- Position: Driver Side
- Color: FZL – Ouragan Gray
Installation Recommendation
Recommended For Professional Installation Or For Those Comfortable Working With Interior Trim And Vehicle Electrical Systems. Typical Replacement Steps:
- Disconnect The Vehicle Battery Before Starting Work To Avoid Short Circuits Or Unwanted Airbag/System Faults.
- Move The Seat To A Position That Gives Access To The Side Trim Panel.
- Remove The Side Trim Using Trim Tools To Avoid Damage To Clips And Panels.
- Unscrew The Fasteners Securing The Switch/Module And Carefully Unplug The Electrical Connector(s).
- Fit The Replacement Control, Reconnect The Connector, And Test Seat Height Adjustment Functionality Before Reassembling Trim.
- Reassemble Panels Securely And Verify All Functions At Different Seat Positions.
Tools Typically Required: Trim Removal Tools, Torx/Screwdriver Set, Ratchet. Follow Manufacturer Procedures And Fastening Torques Where Specified.
Why This Part Fails Most Often
- Wear From Frequent Use: Mechanical Contacts And Internal Switch Mechanisms Degrade Over Time, Especially On High-Mileage Vehicles.
- Connector Corrosion Or Poor Contact: Moisture Penetration Or Oxidation At The Electrical Connector Causes Intermittent Operation Or Complete Failure.
- Physical Damage: Impact Or Excessive Force On The Trim/Switch Area Can Crack The Switch Housing Or Break Internal Components.
- Motor Or Gear Wear In The Seat Mechanism: In some cases, the seat motor or gears cause increased load on the switch, accelerating switch failure.
Practical Notes For Mechanics And DIYers
When sourcing this part, include the product codes 9608371177 and 8920K3 in your search to improve findability. Inspect The Connector Pins And Wiring Harness For Corrosion Before Installing The New Unit — Cleaning Or Repairing The Connector Can Prevent Repeat Failures. Test The New Unit Before Final Reassembly To Ensure Proper Function.