Description
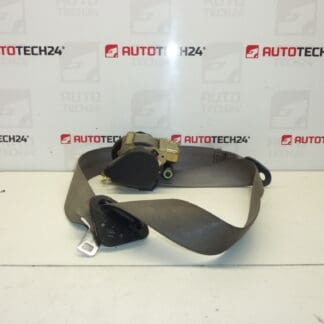
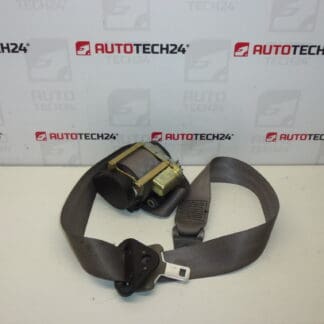
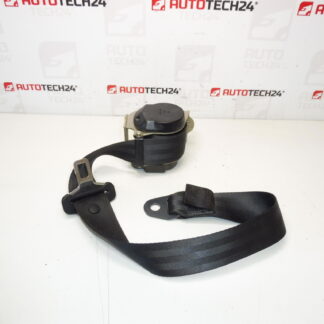
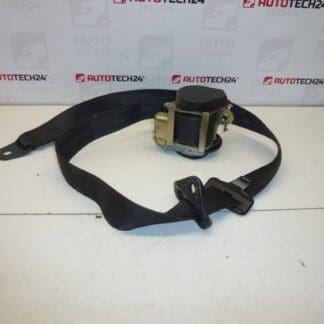
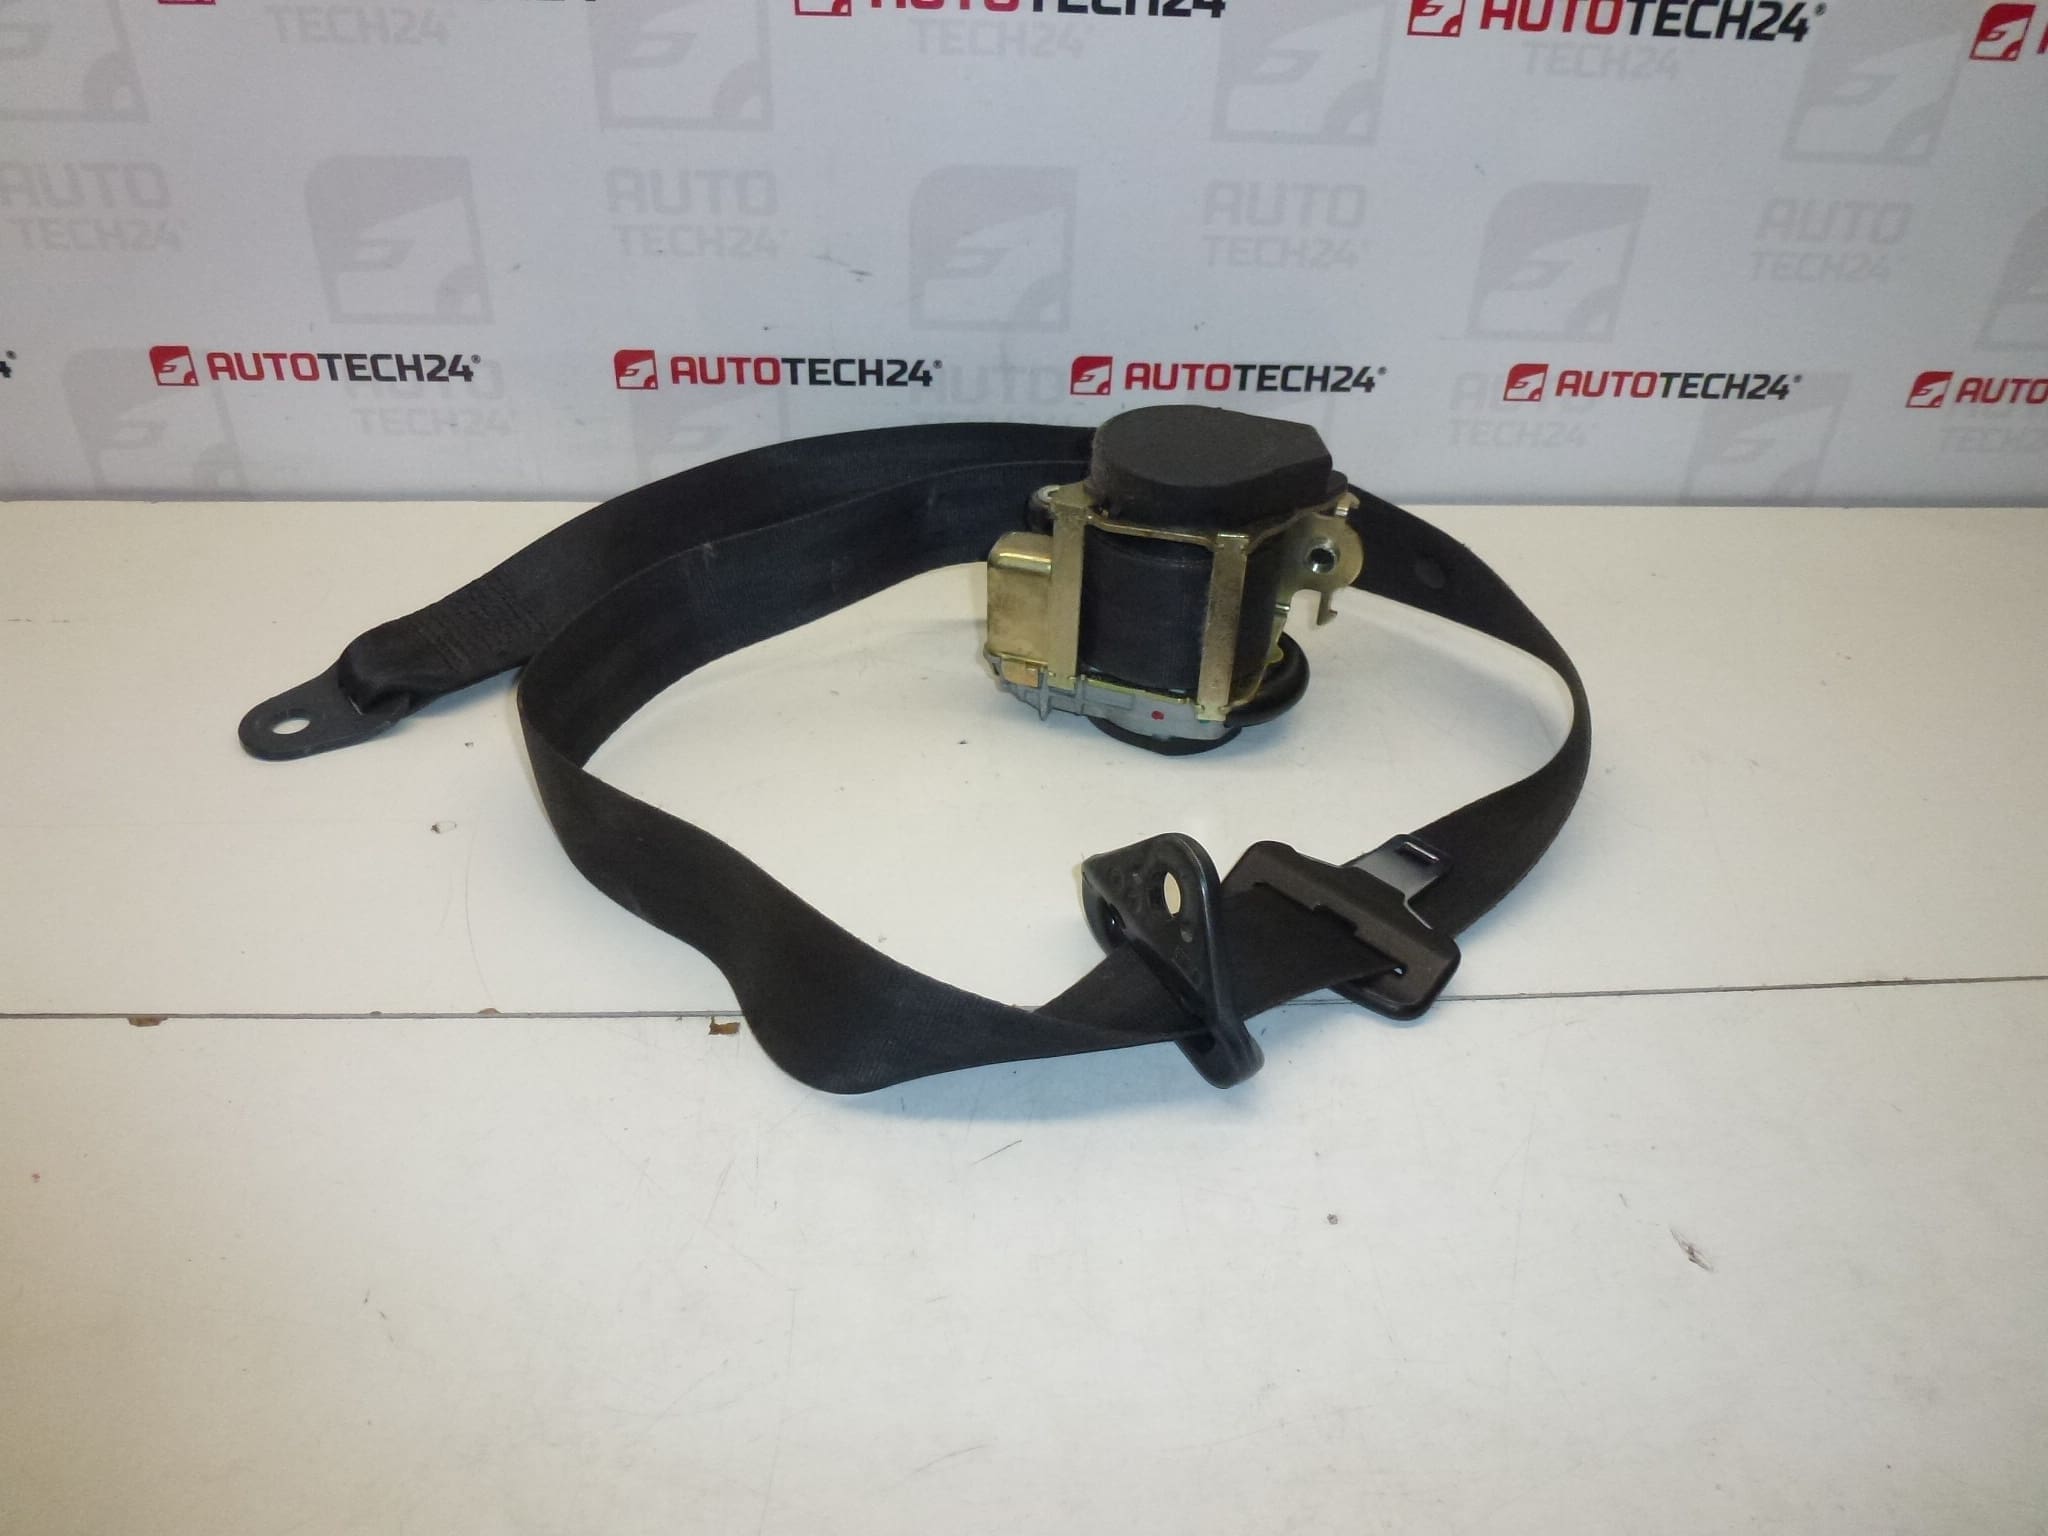
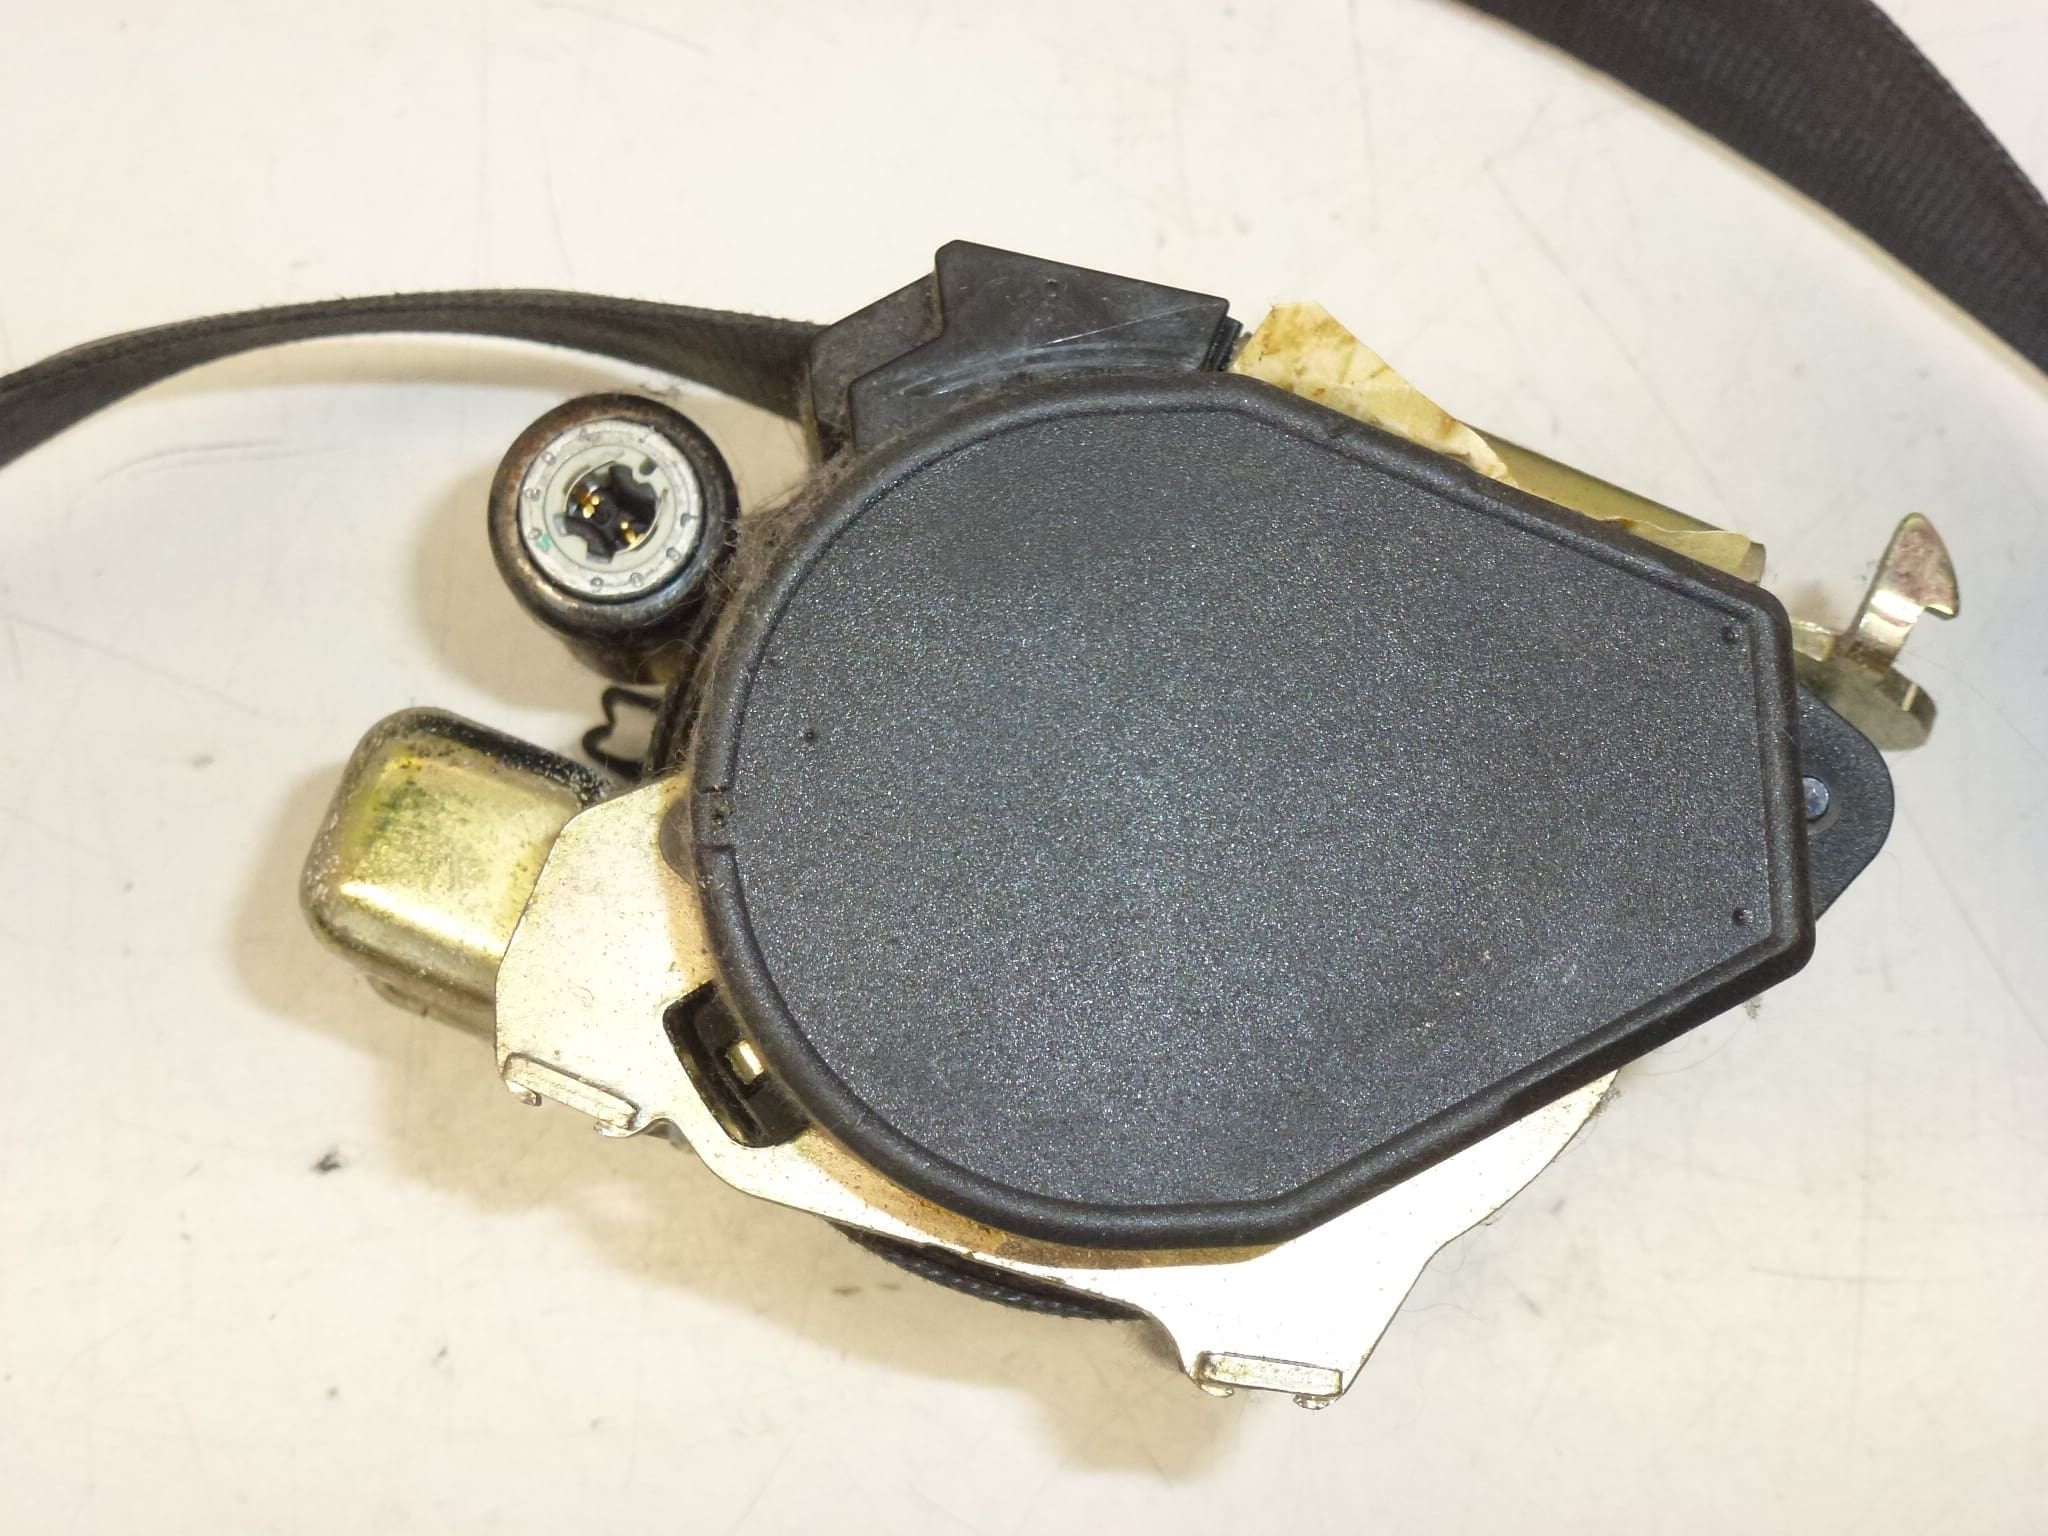
Left front safety pyrotechnic seatbelt for Citroën Xsara Picasso. Color FXX – Black. Driver side.
This left front pyrotechnic seatbelt (driver side pretensioner) is a direct-fit safety component designed for Citroën Xsara Picasso vehicles. It combines a standard lap/shoulder belt with a pyrotechnic pretensioner that tightens the belt in the first moments of a collision to reduce occupant movement. Commonly searched by reference numbers 8974L7 and 96314387XX, this part is aimed at professional technicians and experienced DIYers looking for a reliable replacement for a deployed or faulty pretensioner.
Product Overview
Replacement of a front driver-side pyrotechnic seatbelt is a critical safety repair. This unit restores proper occupant restraint after deployment or when the retractor/pretensioner shows electrical or mechanical faults. It is suitable for mechanics servicing Citroën Xsara Picasso models and for competent vehicle owners performing safety-system repairs.
Technical Information
- Manufacturer: Stellantis / Citroën
- Model: Citroën Xsara Picasso
- Product Codes: 8974L7, 96314387XX
- Additional Numbers: 8974L7 | 96314387XX
How It Works
The pyrotechnic pretensioner contains a small pyrotechnic charge that activates during a crash signal, rapidly retracting the webbing to remove slack. The retractor and locking mechanism then hold the occupant firmly. After activation the pretensioner must be replaced—components that have fired are no longer serviceable.
Installation Recommendations
- Always work with the vehicle battery disconnected before accessing the pretensioner to reduce the risk of accidental deployment. Follow the vehicle manufacturer’s safety procedures.
- Remove interior trim panels and seat mounting covers carefully to reach the retractor mounting points and electrical connector. Keep fasteners and clips organized for reassembly.
- Disconnect the pretensioner electrical connector before unbolting the retractor. Replace the unit with the same orientation and routing of the seatbelt webbing to avoid twisting or binding.
- Tighten mounting bolts to the manufacturer’s torque specifications and ensure the connector is fully seated. Do not attempt to repair or reuse a pretensioner that has deployed.
- If you are not fully confident with supplemental restraint systems, have the replacement performed or checked by a qualified technician with appropriate tools and airbag-system experience.
Why This Part Fails
Pretensioners most commonly require replacement after a collision in which the pyrotechnic charge has fired. Other causes for replacement include electrical faults in the connector or wiring, internal retractor failure (locking mechanism or spool damage), and severe corrosion or contamination that impairs retraction. Webbing wear, fraying, or contamination from chemicals can also compromise belt function and necessitate replacement.
Notes For Buyers
Searches for this part are often performed by reference numbers 8974L7 and 96314387XX—include these codes in your search to find compatible listings. Always verify visual match to the existing unit (mounting points, connector type, and belt finish) before installation. Remember: a pretensioner that has been triggered or shows visible damage must be replaced, not repaired.