Description
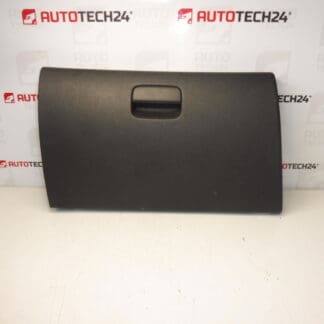
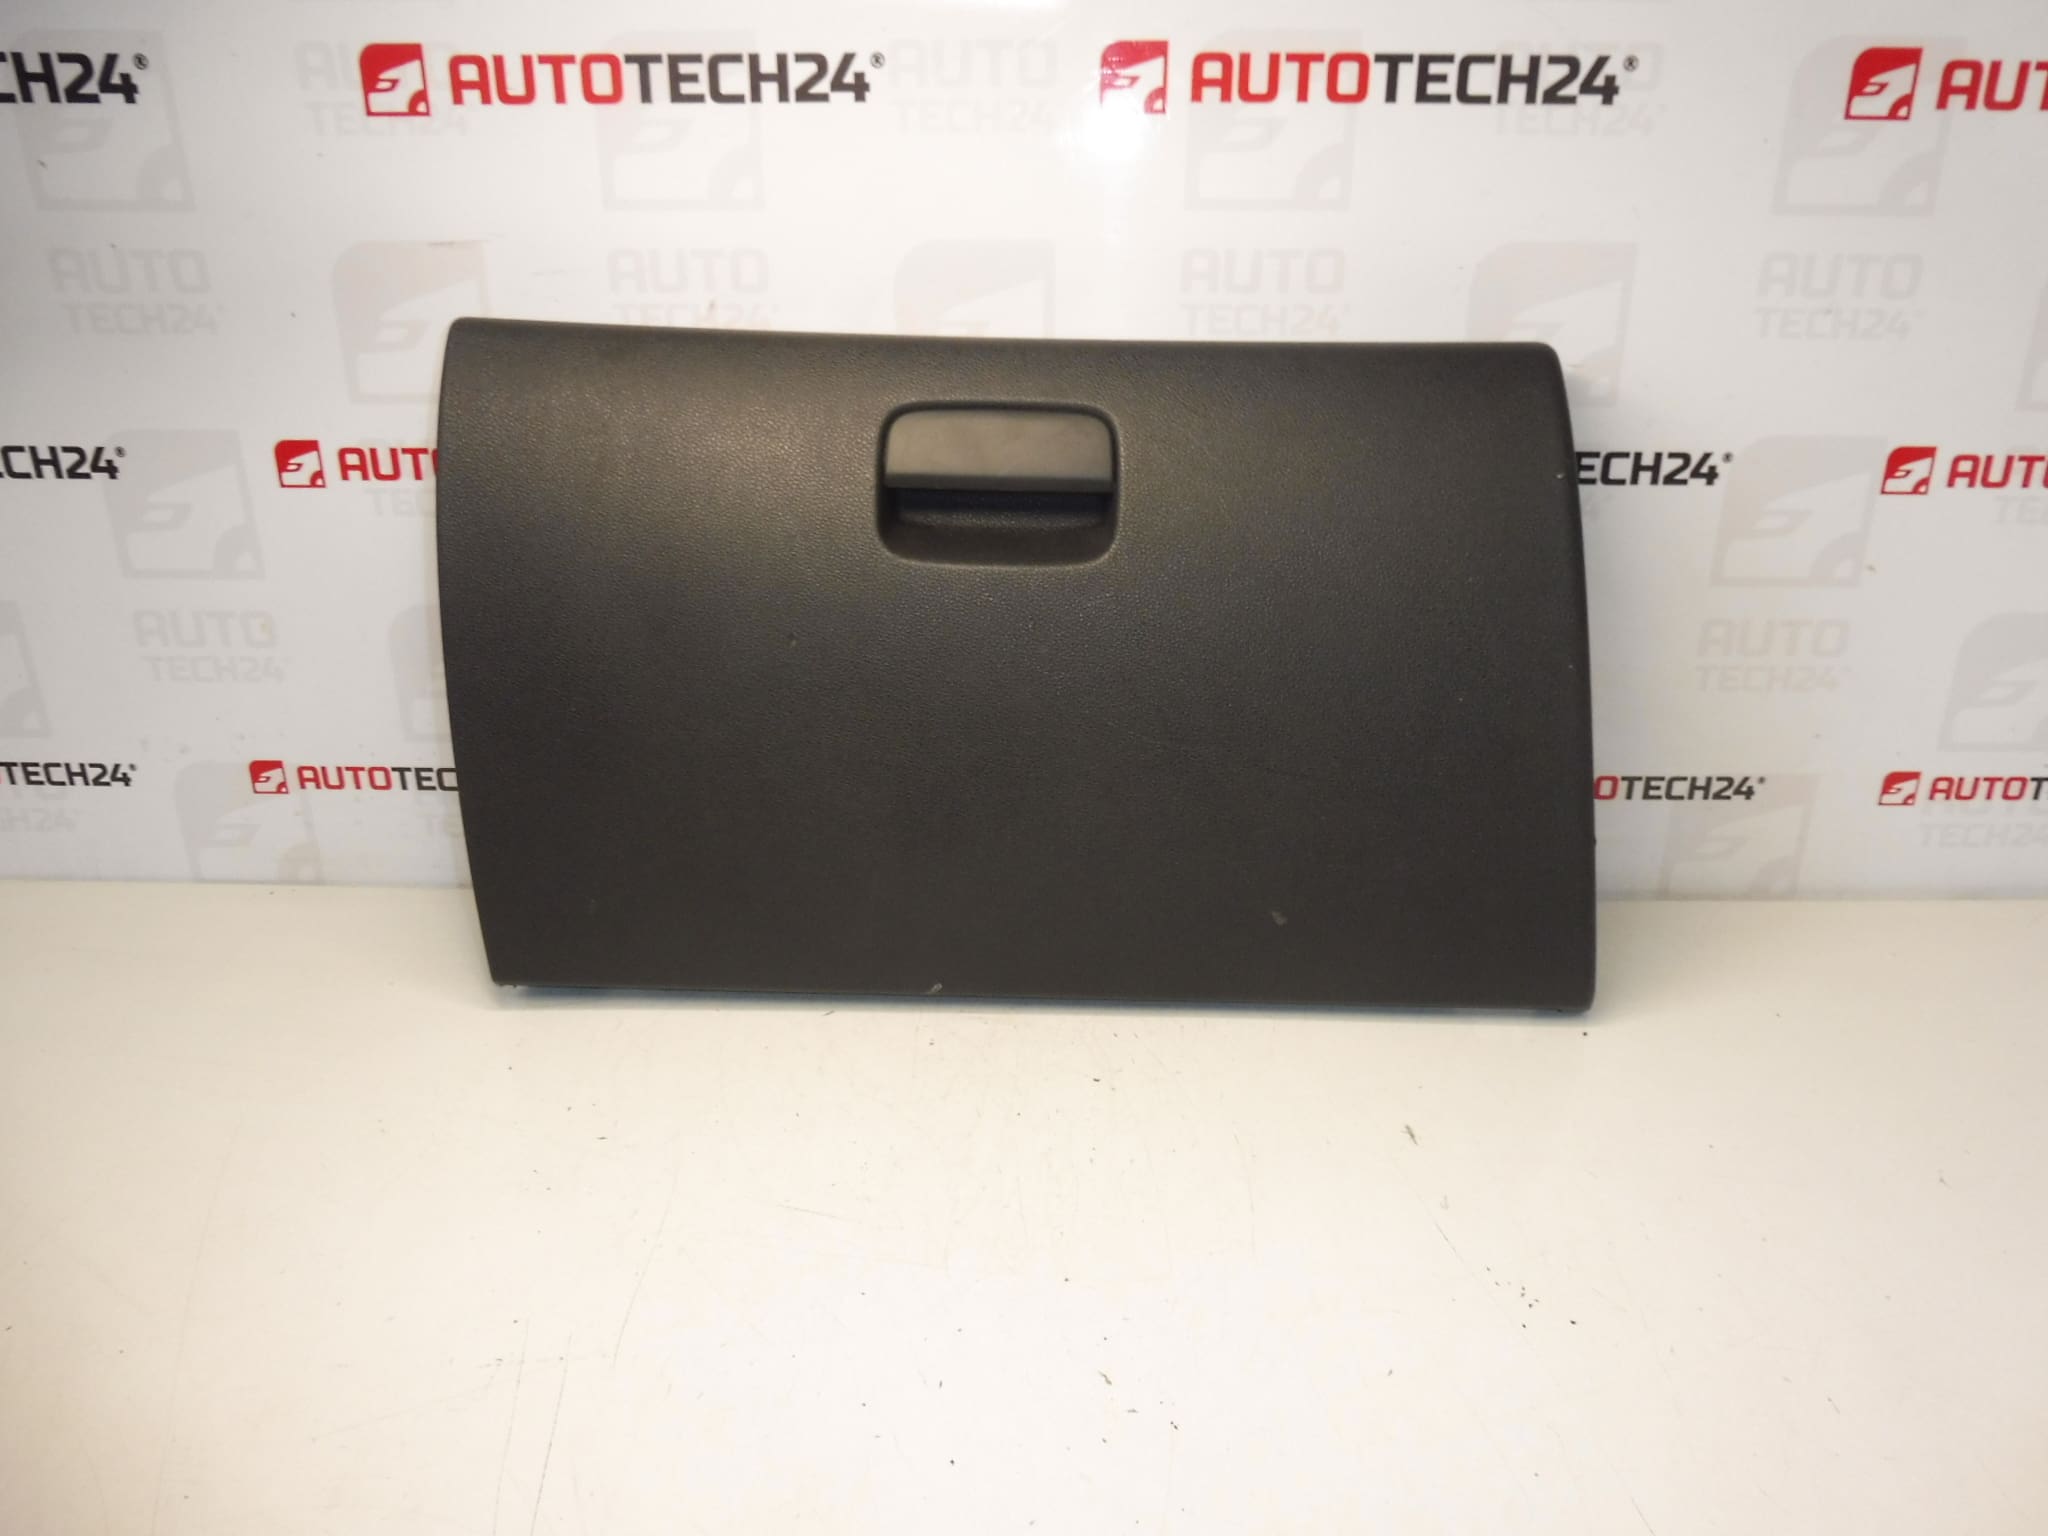
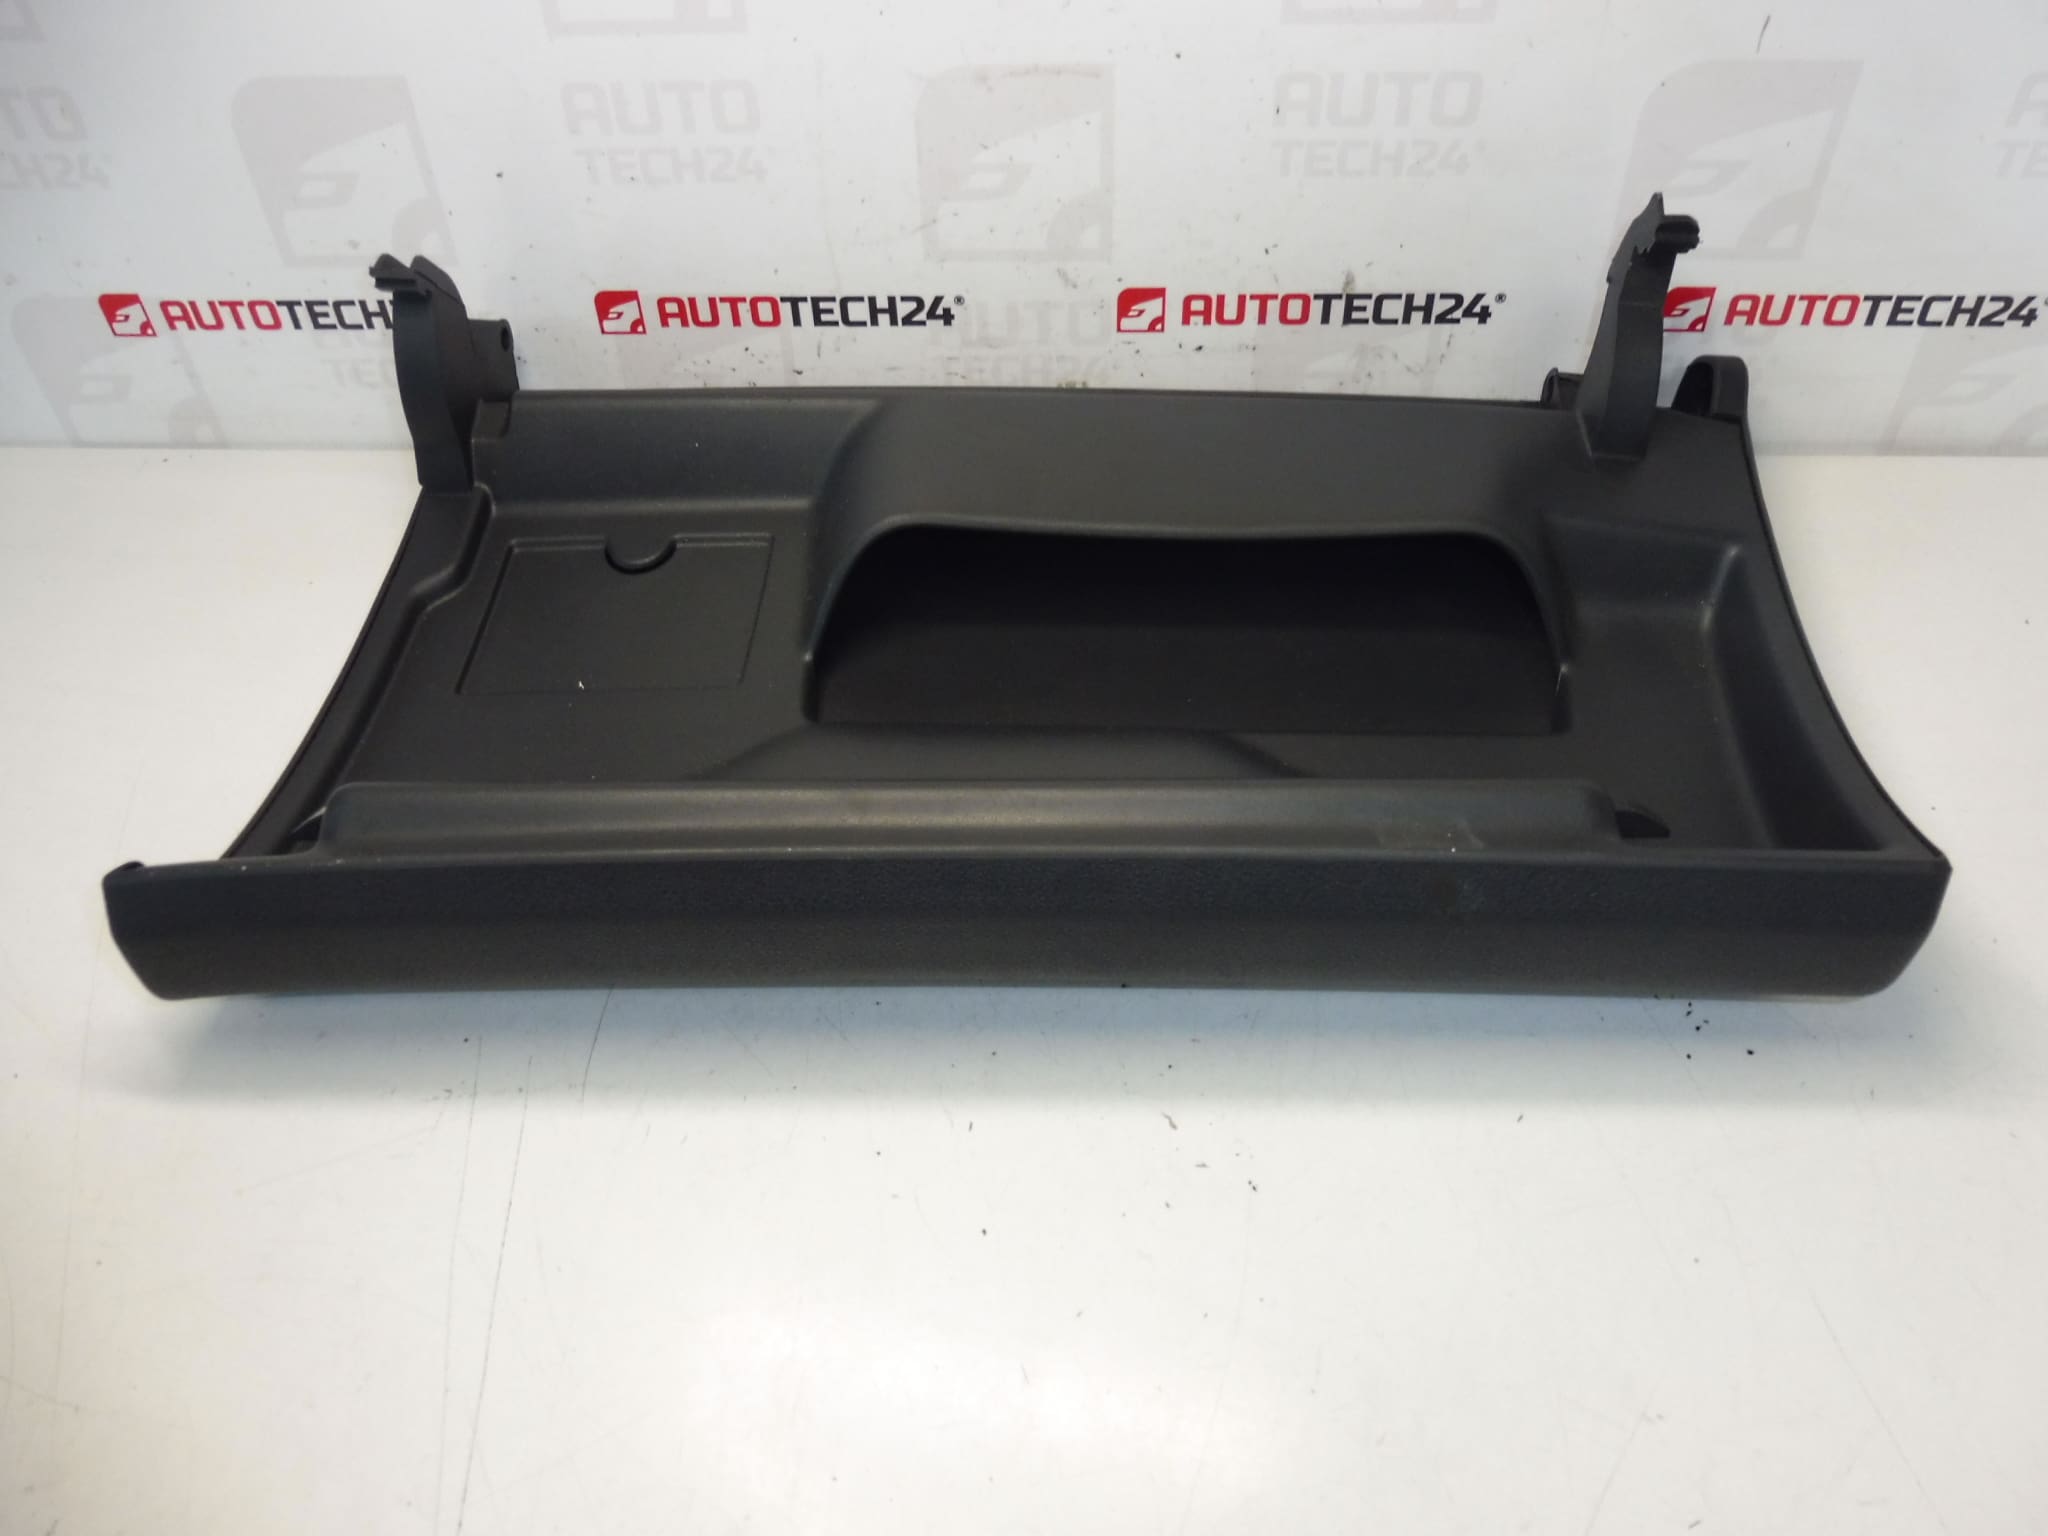
Storage compartment lid for Peugeot 3008 and 5008 first generation. Color HZE – Tramontane.
This genuine-style storage compartment lid (cubby/tray cover) is designed for first‑generation Peugeot 3008 and 5008 models and matches the original interior finish in HZE – Tramontane. Ideal for mechanics and DIY enthusiasts looking for a direct-fit replacement that restores the dashboard storage area’s appearance and functionality. The part is commonly sought by OEM numbers 9685050177 and 8218YR.
Key Benefits
– Direct fit for Peugeot 3008 I and 5008 I dashboards, ensuring correct alignment with existing mounting points.
– Restores secure closure of the storage compartment and maintains the interior look of the vehicle.
– High compatibility with original trim and mounting clips for fast replacement during workshop repairs.
Function And Typical Use
The lid covers the dashboard storage compartment, preventing items from falling out while driving and contributing to the cabin’s finished appearance. It operates on a hinge/clip mechanism with a retaining catch to keep the lid closed during normal use.
How It Fails And Service Life
Most failures are caused by mechanical wear or damage to the hinge, clips or latch. Common causes include repeated opening/closing over many years, accidental impacts, or material embrittlement from prolonged sun/UV exposure. Failure symptoms are loose or rattling lid, inability to latch, or broken mounting clips. With normal use, these parts can last many years but are among the more commonly replaced interior trim items in older vehicles.
How To Replace
- Tools: Trim removal tool (plastic), Phillips screwdriver or Torx if required, small flat tool for clip release.
- Procedure: Carefully pry out surrounding trim with a plastic tool to access the lid mounting points. Release the retaining clips or screws holding the lid and unclip the hinge from the dash. Fit the new lid by aligning hinge pins and pressing until clips engage, or refit screws. Check operation and ensure the latch secures properly.
- Time Estimate: Approximately 15–30 minutes for a mechanic familiar with Peugeot interior trim.
- Tips: Always use plastic trim tools to avoid scratching. Test-fit before final snapping to avoid damaging clips. Replace any broken clips during installation for a secure fit.
Technical Information
- Manufacturer: Stellantis / Peugeot
- Model: Peugeot 3008 I, Peugeot 5008 I
- Product Codes: 9685050177, 8218YR
- Additional Numbers: 8218YR | 9685050177
Installation Recommendations
Carry out the replacement on a clean, well-lit workbench or with the vehicle parked on level ground. Use dedicated trim tools to avoid cosmetic damage. If clips are damaged or worn, replace them at the same time to ensure long-term retention. After installation, verify smooth opening and secure latching over several cycles.
Reason This Part Most Commonly Breaks
The most frequent failure modes are broken or fatigued hinge pins and cracked mounting clips due to repeated use, rough handling, or exposure to heat and sunlight. Overloading the compartment with heavy items can accelerate wear and lead to premature failure.
OEM Reference Numbers And Tags: 9685050177, 8218YR — commonly used when searching for this replacement part.