Description
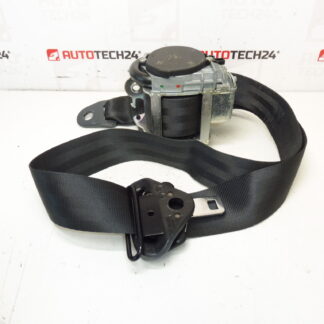
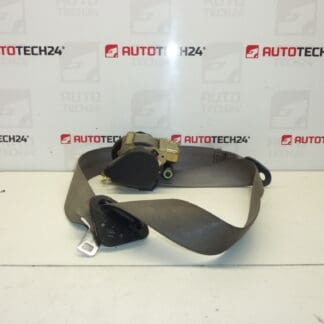
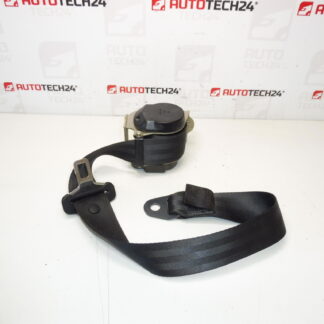
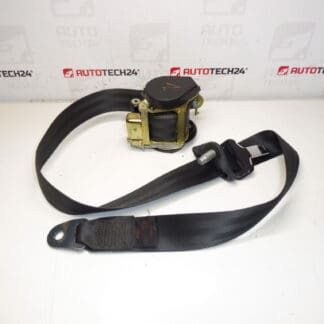
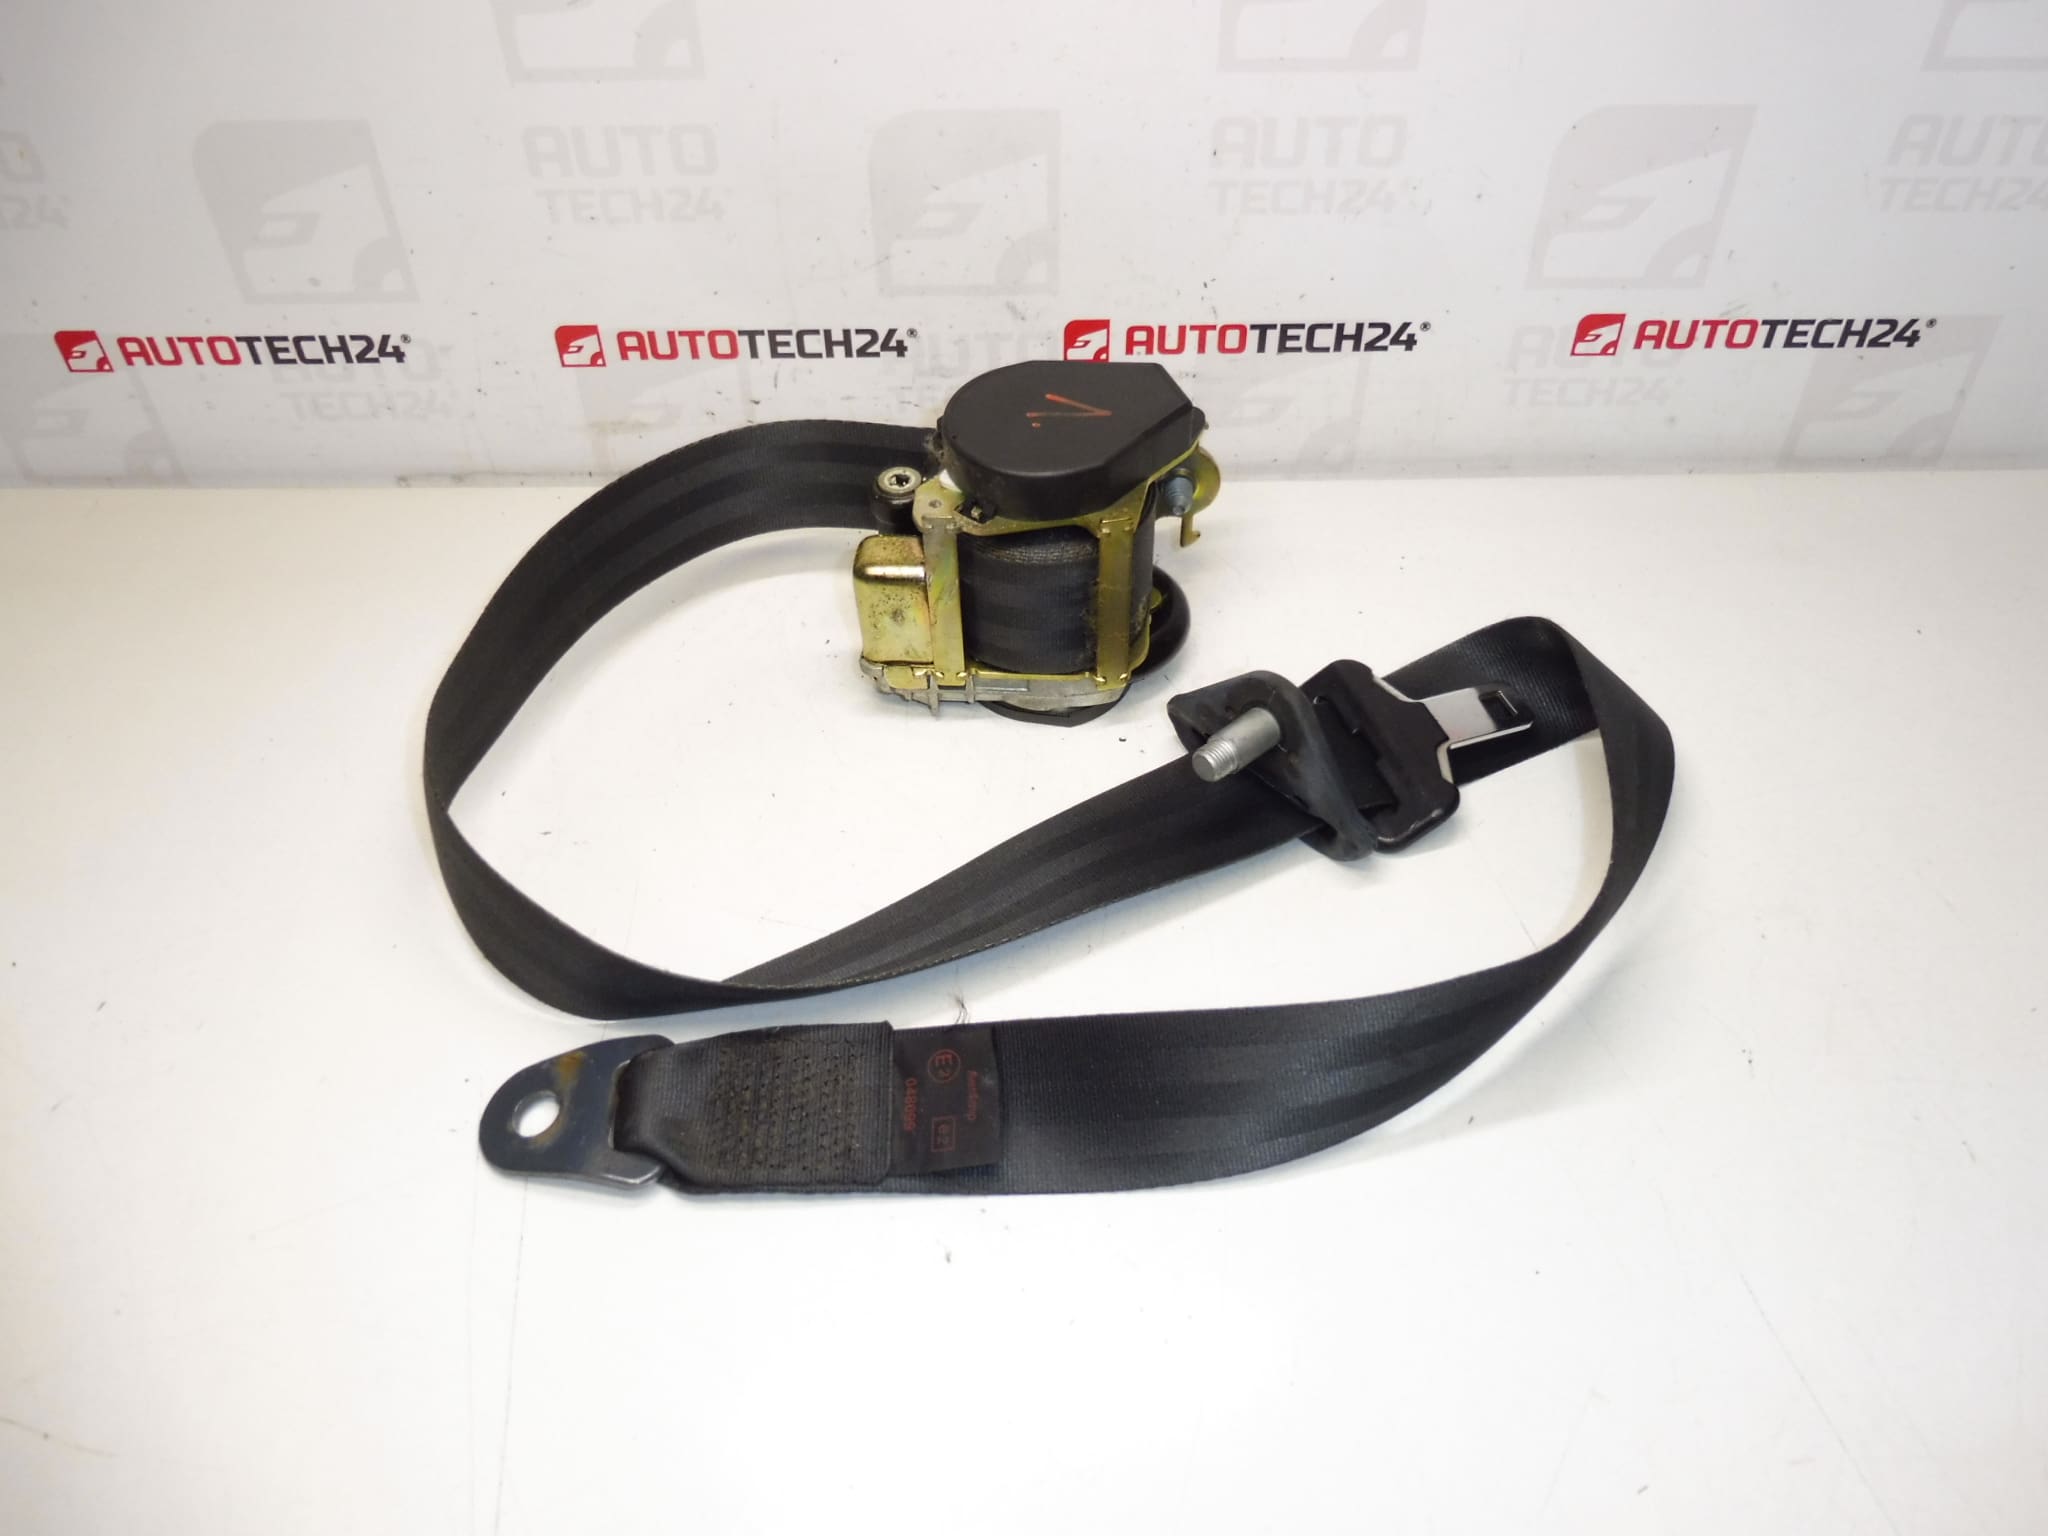
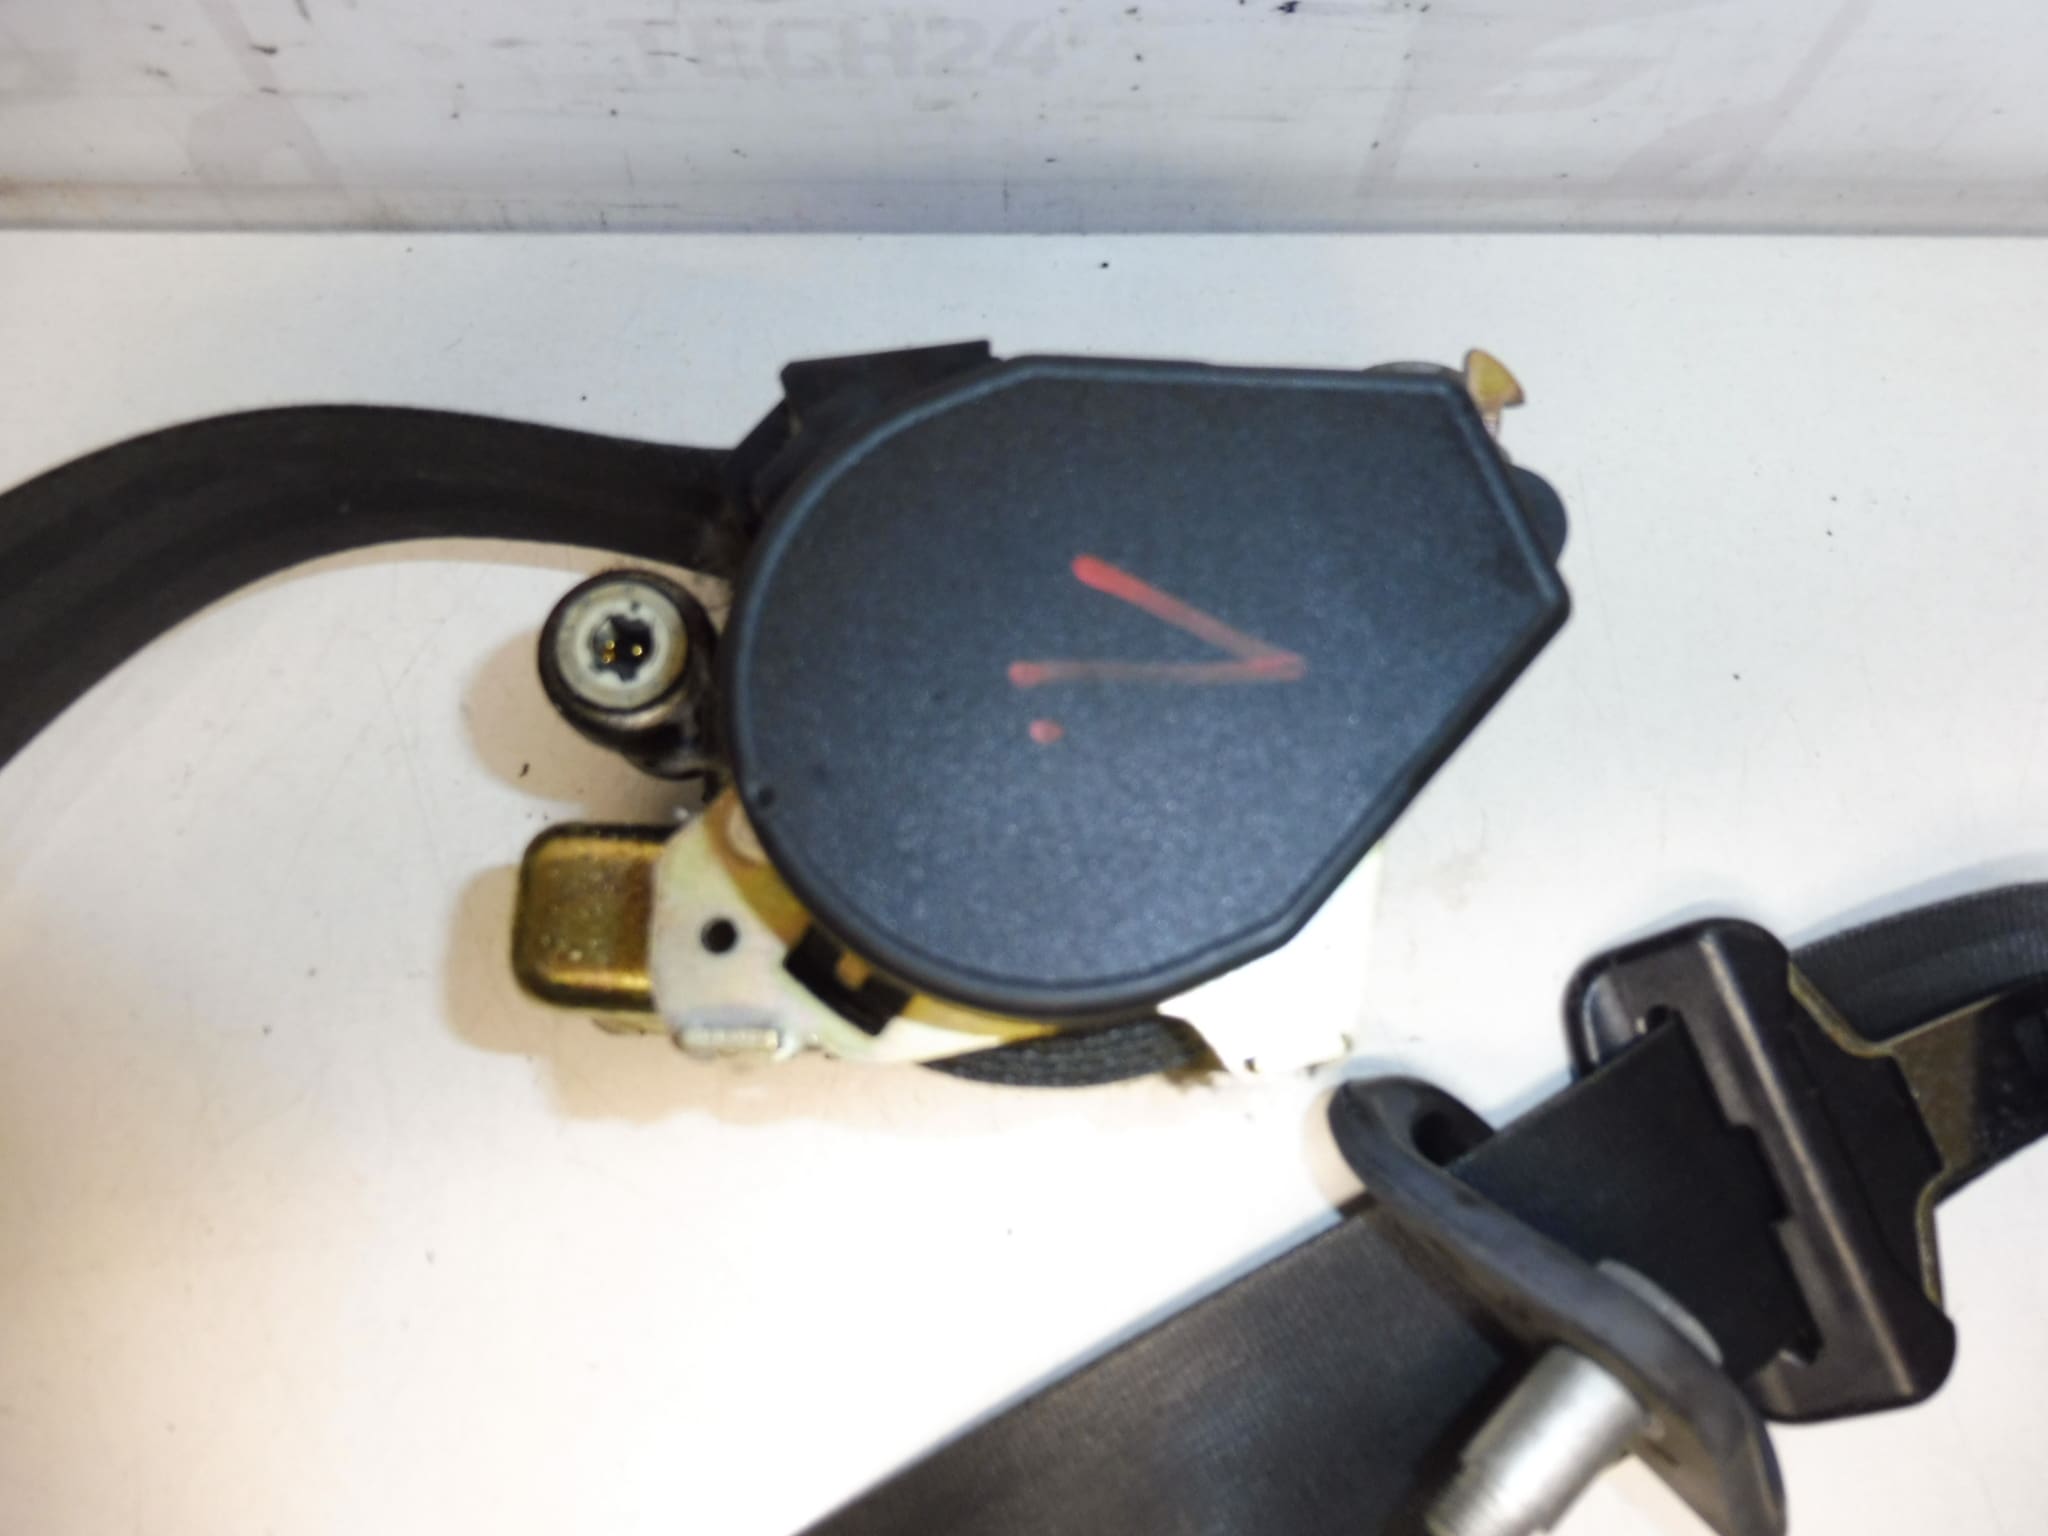
Left Front Pyrotechnic Seat Belt CITROËN XSARA PICASSO
Color FXX – BLACK
Driver Side
Product Description
This left front pyrotechnic seat belt is a direct-fit safety component designed for Citroën Xsara Picasso vehicles. It combines the seat belt webbing and the pyrotechnic pretensioner into a single module that secures the occupant instantly in the event of a collision. Supplied with OE reference numbers 96314387XX and 8973L7, this part is aimed at professional workshops and experienced DIY mechanics who require a reliable replacement for a deployed or faulty front driver-side belt.
Key Benefits
- Direct replacement for OE references 96314387XX / 8973L7 to simplify ordering and fitment.
- Pyrotechnic pretensioner ensures rapid belt take-up during an impact, reducing occupant movement.
- Black finish (Color FXX) matches factory interior trim for a discreet installation.
- Designed for professionals and competent DIY installers familiar with vehicle safety systems.
Technical Information
- Manufacturer: Stellantis / Citroën
- Model: Citroën Xsara Picasso
- Product Codes: 96314387XX, 8973L7
- Additional Numbers: Color FXX, Left Front (Driver Side)
Compatibility
Intended for the left front (driver side) of Citroën Xsara Picasso models that use OE references 96314387XX or 8973L7. Buyers commonly search using these product codes, so include them when looking up fitment.
Installation Recommendation
Always follow the vehicle manufacturer’s service procedures. Basic installation steps typically include:
- Disconnect the negative battery terminal and wait the recommended time to ensure the airbag/pyrotechnic circuits are de-energized.
- Remove interior trim and seat-belt covers to access mounting bolts and electrical connectors.
- Unbolt the old seat belt module and carefully disconnect the pretensioner electrical connector.
- Fit the new unit, route the belt correctly, and tighten all fasteners to the manufacturer’s torque specifications.
- Reconnect the battery and verify the airbag and seat-belt systems using an appropriate diagnostic tool; clear any related fault codes if present.
When To Replace
Replace this unit immediately after deployment in a collision. Also consider replacement when the seat-belt warning light or airbag fault codes indicate a pretensioner or belt fault, or if the belt shows visible damage, fraying or binding.
Why This Part Fails Most Often
Common causes of failure include deployment during an accident, electrical connector corrosion or damage, internal pretensioner fault, and mechanical wear of the retractor or webbing. Environmental factors (moisture, contaminants) and previous improper repairs can also compromise the pretensioner and belt function.
Notes For Mechanics And DIYers
This is a safety-critical component. Installation should be carried out by a trained technician or an experienced DIYer who understands airbag/pretensioner systems. Always observe anti-static precautions and the manufacturer’s safety instructions. After replacement, confirm correct system status with diagnostic equipment and ensure no fault codes remain.
Search Tips
To improve findability, search using the OE numbers 96314387XX or 8973L7 together with “Citroën Xsara Picasso” and “left front seat belt” or “pyrotechnic pretensioner”.
Order Now
If you need a reliable left front pyrotechnic seat belt for a Citroën Xsara Picasso, order using the product codes 96314387XX / 8973L7 to ensure correct fitment and fast identification.