Description
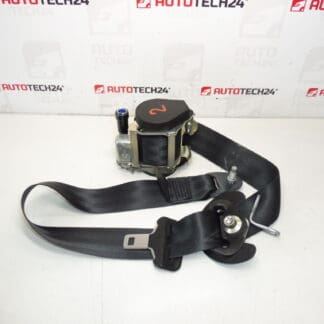
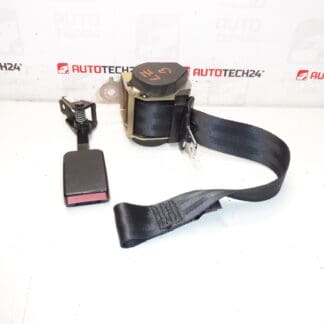
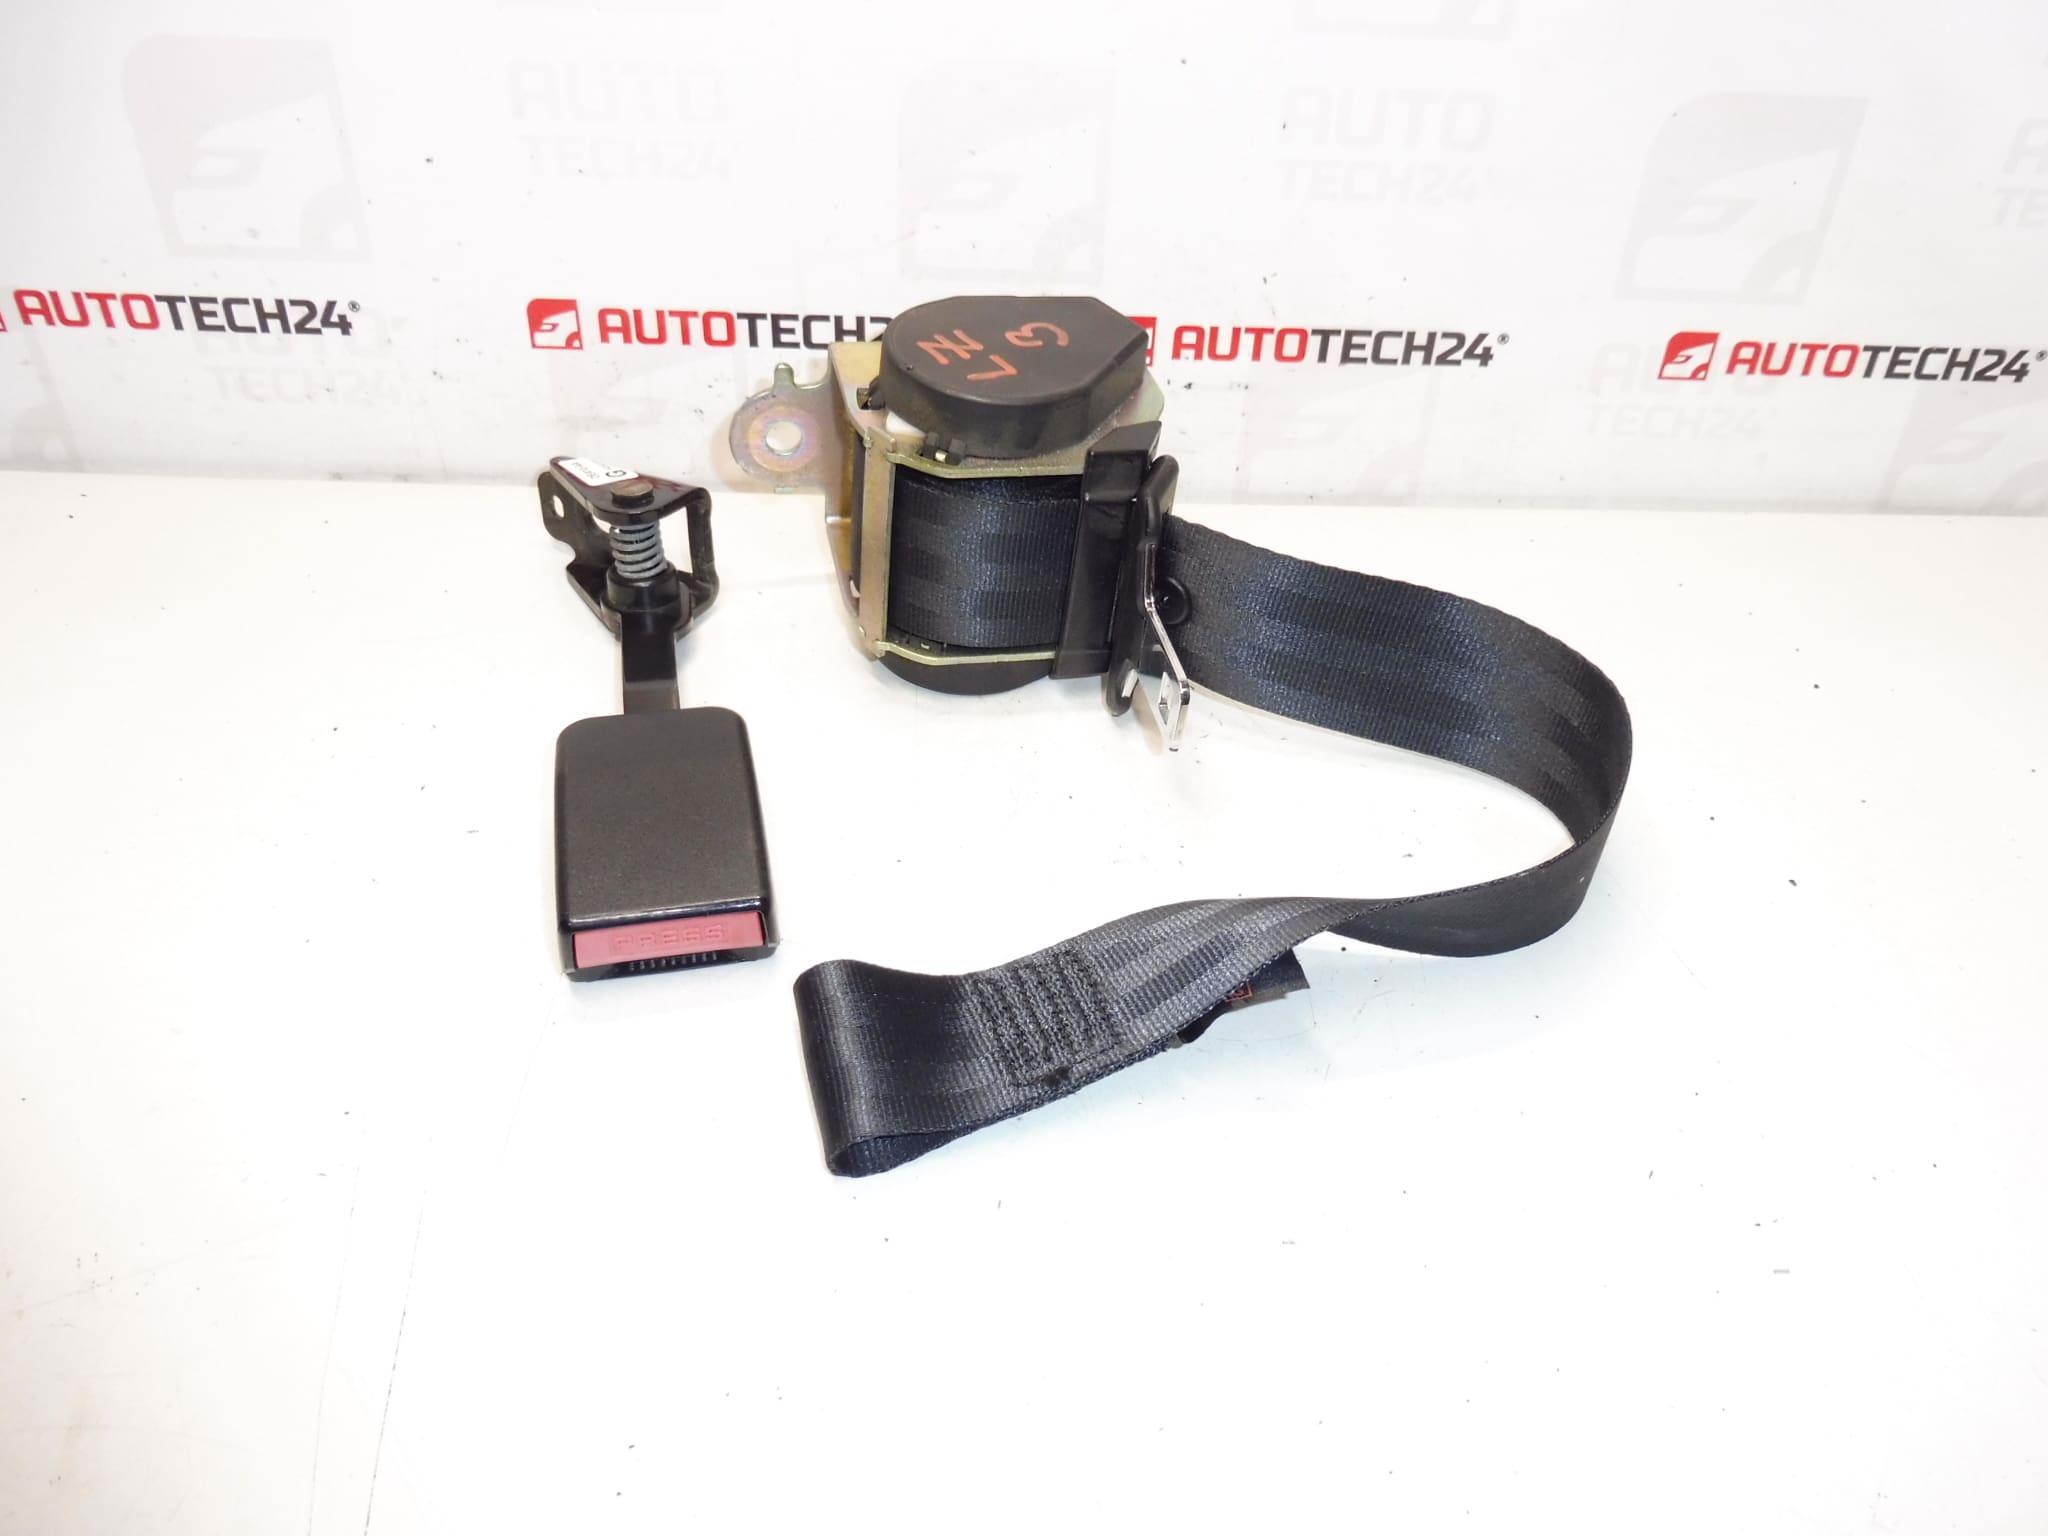
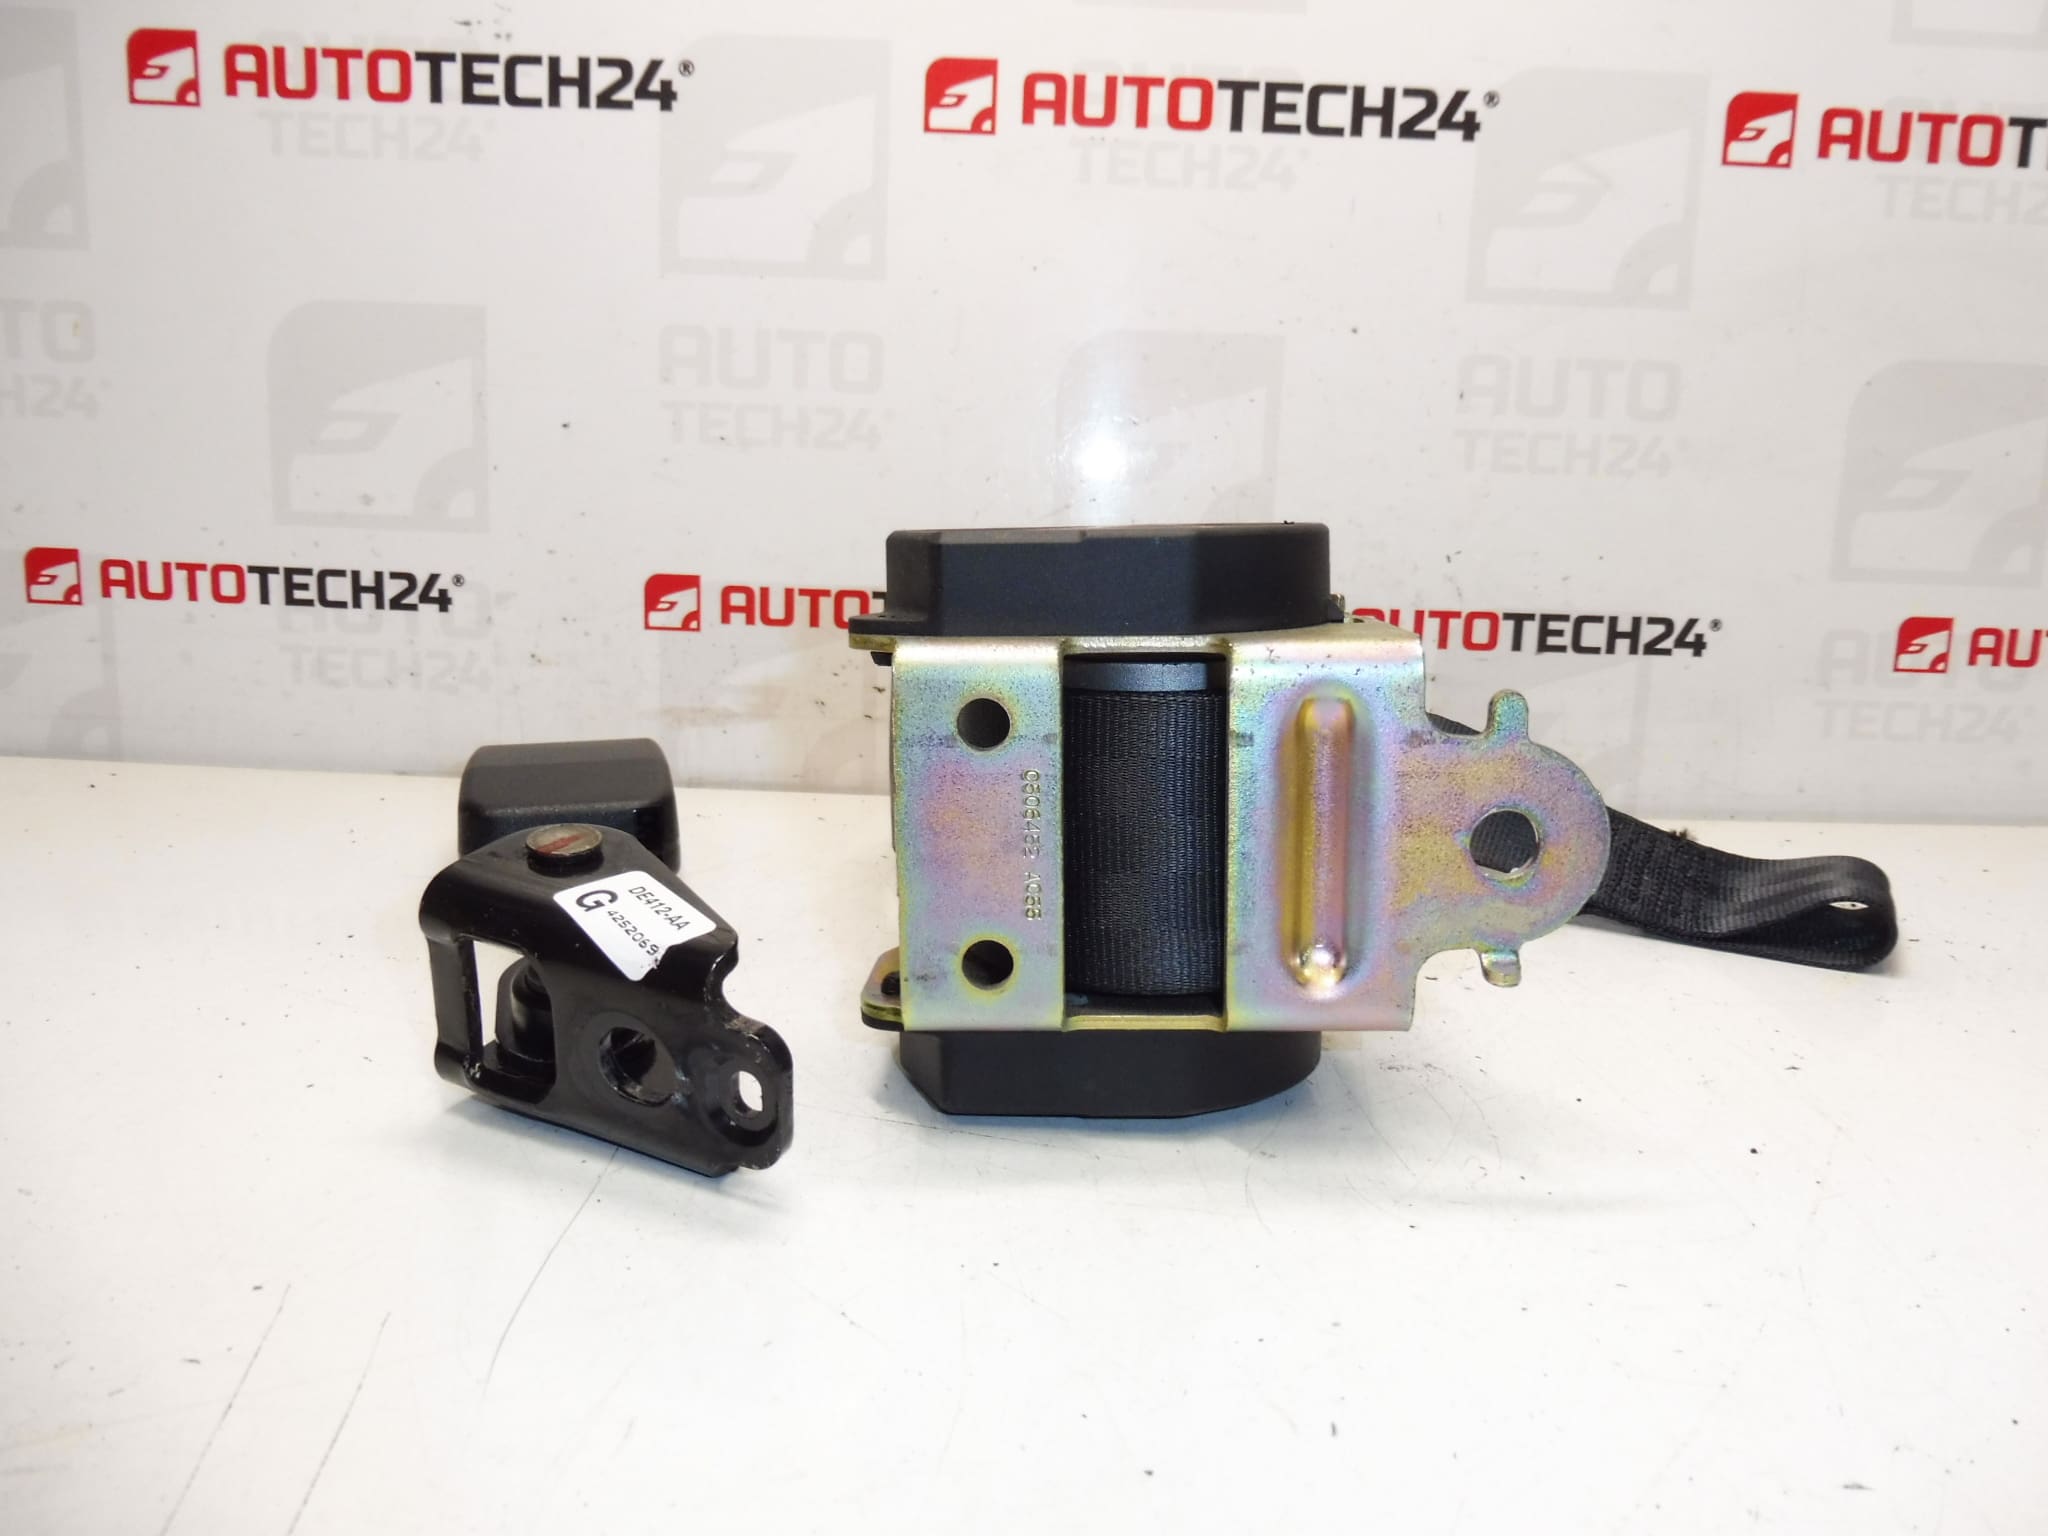
Left rear seat belt for Peugeot 307 CC. Complete with buckle.
High-quality replacement assembly for the left rear seating position of the Peugeot 307 CC. The unit is supplied complete with retractor, webbing and buckle for an immediate, safe swap. Ideal for professional workshops and skilled DIY enthusiasts who search by part number (for example 8974JX) when sourcing exact-fit safety components.
Features
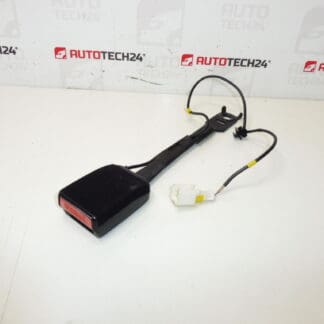
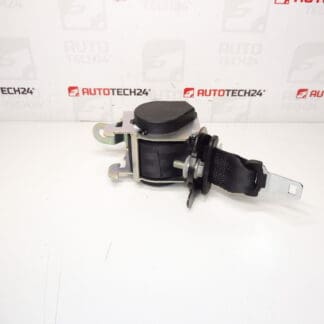
– Complete left rear seat belt assembly including retractor and buckle
– Direct-fit replacement designed for the Peugeot 307 CC seating layout
– Supplied ready for installation to restore factory safety function
Technical Information
- Manufacturer: Stellantis
- Model: Peugeot 307 CC
- Product Codes: 8974JX, NFP
- Other Numbers: Peugeot 307
Compatibility
Intended for the Left Rear seating position of the Peugeot 307 CC. Confirm seat position (left rear) before ordering. This assembly is not sold for other seating positions.
Installation Recommendations
Install the part only if you have the necessary mechanical skills and tools. Typical replacement steps:
1. Prepare Vehicle: Park on level ground, engage handbrake and remove ignition key. If the vehicle is equipped with a pretensioner connected to the airbag system, disconnect the battery and wait the manufacturer-recommended interval before starting work.
2. Interior Trim Removal: Fold or remove the rear seat backrest as required and remove the trim panels to access the belt retractor and anchor bolts.
3. Unbolt Old Assembly: Remove the lower anchor and upper anchorage/guide bolts and free the retractor and buckle. Keep mounting hardware if re-usable or replace with equivalent-grade fasteners.
4. Fit New Assembly: Position the new retractor and route the webbing exactly as original, secure all anchors and trim. Tighten bolts to manufacturer-recommended torque values and ensure correct routing and fixation.
5. Function Check: Verify smooth webbing travel, automatic retraction, and locking when pulled sharply. Check buckle engagement and, if applicable, reset or test seat belt warning circuits and airbags according to vehicle service manual.
Why The Part Most Commonly Fails
The most frequent causes of seat belt failure are normal wear (frayed or weakened webbing), contamination by debris or liquids that jam the retractor, corrosion of anchor points and bolts, and activation/damage from previous accidents (pretensioner deployment). Mechanical locking of the retractor can occur if the belt is pulled or twisted repeatedly or if foreign particles enter the mechanism.
Notes
– Always replace belts that show visible damage, fraying, or deformation.
– If the vehicle has a pyrotechnic pretensioner, follow safety procedures in the vehicle service manual when disconnecting and reconnecting the battery and when disposing of replaced components.
– After installation, perform a full functional check; a correctly fitted seat belt must retract smoothly, lock under sudden pull and latch securely in the buckle.