Description
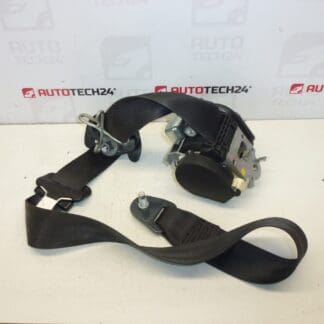
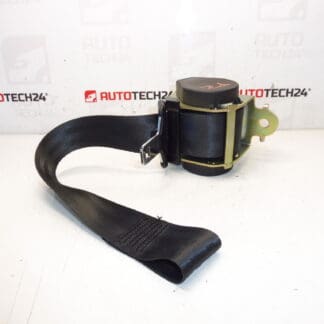
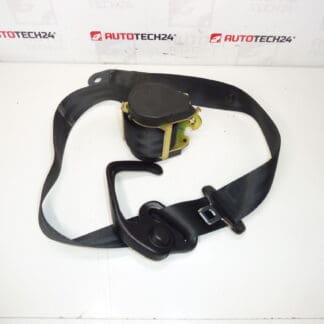
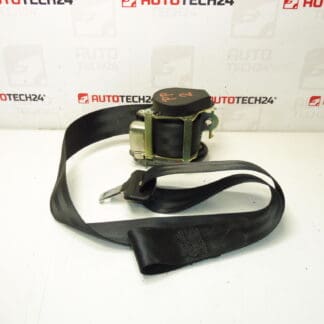
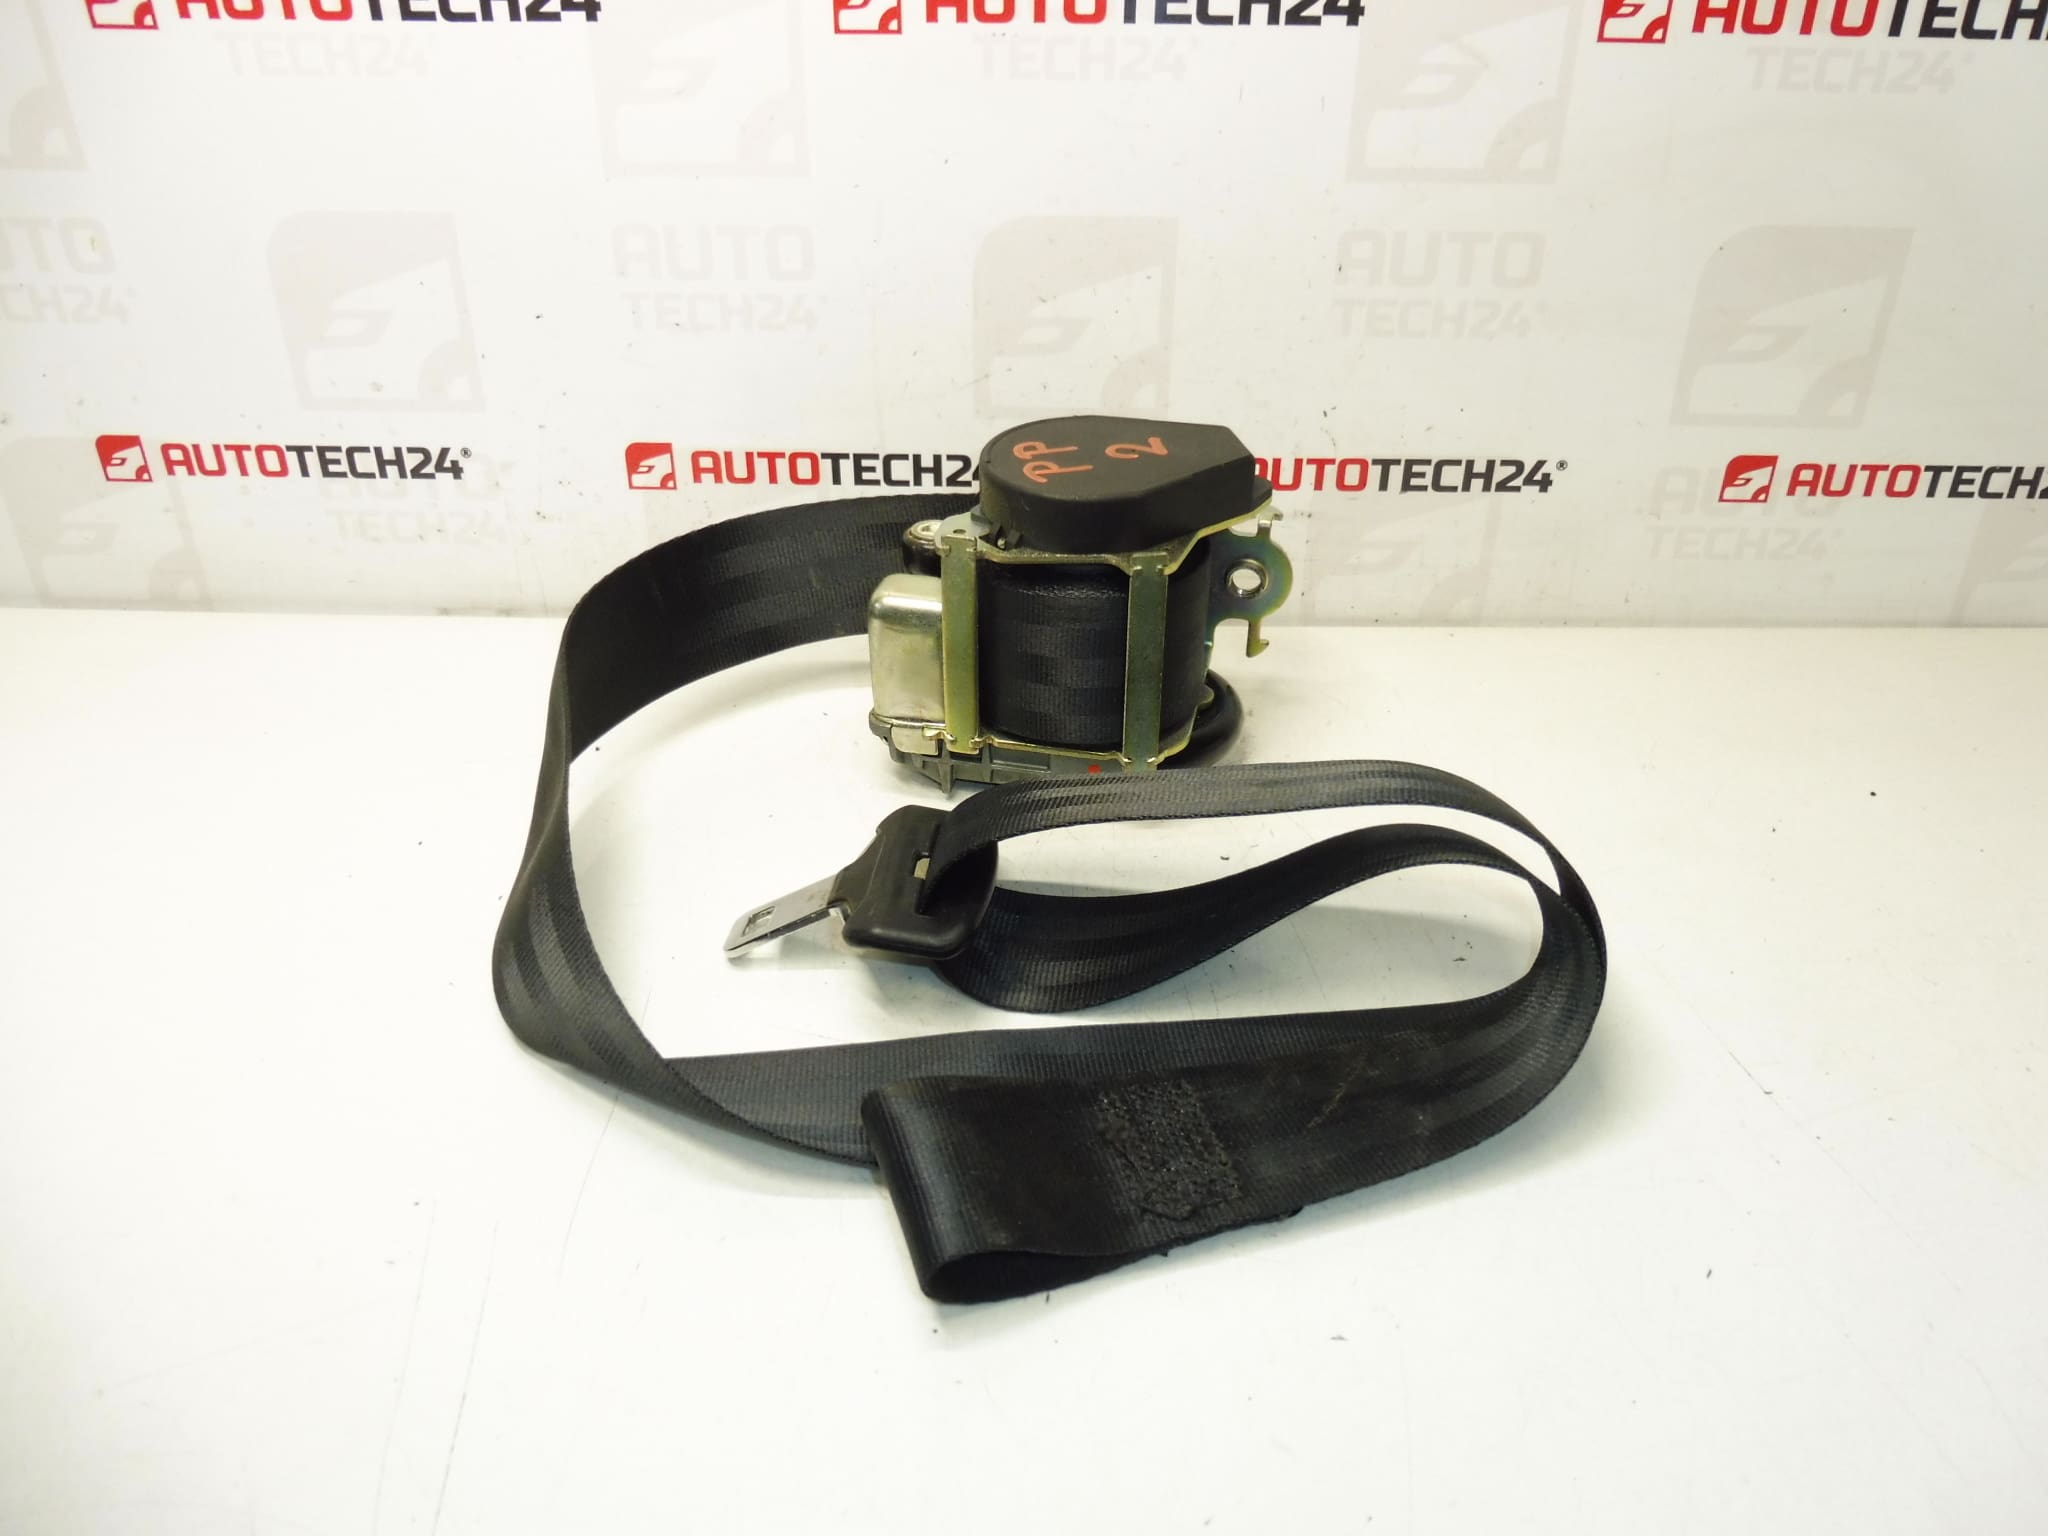
Passenger Seat Belt for Peugeot 307 CC – Cabriolet
High-quality replacement passenger seat belt designed for the Peugeot 307 CC convertible. This assembly is often sought under part numbers 96413040XX and 8975J2 and is intended for front passenger position. Built to restore occupant protection after wear or collision, the belt is suitable for professional garages and experienced DIY mechanics who need a direct-fit safety component for the 307 CC.
Technical Information
- Manufacturer: Stellantis (Peugeot)
- Model: Peugeot 307 CC (Cabriolet)
- Product Codes: 96413040XX
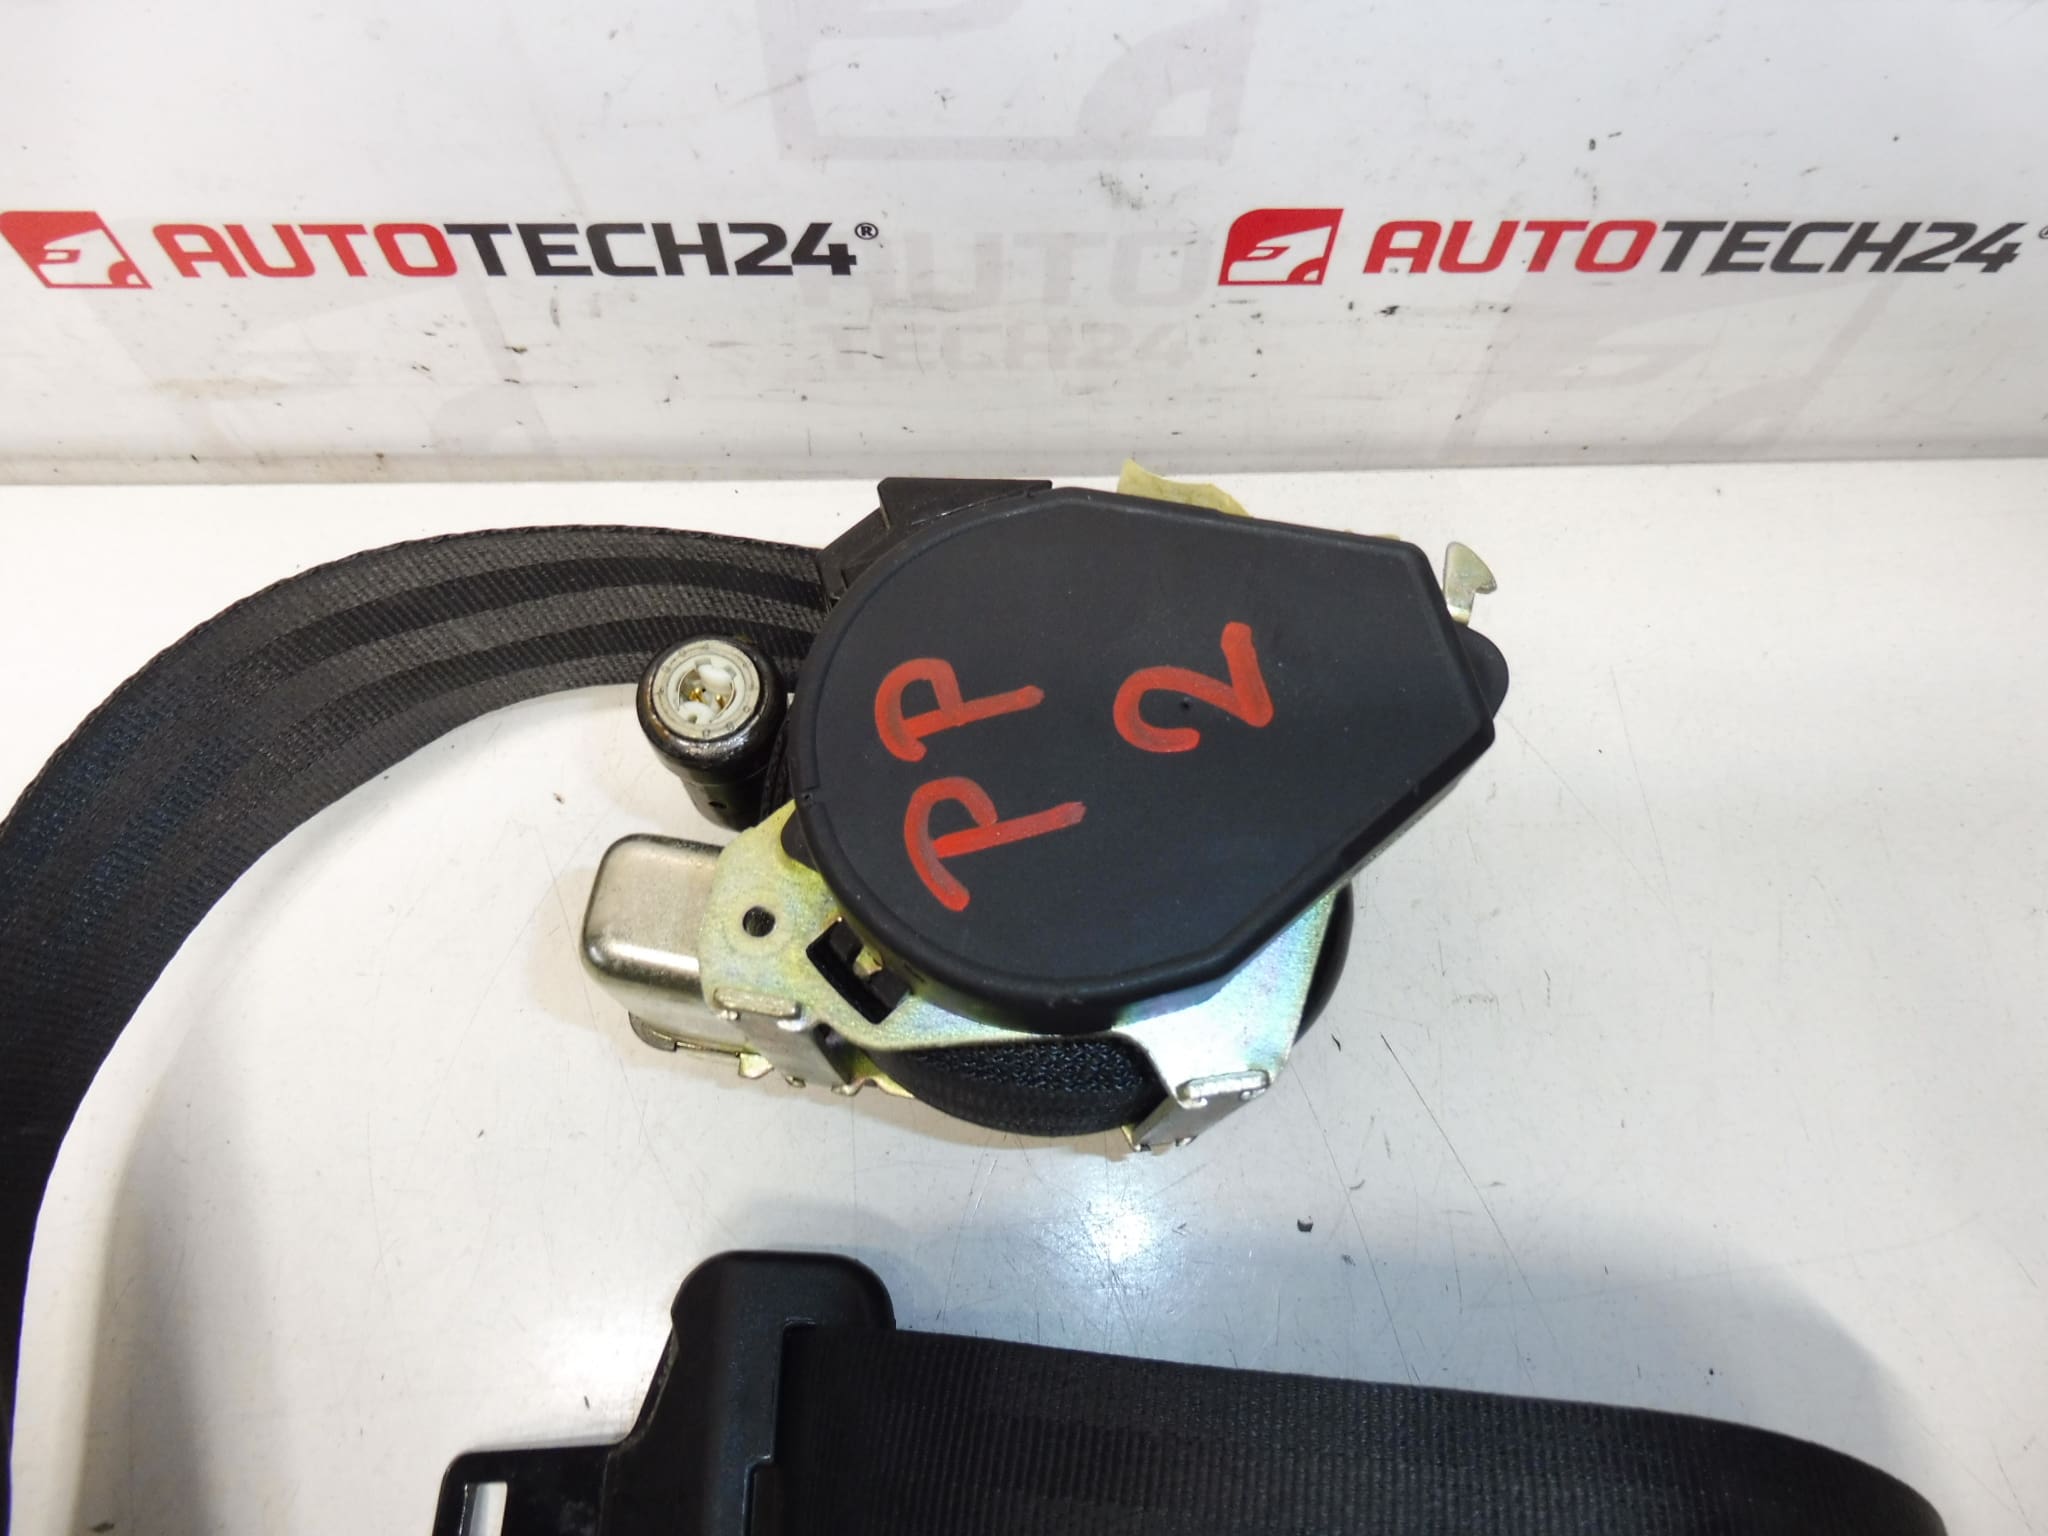
- Other Numbers: 8975J2, NFP
Application
Intended for the front passenger position of the Peugeot 307 CC convertible. Frequently referenced by its part numbers when searching replacement parts or service manuals.
Function
The seat belt assembly secures the front passenger during normal driving and limits forward movement in the event of a collision. Many factory passenger belts in this vehicle family include a pretensioner mechanism that removes slack instantly at crash detection to reduce occupant displacement. The assembly includes webbing, buckle interface and retractor unit; exact configuration can vary by production variant.
Replacement And Installation
Replacing the passenger seat belt on a Peugeot 307 CC generally follows these steps: disconnect the vehicle battery and wait at least two minutes to reduce SRS system risk; remove the necessary interior trim panels to access belt fastenings; unbolt the lower anchor and the retractor mounting bolts (use the correct socket/Torx sizes as per workshop manual); transfer any anchor plates or guides and fit the new belt, routing the webbing exactly as original; tighten fasteners to manufacturer torque values and refit trim. After reconnecting the battery, verify proper buckle engagement and that the SRS warning indicator behaves normally. Use new fasteners if specified by the manufacturer and always follow the factory service manual for torque and sequence.
Installation Recommendations
- Always disconnect the battery before starting work and follow manufacturer safety procedures to avoid inadvertent airbag or pretensioner activation.
- Use correct tools and torque settings from the Peugeot workshop manual; some bolts may be single-use.
- Ensure the webbing is routed without twists and the buckle latches cleanly and securely.
- If the assembly includes a pyrotechnic pretensioner and it has been activated in a crash, replace the entire belt assembly—do not attempt repair.
- After installation, run a diagnostic check for SRS faults and confirm the airbag/seat belt status lamp extinguishes after engine start.
Why The Part Fails Most Often
Common causes of seat belt failure on a convertible like the 307 CC include pretensioner activation during a collision, progressive wear or abrasion of the webbing, contamination or jamming of the buckle or retractor mechanism, corrosion of fasteners and mounting points (accelerated by moisture exposure), and UV degradation from sun exposure. Mechanical damage from improper handling or previous repairs can also compromise performance. Any sign of fraying, distortion, rusted fixing points or a deployed pretensioner requires immediate replacement of the assembly for safety.
Notes For Professionals And DIYers
This part is aimed at experienced mechanics and competent DIYers familiar with vehicle safety systems. If you are unsure about SRS-related procedures, pretensioner handling or diagnostic fault clearing, seek work by a qualified technician with appropriate diagnostic equipment. Proper installation restores the original safety function and ensures compliance with crash protection expectations.