Description
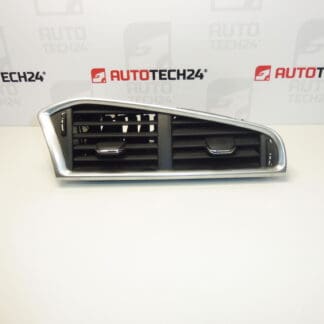
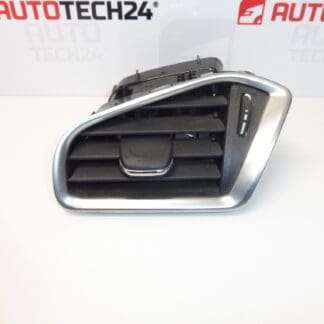
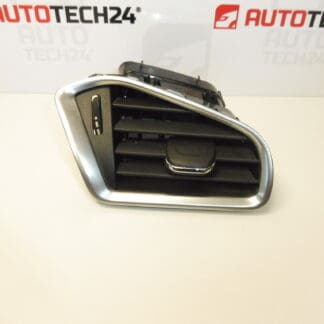
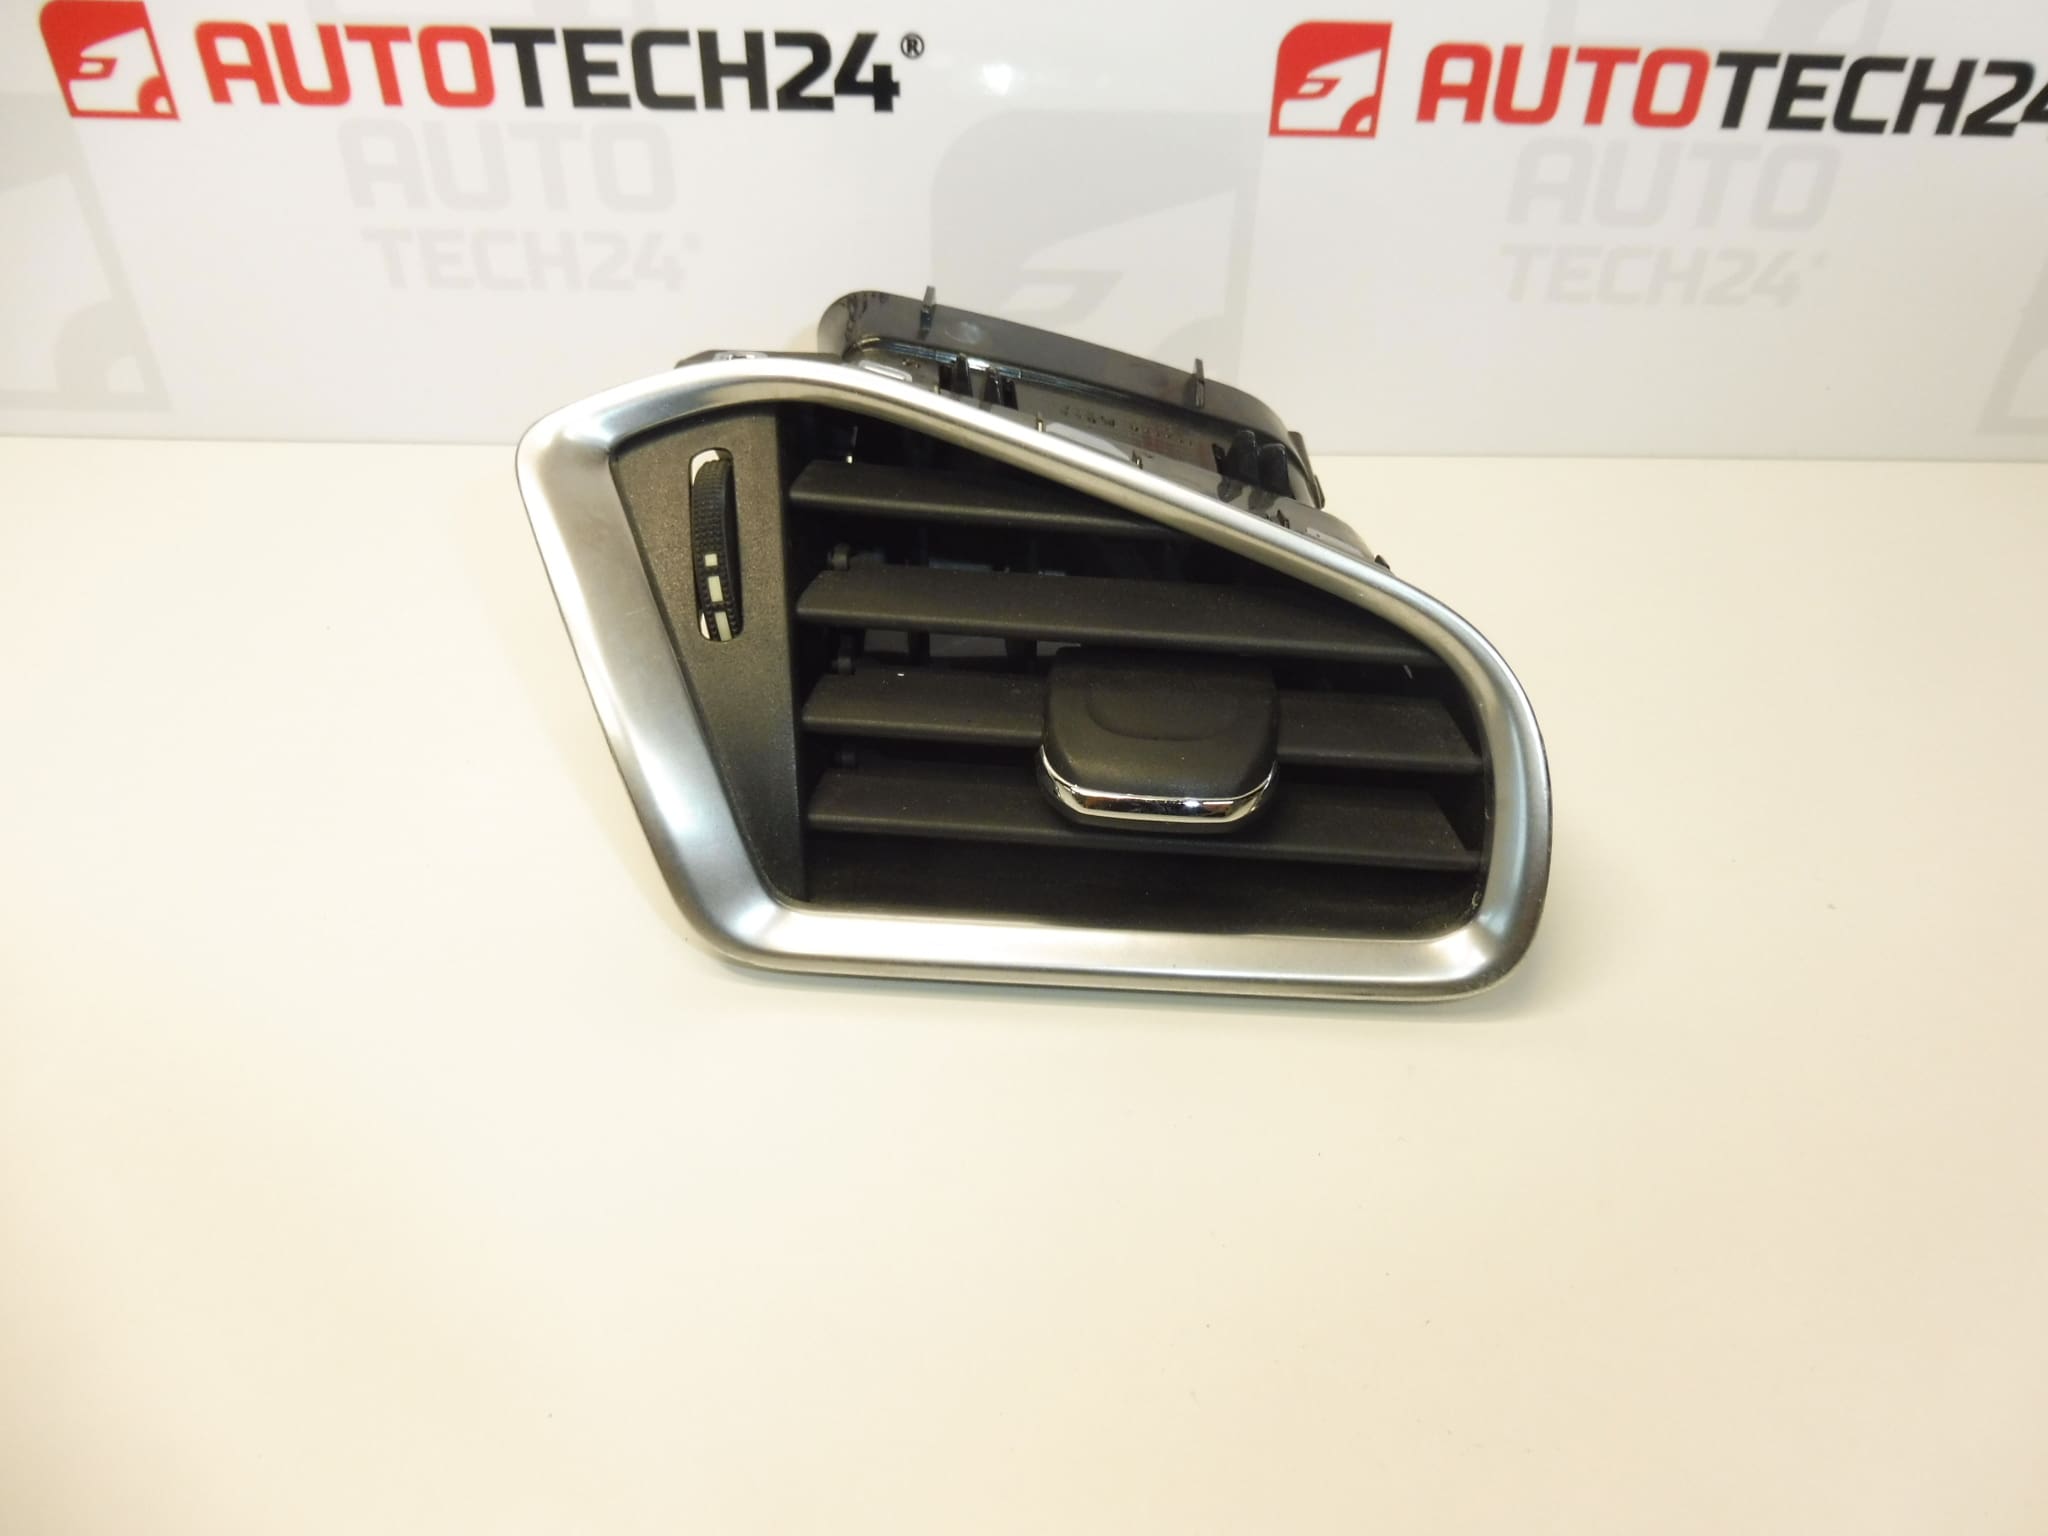
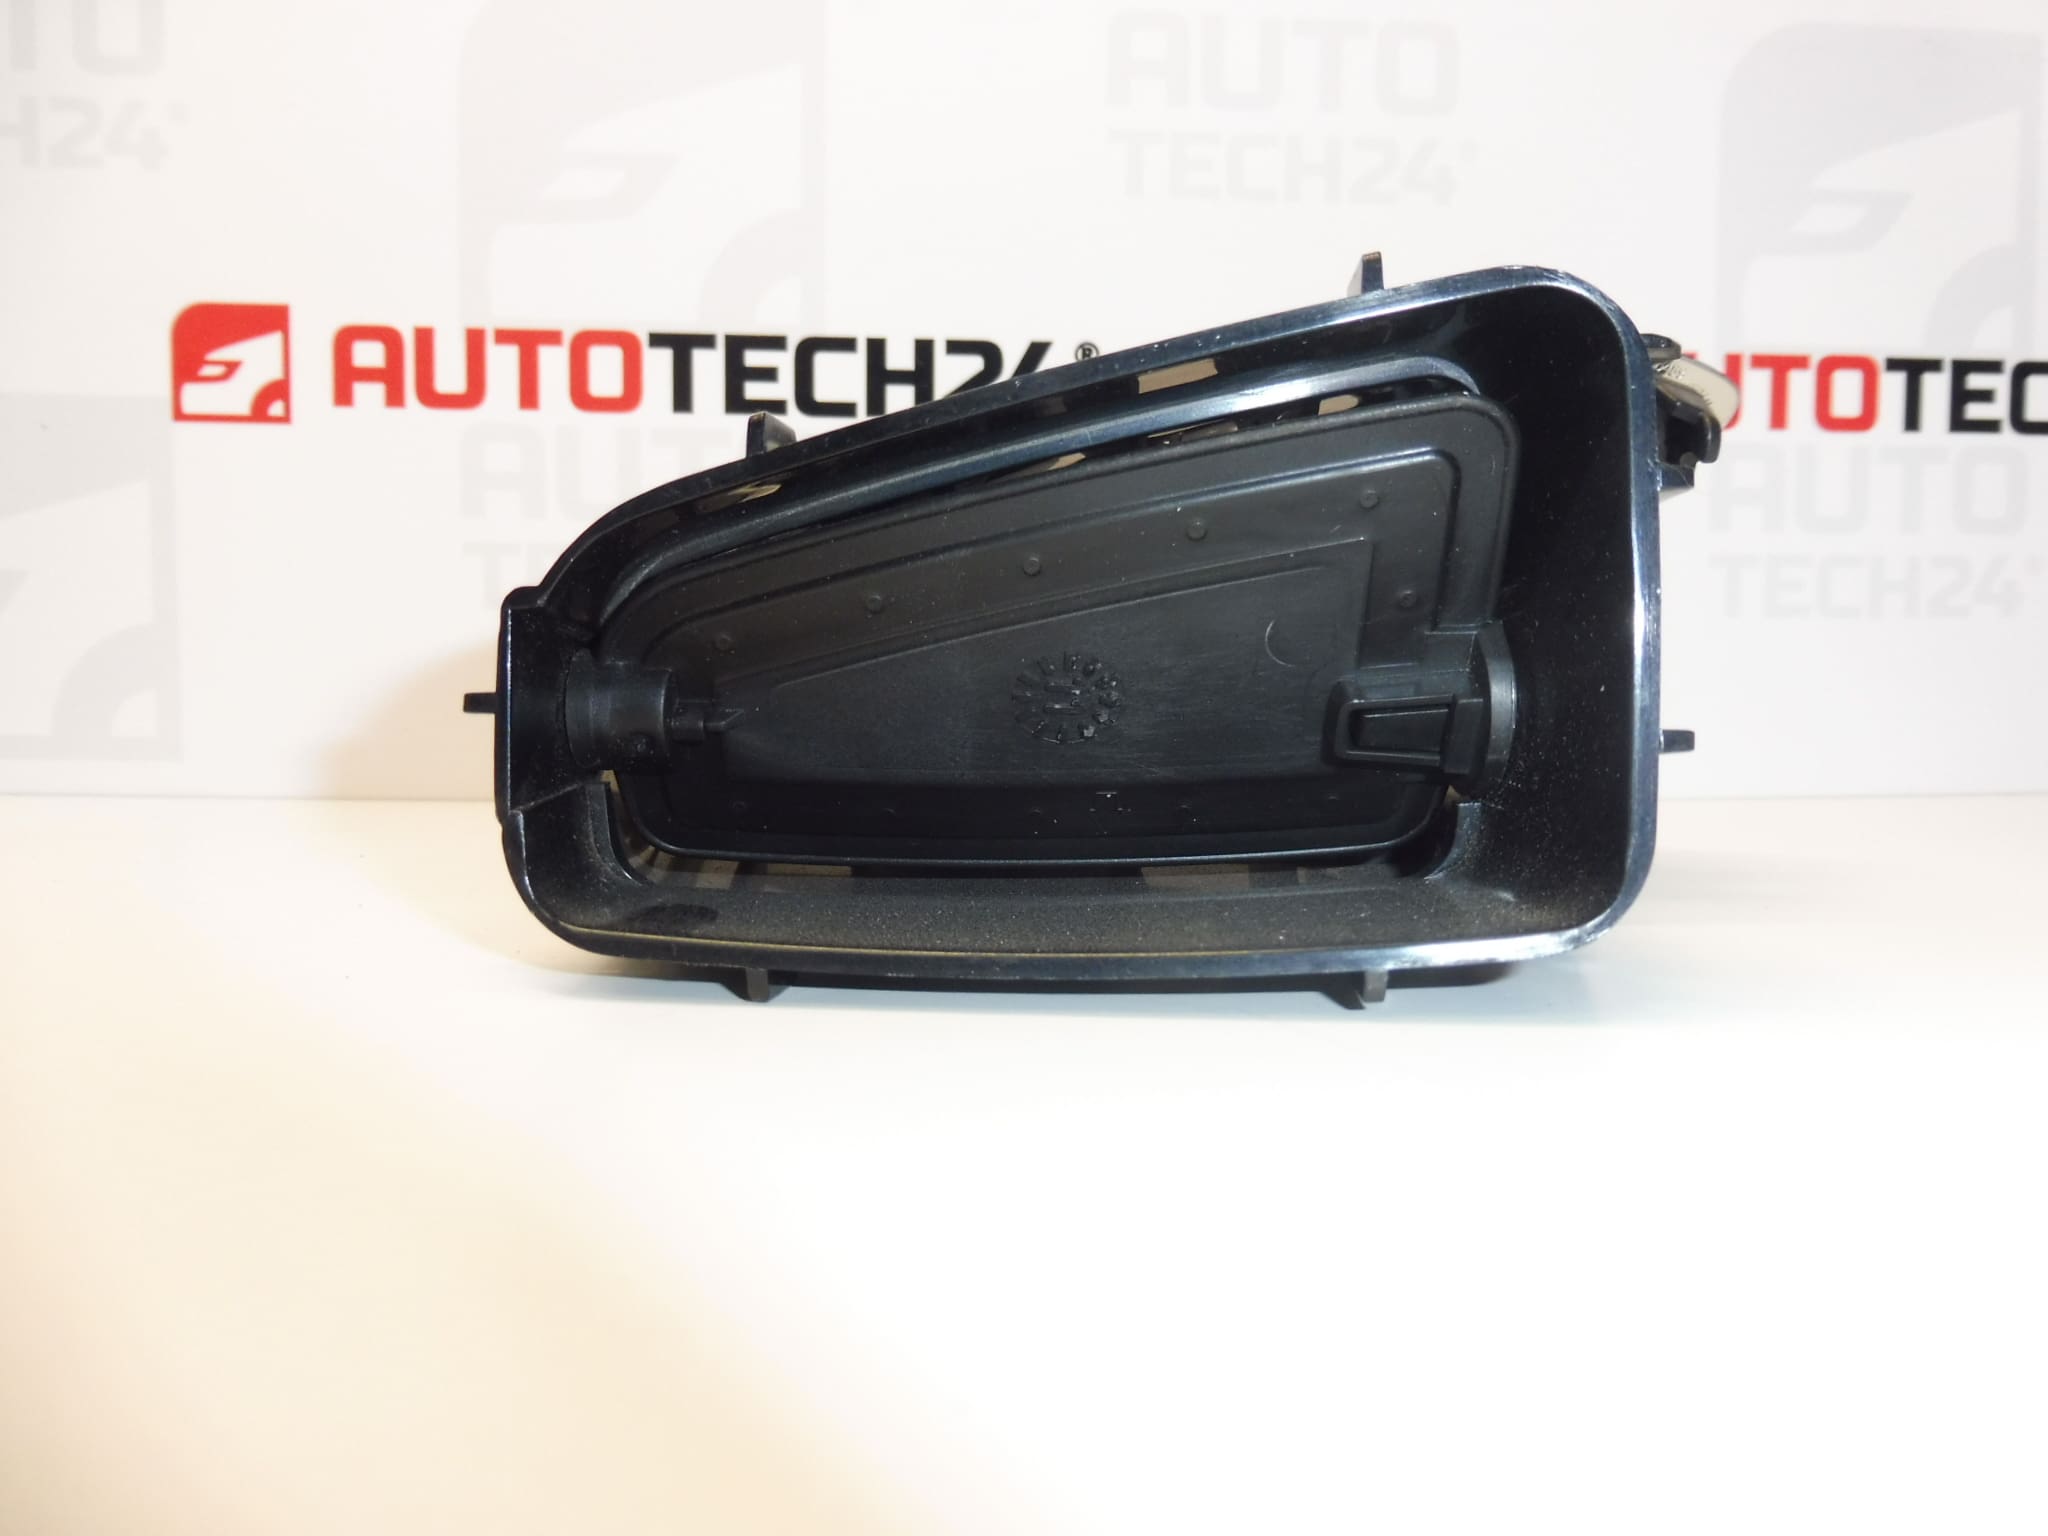
Right ventilation outlet for Citroen C4 II B7 and DS4 cars
Color HZD- – BLACK MISTRAL
Side in front of the passenger
Part description
The used right ventilation grill for Citroen C4 II B7 and DS4 is part of the dashboard on the front passenger side. It serves to direct air into the interior and forms the visible end of the ventilation outlet. It is a suitable choice when replacing a damaged grille, broken slats or non-functioning air flow direction control.
To find the part, use the numbers 9671332277, 8247S1 and 96766069ZD. The design in BLACK MISTRAL allows you to maintain the appearance of the corresponding interior. Before ordering, compare the marking, shape and attachment with the original part.
Technical information
- Manufacturer: not specified; the documents indicate the name Stellantis CITROEN PEUGEOT.
- Model: Citroen C4 II, DS4; in the description, C4 is specified as C4 II B7.
- Part Type: Right Air Outlet / Dashboard Air Grille.
- Location: side in front of the passenger.
- Color: HZD- – BLACK MISTRAL.
- Condition: used part.
- Other numbers: 96766069ZD.
Product codes
- Product codes: 9671332277, 8247S1, 96766069ZD.
The given codes help in finding a replacement ventilation outlet. When choosing, also take into account the right-hand version, the color marking and the matching of the fastening elements with the original piece.
Installation recommendations
In general, the following applies to this type of part: replacement of the interior ventilation grill requires gentle loosening of the attachment and proper connection to the air duct. The exact disassembly steps and possible removal of the surrounding panels depend on the specific model and make of the car; the procedure below is not model specific.
1) Before assembly
- Compare the product numbers, outline, dimensional design, color and attachment points with the old piece.
- Check the used part for cracks, deformations, damaged handles and loose slats.
- Try gently moving the available controls. Do not force the mechanism.
- Inspect the mating surfaces and any sealing elements if they are part of the assembly.
2) Necessary tools and materials
- Plastic pry bar or tools for removing interior trim.
- Suitable hand tools according to the actual type of fastening.
- Soft cloth and cleaning agent suitable for interior plastics.
- Protective tape or soft covering of surrounding visible surfaces.
- Flashlight to check fit and air duct space.
3) Step-by-step assembly procedure
- Stop the vehicle safely, turn off the ignition and ventilation.
- According to the service procedure of a specific car, find out the method of attaching the grille and the order of disassembly of the surrounding parts. Don’t like the part blindly.
- Protect the surrounding dashboard from scratches. Work with plastics at a reasonable temperature, not by force in extreme cold.
- If it is necessary to remove the surrounding cladding for access, loosen it with a suitable tool according to its fastening method.
- Loosen accessible grille fasteners. Transfer the force to the fixed part of the body, not to the slats or controls.
- Carefully slide the original outlet out of the air duct connection. If there is resistance, stop and check to see if any of the attachments remain secured.
- Inspect the air duct and mounting hole. Remove loose dirt and any debris so that it does not fit deeper into the air duct.
- Compare both parts side-by-side, especially the channel connections, attachment points and seating surfaces.
- Align the replacement grid with the opening and channel and carefully seat it. Any seals must not remain bent or pinched.
- Secure all fastenings in a manner corresponding to their construction and return the dismantled tiles. Check for even joints and stability of the part.
-
4) Post-assembly checks and function verification
- Turn on the ventilation and verify the passage of air through the outlet at different fan settings.
- Try slat routing and any other control if the output has it.
- Listen for rattling, whistling or vibration.
- After safely completing the assembly, a short test drive can be used to check whether the part does not make noises on bumps. The grid must remain firmly seated.
5) The most common assembly mistakes and how to avoid them
- Pulling on the slats: can damage their storage. Grasp the solid output body.
- Prying with a metal tool on visible plastics: there is a risk of scratches and bruises. Use plastic tools and protect surrounding surfaces.
- Forcible retraction: usually indicates poor alignment or an obstruction. Remove the part again and check the seat.
- Incomplete securement: can cause play and rattle. Verify all attachment points before finishing.
- Incorrect duct connection: can lead to air leakage outside the outlet. Check for proper fit before covering.
Reasons why the part is damaged
In the case of interior ventilation grills, the general causes of damage are mainly:
- Mechanical stress on the slats during violent adjustment, cleaning or loading with accessories attached to the grid.
- Unsparing disassembly in which latches, handles or body edges are broken.
- Plastic aging and temperature changes which can gradually increase its fragility.
- Wear of moving parts, manifested by play or impaired holding of the set direction of the slats.
- Unsuitable cleaning agents which can damage the finish and appearance of the plastic.