Description
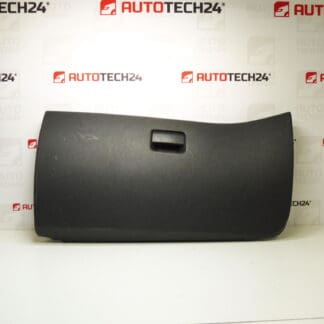
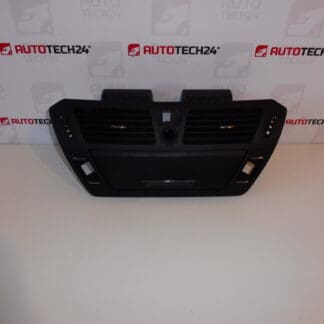
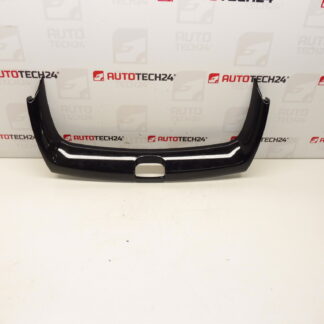
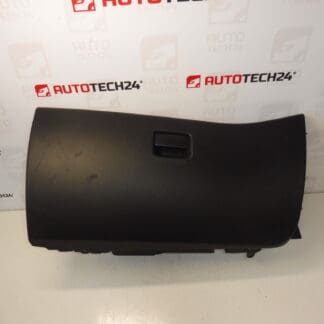
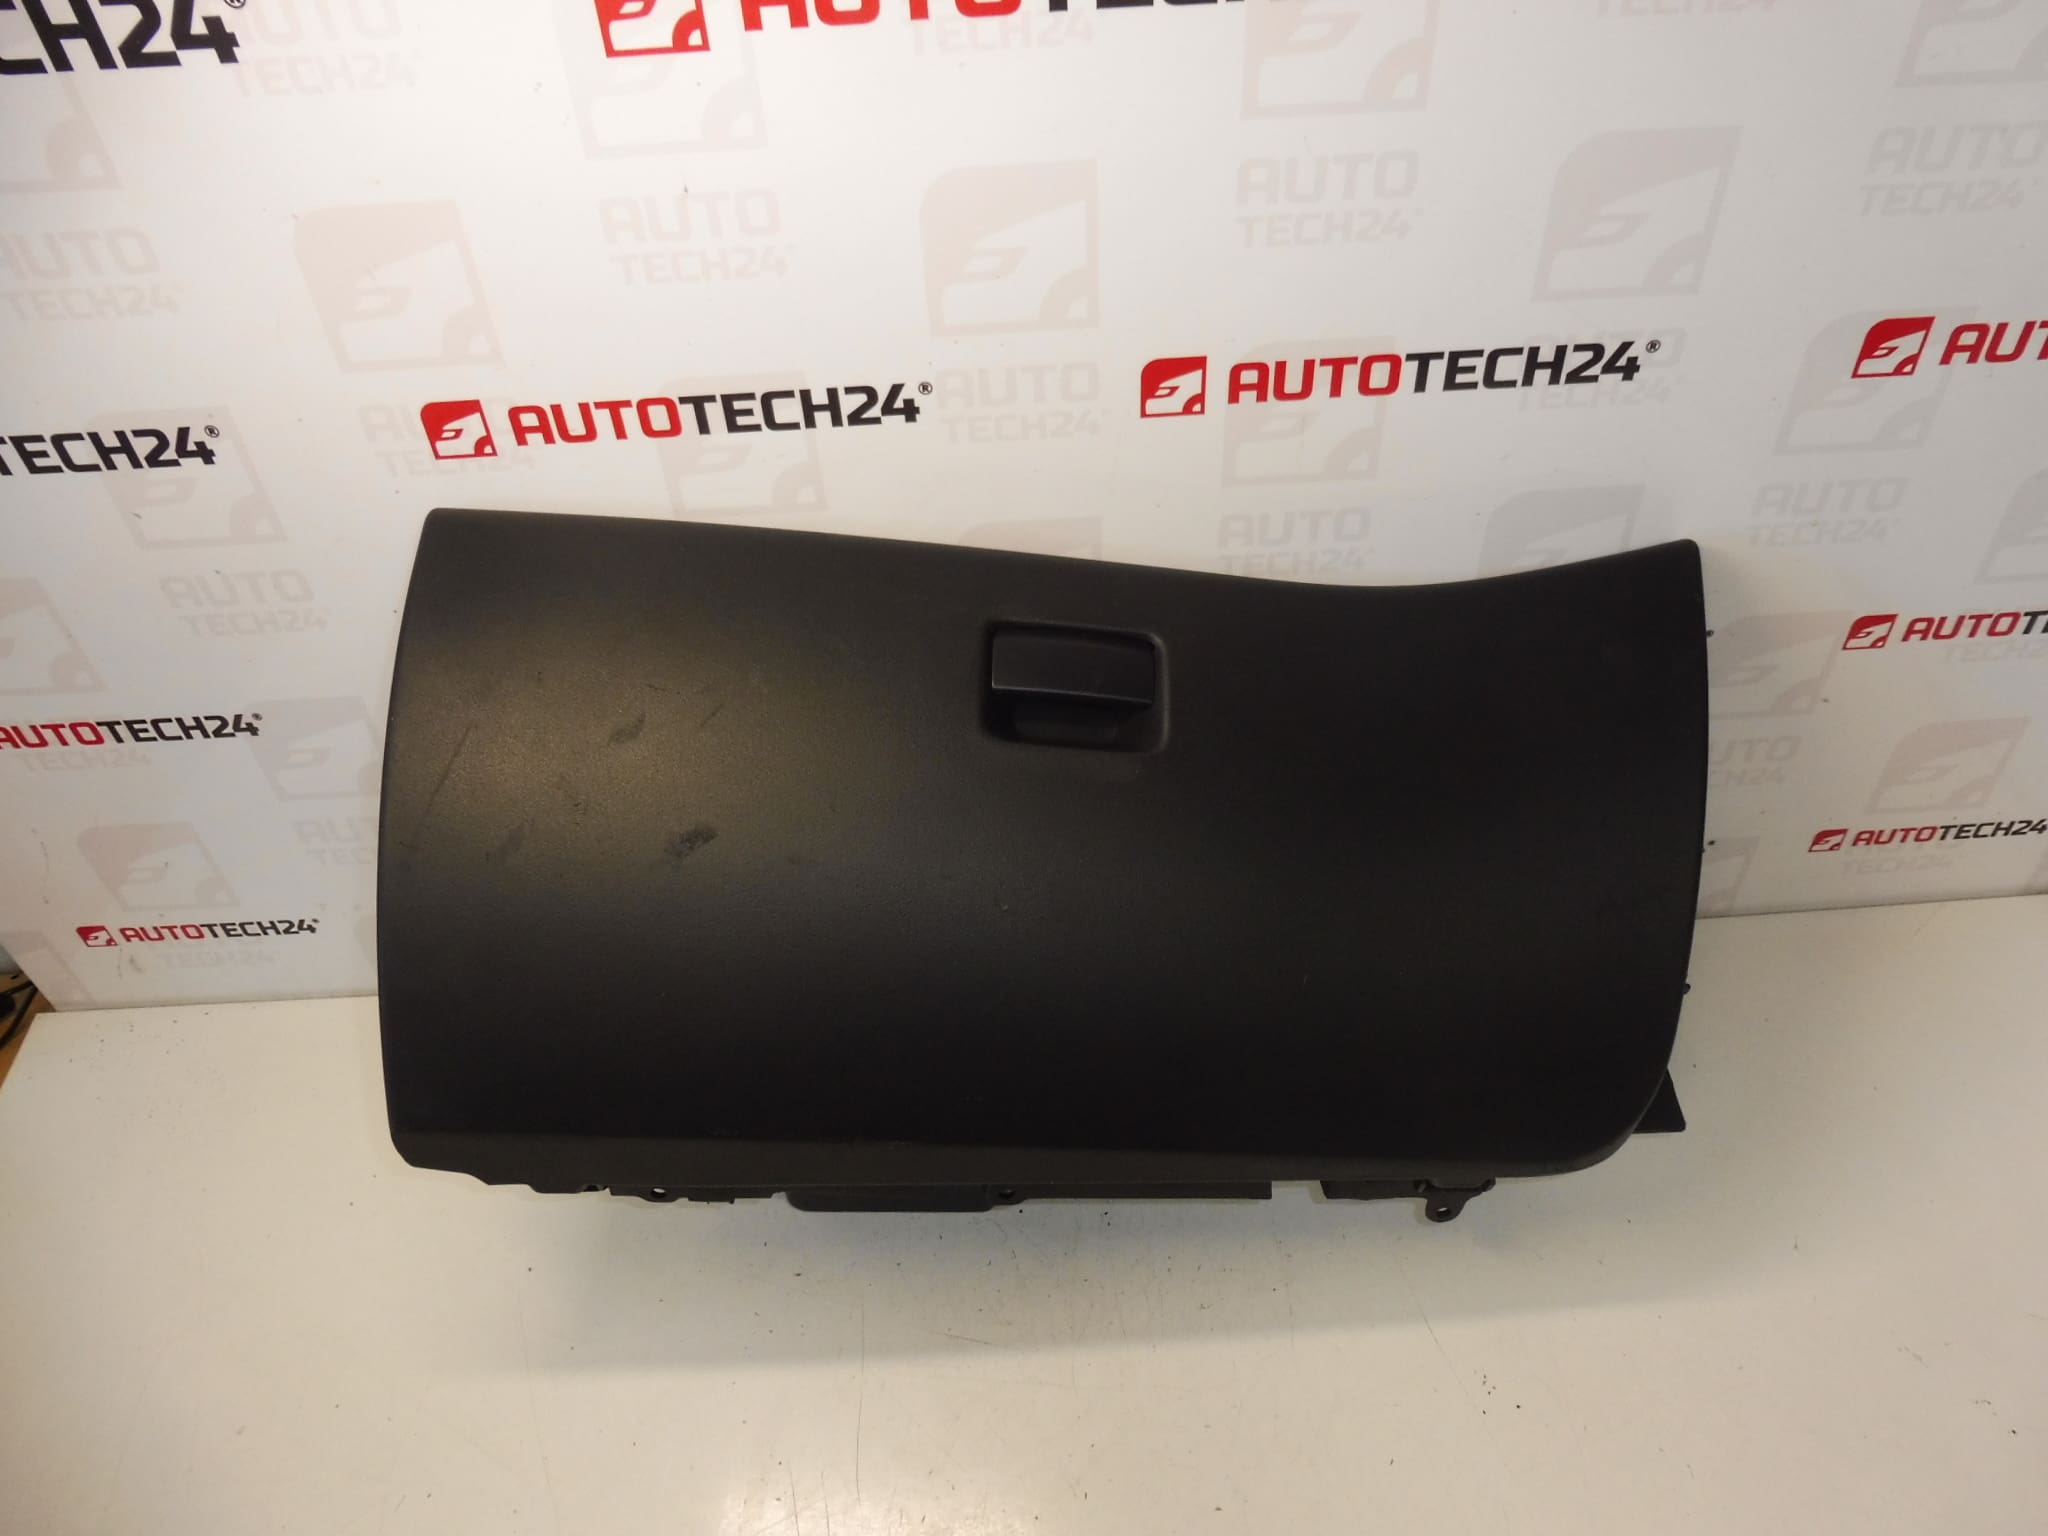
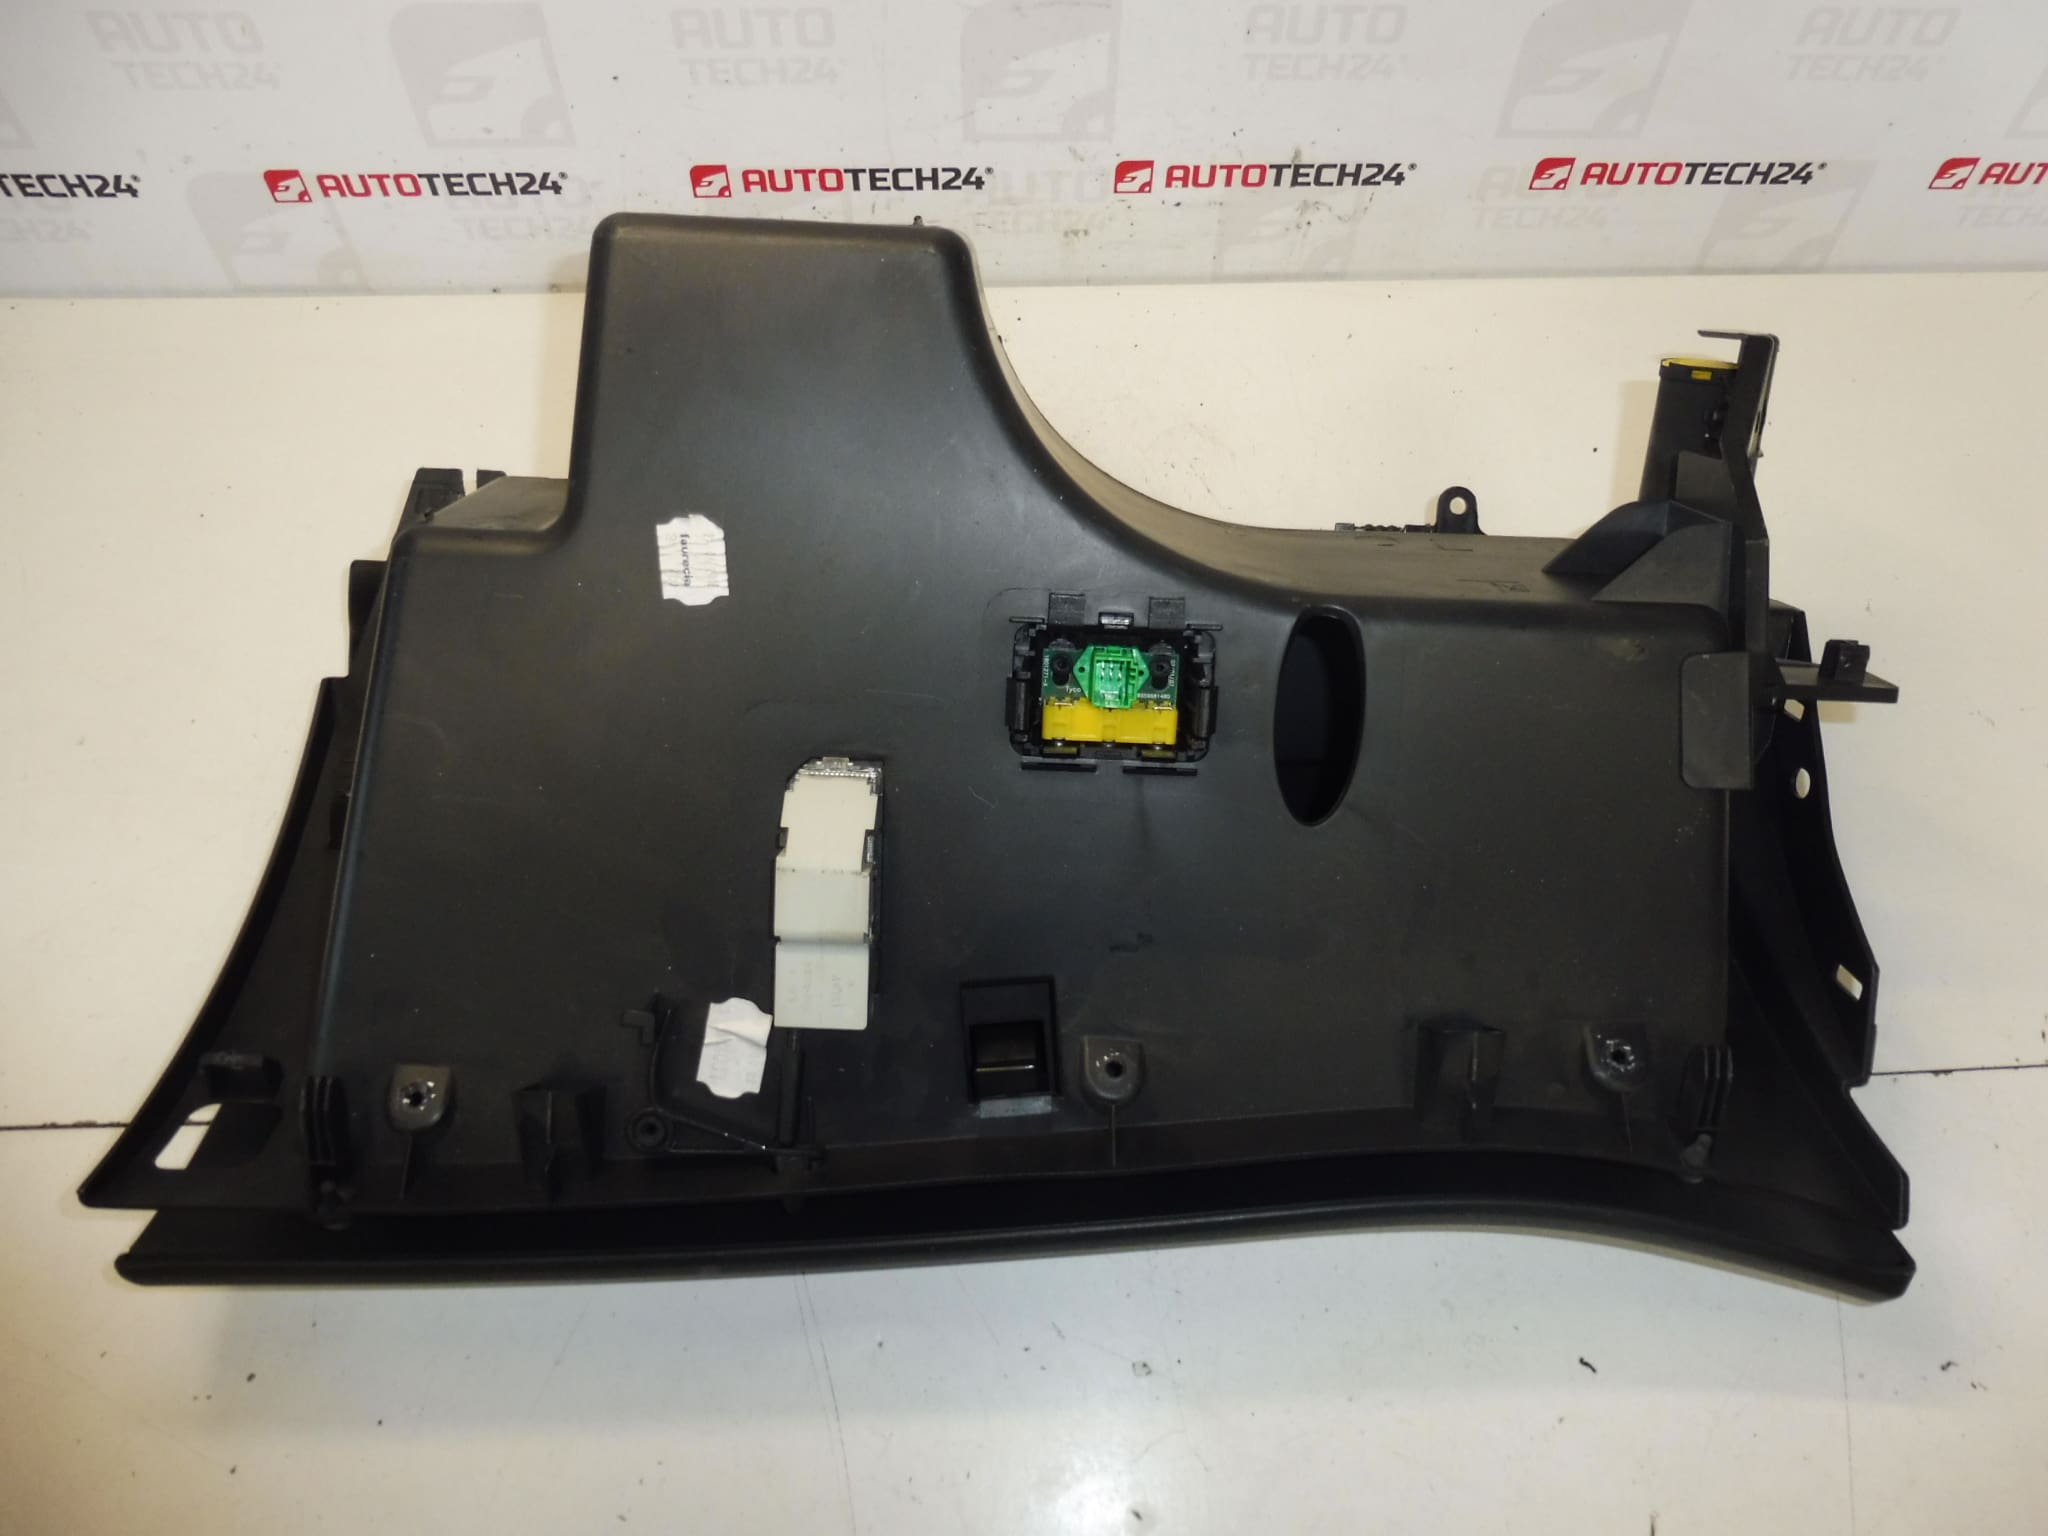
Complete Glove Box (GLOVE BOX) For Citroën C4 Picasso And C4 Grand Picasso Vehicles. Color HZD – Black Mistral.
This complete glove box is a direct-fit interior replacement designed for Citroën C4 Picasso and C4 Grand Picasso models. It restores the original storage functionality and interior appearance, matching the Black Mistral (HZD) finish used in many factory trims. Ideal for professional workshops and experienced DIY mechanics looking for a reliable, OEM-style replacement. Commonly searched by part numbers 8218FH, 8218FF and 8226CY.
Key Benefits
- Direct Fit Replacement: Designed to match factory mounting points and trim lines for a clean, factory look.
- Correct Finish: Black Mistral (HZD) color to blend with original dashboard surfaces.
- Complete Assembly: Includes glove box shell and mounting interfaces required for installation.
- Suitable For Workshops And DIY: Clear fitment lines and standard fasteners make installation straightforward for trained technicians and competent hobbyists.
Technical Information
- Manufacturer: Stellantis (Citroën/Peugeot)
- Model: Citroën C4 Picasso, Citroën C4 Grand Picasso
- Product Codes: 8218FH, 8218FF, 8226CY
- Additional Numbers: 8218FF | 8218FH | 8226CY | NFP
Installation Recommendations
Remove Any Contents From The Existing Glove Box Before Starting. Basic Installation Steps:
- Open Glove Box And Locate Retaining Screws Or Clips Around The Perimeter. Remove Fasteners Carefully.
- If Present, Release The Damping Arm Or Stop Mechanism (Some Models Have A Gas Strut Or Plastic Damper).
- Disconnect Any Electrical Connectors For Glove Box Light Or Sensors Before Fully Removing The Unit.
- Remove The Old Glove Box Assembly And Transfer Any Insulation Or Brackets If Required.
- Fit The Replacement Unit Into Position, Reattach Fasteners And Reconnect Electrical Connectors.
- Check Alignment And Operation Of The Latch, Hinges And Damper; Replace Broken Clips Or Worn Screws With OEM-Style Fasteners For Secure Fitment.
Use Common Hand Tools (Screwdrivers, Torx Set, Trim Removal Tools) And Protect Trim Edges To Avoid Scratches During Removal And Installation. Follow Standard Workshop Safety Practices And Manufacturer Guidelines For Interior Repairs.
Why This Part Fails Most Often
- Hinge Or Stop Failure: Plastic Hinges And Dampers Wear Or Break Over Time, Causing Sagging Or Dropping Of The Glove Box Door.
- Broken Mounting Clips: Repeated Use Or Improper Removal Can Crack The Plastic Clips That Secure The Box To The Dashboard.
- Latch Wear Or Damage: Frequent Use Or Forceful Closing Can Damage The Latch Mechanism, Preventing The Door From Staying Closed.
- Impact Or Interior Damage: Strong Impacts Or Overloaded Storage Can Crack The Shell Or Distort Mounting Points.
This glove box restores functionality and interior appearance quickly and economically. Suitable for professional replacements in service shops as well as careful DIY fitting. Searchable by OEM codes 8218FH, 8218FF and 8226CY for fast identification in parts lists and catalogs.