Description
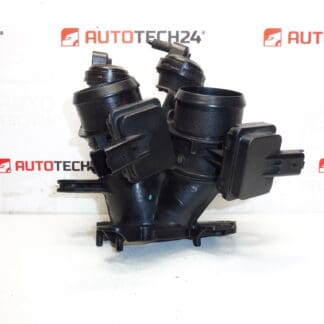
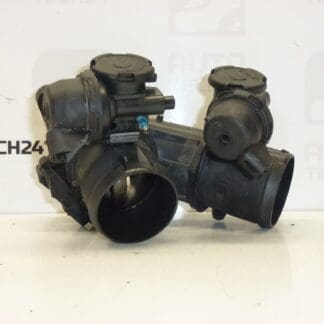
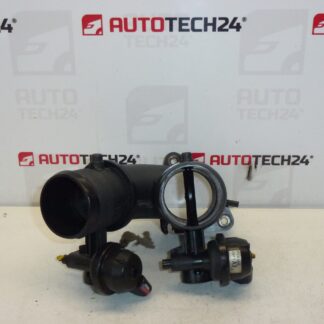
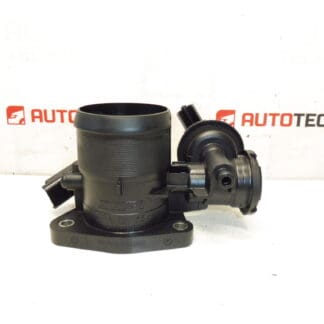
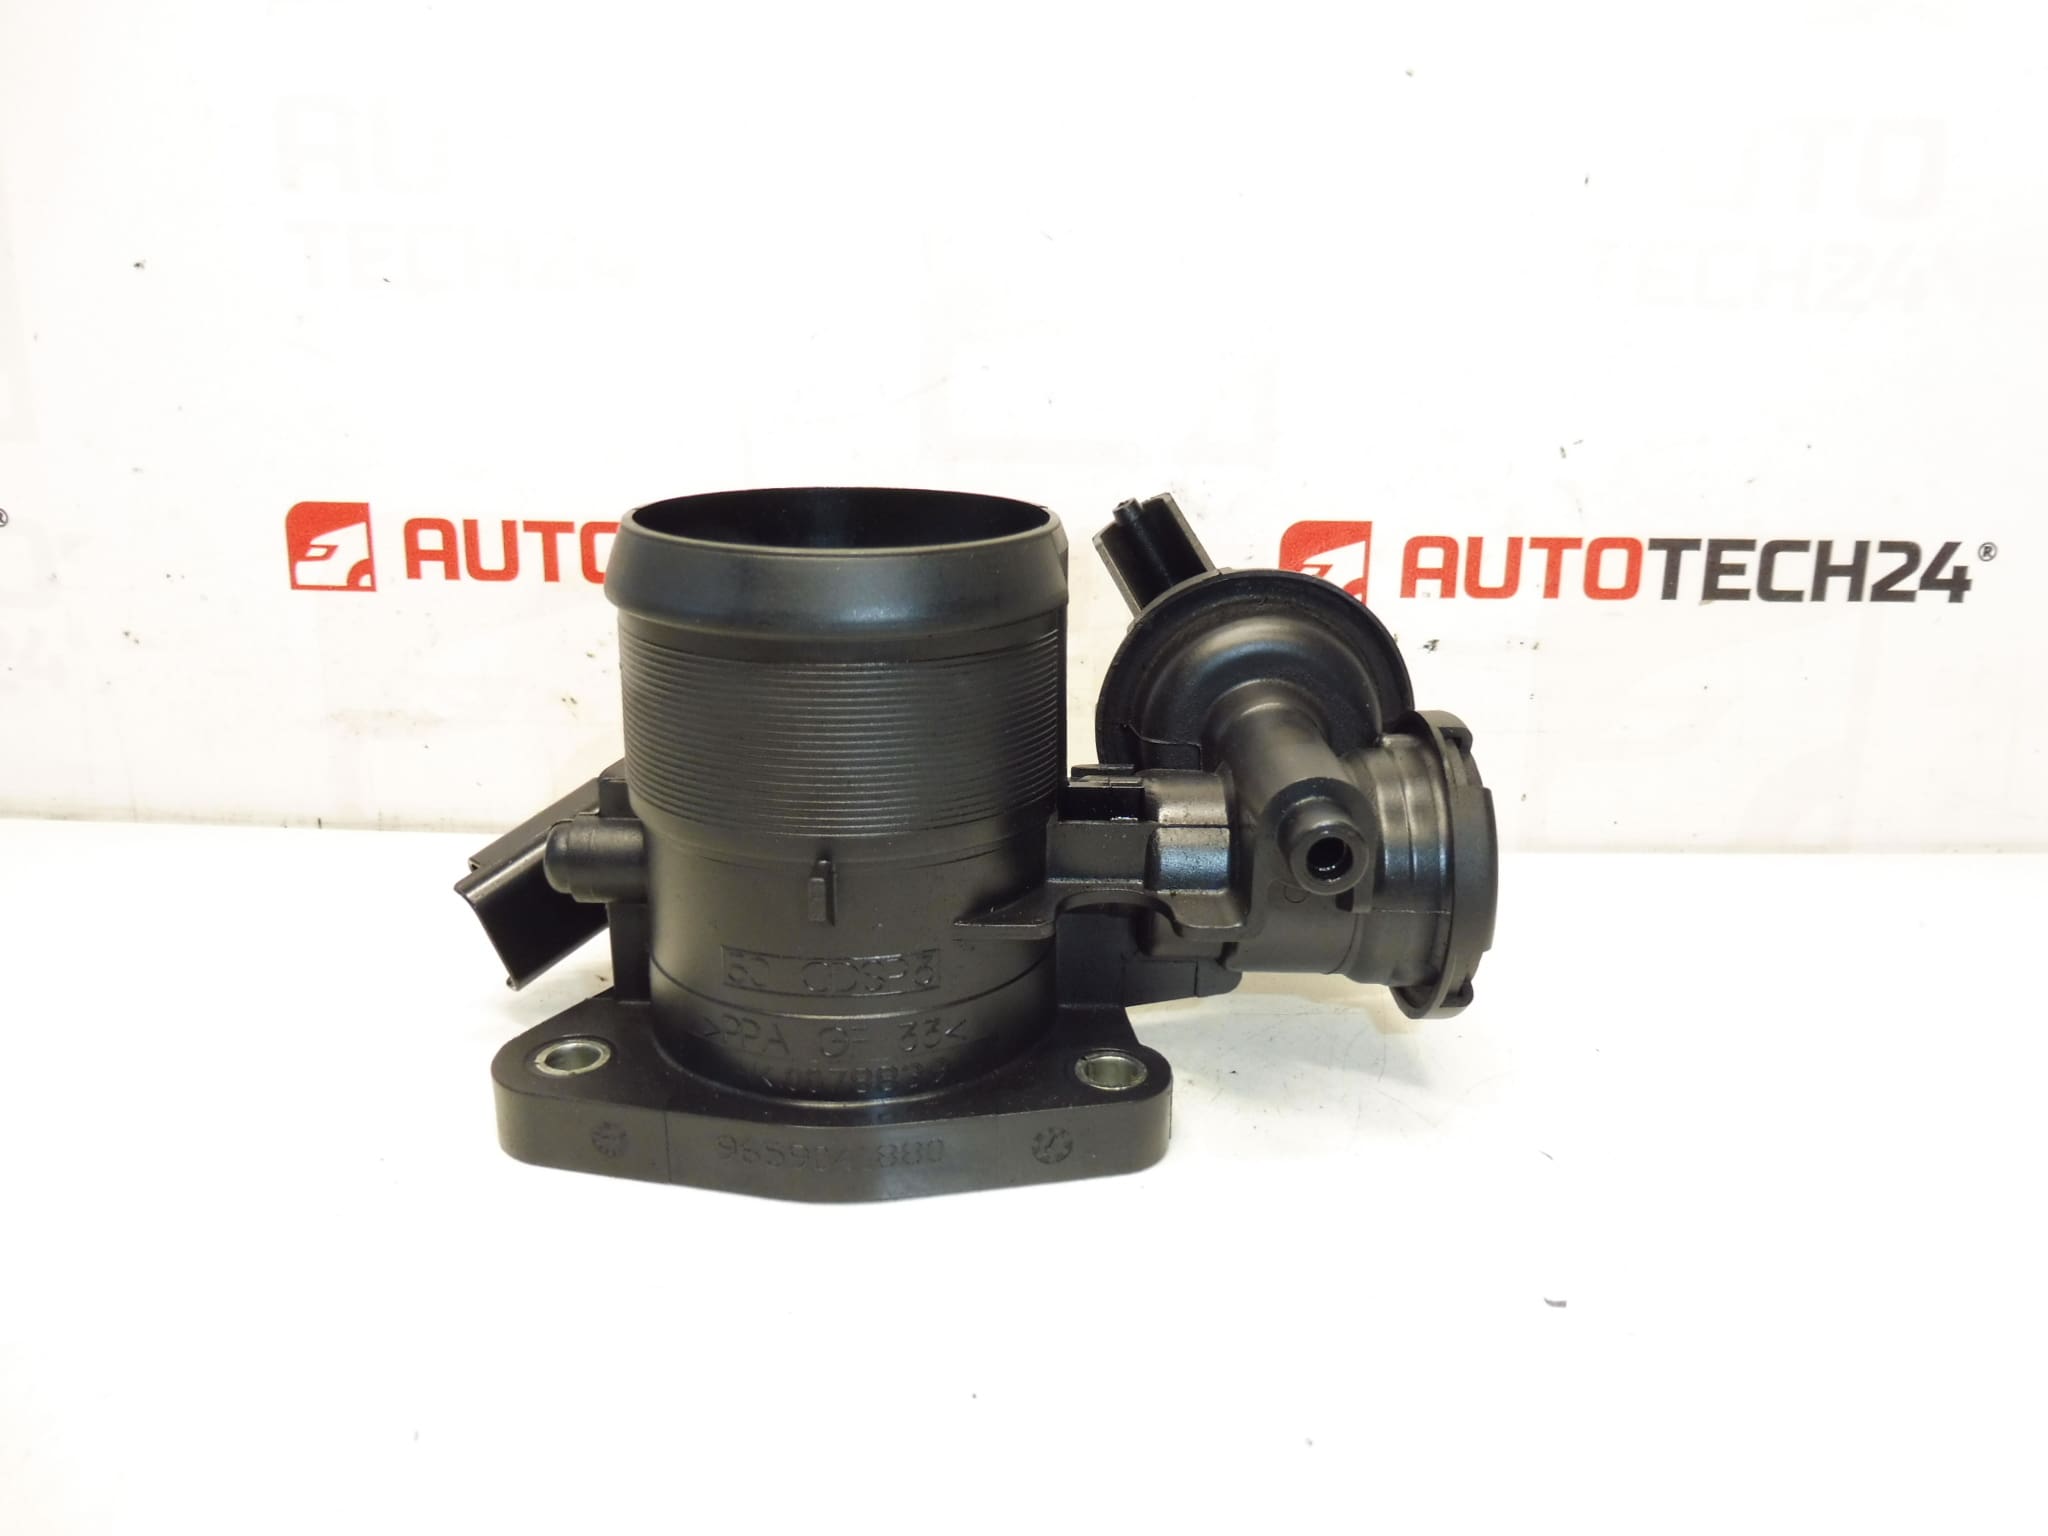
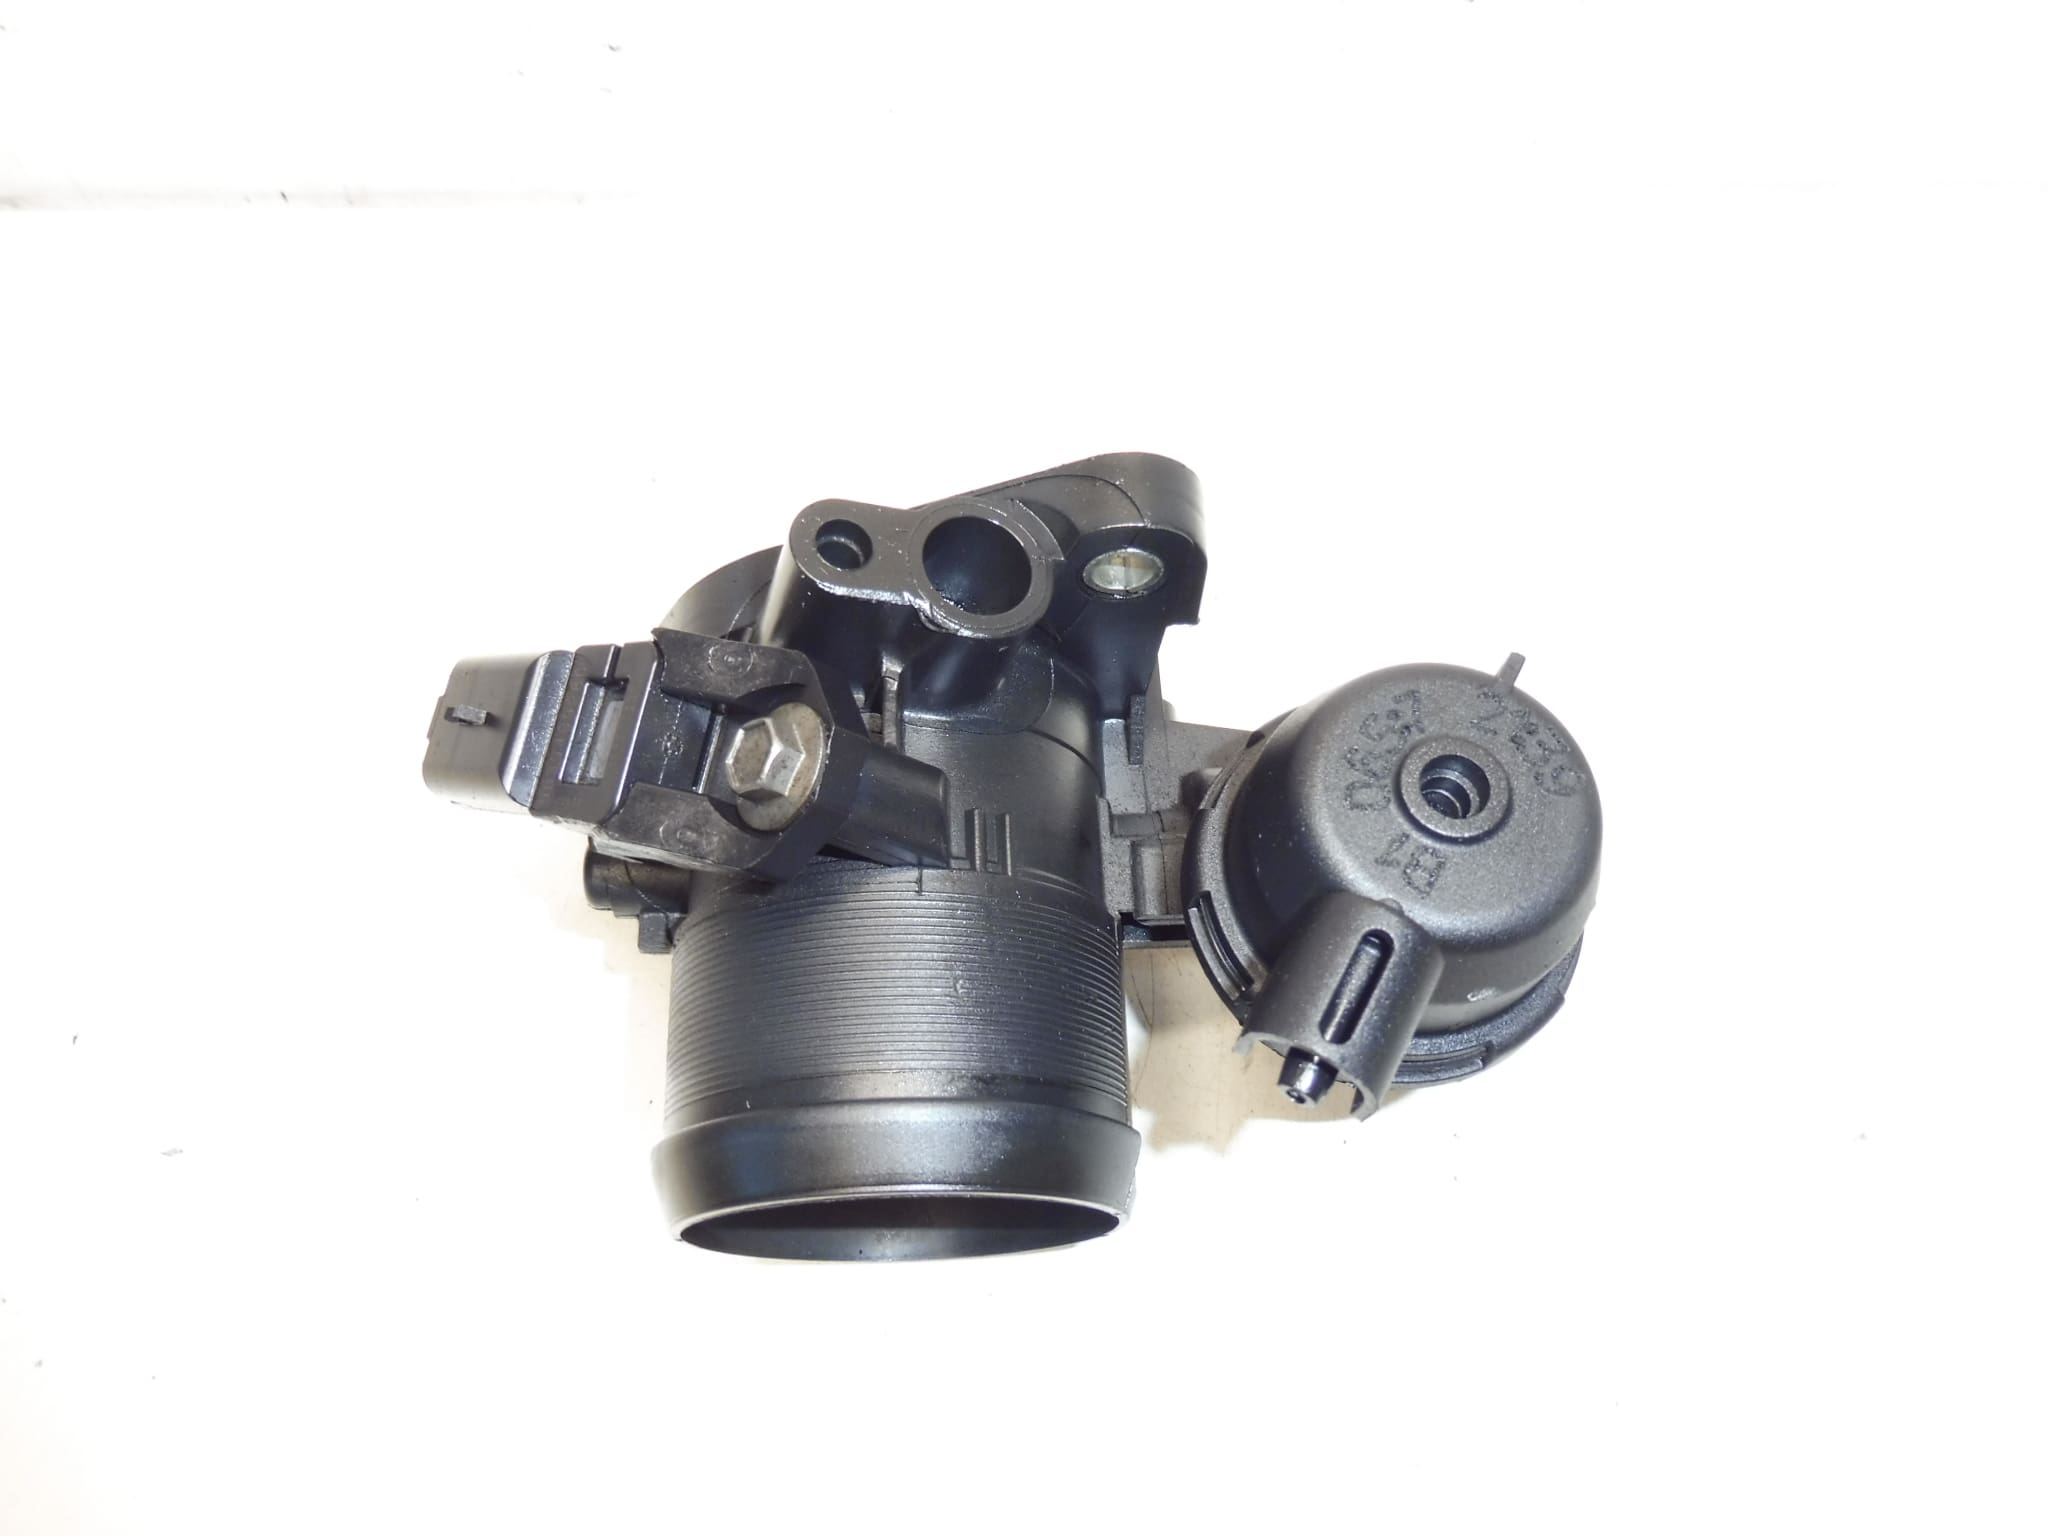
Intake Throttle Body 2.0 HDi RHK for Citroën and Peugeot
This intake throttle body is designed for 2.0 HDi RHK diesel applications fitted to Citroën and Peugeot vehicles. It restores precise air control to the intake tract, improving idle stability, throttle response and engine management. The unit matches common aftermarket and OE reference numbers, so technicians and DIYers who search by part number will find a fast, reliable replacement option.
The part is suitable for engine rebuilds, routine replacements or when diagnosing drivability faults on 2.0 HDi RHK engines. Typical benefits include elimination of irregular idle, reduction of limp-home mode occurrences and removal of hesitation during acceleration when the throttle body or its electronics fail or become contaminated.
Technical Information
- Manufacturer: Stellantis (Citroën/Peugeot)
- Model: Citroën C8; Peugeot 807
- Product Codes: 9659041880, 0345E6
- Additional Numbers: 345000000
Function And Typical Symptoms
The throttle body controls the amount of air entering the intake manifold under electronic control. On modern 2.0 HDi engines the assembly often includes an actuator and position sensor. When the unit fails or becomes fouled, typical symptoms include rough or unstable idle, poor throttle response, increased fuel consumption, check engine light and reduced driveability or limp-home mode. Problems are frequently noticed after long periods of soot accumulation or electrical connector issues.
Most Common Failure Causes
- Carbon And Soot Buildup: Diesel soot and oil vapors accumulate around the valve and bypass passages, restricting airflow and preventing proper closure.
- Electronic Actuator Or Sensor Faults: Wear or internal failure of the throttle motor or potentiometer can produce incorrect position feedback.
- Contaminated Intake Air Or EGR Deposits: Excessive EGR flow or clogged intake ducts accelerate fouling.
- Corrosion Or Connector Faults: Moisture and poor electrical connections cause intermittent faults or loss of signal.
Installation Recommendations
- Safety First: Work on a cooled engine and disconnect the negative battery terminal before removing the throttle body.
- Remove Intake Ducting: Loosen clamps and remove the air intake hose to gain clear access to the throttle body.
- Disconnect Electrical Connector: Release the locking tab and carefully unplug the connector to avoid damage.
- Unbolt And Replace: Remove mounting bolts, note the gasket or seal condition and replace the gasket if disturbed. Fit the new throttle body and tighten bolts to the manufacturer torque specification.
- Calibration: After installation, perform the throttle adaptation/idling relearn procedure with a diagnostic tool or follow the workshop manual steps to ensure correct idle and throttle response.
- Inspection: Check intake hoses and the air filter for contamination; clean nearby ports and the EGR system if heavy soot is present to prevent rapid recontamination.
Part numbers 9659041880 and 0345E6 are commonly used when searching for this component, so including them in your search or order will speed up identification and procurement. This throttle body is aimed at professional workshops and experienced DIYers who repair Citroën and Peugeot 2.0 HDi RHK engines.