Description
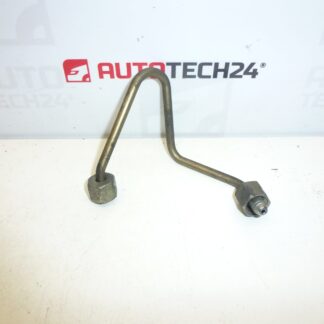
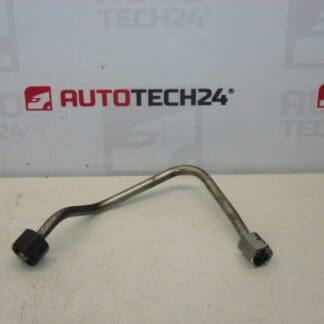
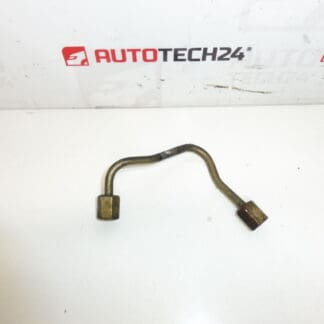
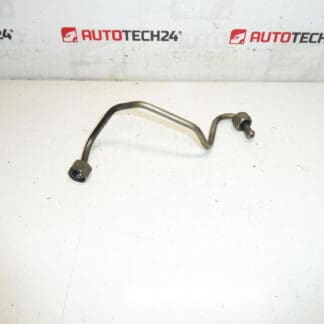
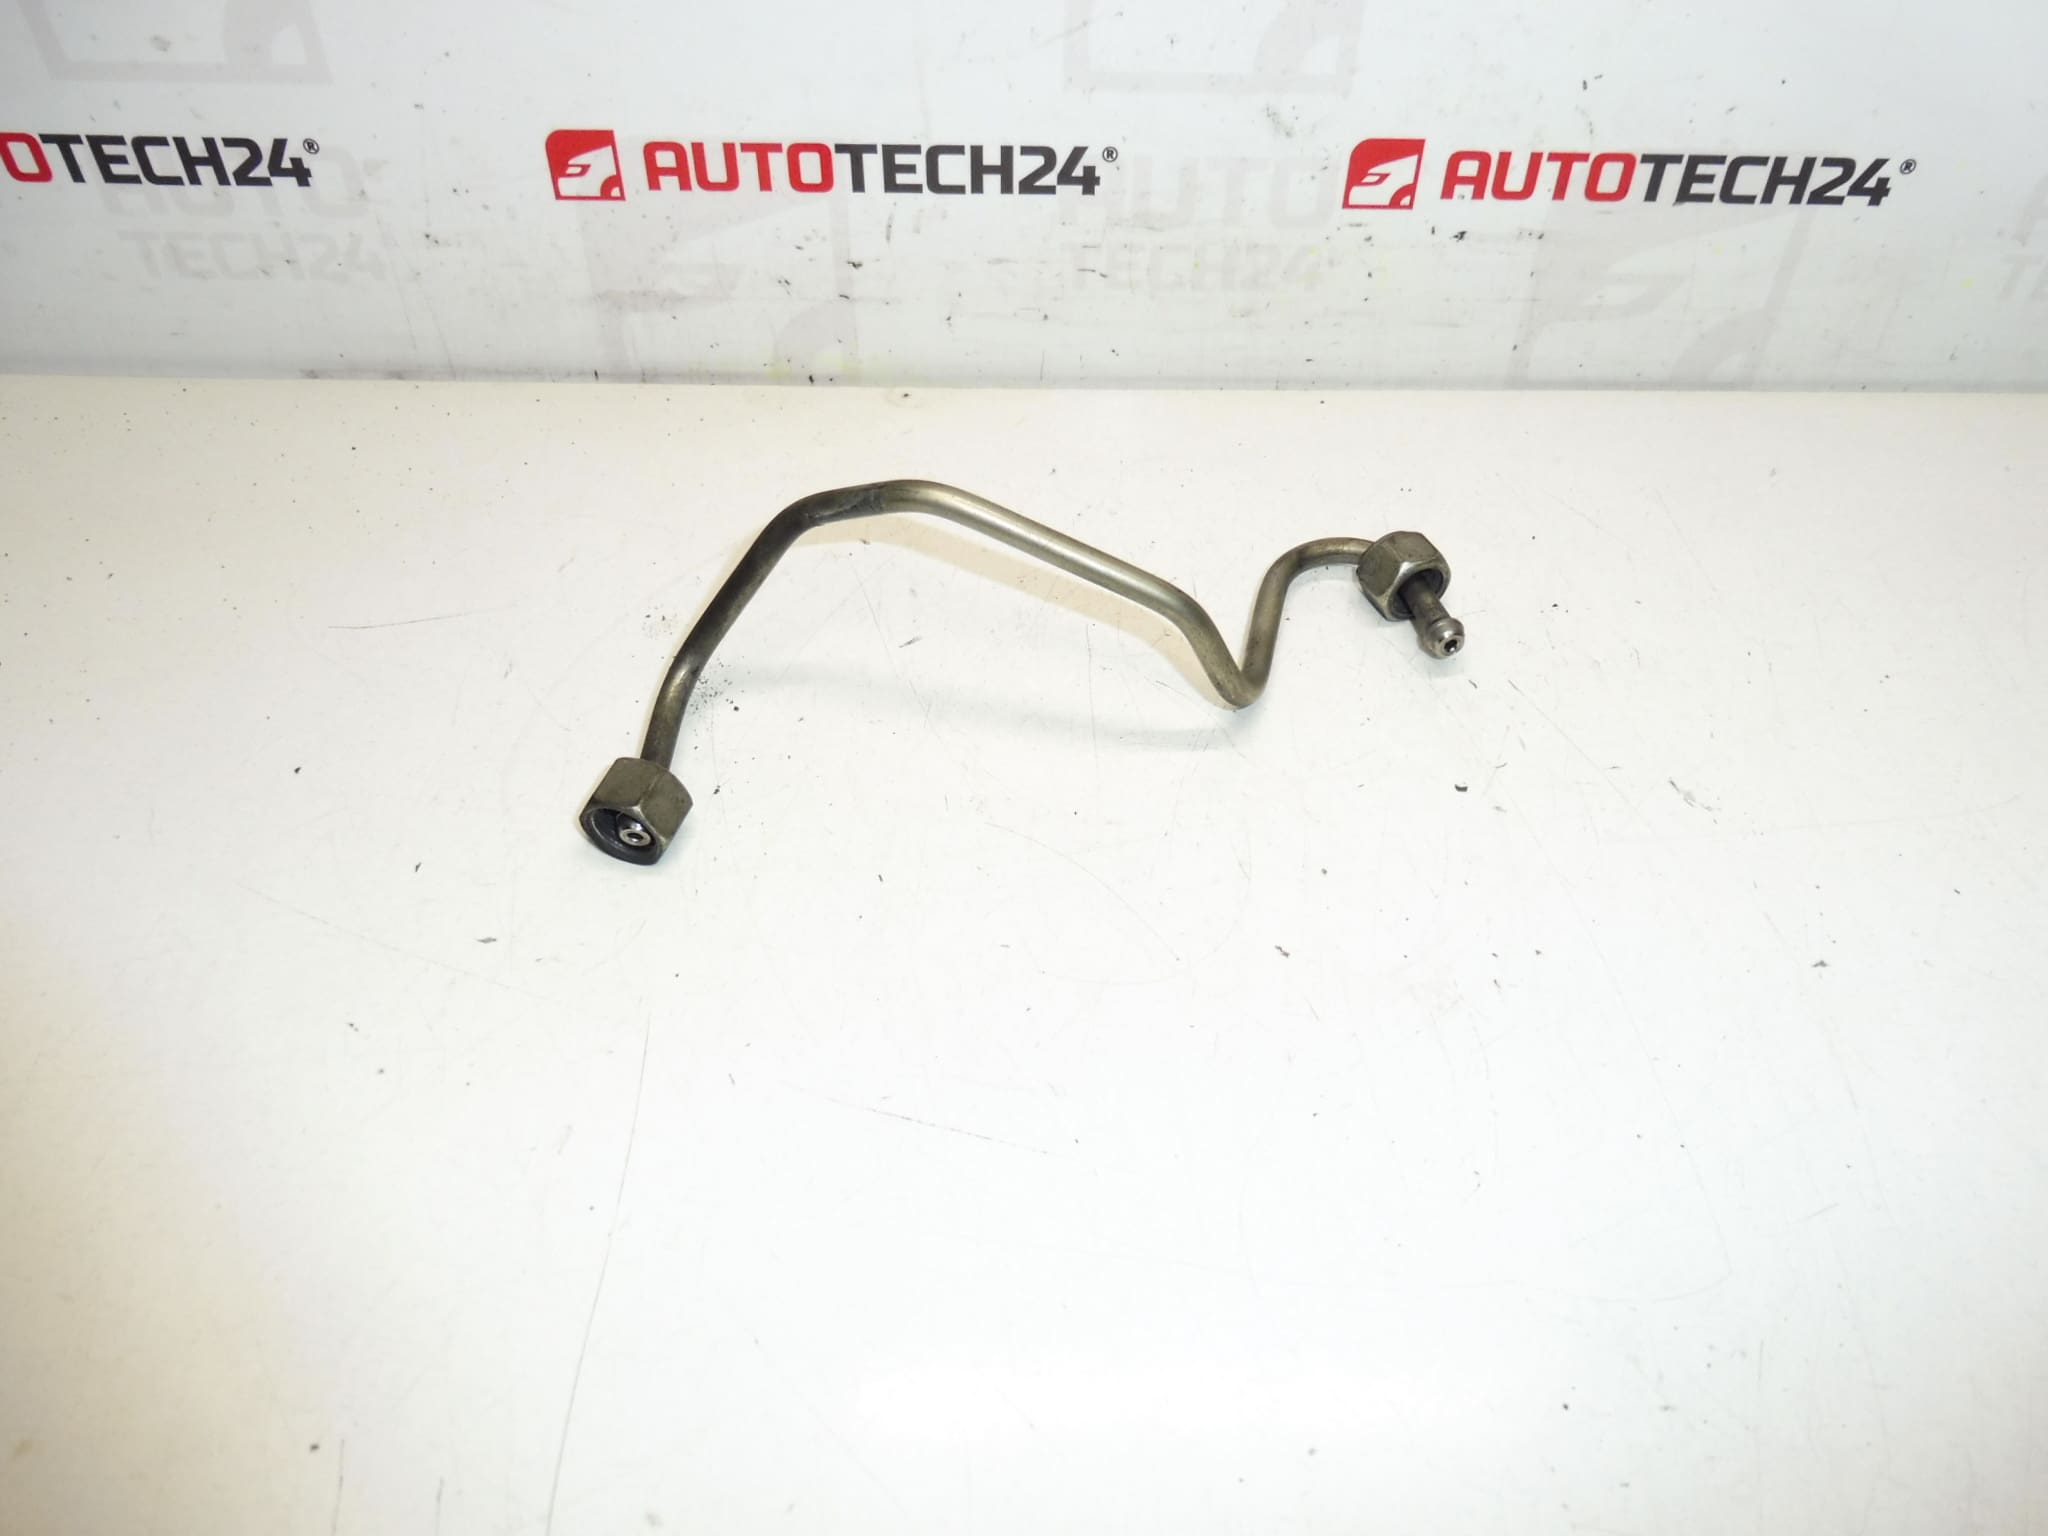
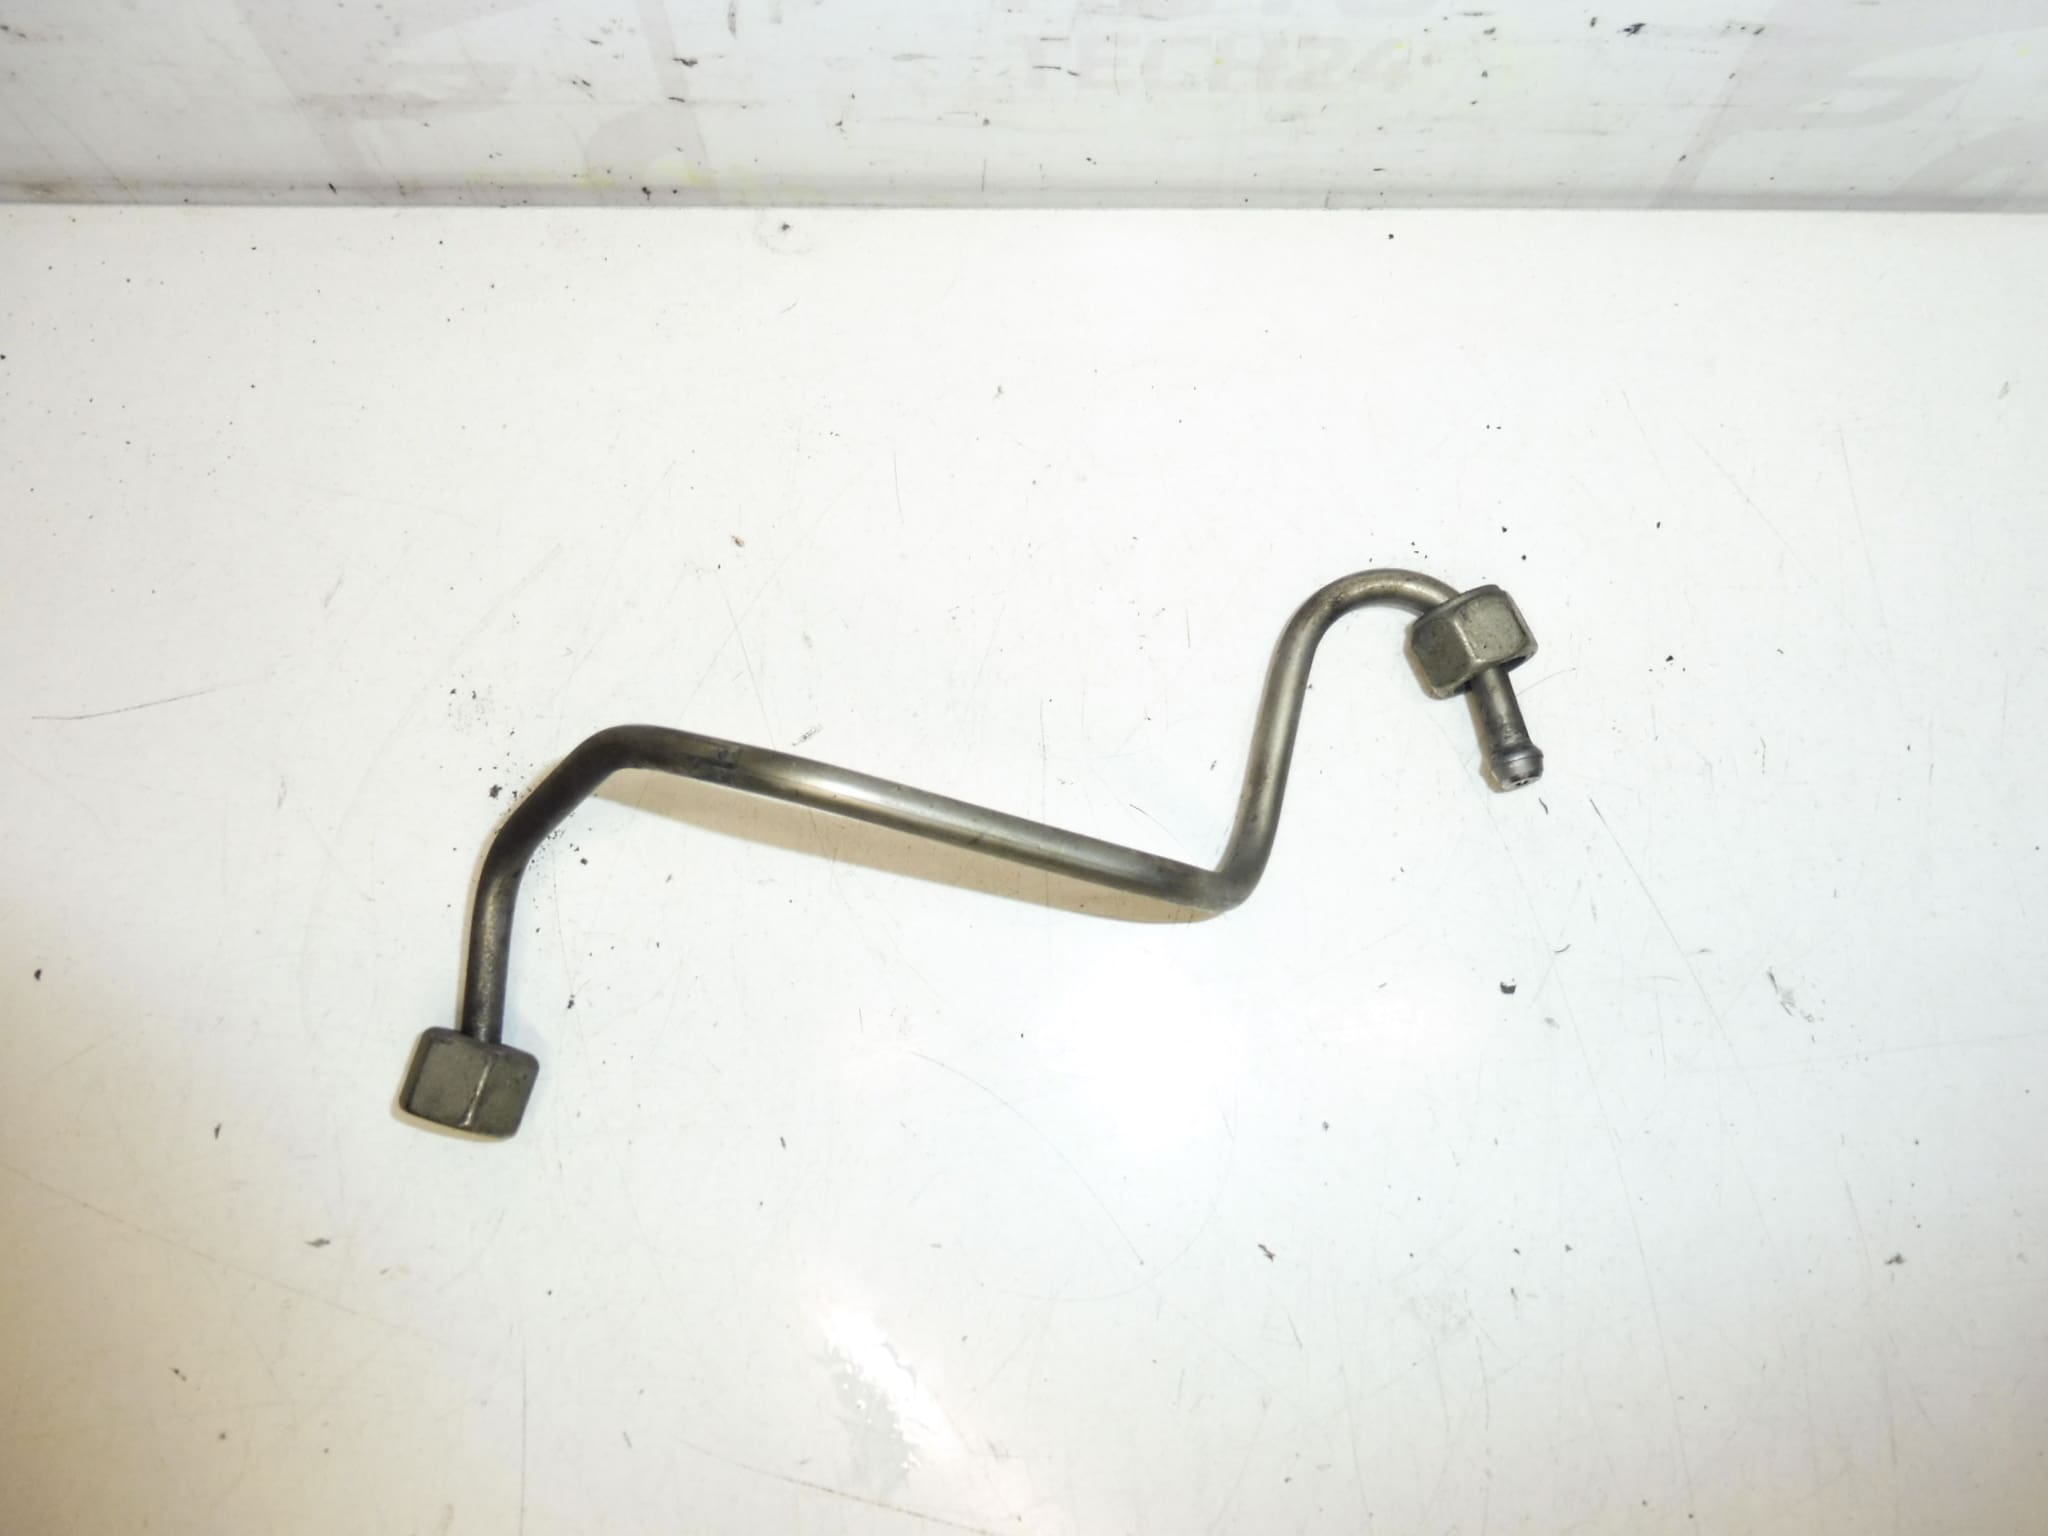
Outlet Pipe To Injector 2.0 HDi RHR RHK Siemens System. Used, Fully Sealing.
This high-pressure outlet pipe connects the common-rail injector to the fuel system on 2.0 HDi engines (engine codes RHR and RHK) equipped with the Siemens injection system. Designed to provide a secure, leak-free fuel feed to the injector, this genuine-style pipe is commonly sought by professional mechanics and DIY enthusiasts under the part code 1570J3. It is suitable for vehicles from the Stellantis group (Citroën / Peugeot) and is an economical replacement when the original pipe shows signs of wear or leakage.
The pipe is manufactured to meet the dimensional and sealing requirements of the HDi high-pressure system. When installed correctly it maintains system pressure and prevents fuel leaks that can cause hard starting, injector misfires, or visible diesel seepage around the injector area.
Technical Information
- Manufacturer: Stellantis (Citroën / Peugeot)
- Model: 2.0 HDi Engines (RHR, RHK)
- Product Codes: 1570J3
- Additional Numbers: Siemens Injection System Compatibility, Common Rail Outlet Pipe
Compatibility
Typical vehicle applications include Citroën C4, Citroën C4 Picasso, Citroën C5, Citroën C8, Peugeot 3008 I, Peugeot 307, Peugeot 308, Peugeot 5008 I and Peugeot 807 fitted with the 2.0 HDi RHR/RHK engines. Always match the part code 1570J3 when searching for the correct replacement.
Installation Recommendations
Before replacement, relieve fuel system pressure following safe workshop procedures. Clean the surrounding area to avoid contamination entering the injector or rail. Remove the retaining clips or brackets, loosen the fittings progressively, and replace the pipe together with new sealing rings/washers. Tighten fittings to the manufacturer’s torque specification and then start the engine and inspect for leaks at operating pressure. Use appropriate hand tools and, if available, a calibrated torque wrench for the final tightening. Replace any damaged clamps or seals rather than reusing them.
Why This Part Typically Fails
Failures most commonly result from long-term exposure to vibration and thermal cycles, corrosion (especially in regions using road salt), damaged or hardened sealing washers, and mechanical stress from overtightening or misalignment. Leaks can also develop if the pipe has been kinked or impacted during previous repairs. Regular inspection during major services helps catch early signs of seepage before more serious issues develop.
Searching by the part number 1570J3 greatly speeds up finding the correct replacement. This outlet pipe is a practical choice for restoring a reliable fuel seal on HDi common-rail systems and getting the engine back to stable running conditions.