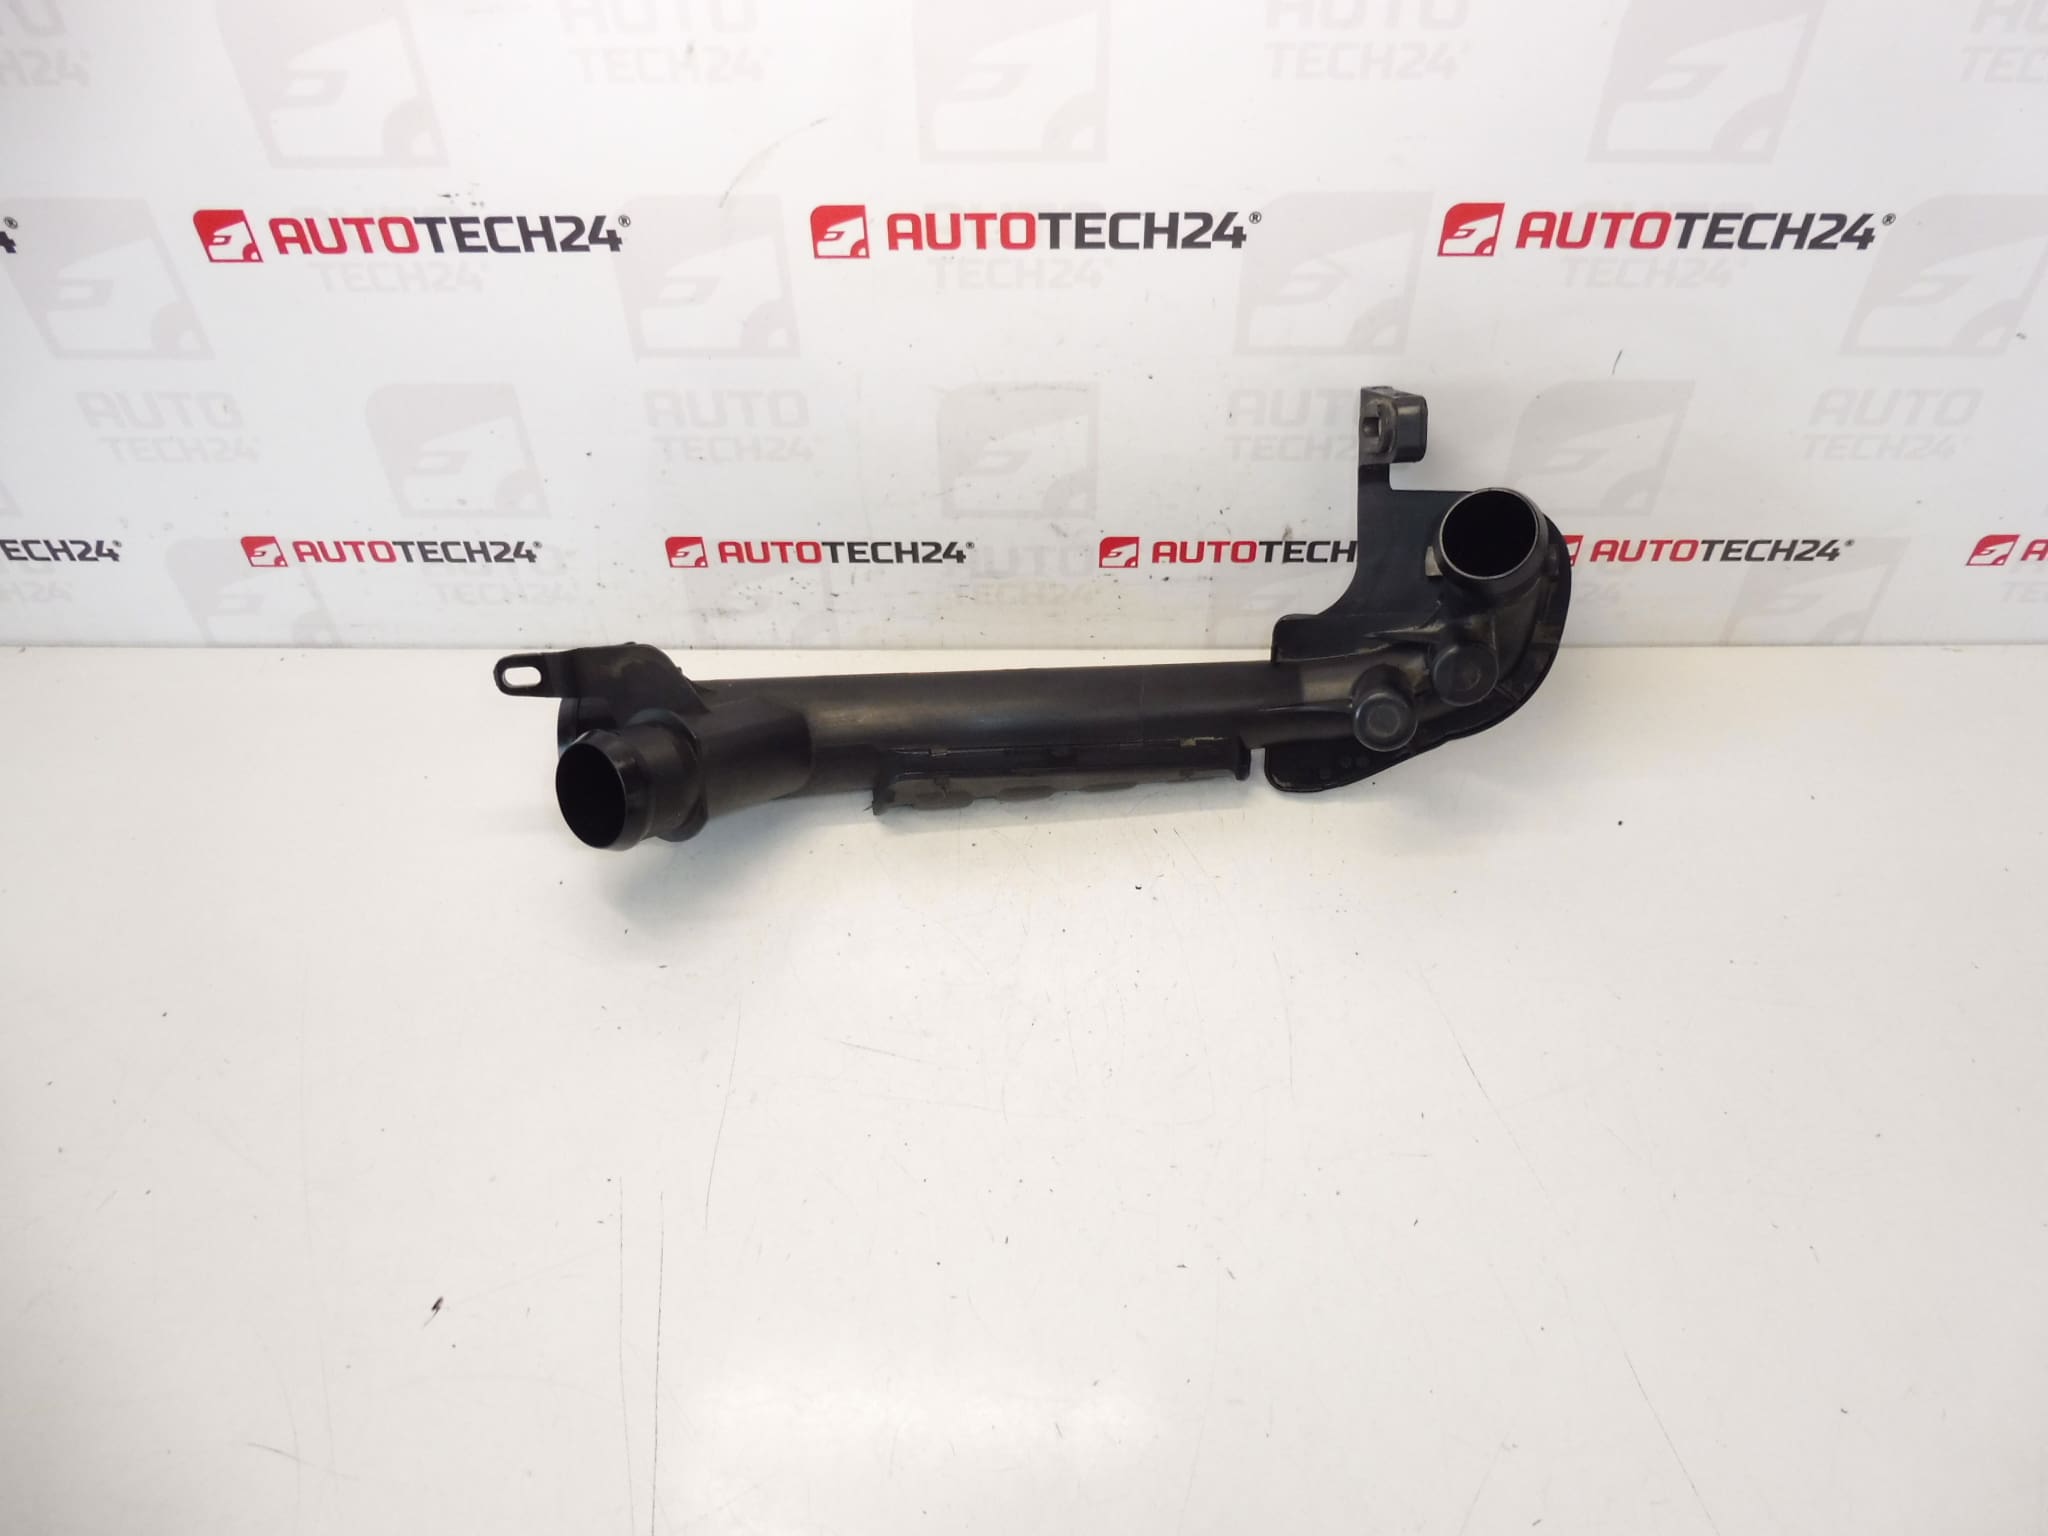
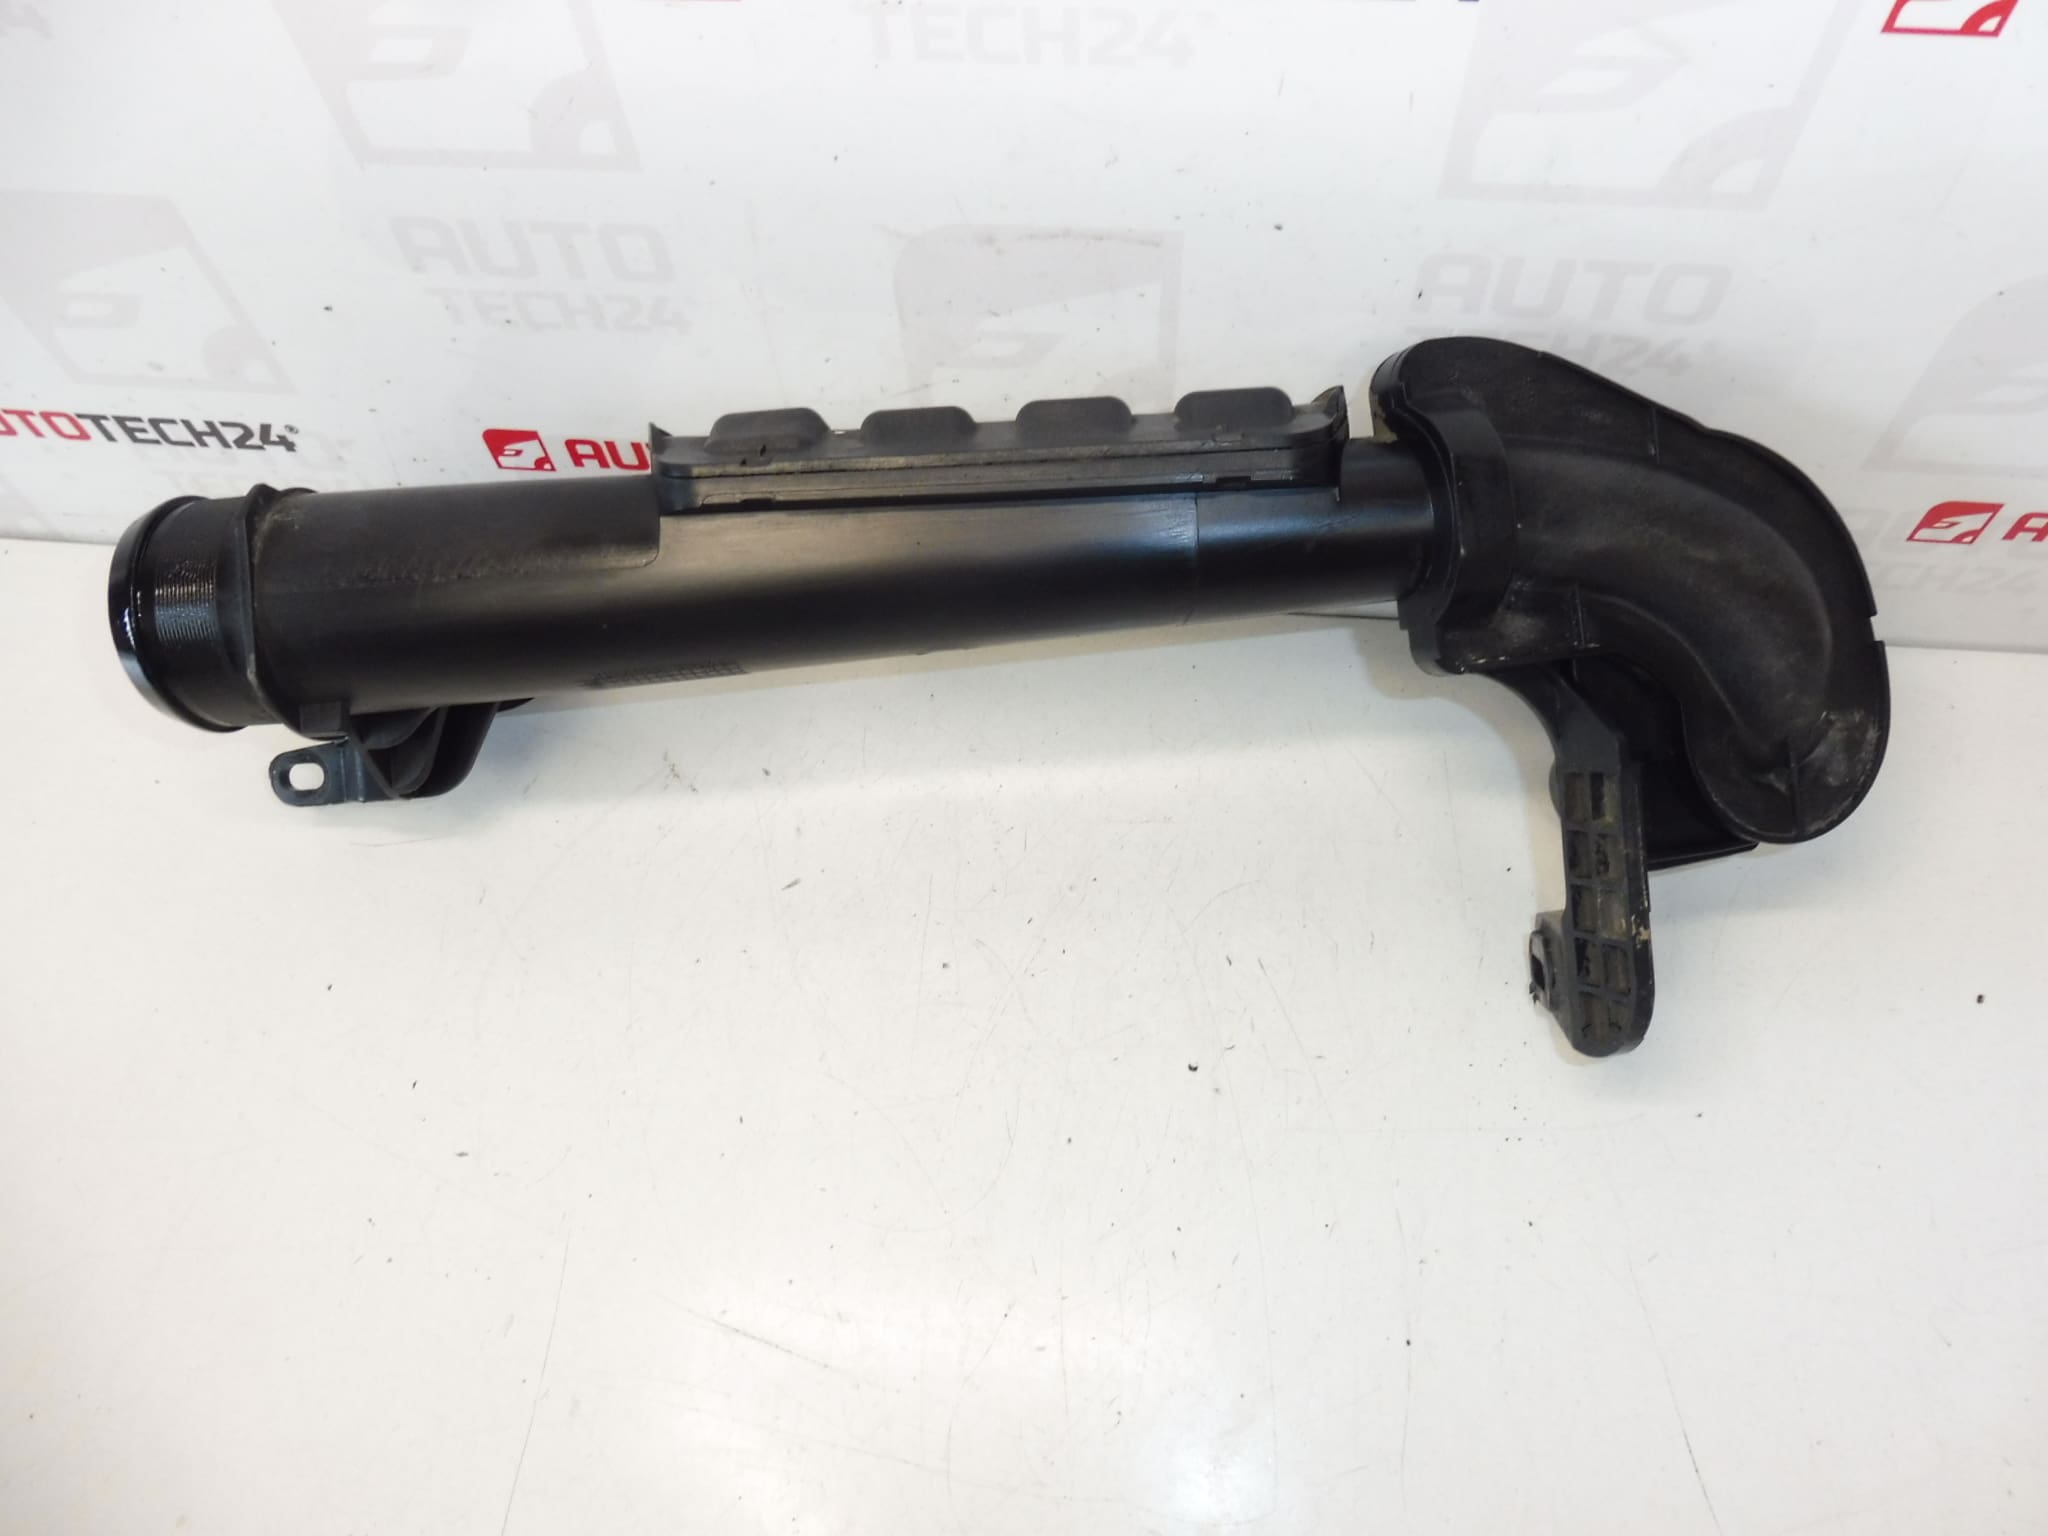
Description
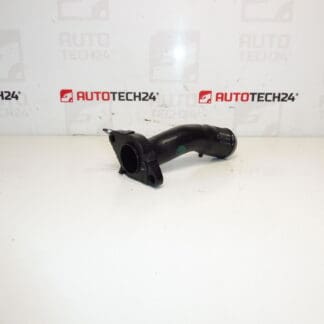
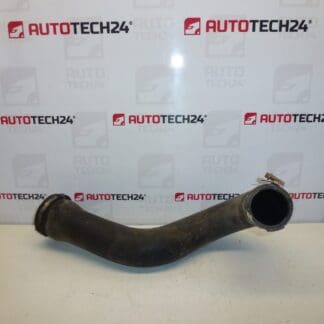
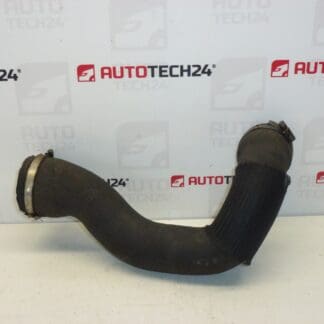
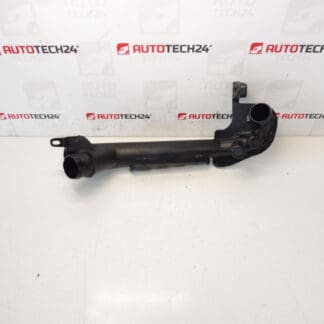
Turbocharger air connection for CITROEN and PEUGEOT 2.0 HDI RH02 engines
Part description
This intake pipe / turbo air connection is intended for Citroën and Peugeot cars according to the product codes listed. It is an important part of the intake system that ensures proper air flow in the turbocharging system. For cars with a 2.0 HDI RH02 engine, the correct condition of this part has a direct effect on the tightness of the intake, stable engine operation and correct operation of the turbocharger.
When looking for a suitable used part, part number match is the most important factor. This piece is especially suitable for those who are looking for an original repair solution without unnecessary modifications. A used original part often allows for faster and easier assembly than mismatched universal replacements.
Technical information
- Manufacturer: Stellantis Citroën Peugeot
- Model: 2.0 HDI RH02; Citroën C4 PICASSO, Citroen C5 X7, Citroën C8, Peugeot 3008 I, Peugeot 5008 I, Peugeot 807
- Other numbers: 0382NG
Product codes
- Product codes: 9681942880, 0382NG
- Model names: Citroën C4 PICASSO, Citroen C5 X7, Citroën C8, PEUGEOT 3008 I, PEUGEOT 5008 I, Peugeot 807
Installation recommendations
Generally/typically for replacing the intake pipe or turbo air connection, the exact procedure may vary depending on the specific car design and access in the engine compartment.
1) Before assembly
- Check whether the shape, connection diameters, mounting and product codes match the old part.
- Carefully inspect the entire part for cracks, deformation or excessive wear at the joints.
- Check the seating surfaces, edges and locations for clips or fasteners.
- If gaskets or coupling sleeves are used on the old part, compare their condition and serviceability.
2) Necessary tools and materials
- regular set of hand tools
- screwdrivers or buckle release tools
- degreasing and joint cleaning agent
- clean cloth without loose fibers
- flashlight for checking the connections and seating of the part
3) Step-by-step assembly procedure
- Secure the vehicle against movement and let the engine cool down.
- Get access to the original intake pipe or air connection.
- Mark the position of the joints and the orientation of the original part so that the new piece can be seated in the same way.
- Carefully release the clips, brackets or other fasteners that fix the old part.
- Dismantle the original part in such a way as not to damage the connected hoses, plastic parts or surrounding lines.
- Check the connection points and remove dirt, grease and residual deposits from the contact surfaces.
- Compare the old and new part side-by-side, especially the length, bend, diameters and location of attachment points.
- First place the used part on a clean surface and check that there is no tension or crossing anywhere.
- Once properly seated, connect all connections in the same order in which they were disconnected.
- Attach the clips and holders so that the part is firmly attached, but without unnecessary stress on the material.
- Recheck that the tube is not rubbing against the surrounding components anywhere and that all connections are tight all the way around.
- After assembly is complete, visually verify that there are no foreign objects or loose parts left in the suction path.
-
4) Post-assembly checks and test drive / function verification
- After starting, observe whether the engine runs smoothly and without unusual noises from the intake system.
- Check for signs of leaks or looseness around the joints.
- After a short test drive, recheck the fastening and seating of the part.
- In case of disassembly of multiple connected parts, verify that they are all connected back in the correct position.
5) The most common assembly mistakes + how to avoid them
- Similar part exchange – always compare the part numbers and shape with the old part.
- Insufficient cleaning of joints – dirt can cause leakage and poorer seating.
- Crooked tube seating – check the natural position without tension before final tightening.
- Damage to clips or fasteners – use appropriate tools and proceed with caution.
- Omitted output inspection – always check connections after assembly and after first use.
Reasons why the part is damaged
- Age and thermal stress – plastic and combined parts in the intake system gradually become brittle.
- Motor vibration – prolonged vibration can cause material fatigue or joint loosening.
- Mechanical damage during disassembly – common especially with older connections and stiffened clips.
- Leaks in connected parts – poorly seated joints can put excessive stress on the part.
- Pollution and oil deposits – in the long term deteriorate the condition of the material and the tightness of the joints.