Description
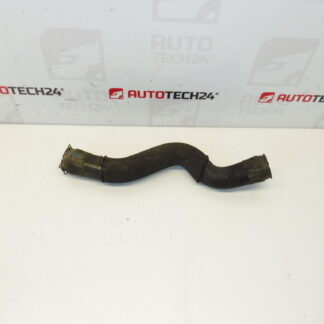
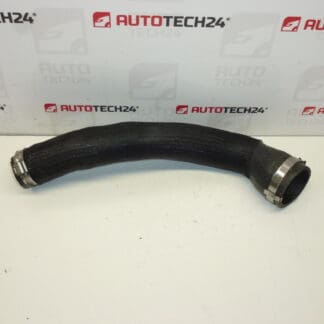
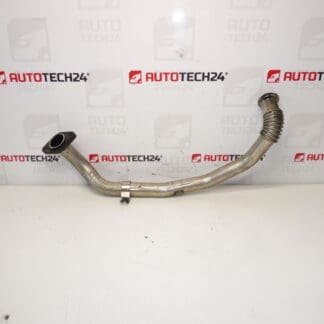
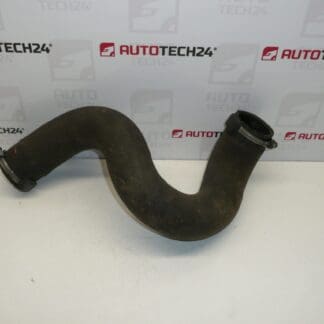
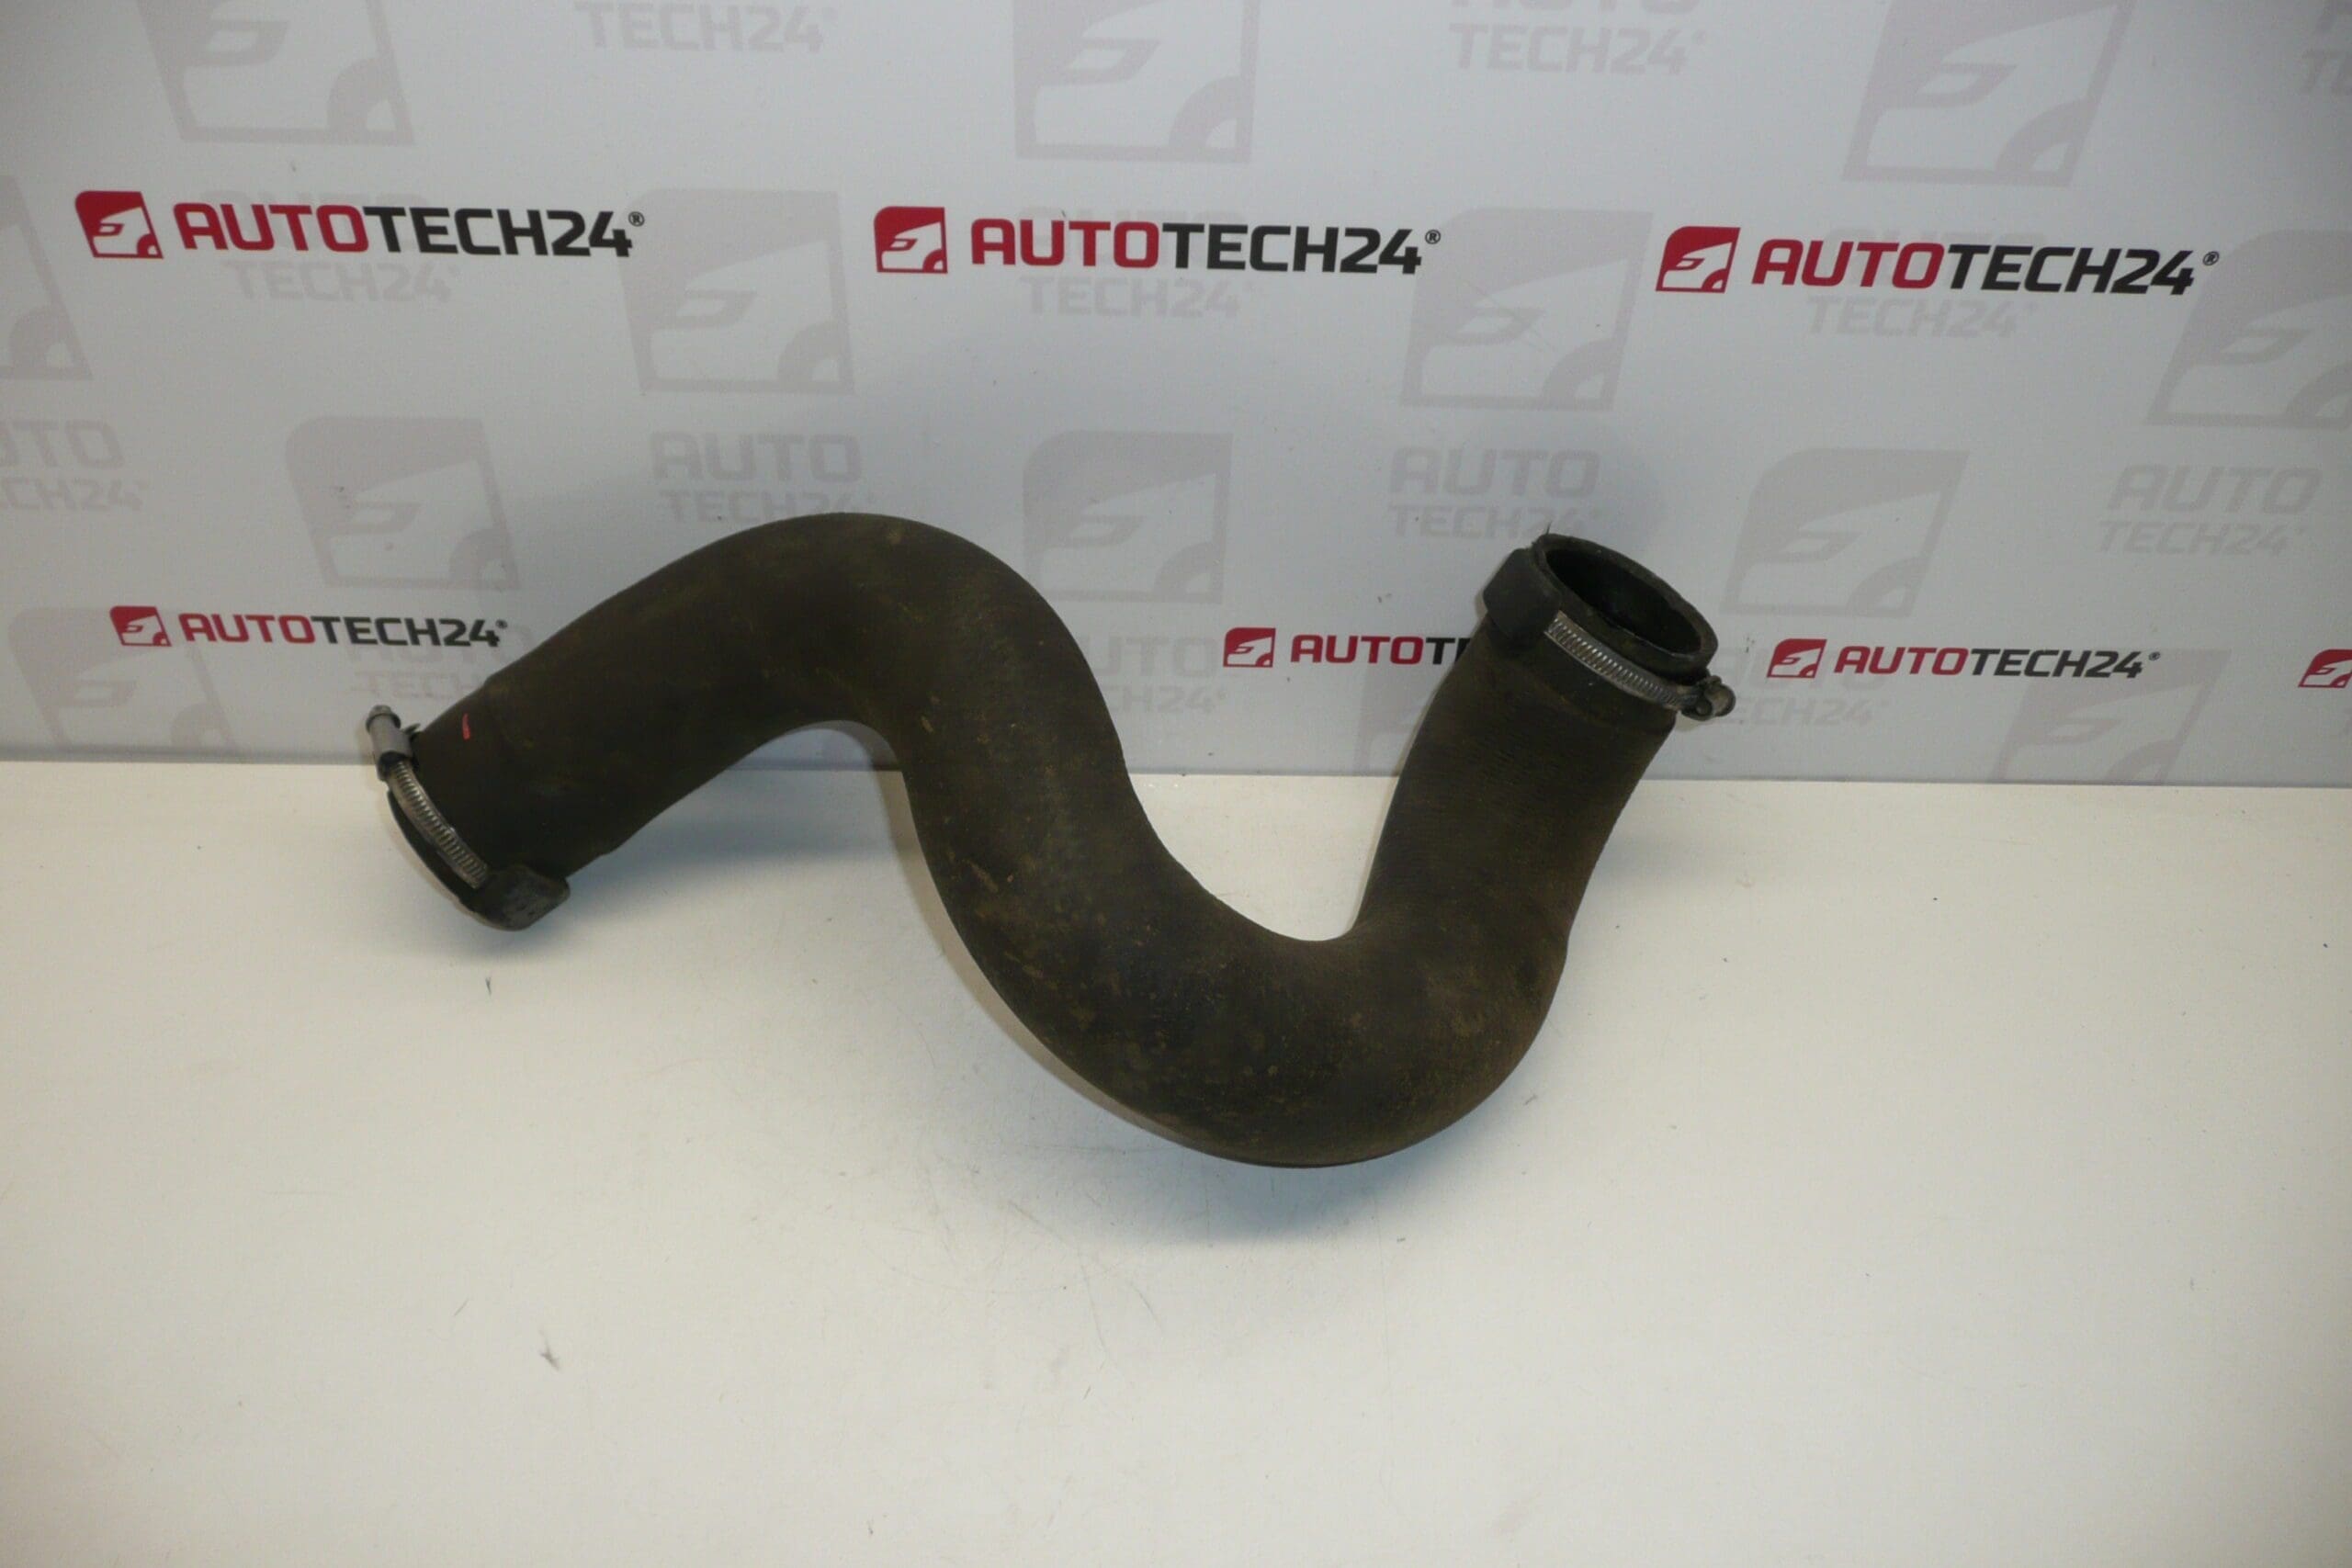
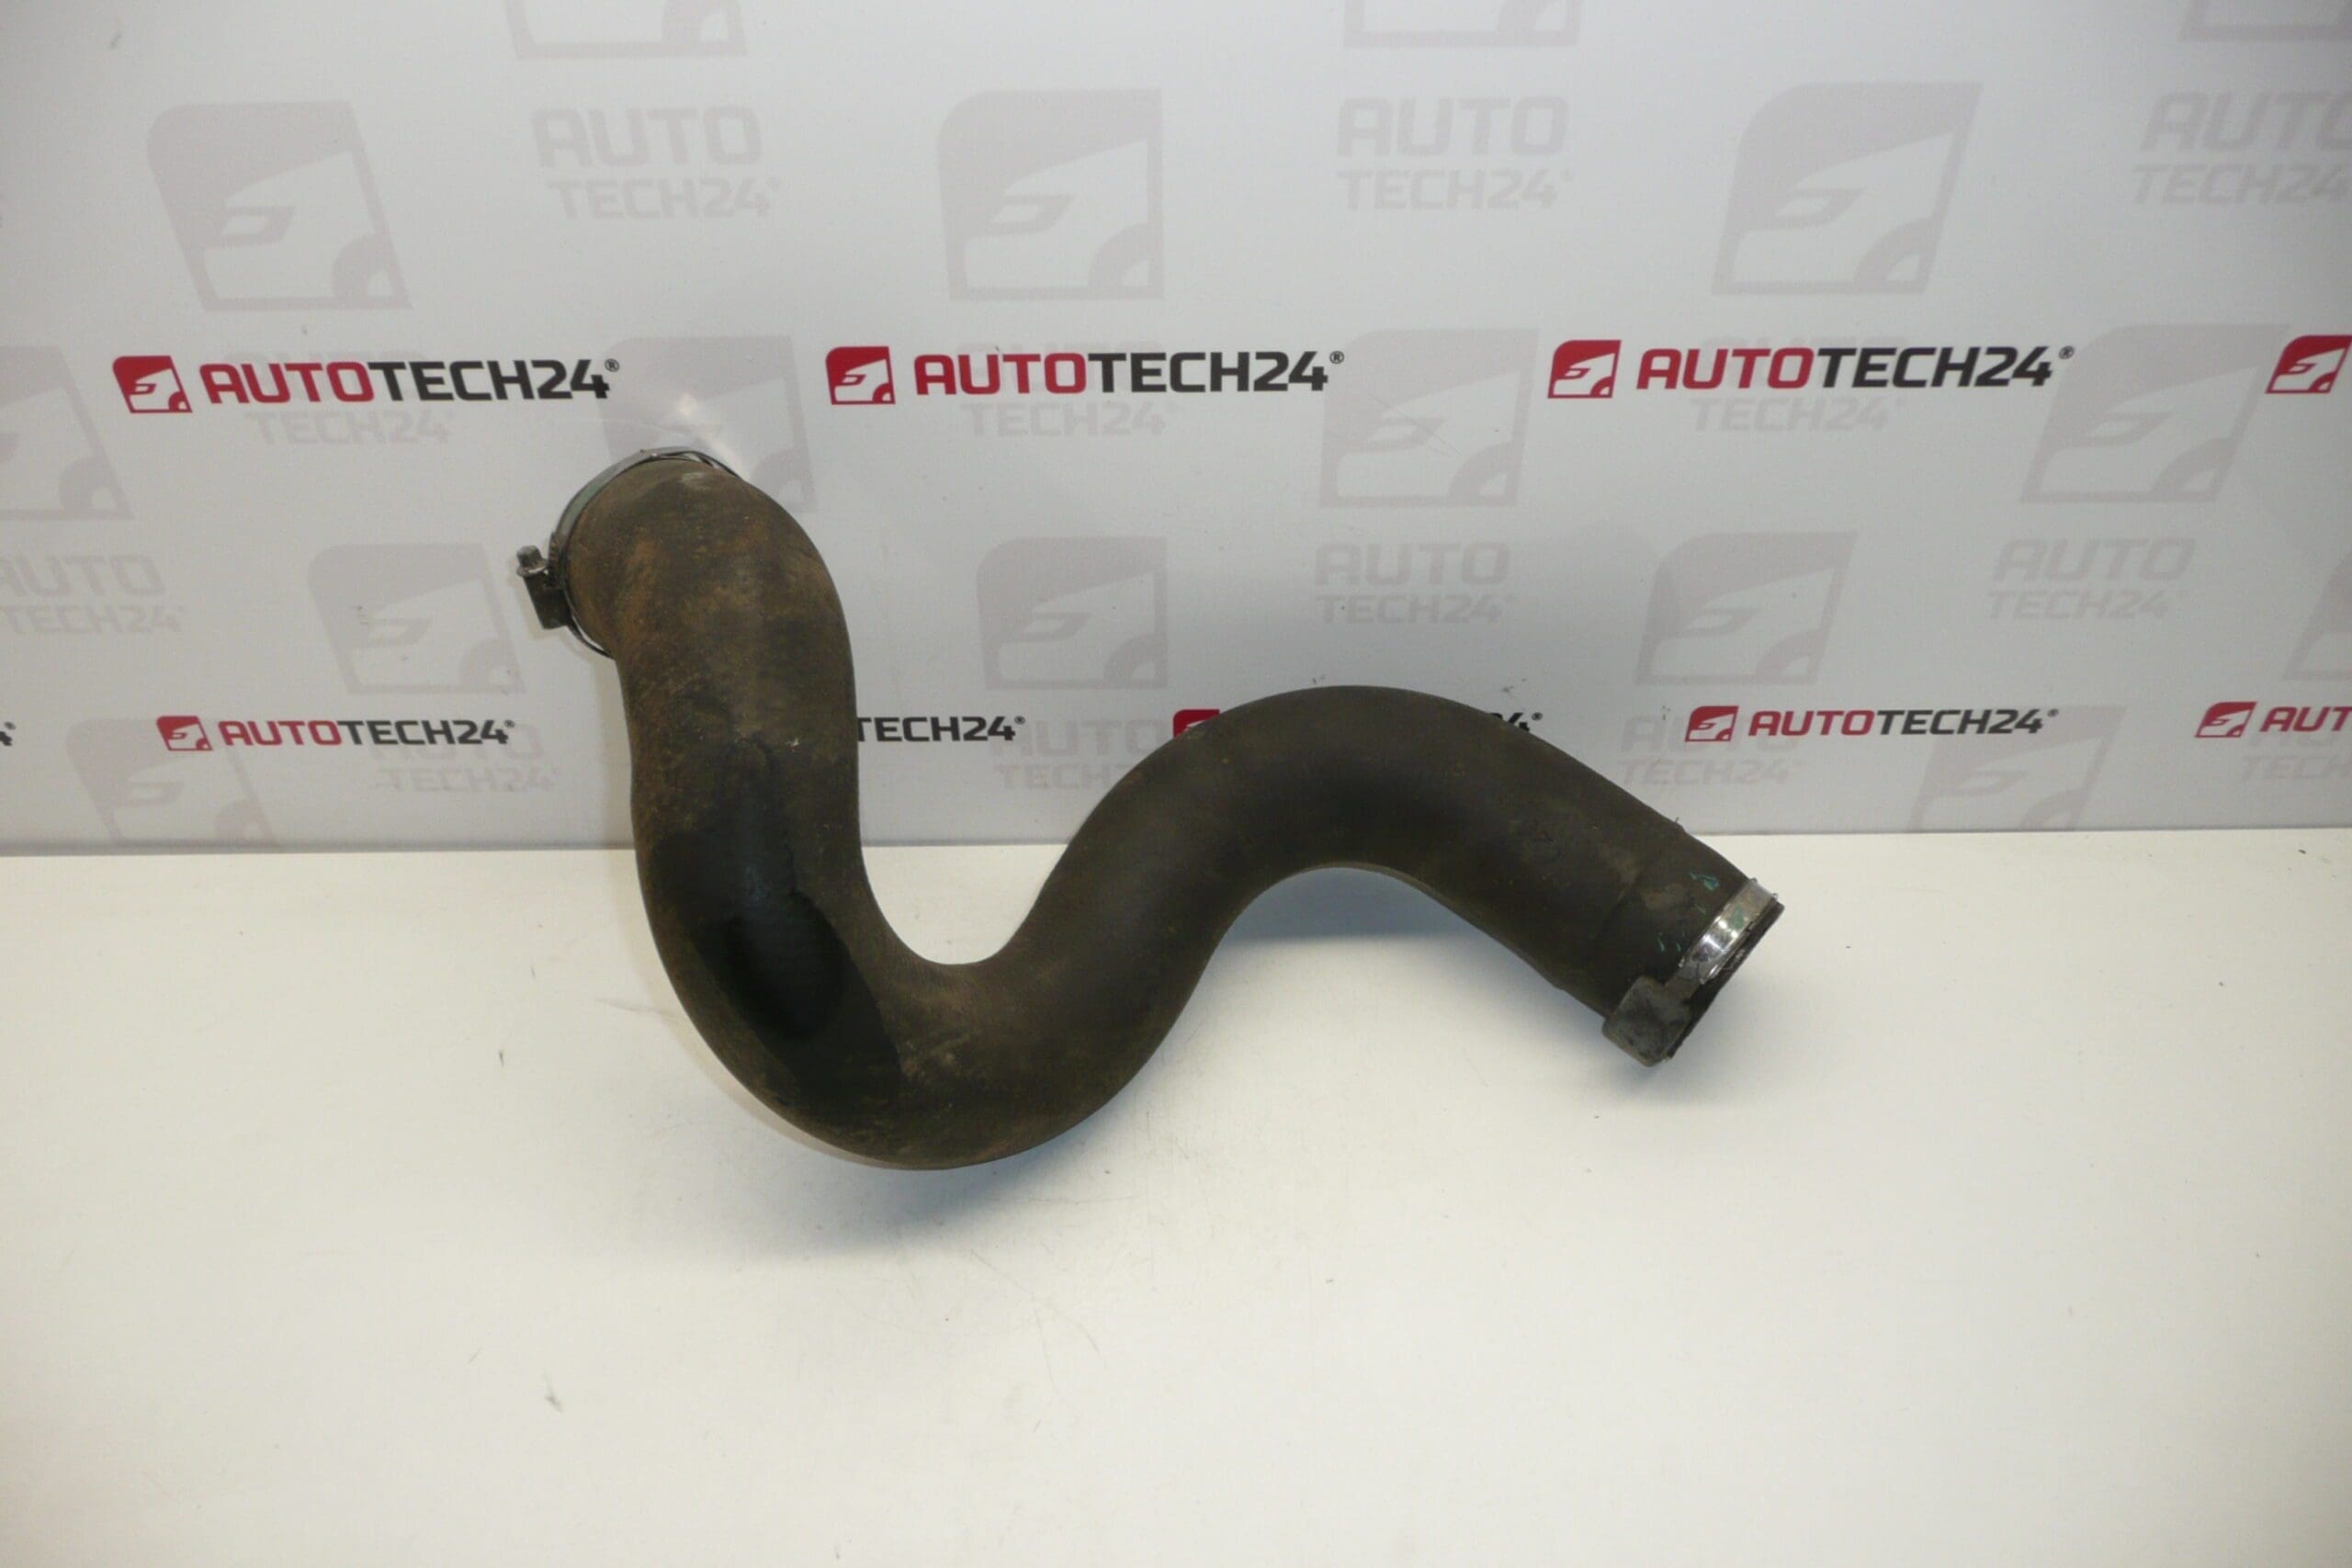
Turbo air hose for Citroën Peugeot 2.0 HDi and 2.2 HDi engines. Suitable for Citroën C5, Citroën C5 X7 or Peugeot 407.
This turbo/intercooler air hose is a direct-fit replacement designed for turbocharged 2.0 HDi and 2.2 HDi diesel engines used in Citroën and Peugeot models. It connects the intercooler to the turbocharger (or charge-air plumbing) and ensures sealed, high-volume airflow under boost. A correctly installed hose restores proper boost pressure, improves throttle response and prevents diagnostic fault codes and limp-home modes caused by boost leaks.
For professional mechanics and experienced DIYers: the hose is made to withstand engine-bay temperatures and vibration, while offering the flexibility required for mounting points on Citroën C5, C5 X7 and Peugeot 407 bodies. The part is commonly searched by code 0382LA, so include this number when locating stock.
Technical Information
- Manufacturer: Stellantis / Citroën / Peugeot
- Model: Citroën C5, Citroën C5 X7, Peugeot 407
- Product Codes: 0382LA
- Additional Numbers: No additional numbers provided
Installation Recommendations
Before fitting, inspect the new hose and compare routing to the removed part. Typical installation steps:
- Park on a level surface and allow the engine to cool. Remove any undertray or engine covers as required to access the hose.
- Loosen and remove clamps or quick-release fasteners at each end. Note clamp types and replace corroded clamps with quality worm-drive or Oetiker clamps.
- Remove the old hose carefully, checking mating pipes for damage, oil residue or corrosion. Clean mating surfaces and ensure no debris enters the intake tract.
- Install the replacement hose in the same orientation, seating it fully over the pipe ends. Fit new clamps and tighten evenly—do not overtighten plastic fittings.
- Start the engine and check for boost leaks at idle and under light load. Recheck clamps after a short test drive.
Recommended tools: set of screwdrivers or nut drivers, torque wrench for hose clamps if applicable, safety stands. Replace clamps and seals whenever corrosion or stretch is visible.
Most Common Failure Reasons
- Aging Rubber And Heat Exposure: Repeated heating and cooling cycles harden and crack the rubber, leading to splits and leaks.
- Oil Contamination: Turbocharger oil seals that leak can soak the hose, softening or degrading the material and accelerating failure.
- Clamps And Fittings Failure: Loose or corroded clamps allow the hose to slip off under boost or cause local chafing that produces holes.
- Mechanical Damage: Road debris, improper routing, or contact with sharp edges can abrade the hose.
- Excessive Boost Or Turbo Faults: Overboost conditions or turbine imbalance can place extra stress on connections and lead to premature failure.
Typical service life varies with driving conditions; hoses can last many years but should be inspected during routine maintenance or if boost-related faults or loss of power occur.
Keywords for searching: Turbo Hose, Intercooler Hose, HDi Turbo Air Hose, Citroën C5 Turbo Hose, Peugeot 407 Turbo Inlet, 0382LA.