Description
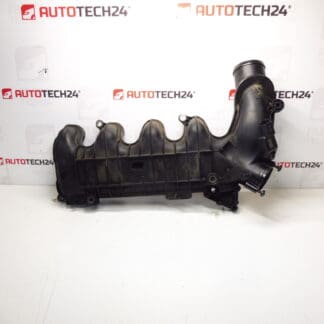
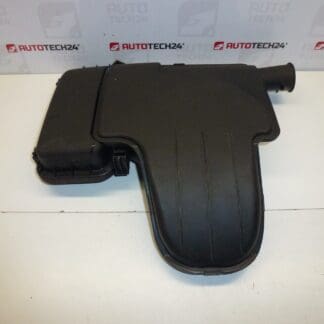
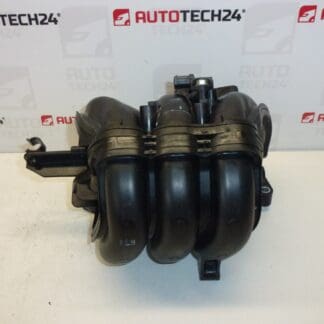
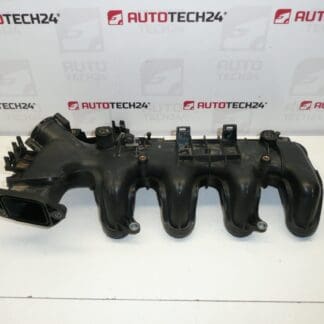
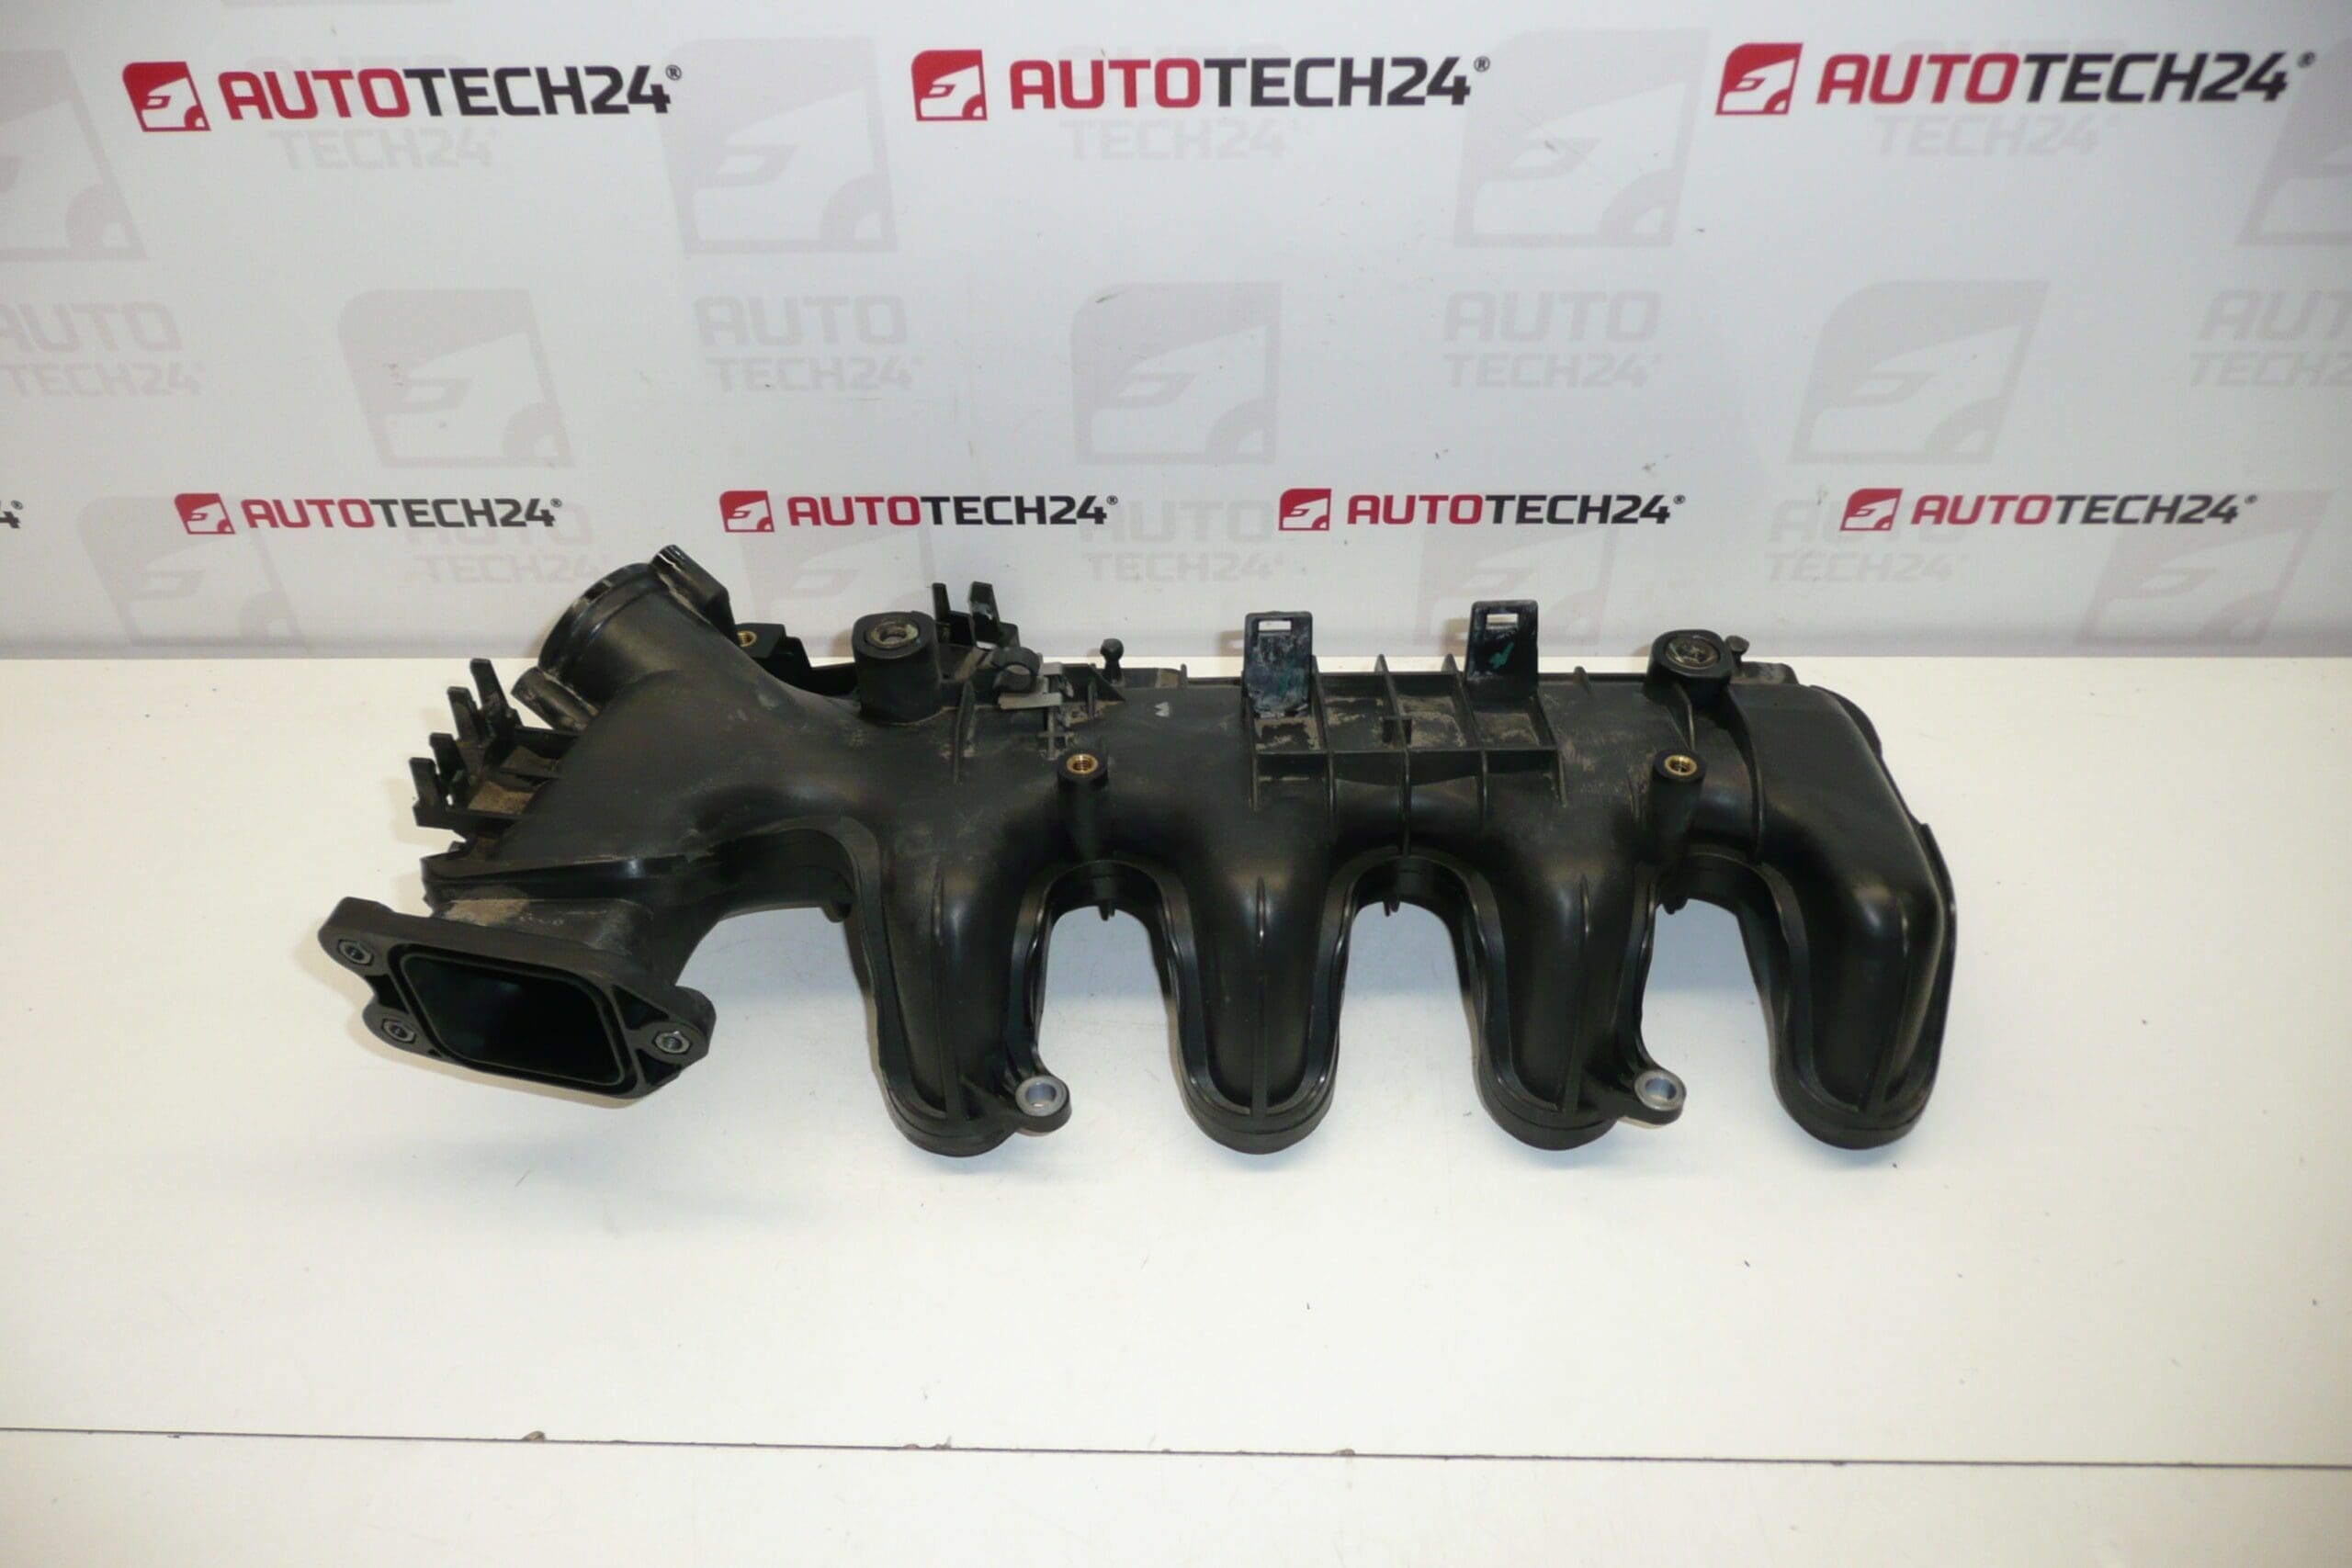
Air intake for 1.6 HDi Citroën and Peugeot engines. May become clogged with soot – cleaning required. Used, fully sealing part.
Product Overview
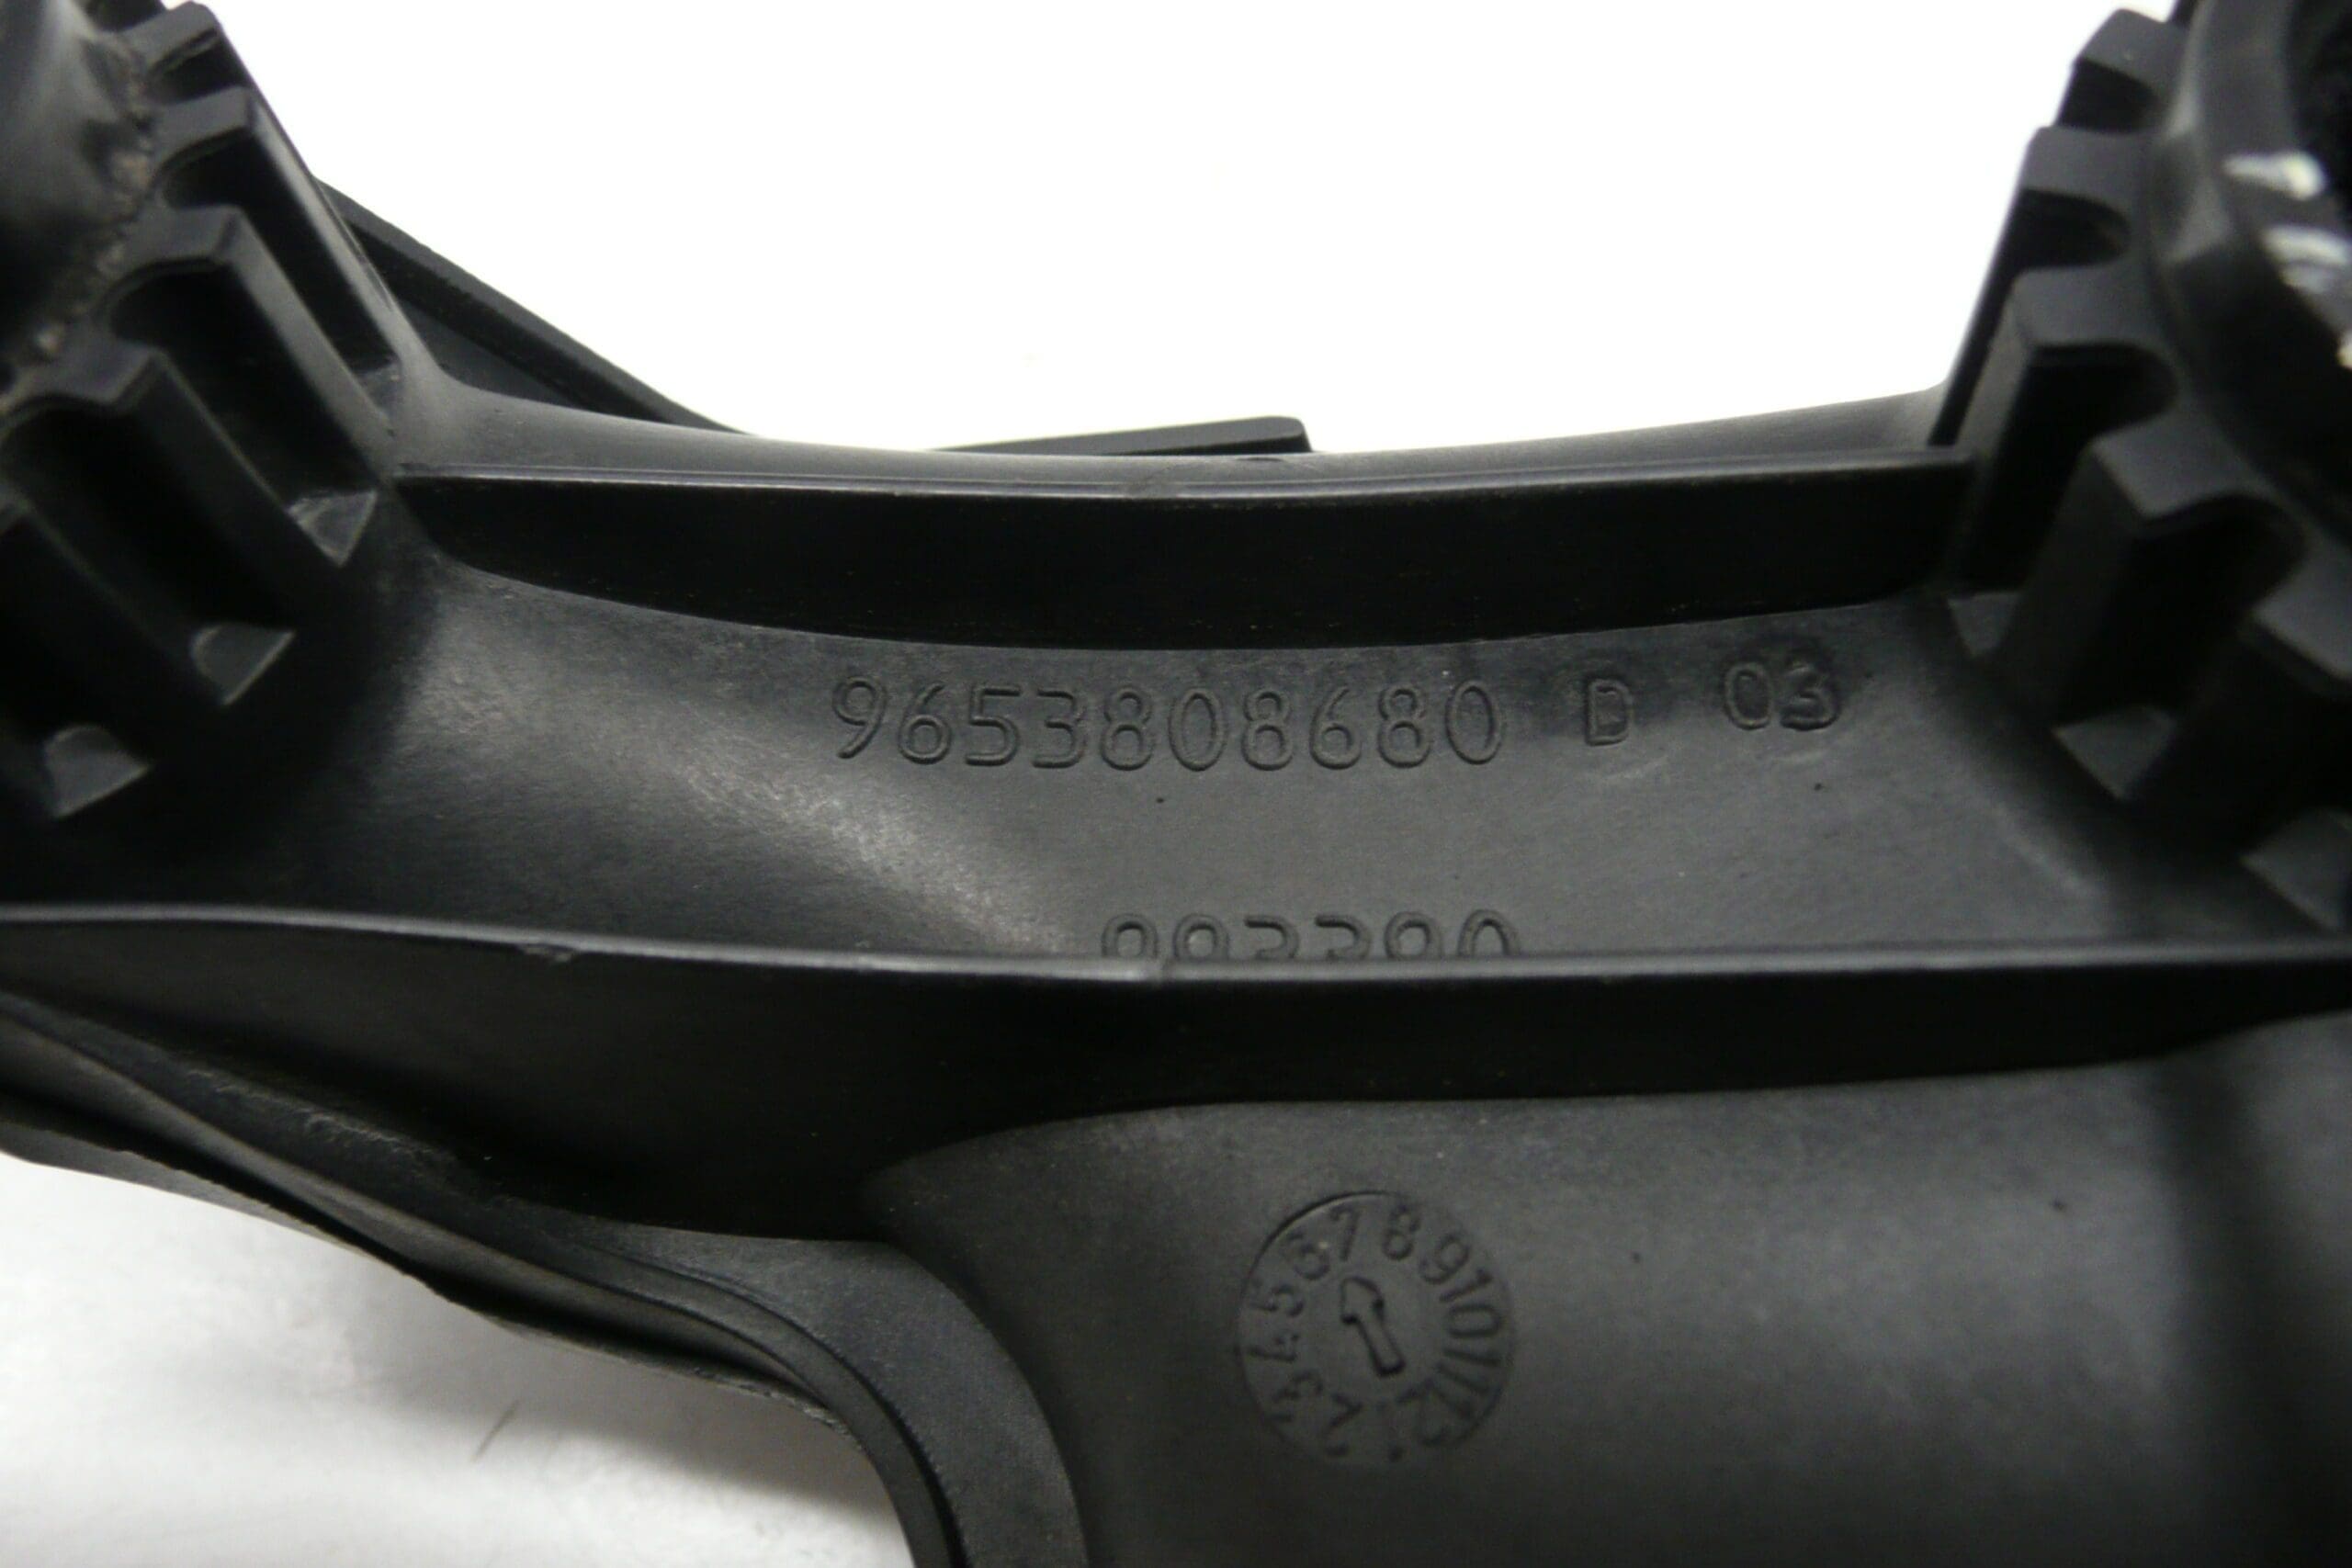
This intake manifold is designed for 1.6 HDi diesel engines used in Citroën and Peugeot vehicles. It is a direct-fit, fully sealing used unit referenced by common part numbers 9653808680, 9684941780 and code 0361N3. The component restores correct air routing to the engine, helps maintain proper boost and idle stability, and is a frequent replacement when soot accumulation or physical damage affects engine performance.
Who Should Buy
Ideal for professional mechanics and DIY enthusiasts performing engine maintenance or repairs on Citroën and Peugeot 1.6 HDi models. The part is often listed and searched by its product codes, so having the reference numbers handy speeds up ordering and fitment checks.
Technical Information
- Manufacturer: Stellantis (Citroën / Peugeot)
- Model: Vehicles Equipped With 1.6 HDi Engine (Examples: Citroën C3, C4, C5, Berlingo; Peugeot 207, 307, 308, Partner)
- Product Codes: 9653808680, 9684941780, 0361N3
- Additional Numbers: 0361N3 | 9653808680 | 9684941780
Installation Recommendations
- Disconnect the battery before starting work.
- Remove airbox and intake ducting to access the manifold. Carefully disconnect electrical connectors and vacuum lines (label hoses if needed).
- Unbolt the intake manifold from the cylinder head. Support wiring looms and sensors to avoid damage.
- Clean mating surfaces thoroughly. Remove soot and carbon deposits around the intake and EGR passages to prevent premature recontamination.
- Replace the intake gasket and any worn vacuum nipples or hoses. Do not reuse damaged seals.
- Refit the manifold and tighten bolts to the manufacturer’s torque specification and sequence.
- Reconnect sensors, vacuum lines and air ducting. Reconnect the battery and run the engine to check for leaks and proper operation.
- Recommended Tools: Socket/Torx set, Torque wrench, Screwdrivers, Cleaning brushes or suitable intake cleaner.
Most Common Cause Of Failure
The primary reason intake manifolds on 1.6 HDi engines fail or require service is soot and carbon buildup from the EGR system, which restricts airflow and can block passages. Other common issues include cracking or deformation of plastic components caused by heat cycling, broken or brittle vacuum nipples, and degraded sealing surfaces or gaskets that lead to air leaks, rough idle, loss of boost and fault codes.
Why Choose This Part
Using a properly sealing intake manifold with correct OEM reference numbers ensures reliable air delivery and helps eliminate vacuum leaks and related drivability problems. The listed part numbers make it easy to match the item with service records or parts catalogs, accelerating repair time in professional workshops and home garages alike.
Order Notes
Search by part number 9653808680, 9684941780 or code 0361N3 to find this unit quickly. Suitable for replacement on many Citroën and Peugeot models equipped with the 1.6 HDi engine—inspect the old part for soot accumulation and cracked outlets when diagnosing intake-related issues.