Description
Right rear window pull mechanism for CITROEN C5 01-07
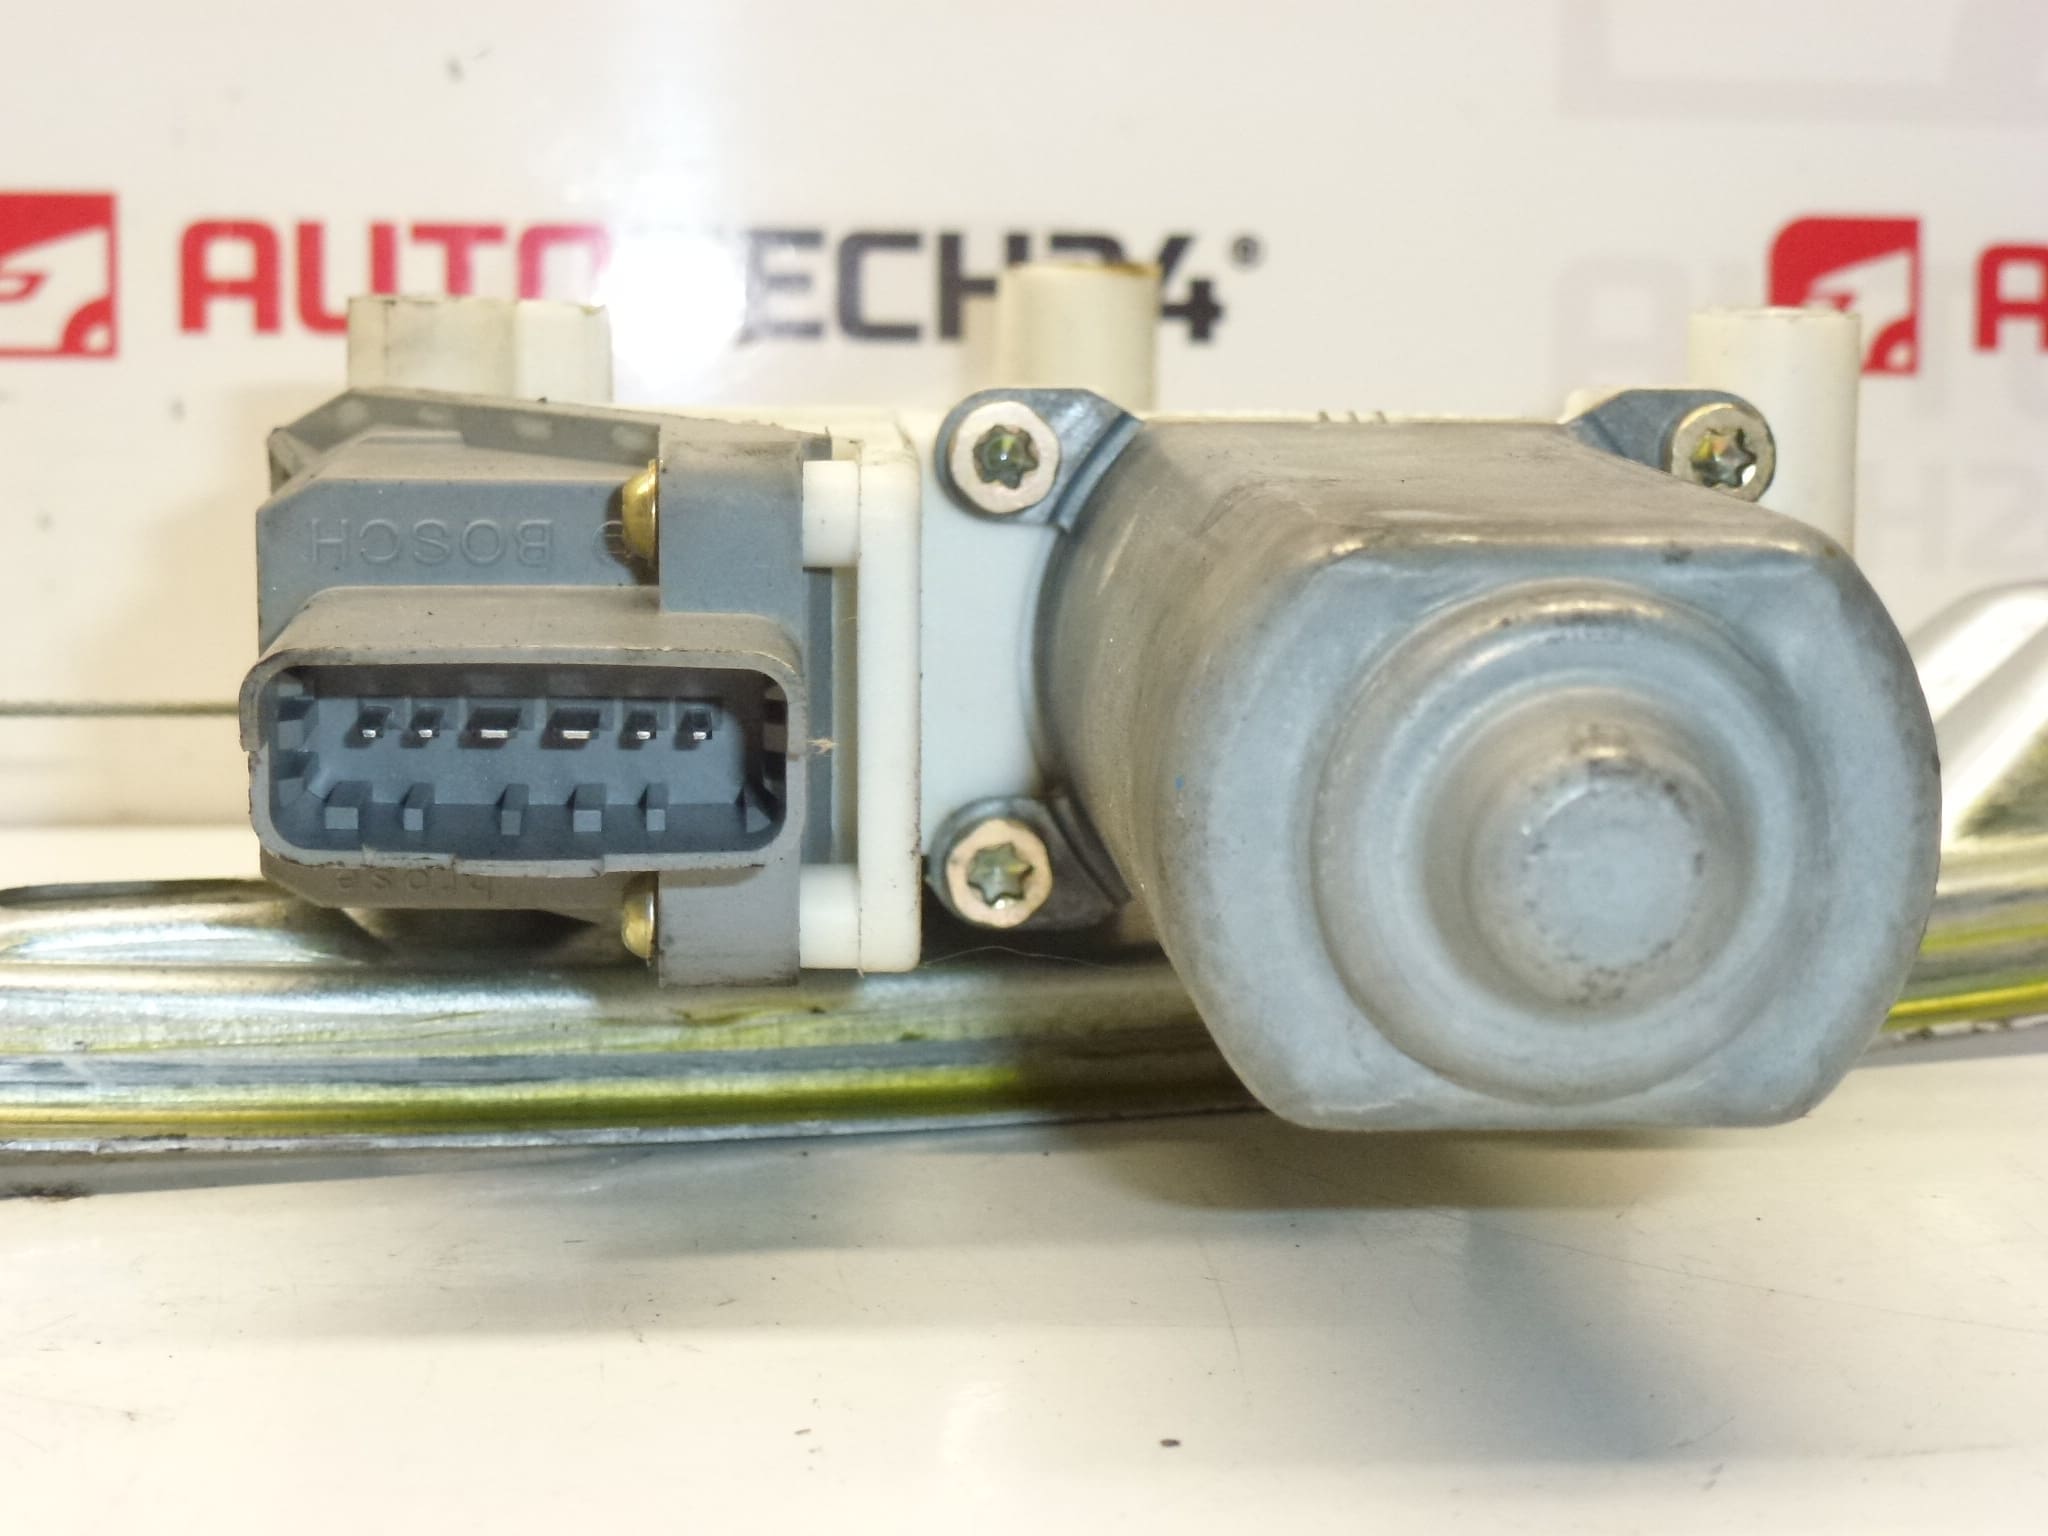
Part description
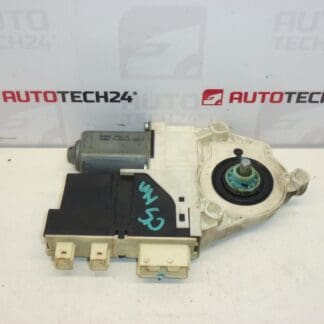
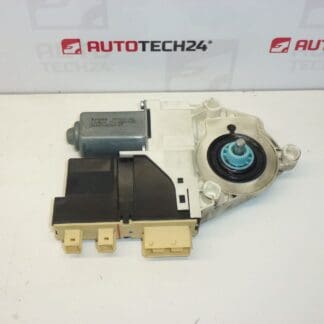
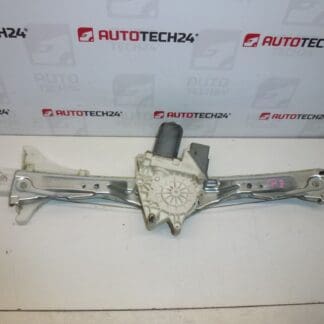
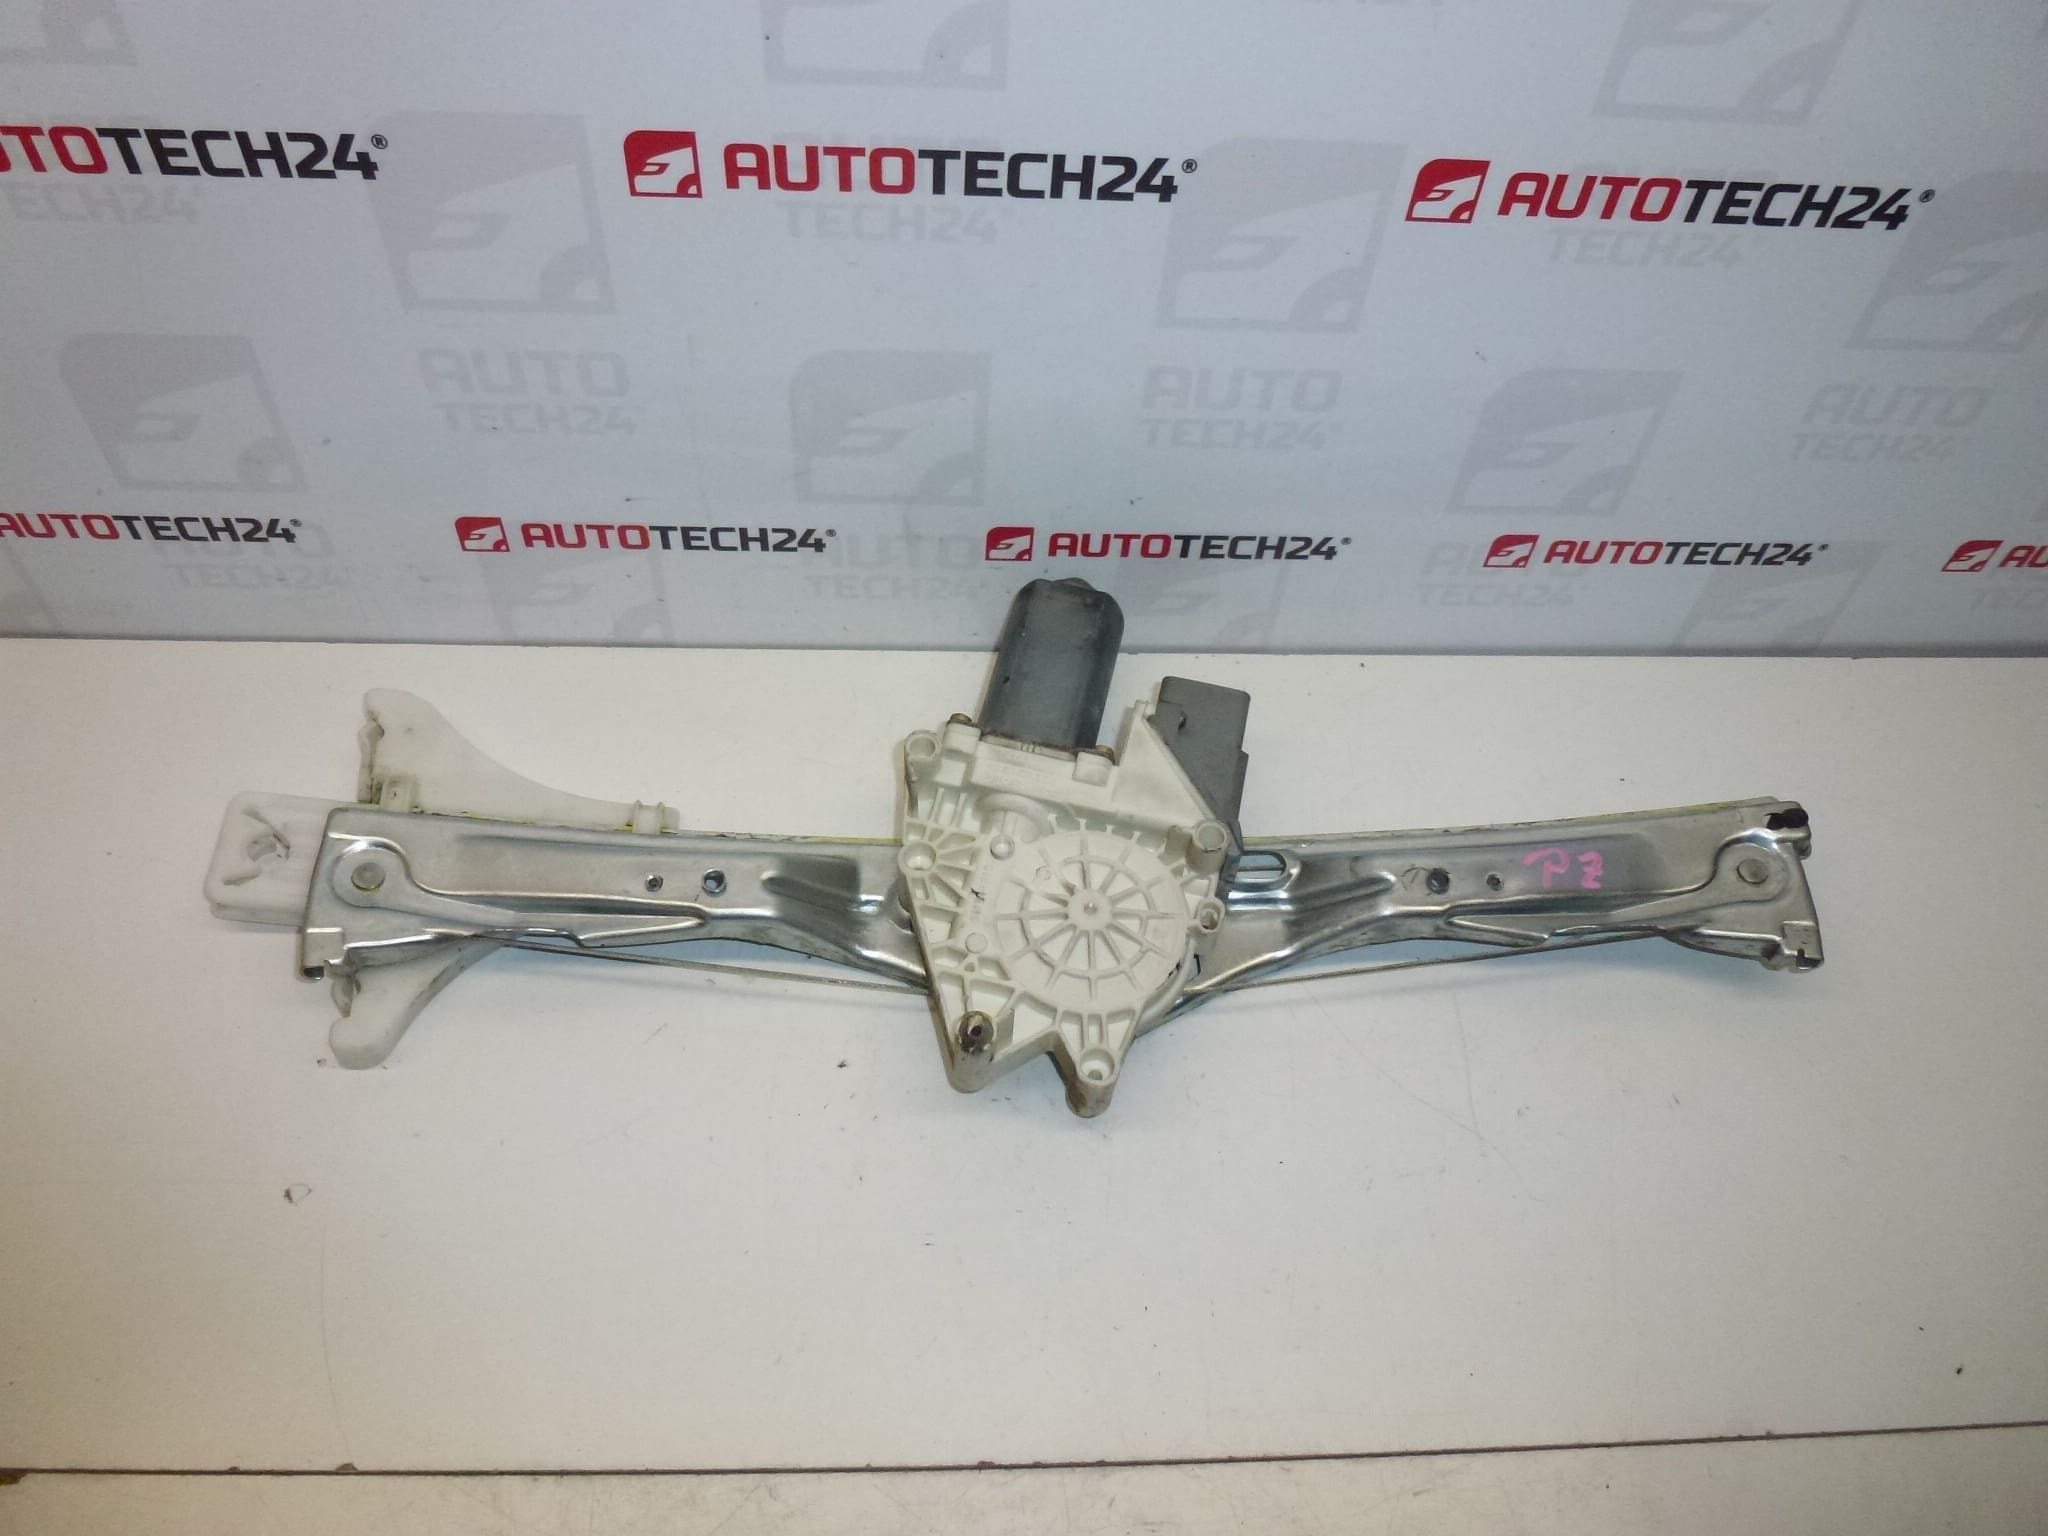
Used Rear Right Window Winding Mechanism designed for Citroën C5 (01-07). It is an important part of the puller, which ensures smooth movement of the glass when pulling and pulling out the window. If the window falls, bends, becomes stiff or doesn’t move at all, the mechanism (guiding system/cable/travel) is often the culprit.
To make the right choice, the key is to compare the design with the old part and follow the product number 922467, which mechanics often look for.
Technical information
- Manufacturer: Stellantis (Citroën / Peugeot)
- Model: Citroën C5 (01-07)
- Other numbers: not specified
Product codes
- Product codes: 922467
Installation recommendations
Generally/typically for the window roll-down mechanism, the exact procedure may vary depending on the specific door design and vehicle equipment. Below is a practical procedure commonly used for this type of part.
1) Before assembly
- Compare the new and original mechanism: shape, mounting, routing, connection type (if part of the assembly), orientation for the right rear door.
- Check the condition of the part: for cracked runners, deformed guide parts or signs of binding.
- If the glass is out of line or has fallen, secure it against falling before disassembly.
2) Necessary tools and materials
- Basic set of screwdrivers and bits (according to the used connecting material in the door)
- Pry/trim tool for removing upholstery
- Pliers or a small ratchet wrench
- Protective gloves, glass securing tape
3) Step-by-step assembly procedure
- Turn off the ignition and secure the car against movement.
- Remove the interior door trim (careful not to damage the handles).
- Remove the cover film/door protection so that it will fit correctly again after assembly.
- Secure the glass in the upper position (e.g. with tape) so that it does not fall when the mechanism is released.
- Release the attachment of the glass to the mechanism (according to the design) and leave the glass securely secured.
- Unscrew the fixing of the mechanism in the door and remove the original mechanism through the service opening.
- Insert the new mechanism into the door in the same orientation and lightly clamp it first.
- Sit the glass into the guide and reconnect it to the mechanism (no force; the glass must sit straight).
- Tighten the fixing of the mechanism and check that nothing rubs and the line is clean.
- Do a test run of the window (slowly, checking for even movement).
- Put back the cover film/protection and then install the door trim.
-
4) Post-assembly checks and test drive/function verification
- Verify smooth movement of the window in its entire range (without warping, stuttering and unusual noises).
- Check the tightness and correct fit of the upholstery and protective film.
- After a short drive, listen to the door again (rattles may indicate bad mounting or guidance).
5) The most common assembly mistakes + how to avoid them
- Unsecured glass → risk of falling and breaking; always secure the glass before releasing the attachment.
- Crooked seating of the glass in the guide → the window gets stuck; align everything and test the operation before tightening.
- Damage to upholstery/clips → use trim tools and be patient.
- Wrongly returned protective film → increased risk of leakage into the door; pay attention to the correct seating.
Reasons why the part is damaged
- Material fatigue and wear of the carriage and guide parts due to age and frequent use.
- Increased resistance due to dirty/damaged guide rails or crooked glass guidance.
- Moisture and corrosion in the door area, which impairs the operation of the mechanism.
- Forcible operation of the window (e.g. when the glass is frozen) leading to overloading and damage to the mechanism.