Description
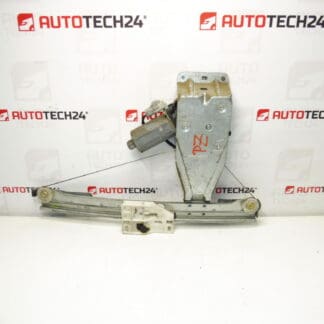
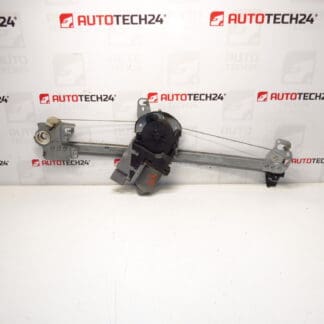
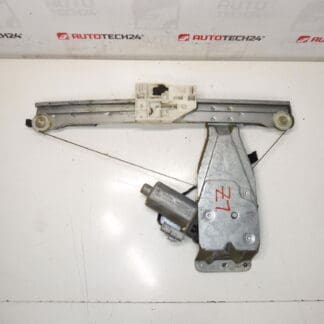
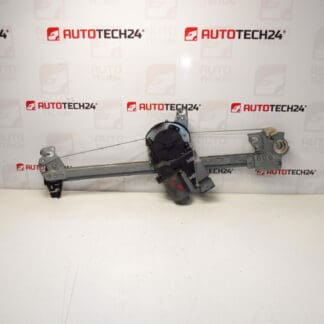
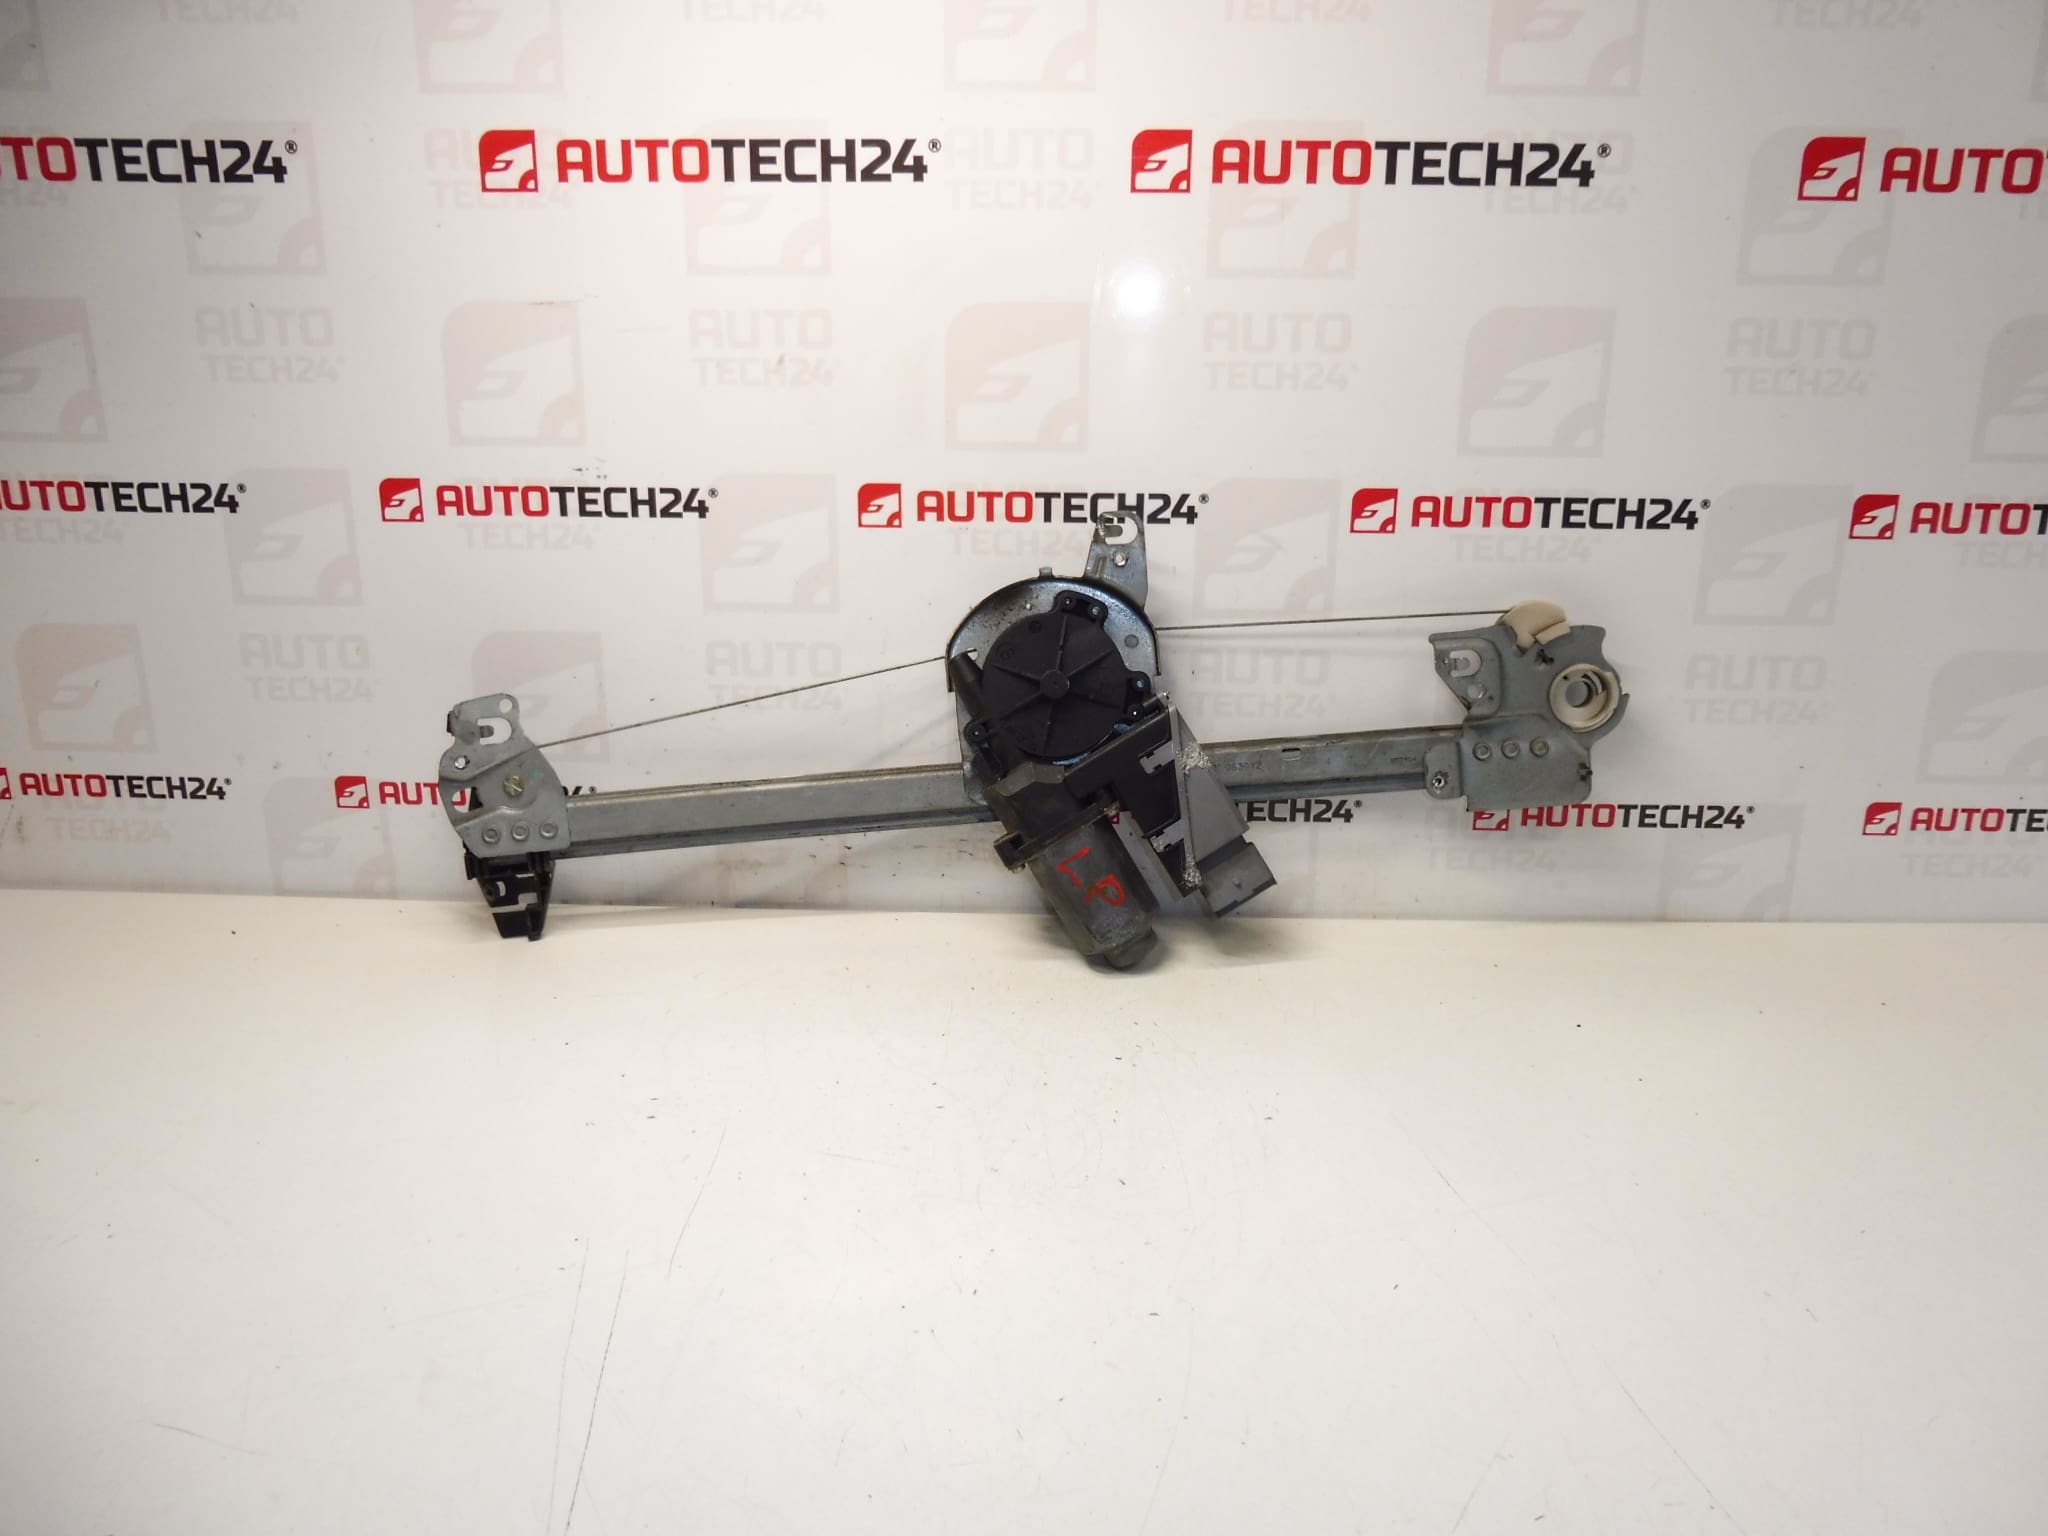
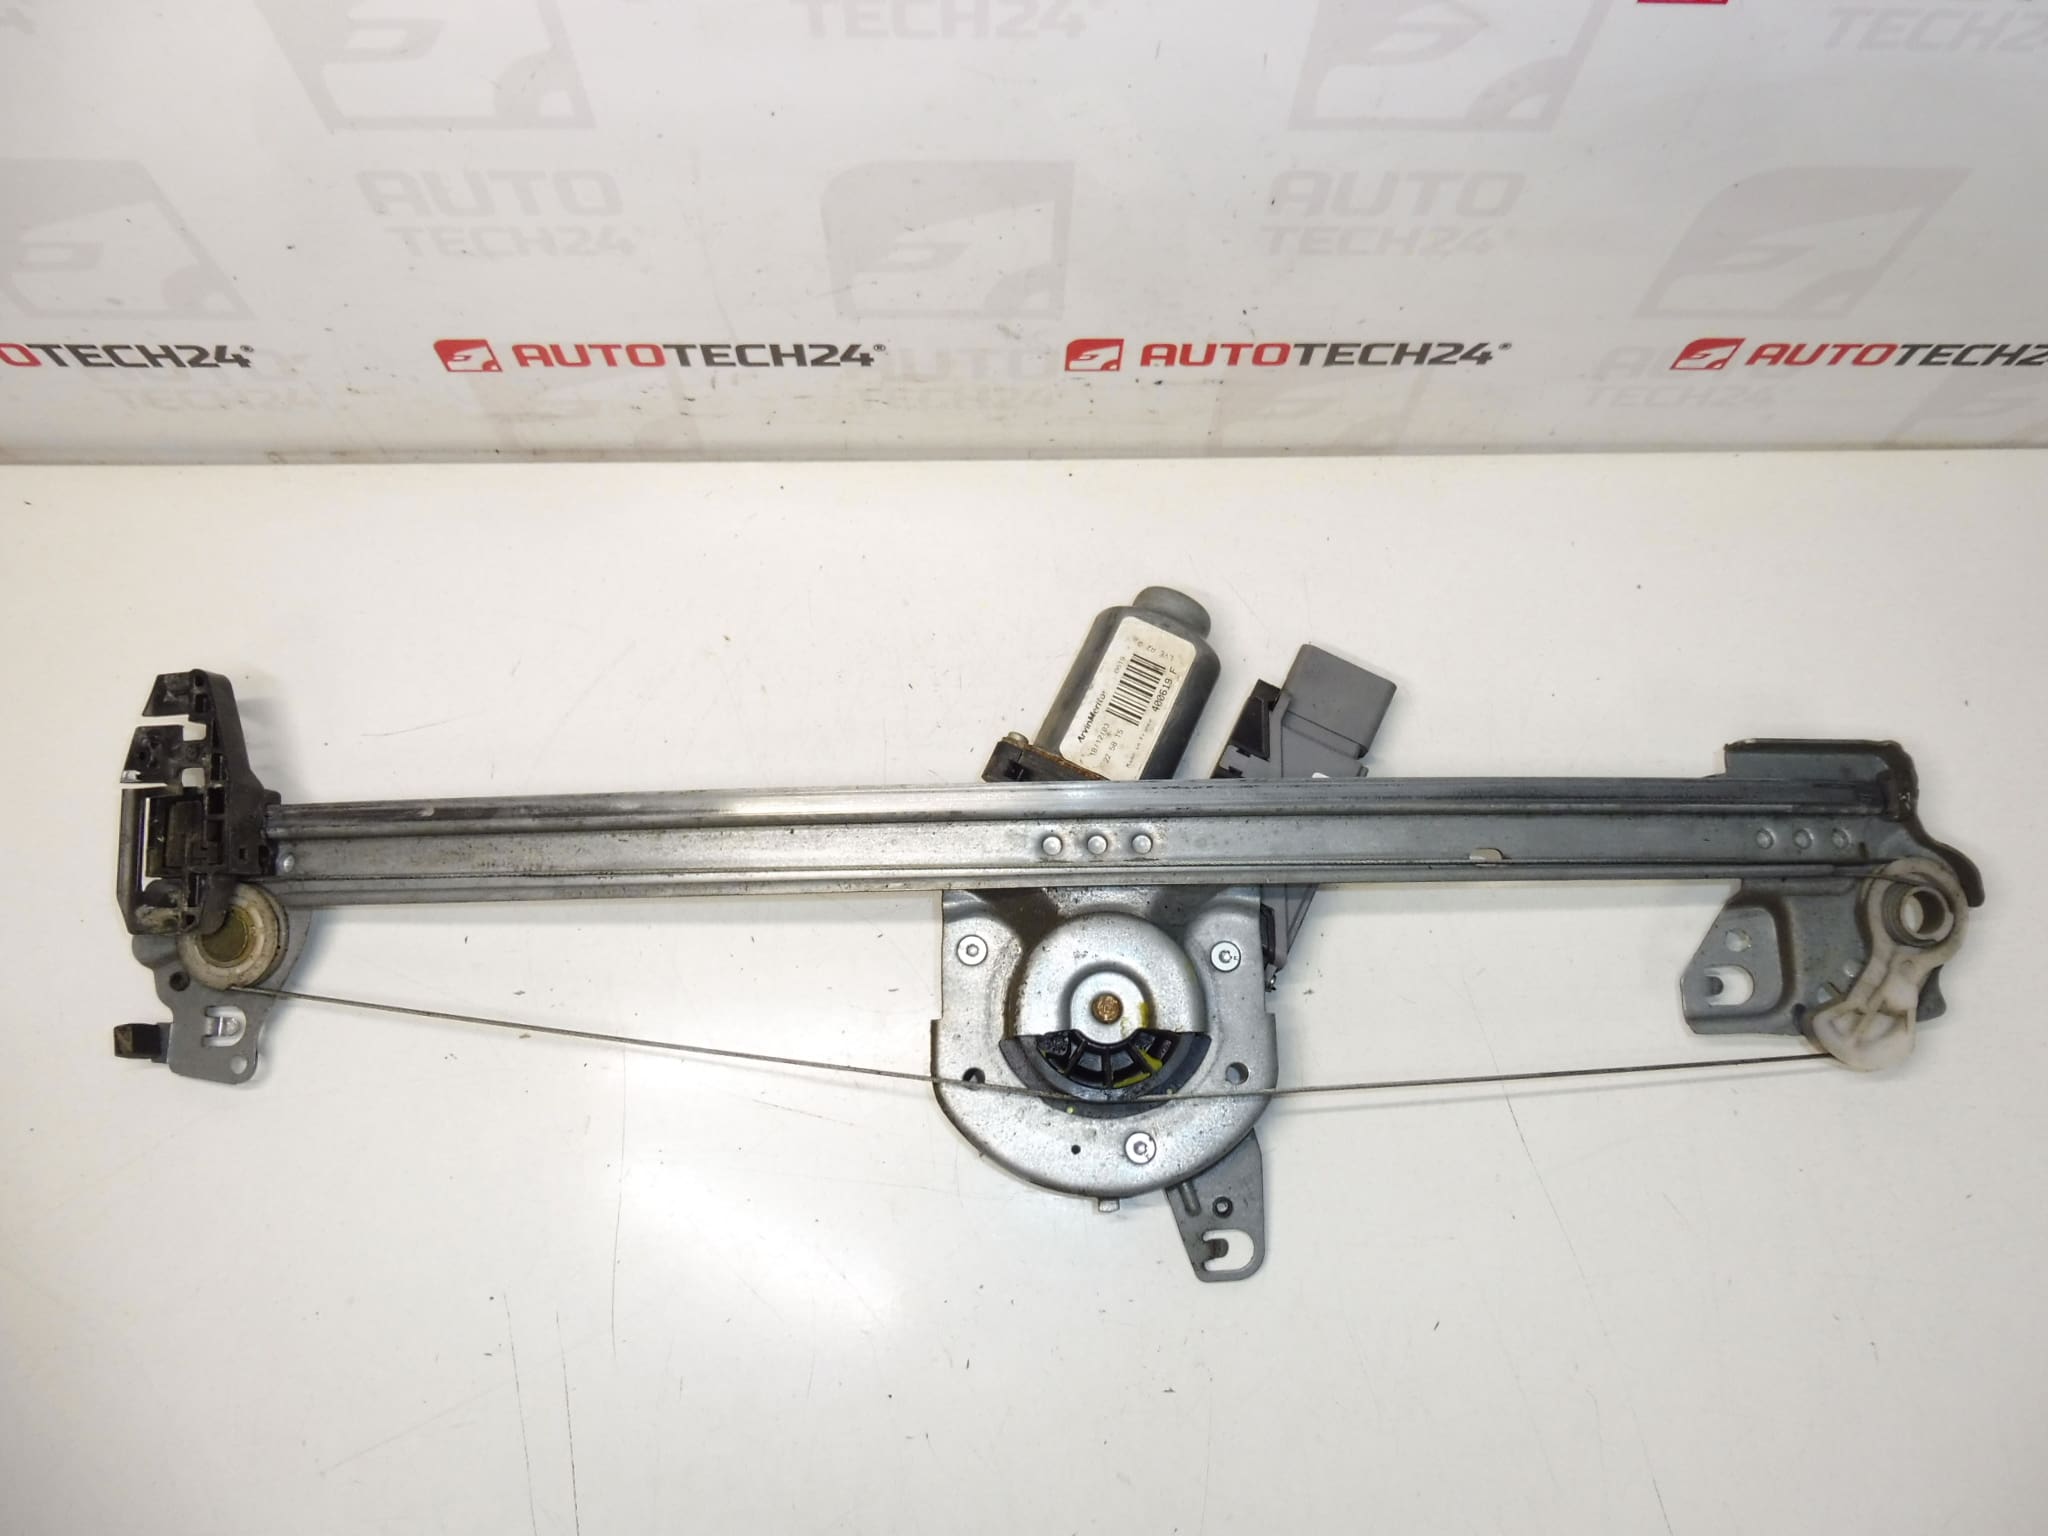
Left Front Window Regulator Mechanism For CITROËN C3 First Model With Sequential Run-On Function Driver’s Door
This electric left front window regulator is a direct-fit replacement for the Citroën C3 (first generation) driver’s door, equipped with the sequential run-on function. Ideal for professional workshops and DIY mechanics, the unit restores reliable up-and-down movement, smooth guidance and correct electrical operation. Commonly searched by OE and aftermarket codes (400616, 400619, 9221AQ, 1689040180), this mechanism is designed to match factory mounting points and electrical connectors for quick installation and dependable service life.
The mechanism transfers motor torque to the glass via a guided cable/gear assembly and mounting brackets. Its role is to raise and lower the door glass smoothly while maintaining alignment and preventing rattles. If a complete motor-and-regulator replacement is required, fitting this part returns original functionality including the sequential run-on feature that controls the final travel of the window.
Technical Information
- Manufacturer: Stellantis (Citroën/Peugeot)
- Model: Citroën C3 (First Generation) – Left Front / Driver’s Door
- Product Codes: 400616, 400619, 9221AQ, 1689040180
- Other Numbers: 963912
Installation Recommendations
- Prepare Tools: Trim removal tools, Torx/Screwdriver set, ratchet with sockets, and a support for the glass.
- Safety First: Disconnect the vehicle battery before unplugging the window motor connector to avoid short circuits and unexpected movement.
- Remove Door Trim: Carefully remove the door card and any vapor barrier to access the regulator. Keep fasteners organised for reassembly.
- Support The Glass: Secure the window glass in the up position (tape or a wedge) or detach and support it on the regulator carrier before unbolting the old unit.
- Swap Unit: Unplug electrical connectors, remove the regulator mounting bolts, and replace with the new mechanism. Check connector engagement and wiring routing to avoid pinching.
- Test Operation: Reconnect the battery temporarily and cycle the window several times to confirm smooth travel and correct alignment before reassembling the door trim.
- Finish: Reinstall vapor barrier and door panel, ensure seals are seated and door drainage paths are clear to prevent water ingress.
Why This Part Usually Fails
- Cable Or Gear Wear: Repeated use causes cable fraying or plastic gear wear, leading to slipping or loss of movement.
- Motor Wear: The electric motor can degrade over time, producing less torque or failing intermittently.
- Water Ingress And Corrosion: Door seals or blocked drain holes allow moisture in, accelerating corrosion of mechanical parts and electrical connectors.
- Broken Plastic Components: Clips, sliders or guide pieces made of plastic can fracture from stress or age, causing misalignment and jamming.
- Electrical Issues: Poor connector contact, wiring damage or switch faults can mimic regulator failure while affecting operation.
For workshops and competent DIYers, replacing the regulator with a correctly coded unit restores factory behaviour and reduces the risk of future failures when installed following standard safety and alignment checks. Use quality fasteners and ensure water channels are unobstructed to maximise service life.