Description
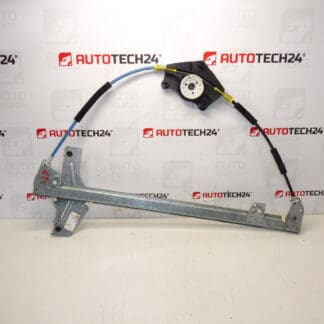
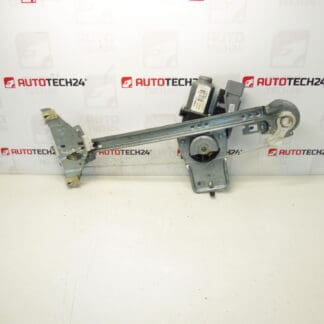
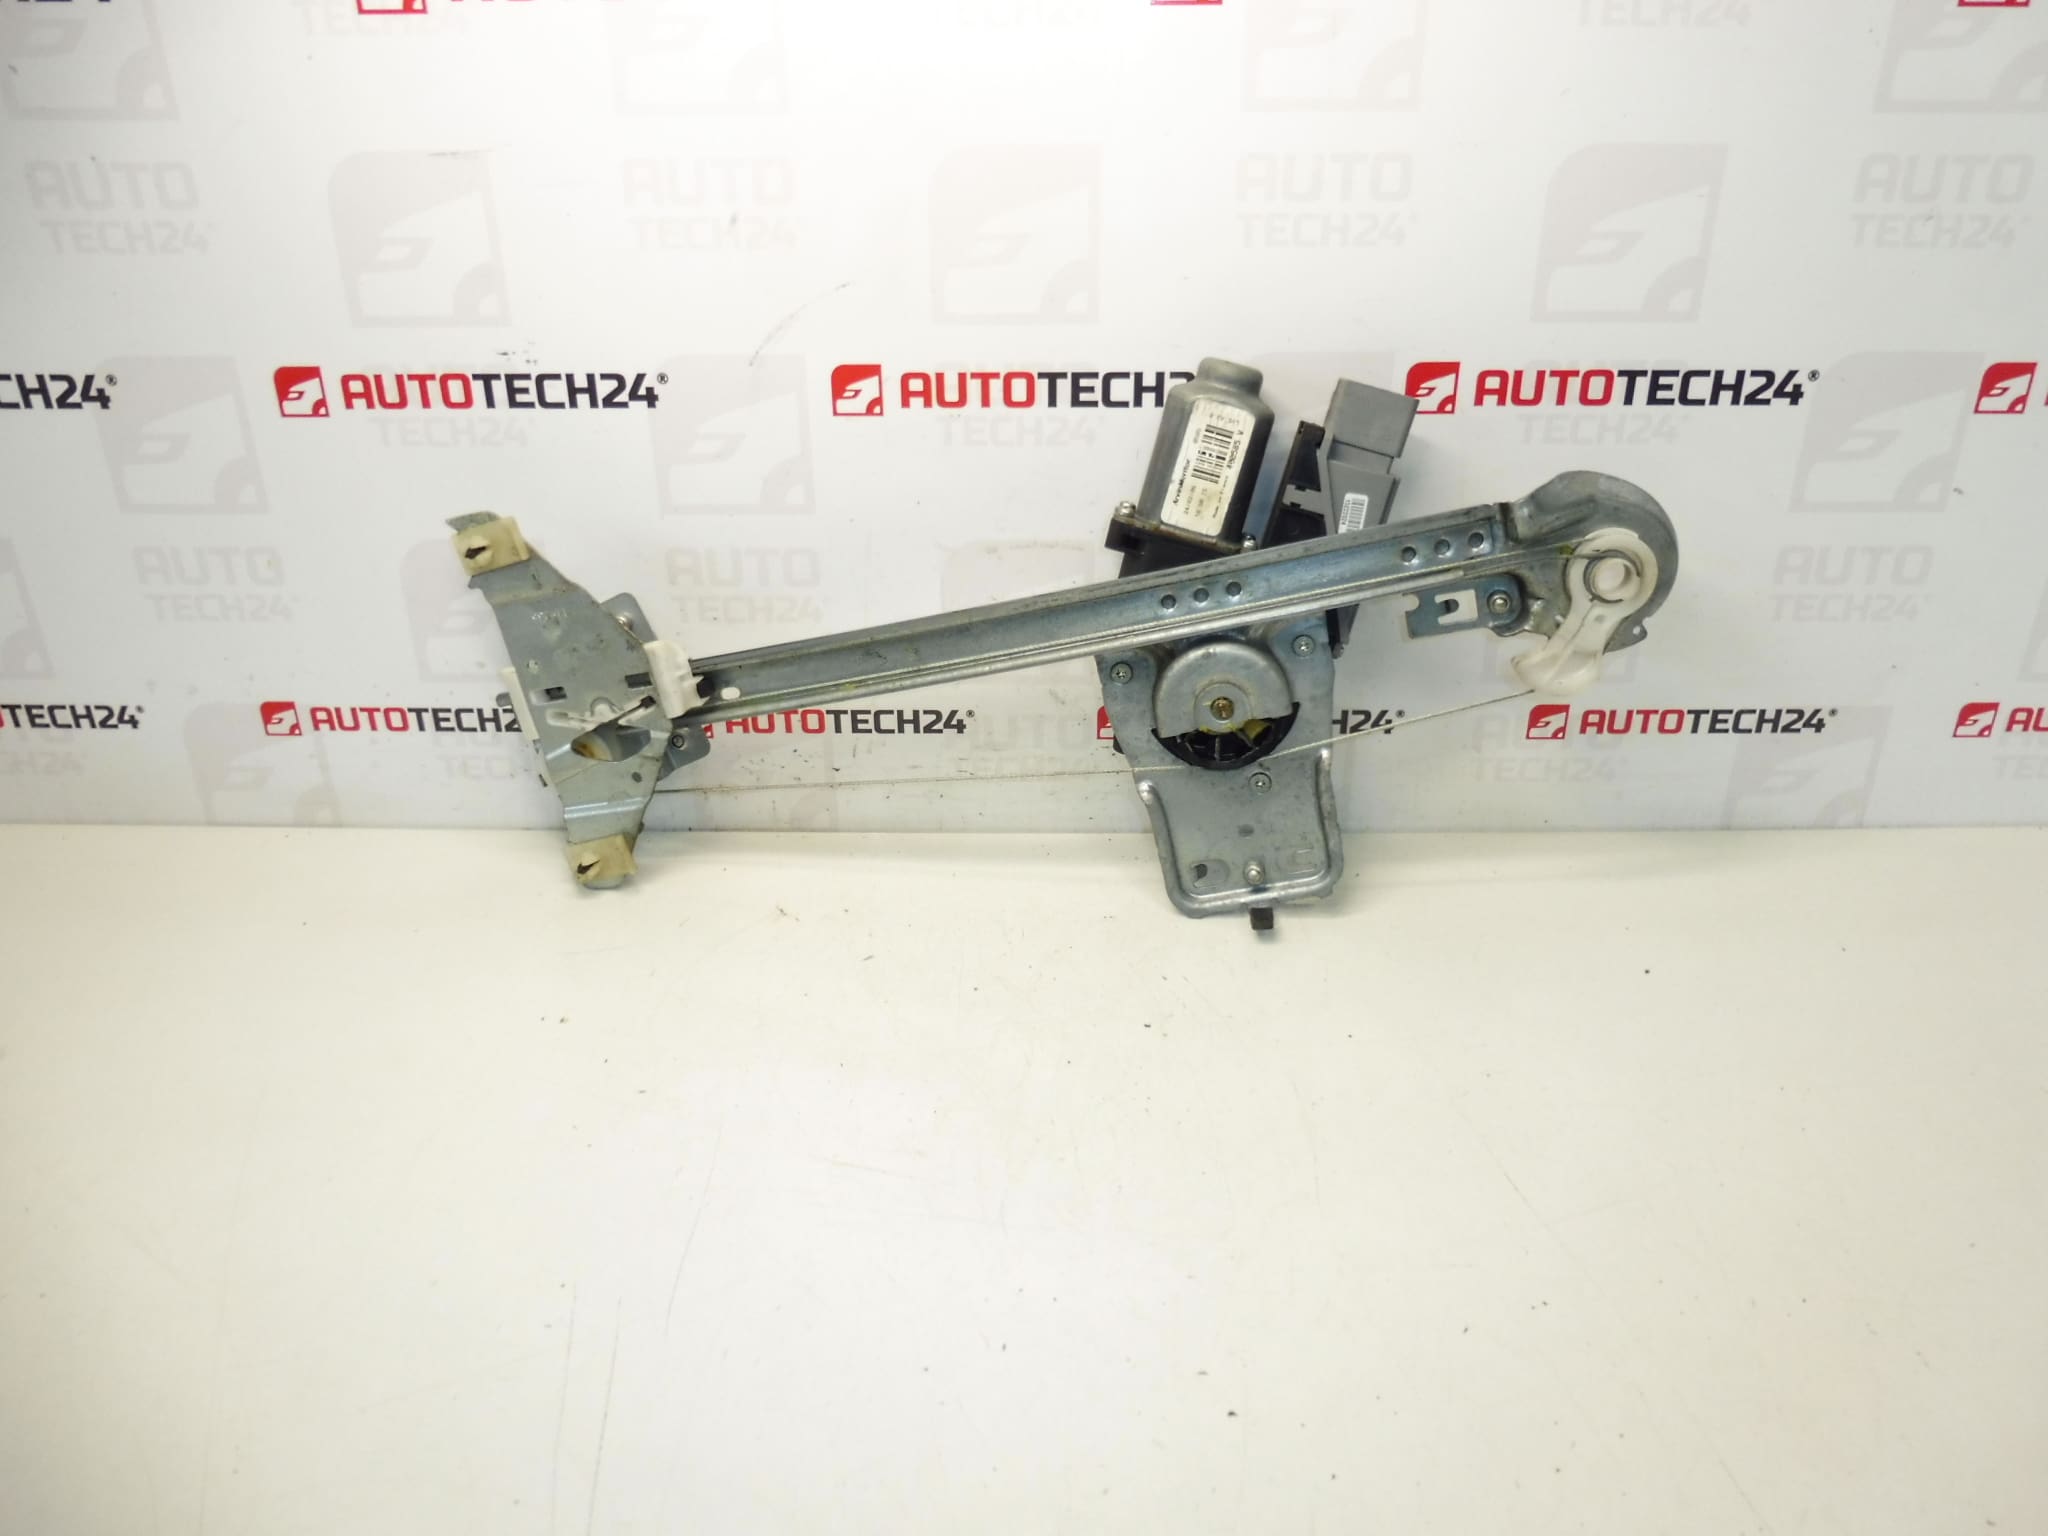
Lower left rear window mechanism for PEUGEOT 307 5 doors
Door behind the driver
Part description
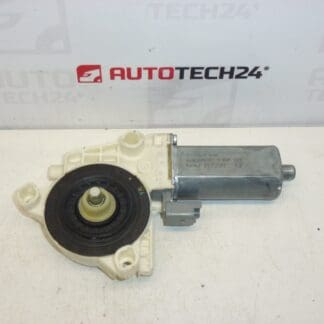
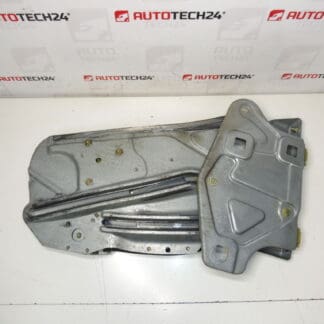
This used Peugeot 307 window pull-down mechanism is intended for the left rear window and corresponds to the design for the 5-door body. It is a part that ensures the correct movement of the window when pulling in and out, and is important for the problem-free operation of the door and comfort during daily use of the car.
The part is also searchable by product designations 400585V and 9223A2, making it easier to find the right part when repairing or replacing the original damaged mechanism. It is especially suitable for mechanics and owners of Peugeot cars who are looking for an original used car part at a reasonable price.
Technical information
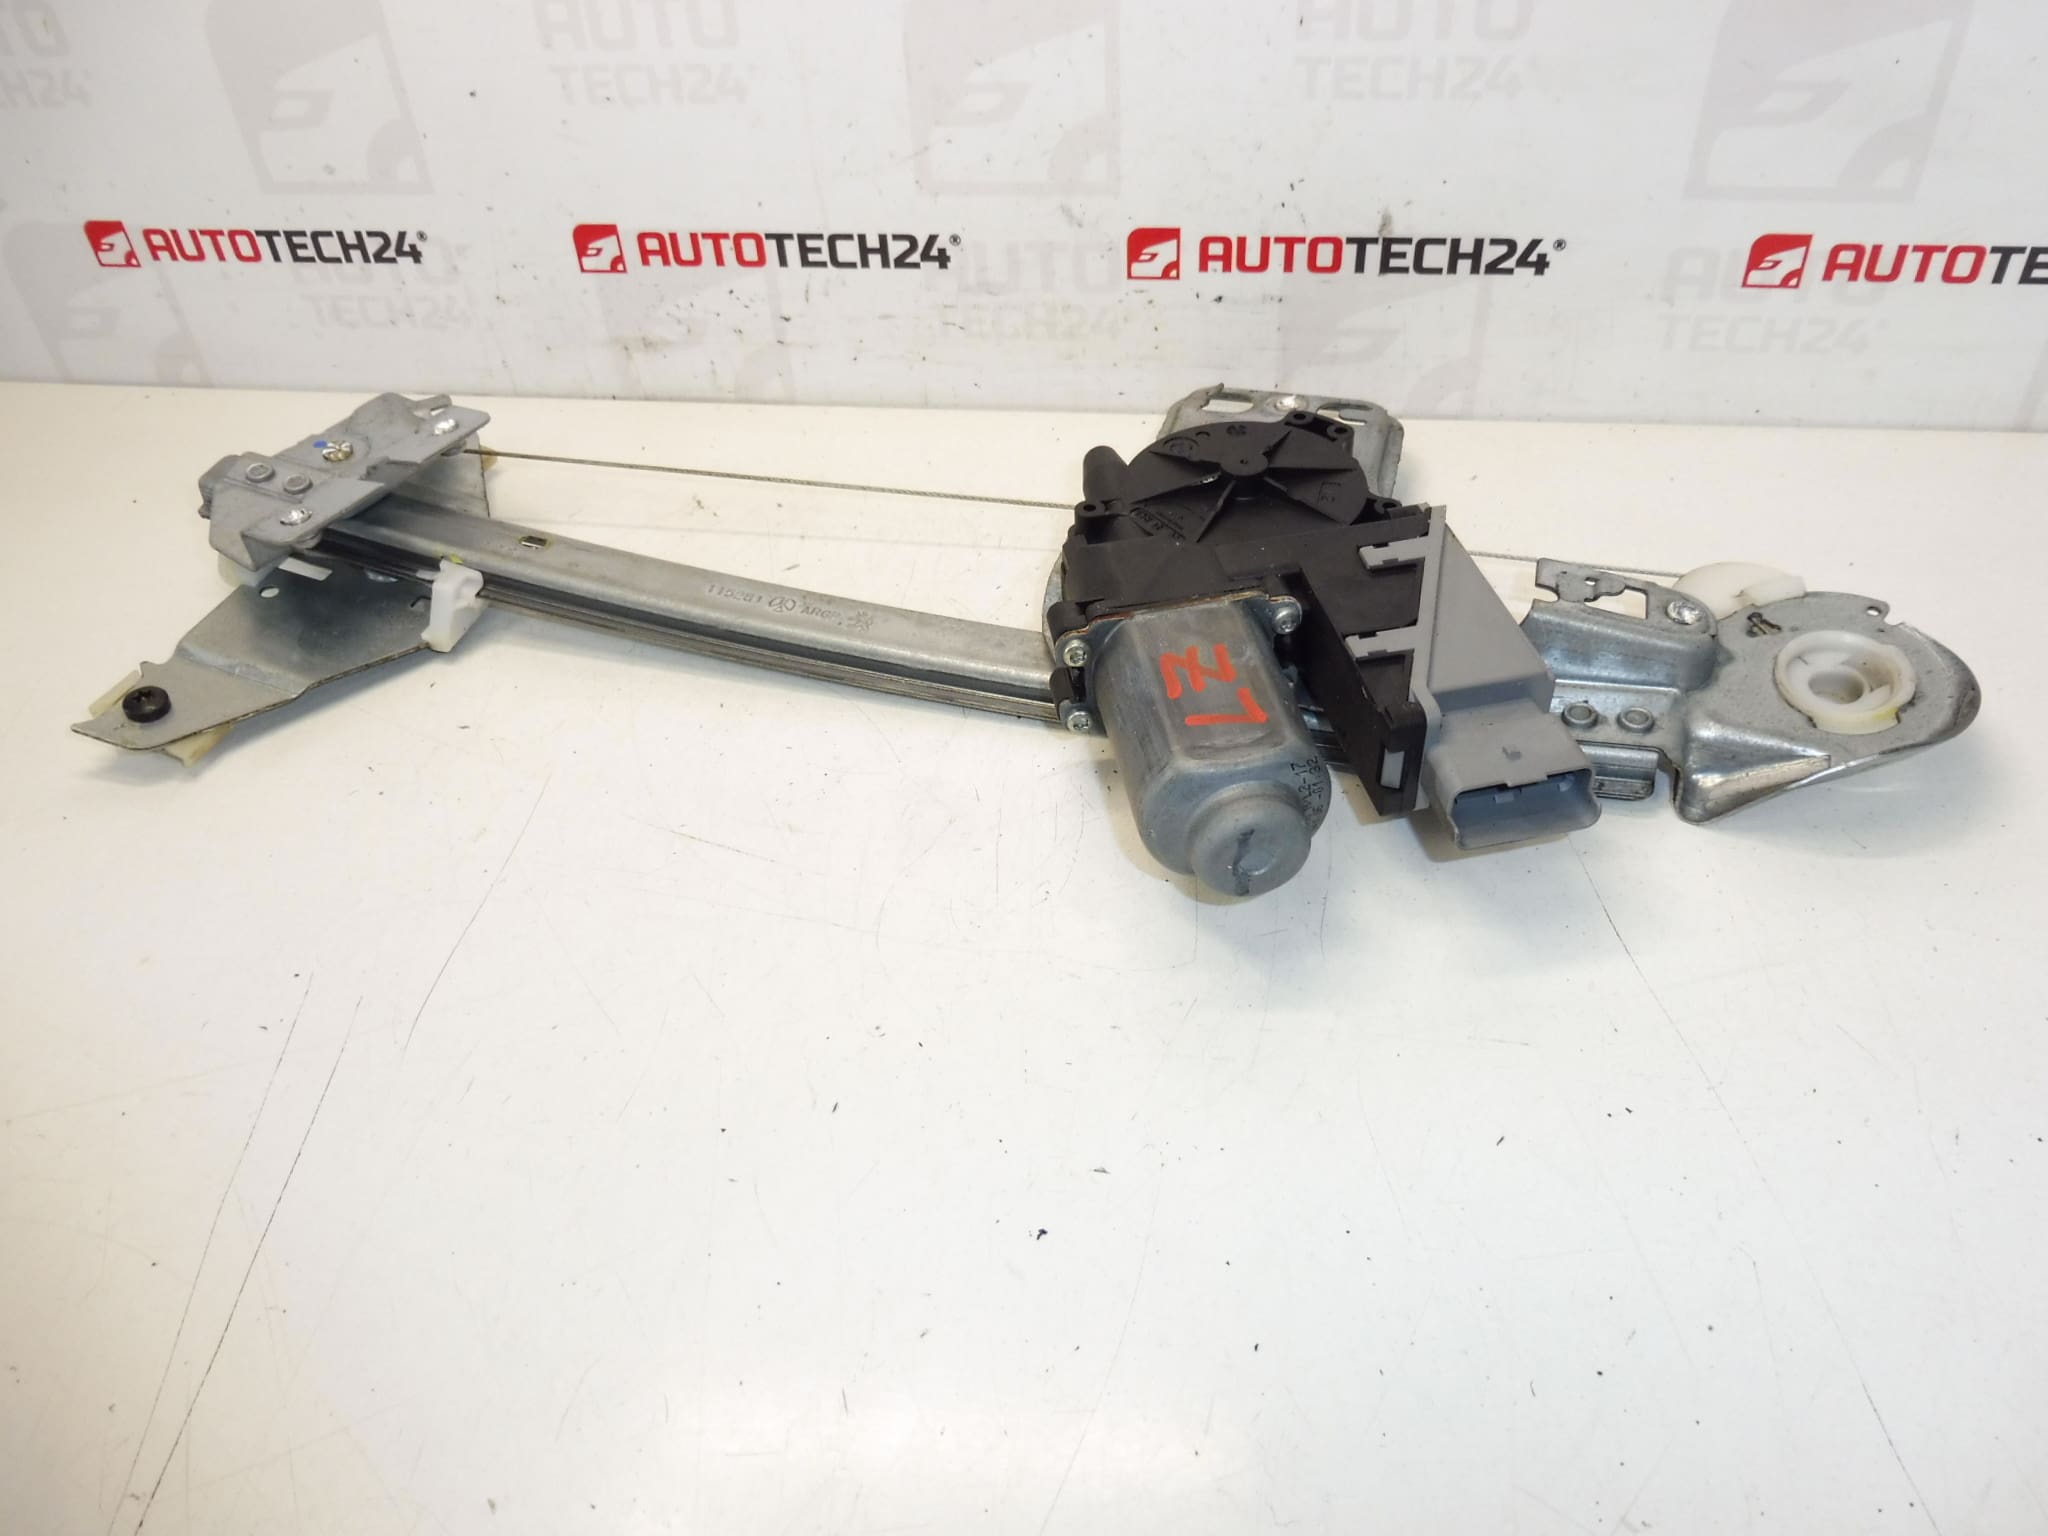
Product codes
- Product codes: 400585V, 9223A2
- Models: Peugeot 307
Installation recommendations
Generally/typically for replacing the window mechanism, the exact procedure may vary depending on the specific door design and vehicle equipment.
1) Before assembly
- Check that the new used part matches the old part in shape, fit and connectors if they are part of the mechanism.
- Compare product numbers 400585V and 9223A2 with the disassembled part.
- Check the condition of the guide parts, attachment points and whether the mechanism is visibly deformed or damaged.
- Before the assembly itself, also check the condition of the glass, the window guide and the inside of the door to avoid repeated damage to the newly installed part.
2) Necessary tools and materials
- A common set of hand tools
- Screwdrivers and trim removal tools
- Ratchet with regular attachments
- Work gloves
- Detergent for removing dirt
- Alternatively, a suitable agent for light treatment of moving parts, if the condition of the mechanism requires it
3) Step-by-step assembly procedure
- Secure the vehicle against movement and prepare enough space to work on the doors.
- Dismantle the inner lining of the door carefully so as not to damage the handles, covers and filling.
- Remove protective layers or access covers if they prevent access to the mechanism.
- Check the position of the glass and secure it securely so that it does not fall when the original mechanism is removed.
- Disconnect the original mechanism from the mount and any electrical parts if present.
- Remove the old mechanism carefully from the door area and compare it with the replacement part.
- Clean the interior of the door, guide surfaces and mounting points from dust, dirt residues and any loose parts.
- Place the replacement mechanism in the correct position and check that it does not rub anywhere and fits in all the mounts.
- Attach the mechanism back to the mounting points and connect it to the glass or other connected parts according to the original arrangement.
- Before fully folding the door, test the smoothness of the window in the entire range of movement.
- After verifying correct function, replace the protective elements and install the door trim.
- Make a final check that all parts are properly attached and the door is fully assembled.
-
4) Post-assembly checks and test drive/function verification
- Verify that the window moves smoothly, without stuttering or unusual noises.
- Check that the window fits correctly and that it does not deviate from its path when moving.
- After folding the door, check that it does not wobble, does not come loose and that the paneling holds properly.
- In normal operation, check the function again after several cycles of downloading and extracting the window.
5) The most common assembly mistakes + how to avoid them
- Incorrect comparison of the part before assembly – always check the match by shape and codes first.
- Door trim damage during removal – use a suitable pry bar and proceed without violence.
- Insufficient securing of glass – glass must be securely fixed during work.
- Mounting in a dirty area – dirt can impair the operation of the mechanism and shorten its life.
- Premature assembly of the door without function test – always check the operation of the mechanism several times before final assembly.
Reasons why the part is damaged
- normal wear and tear from long-term use
- increased stress when frequently pulling in and out of the window
- jamming of the window in the guide and subsequent overloading of the mechanism
- intrusion of moisture and dirt into the door area
- mechanical damage after careless handling or when closing the door forcibly
- wear of moving parts and fixing mechanism