Description
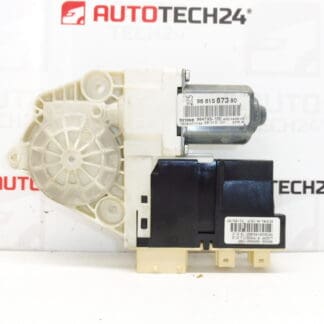
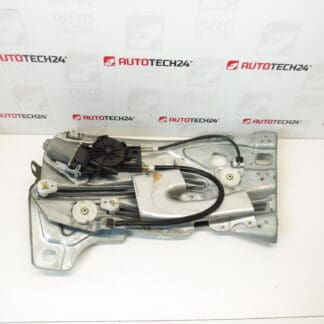
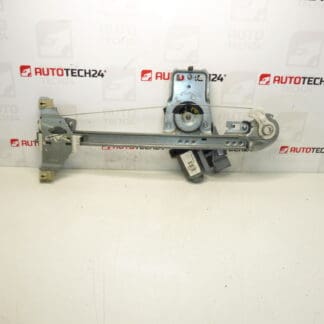
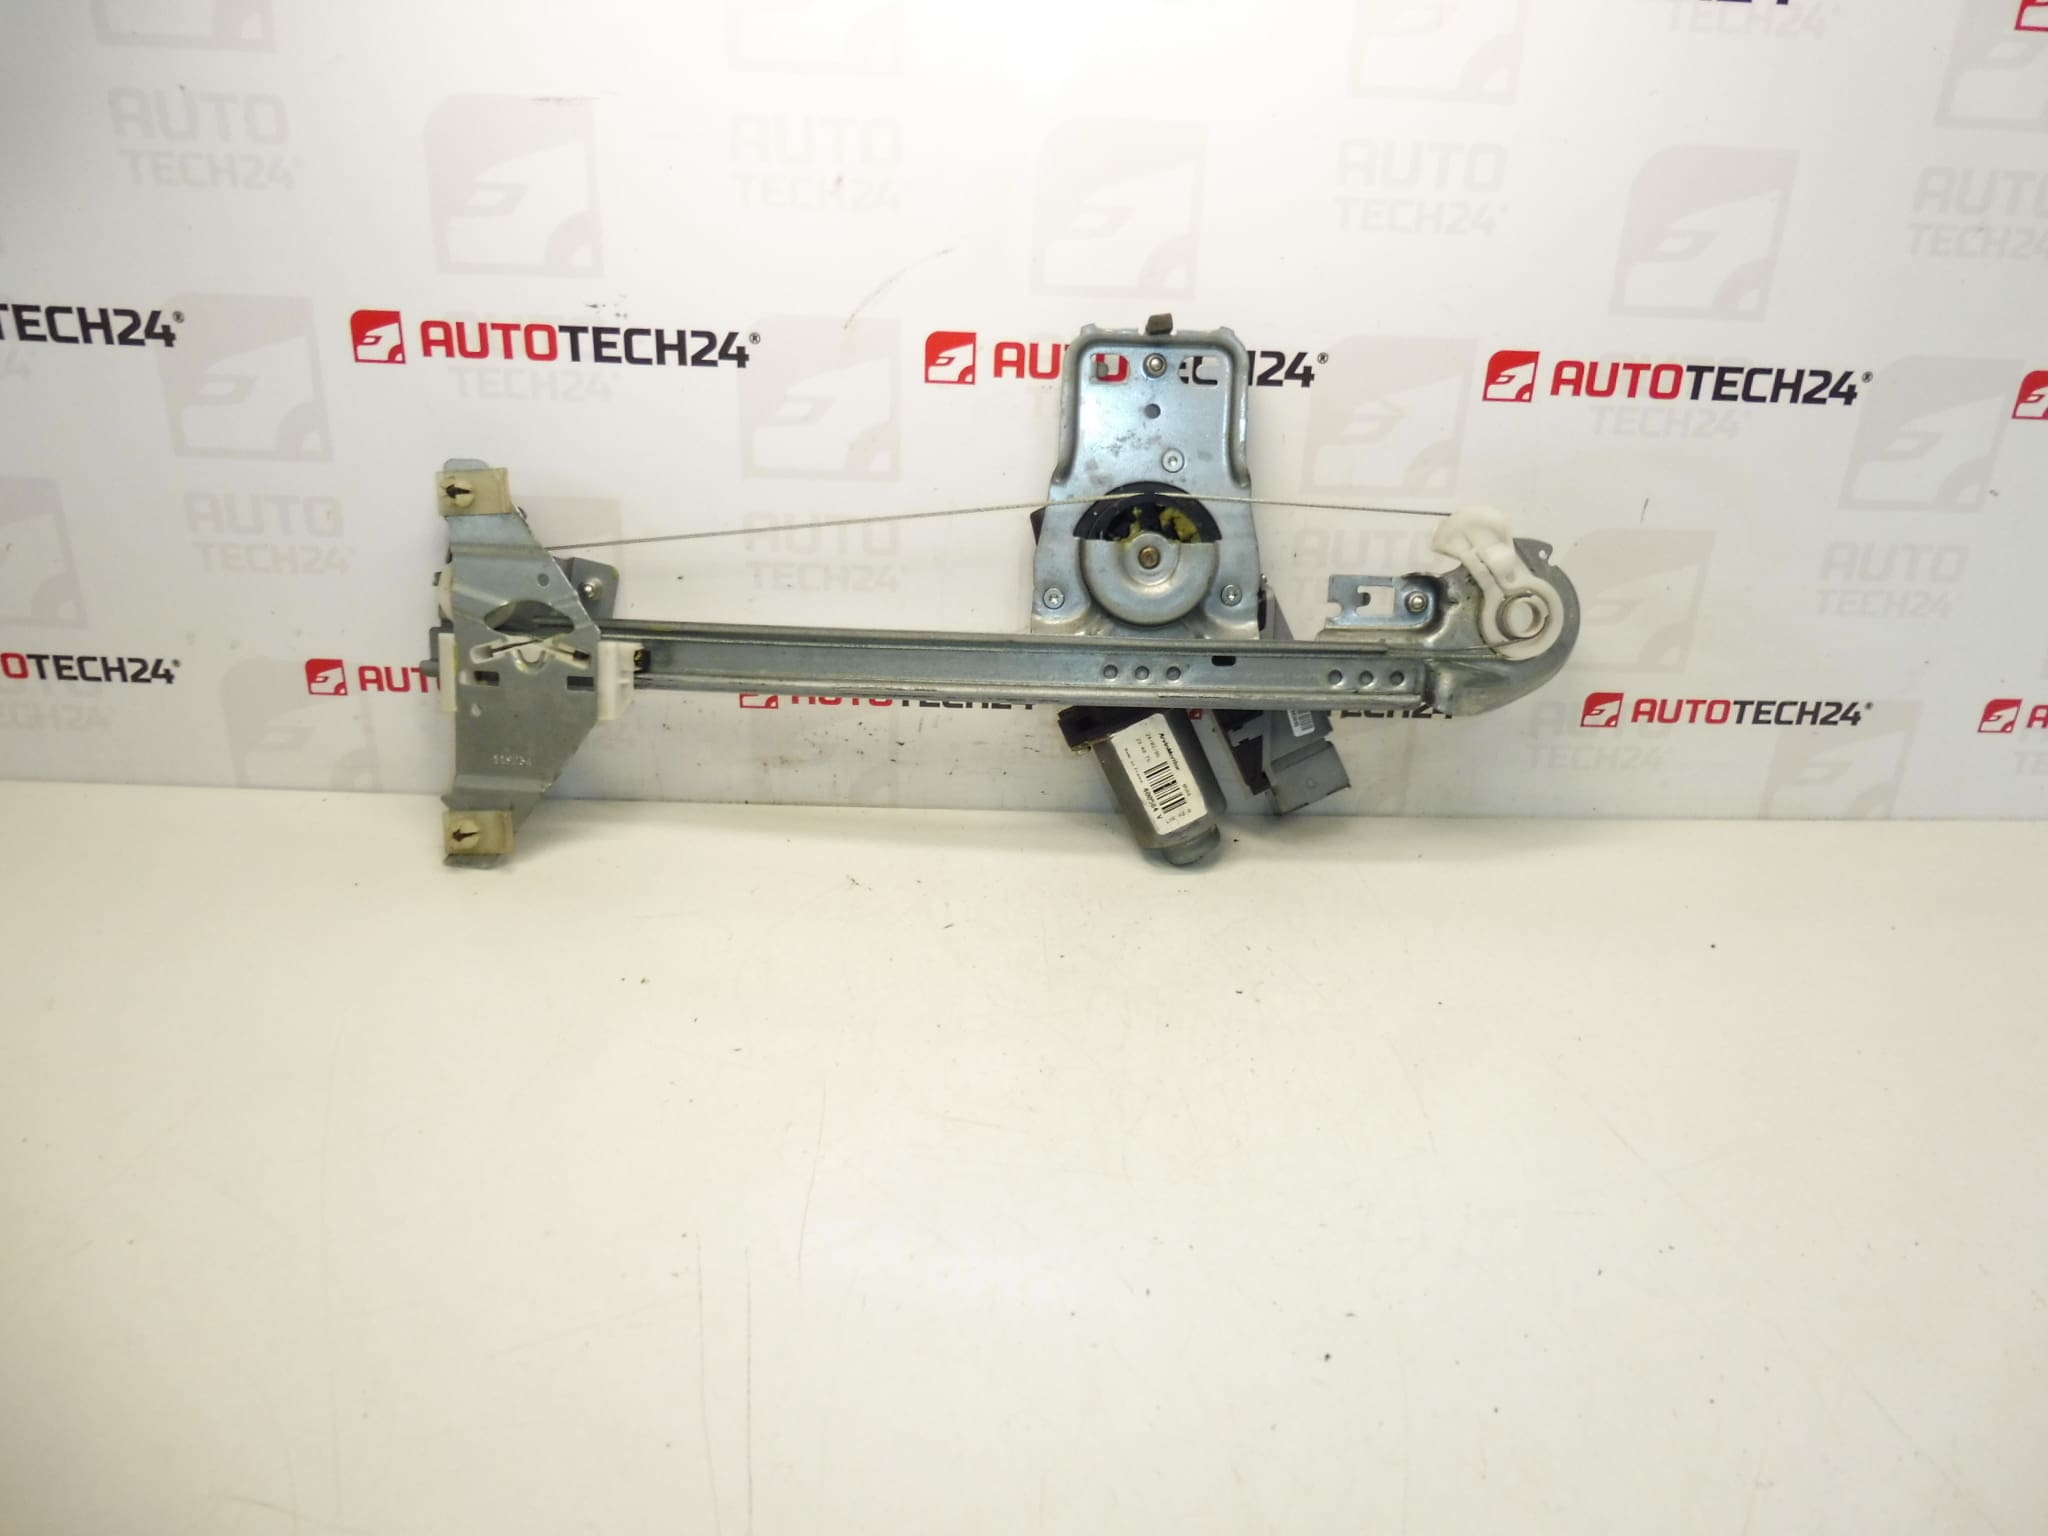
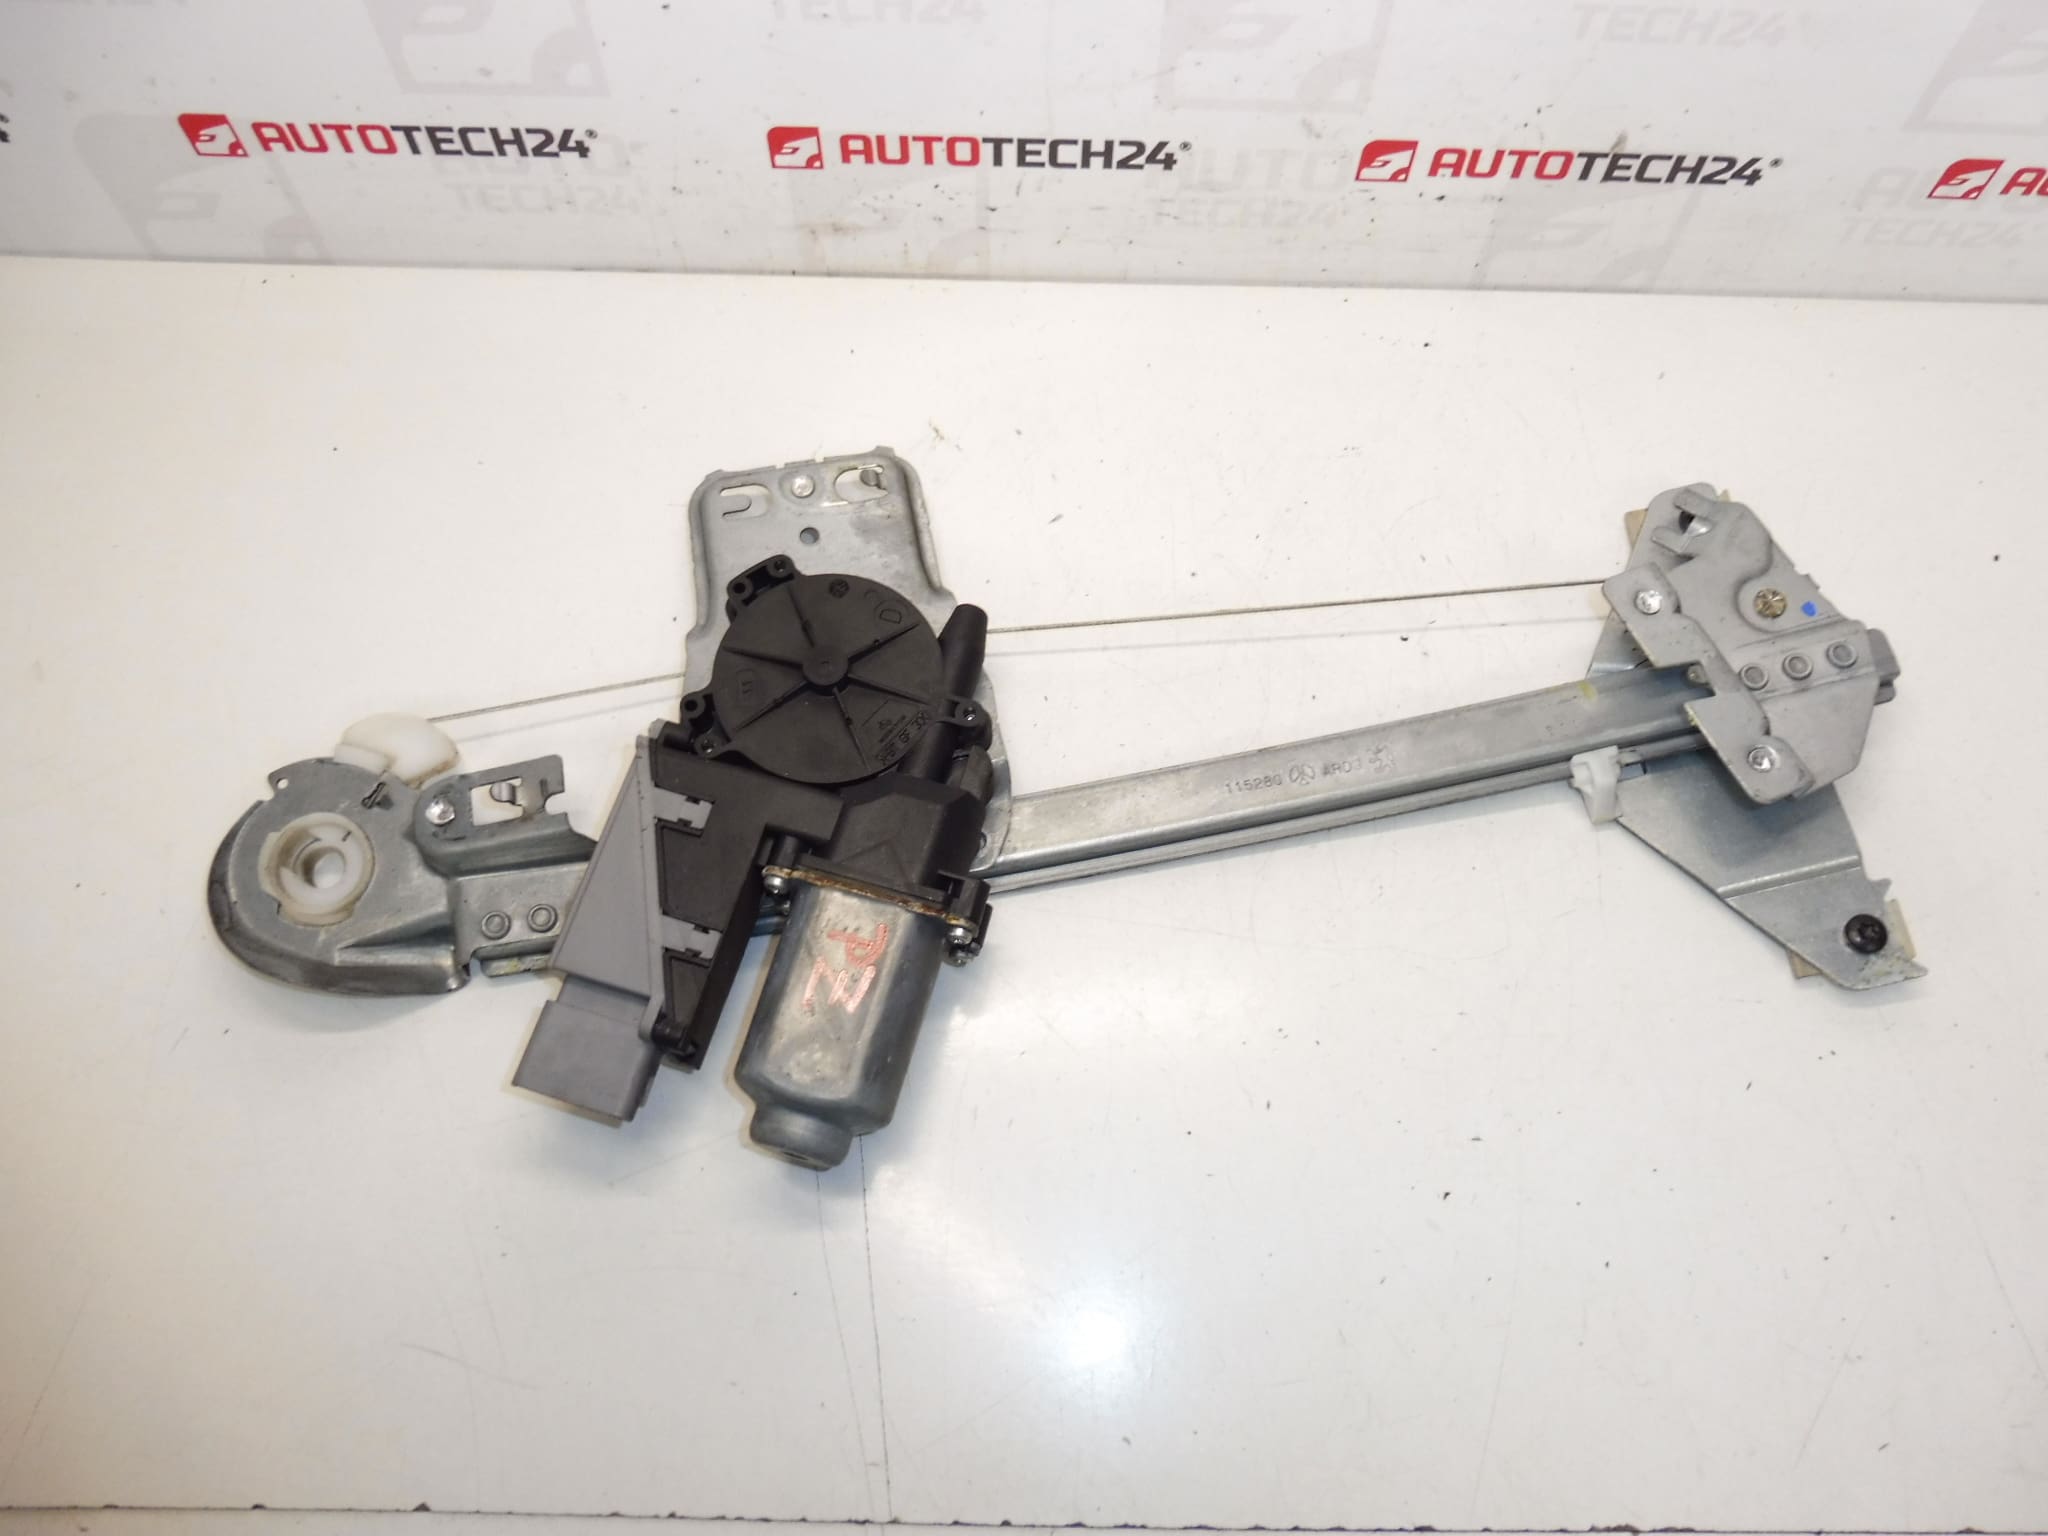
Window regulator mechanism for the right rear window for Peugeot 307 5-door. Rear door on the passenger side.
This electric window regulator is designed for the right rear (passenger side) door of the Peugeot 307 five-door hatchback. It replaces the worn or faulty mechanism that raises and lowers the rear side window and restores smooth, reliable operation. The part is suitable for workshop professionals and experienced DIY mechanics who routinely service Peugeot electrical components and door assemblies. Common search terms include Peugeot 307 window regulator, rear right window motor, 4005854V and 9224A6.
Key Features And Benefits
– Direct-fit replacement for the right rear door on Peugeot 307 5-door models, offering original-style mounting points for straightforward installation.
– Integrated electric motor and regulator mechanism provide a complete solution when diagnosing inoperative rear windows.
– Designed to restore proper window travel, reduce noise and prevent window drop or jamming.
How It Works And Typical Symptoms
The window regulator converts the motor’s rotational motion into the linear movement needed to raise and lower the glass. Failures present as slow or intermittent movement, grinding or scraping noises, the window falling down inside the door, or complete lack of movement when the switch is operated. Electrical faults (motor burnout, connector corrosion) and mechanical faults (cable fraying, gear wear or bent guide rails) are the most common causes.
How To Replace (Overview)
- Remove interior door trim and vapor barrier carefully to access the mechanism.
- Support the glass and, if necessary, lower it to access the glass-to-regulator mounting bolts; remove these bolts and secure the glass out of the way.
- Disconnect the regulator motor electrical connector and unbolt the regulator assembly from the door shell.
- Install the new regulator, align the glass mounts, connect the motor and test the window operation before reassembling the door trim.
- Reassemble the door trim and verify full travel and switch functionality.
Testing the unit before closing the door panel prevents repeat disassembly. Use the correct fasteners and keep mounting surfaces clean and dry. Lubricate guide channels with suitable white lithium or silicone grease to improve longevity.
Technical Information
- Manufacturer: Stellantis / Peugeot
- Model: Peugeot 307 (5-door) — Right Rear / Passenger Side
- Product Codes: 4005854V, 9224A6, NFP
- Additional Numbers: 4005854V | 9224A6
Installation Recommendations
Work Should Be Performed By Qualified Personnel Or An Experienced DIY Mechanic. Disconnecting The Battery Before Working On Door Electronics Is Recommended To Prevent Short Circuits And Protect Switches. Check Electrical Connections For Corrosion And Ensure Connectors Are Fully Seated. After Installation, Cycle The Window Several Times To Confirm Smooth Operation And Correct Alignment Prior To Final Reassembly.
Why This Part Fails Most Often
Primary failure modes are motor wear due to frequent use, cable fraying or snapping, plastic gear or slider wear, corrosion from water ingress, and damage from misaligned glass. Over time, dirt and moisture in the door cavity accelerate mechanical wear and lead to noisy or stuck operation. Regular lubrication of guides and prompt repair of door seals can extend service life.
Practical Tips For Diagnostics
- If the motor hums but the window does not move, suspect a broken cable or disconnected mounting points.
- If the window moves slowly, check for binding in the tracks, worn motor brushes, or poor electrical supply (switch or wiring resistance).
- Always confirm the switch and fuse before removing the door trim to save diagnostic time.
Suitable for mechanics and confident DIYers looking to restore reliable window operation on Peugeot 307 rear passenger doors. Item is commonly searched by code 4005854V or 9224A6.