Description
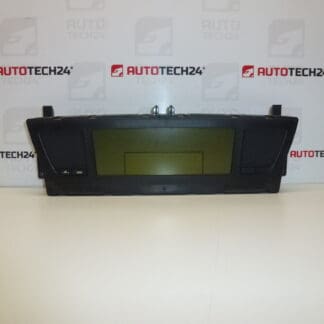
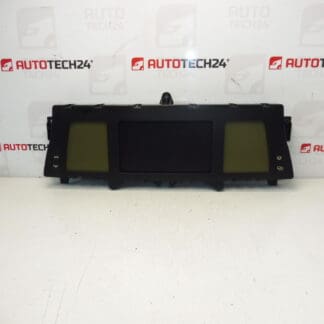
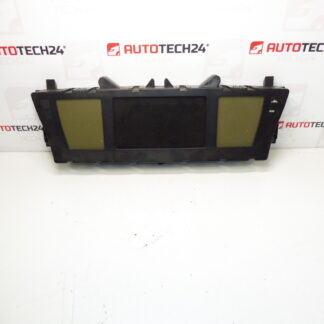
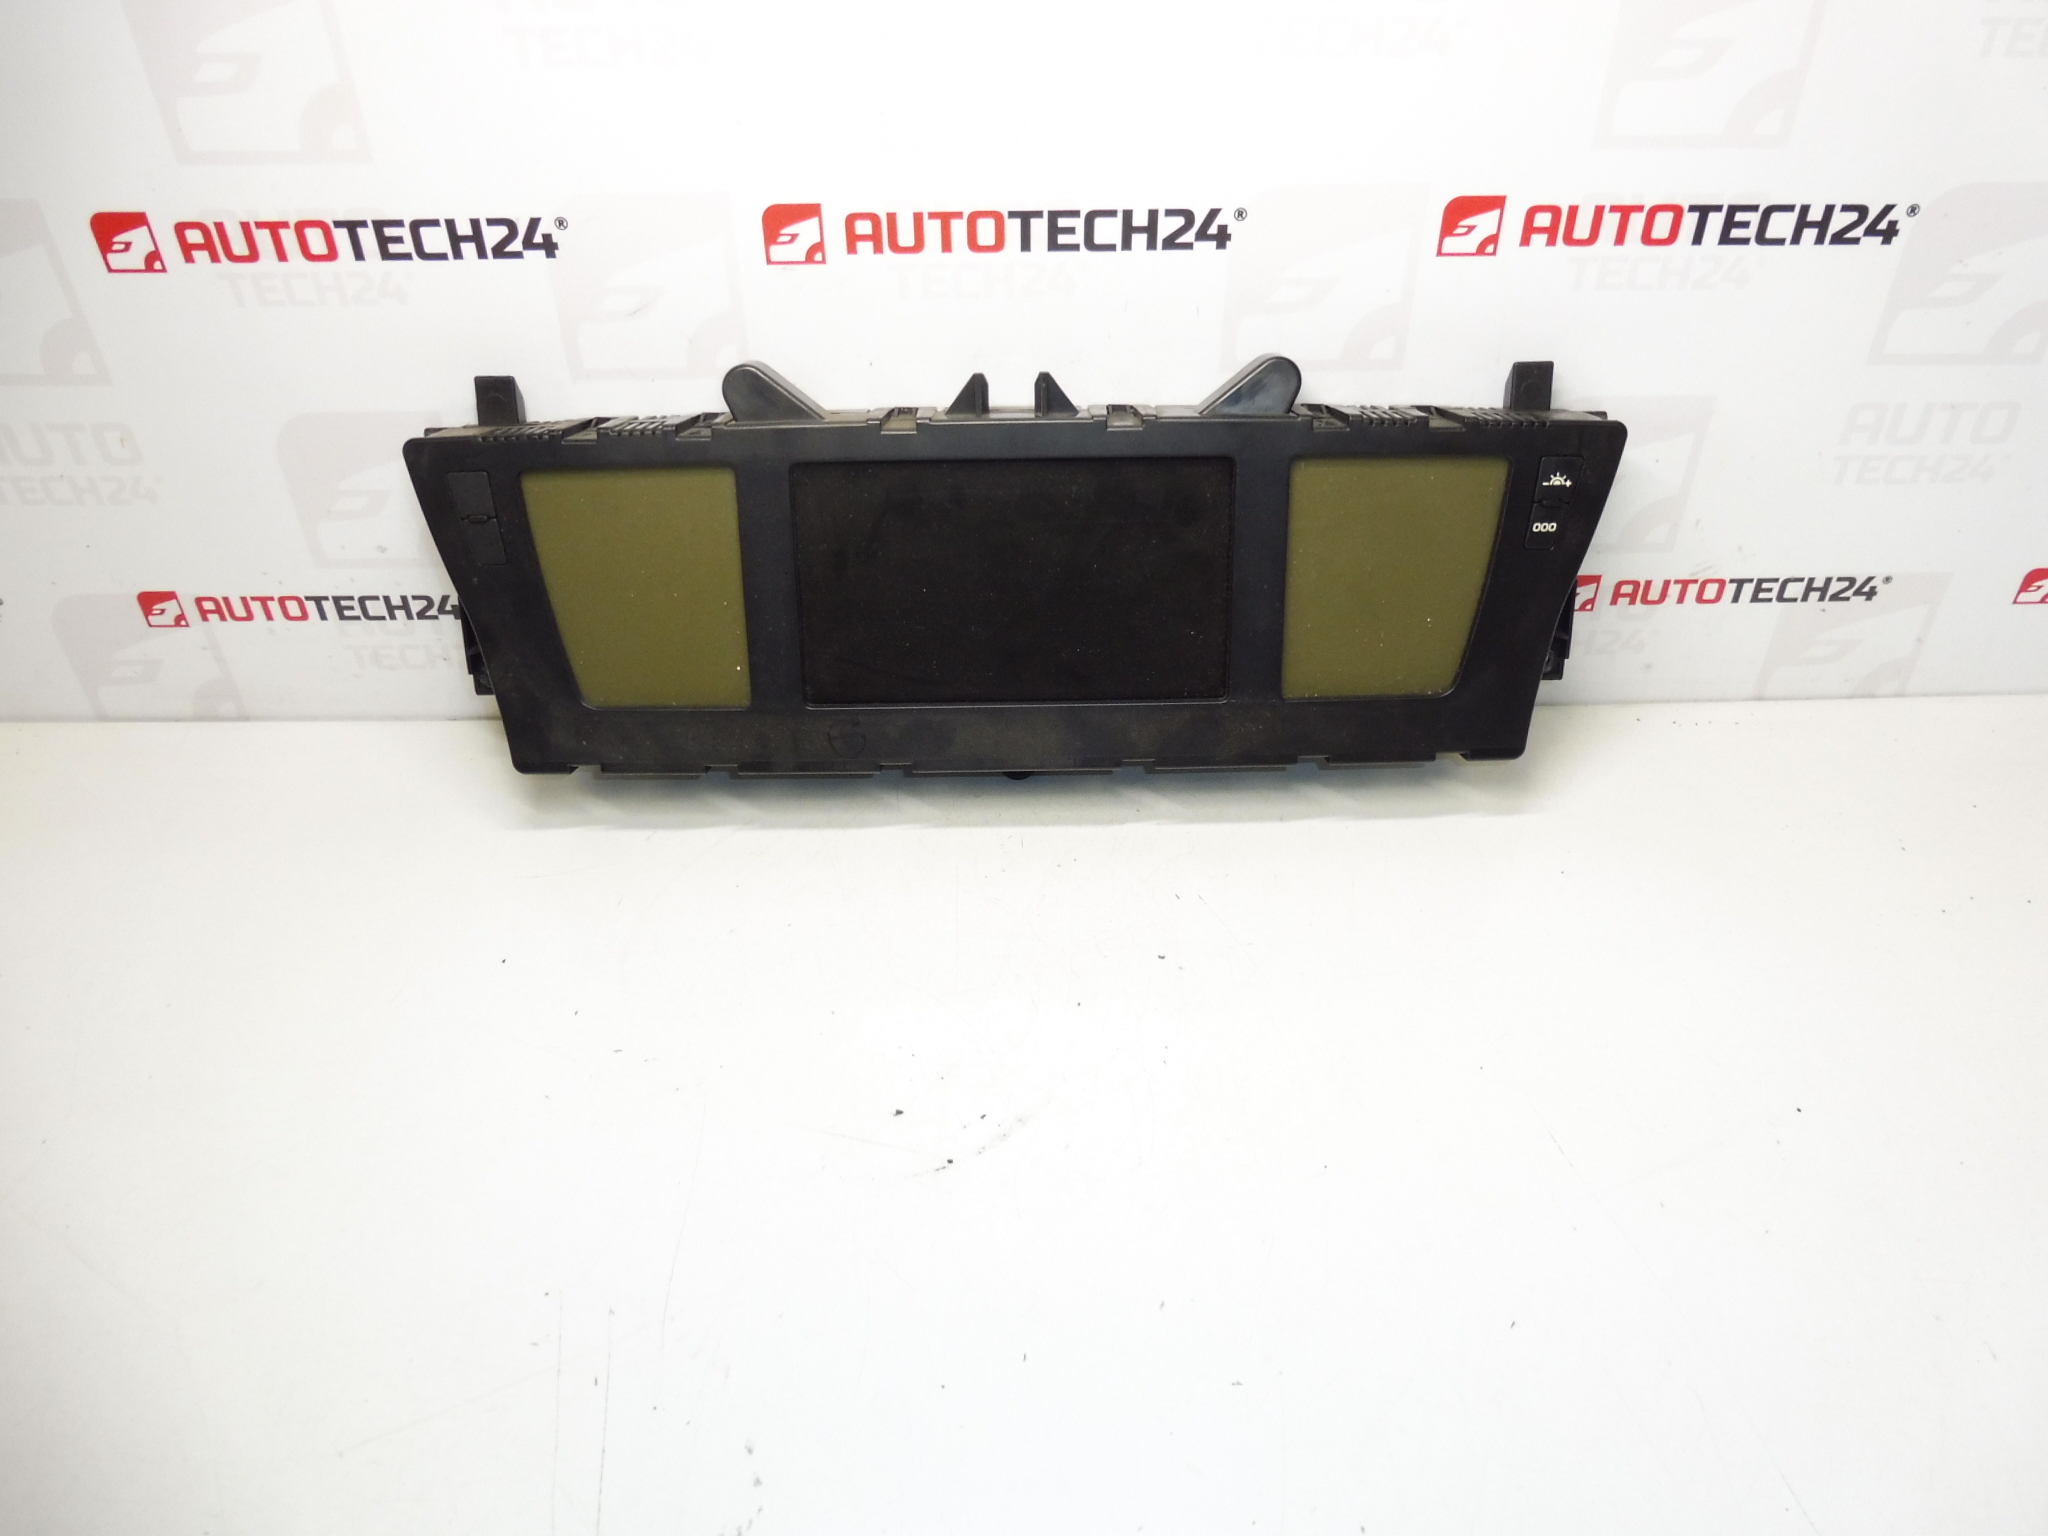
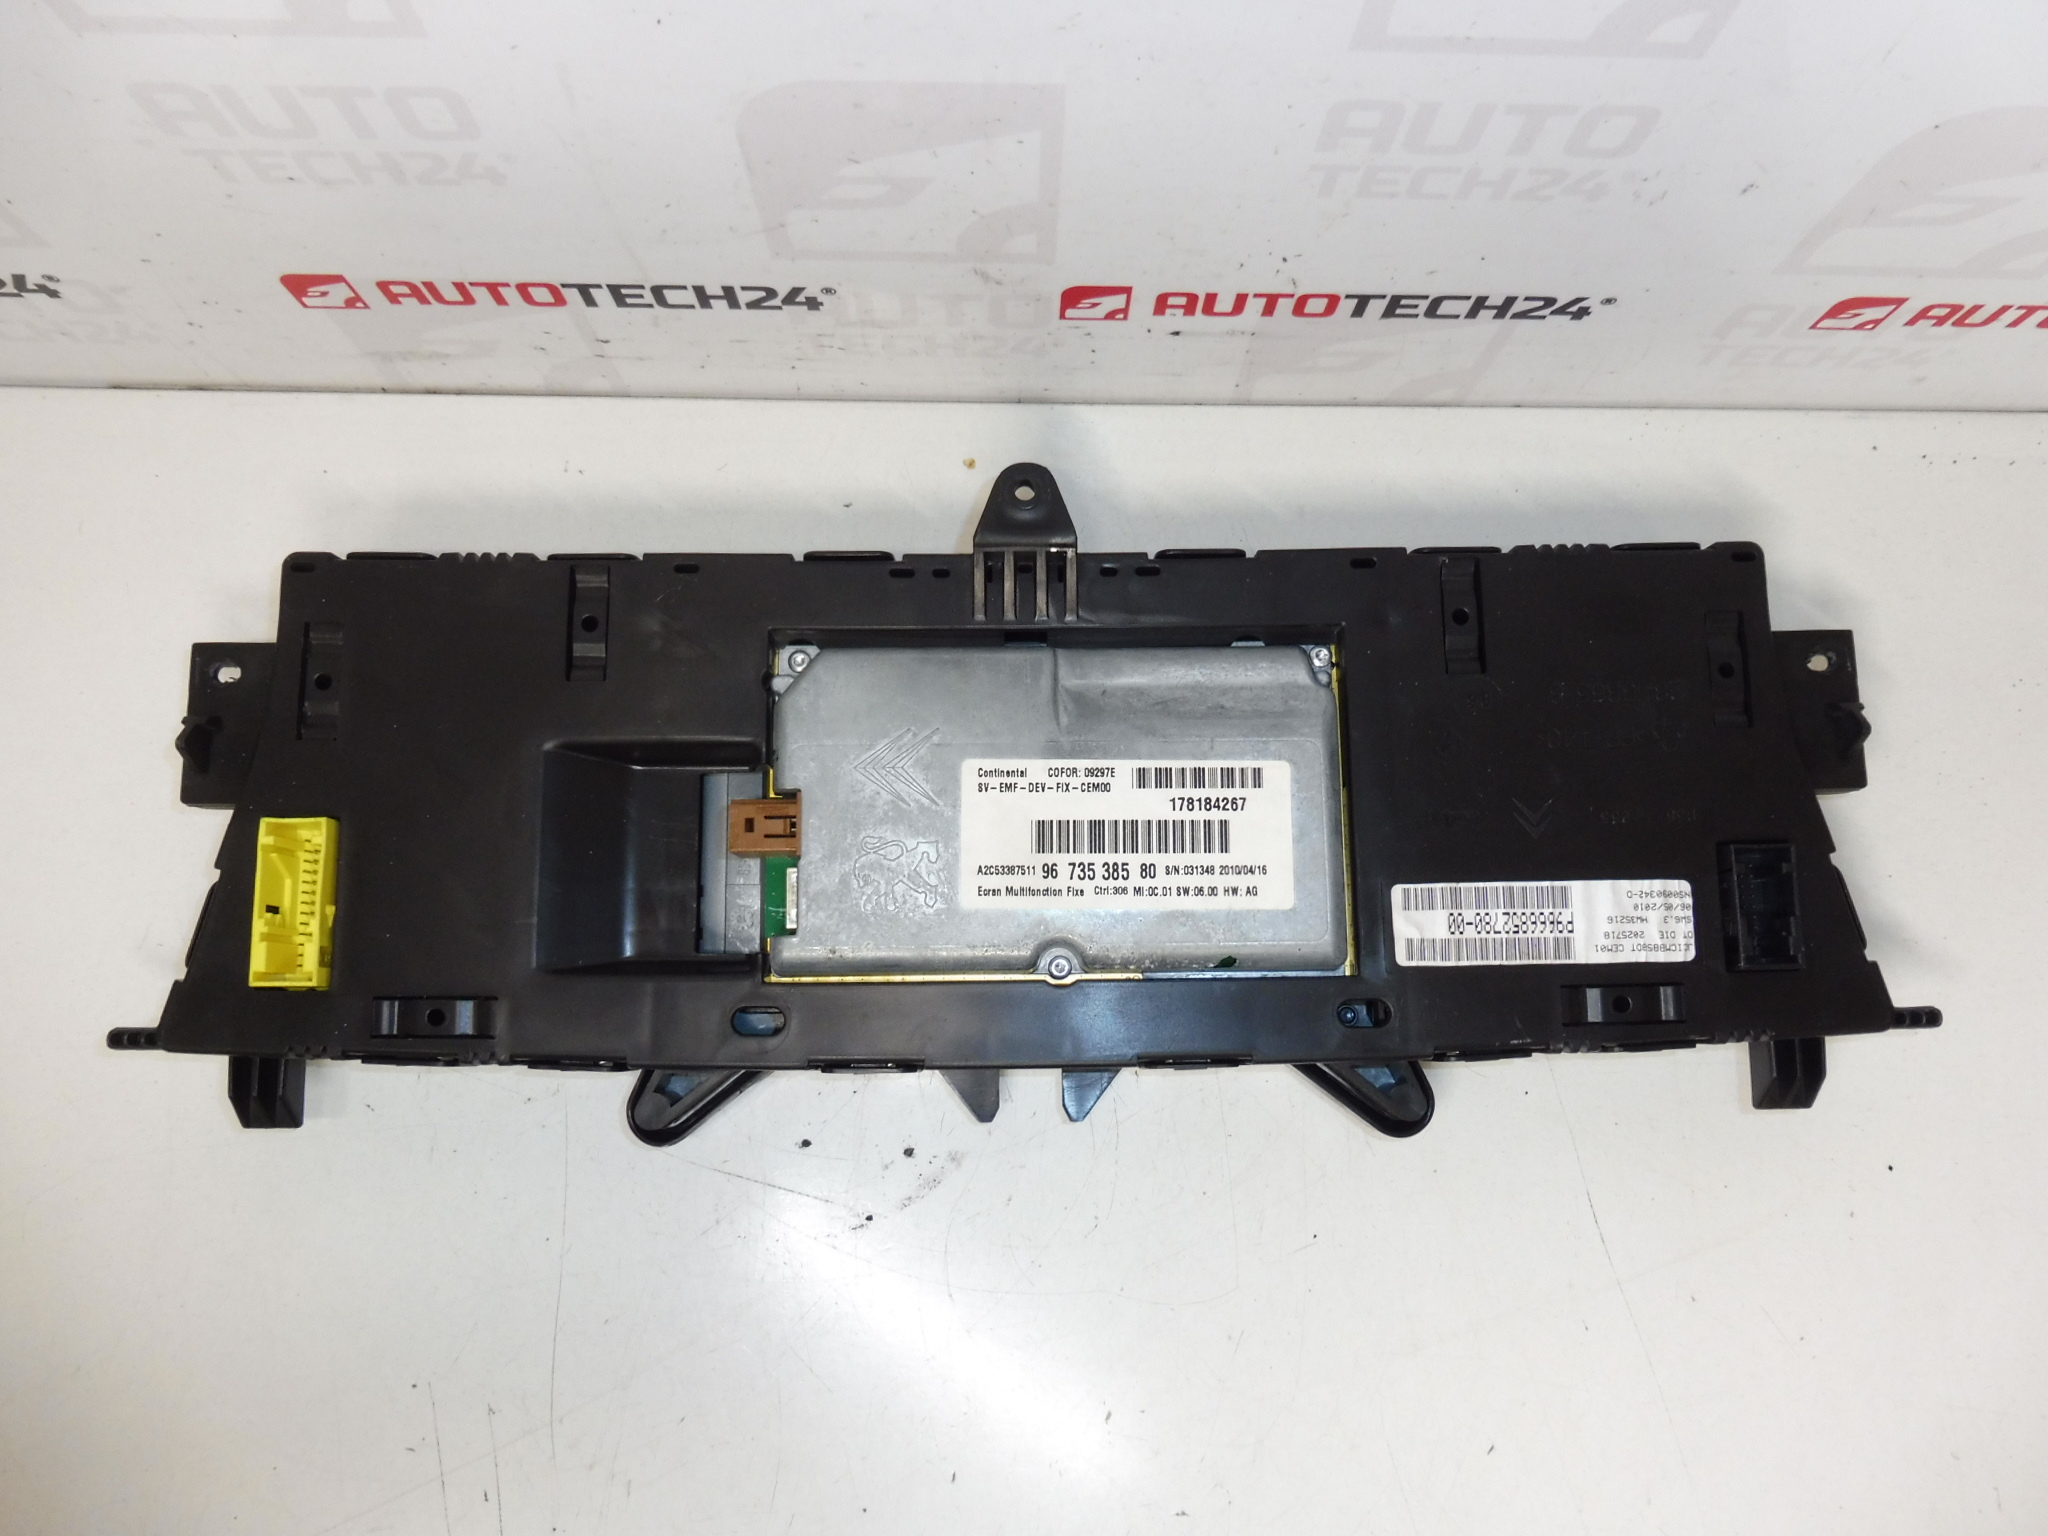
Instrument cluster with navigation for Citroën C4 Picasso and Grand C4 Picasso up to 2013. Approximately 250,000 km mileage.
This used instrument cluster with integrated navigation is a direct-fit replacement for many Citroën C4 Picasso and Grand C4 Picasso models produced until 2013. Ideal for professional mechanics and competent DIYers, the unit restores essential dashboard functions: speedometer, tachometer, fuel and temperature gauges, odometer/trip, warning indicators and the central navigation display. Common search terms and OEM references for this part include P9666852780-00, 9666852780 and 9673538580 — include these when searching to find exact matches.
Technical Information
- Manufacturer: Stellantis / Citroën
- Model: Citroën C4 Picasso, Grand C4 Picasso (up to 2013)
- Product Codes: P9666852780-00, 9666852780, 9673538580
- Additional Numbers: P9666852780 9666852780 9673538580
Function And Benefits
The cluster provides the driver with real-time vehicle information: speed, engine revs, fuel level, coolant temperature, warning lights and odometer/trip readings. The integrated navigation display supplies route guidance and menu access when connected to the vehicle navigation system. Replacing a faulty cluster restores readability, restores warning and diagnostic feedback and can resolve display or navigation faults caused by failing electronics.
How The Part Is Replaced
Basic replacement steps for experienced technicians or skilled DIYers:
- Disconnect the battery before starting to prevent electrical damage.
- Remove the dash trim surrounding the instrument cluster using appropriate trim tools to avoid damage.
- Unscrew the fixing screws and carefully pull the cluster forward.
- Release and unplug the electrical connectors — handle locking tabs gently.
- Install the replacement unit, reconnect the connectors and secure the cluster with screws.
- Reinstall trim, reconnect the battery and perform vehicle checks to confirm all indicators and the navigation display function correctly.
Installation Recommendation
Always disconnect the battery and follow the vehicle manufacturer’s removal and installation procedure to avoid damage. Handle the cluster and connectors with care to prevent static discharge and pin damage. After physical installation, verify all dashboard indicators, backlighting and navigation display operation. Some clusters may require programming or adaptation to the vehicle to restore full functionality (e.g., odometer settings or menu configuration). For programming and advanced configuration, use appropriate PSA diagnostic tools and procedures where necessary.
Why This Part Most Commonly Fails
Typical causes of failure for these clusters include high mileage wear, degraded LCD or TFT display elements, burnt or dim backlighting, solder joint fatigue on printed circuit boards (causing intermittent display or gauge failures), connector corrosion or poor contact, moisture ingress and software glitches. Temperature cycling and vibration over many kilometers are frequent contributors to electronic faults.
Notes For Mechanics And DIYers
When sourcing a replacement, match the part numbers listed above to ensure compatibility. Inspect connector pins and harnesses for corrosion or damage before installation. After fitting, perform a full functional check of instruments and warning lights. Keeping the original unit until vehicle verification is complete can help diagnose any remaining issues.