Description
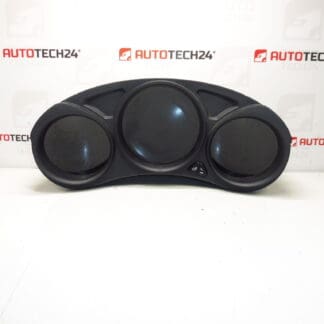
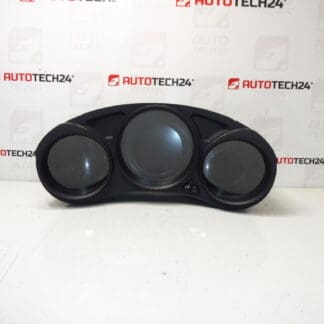
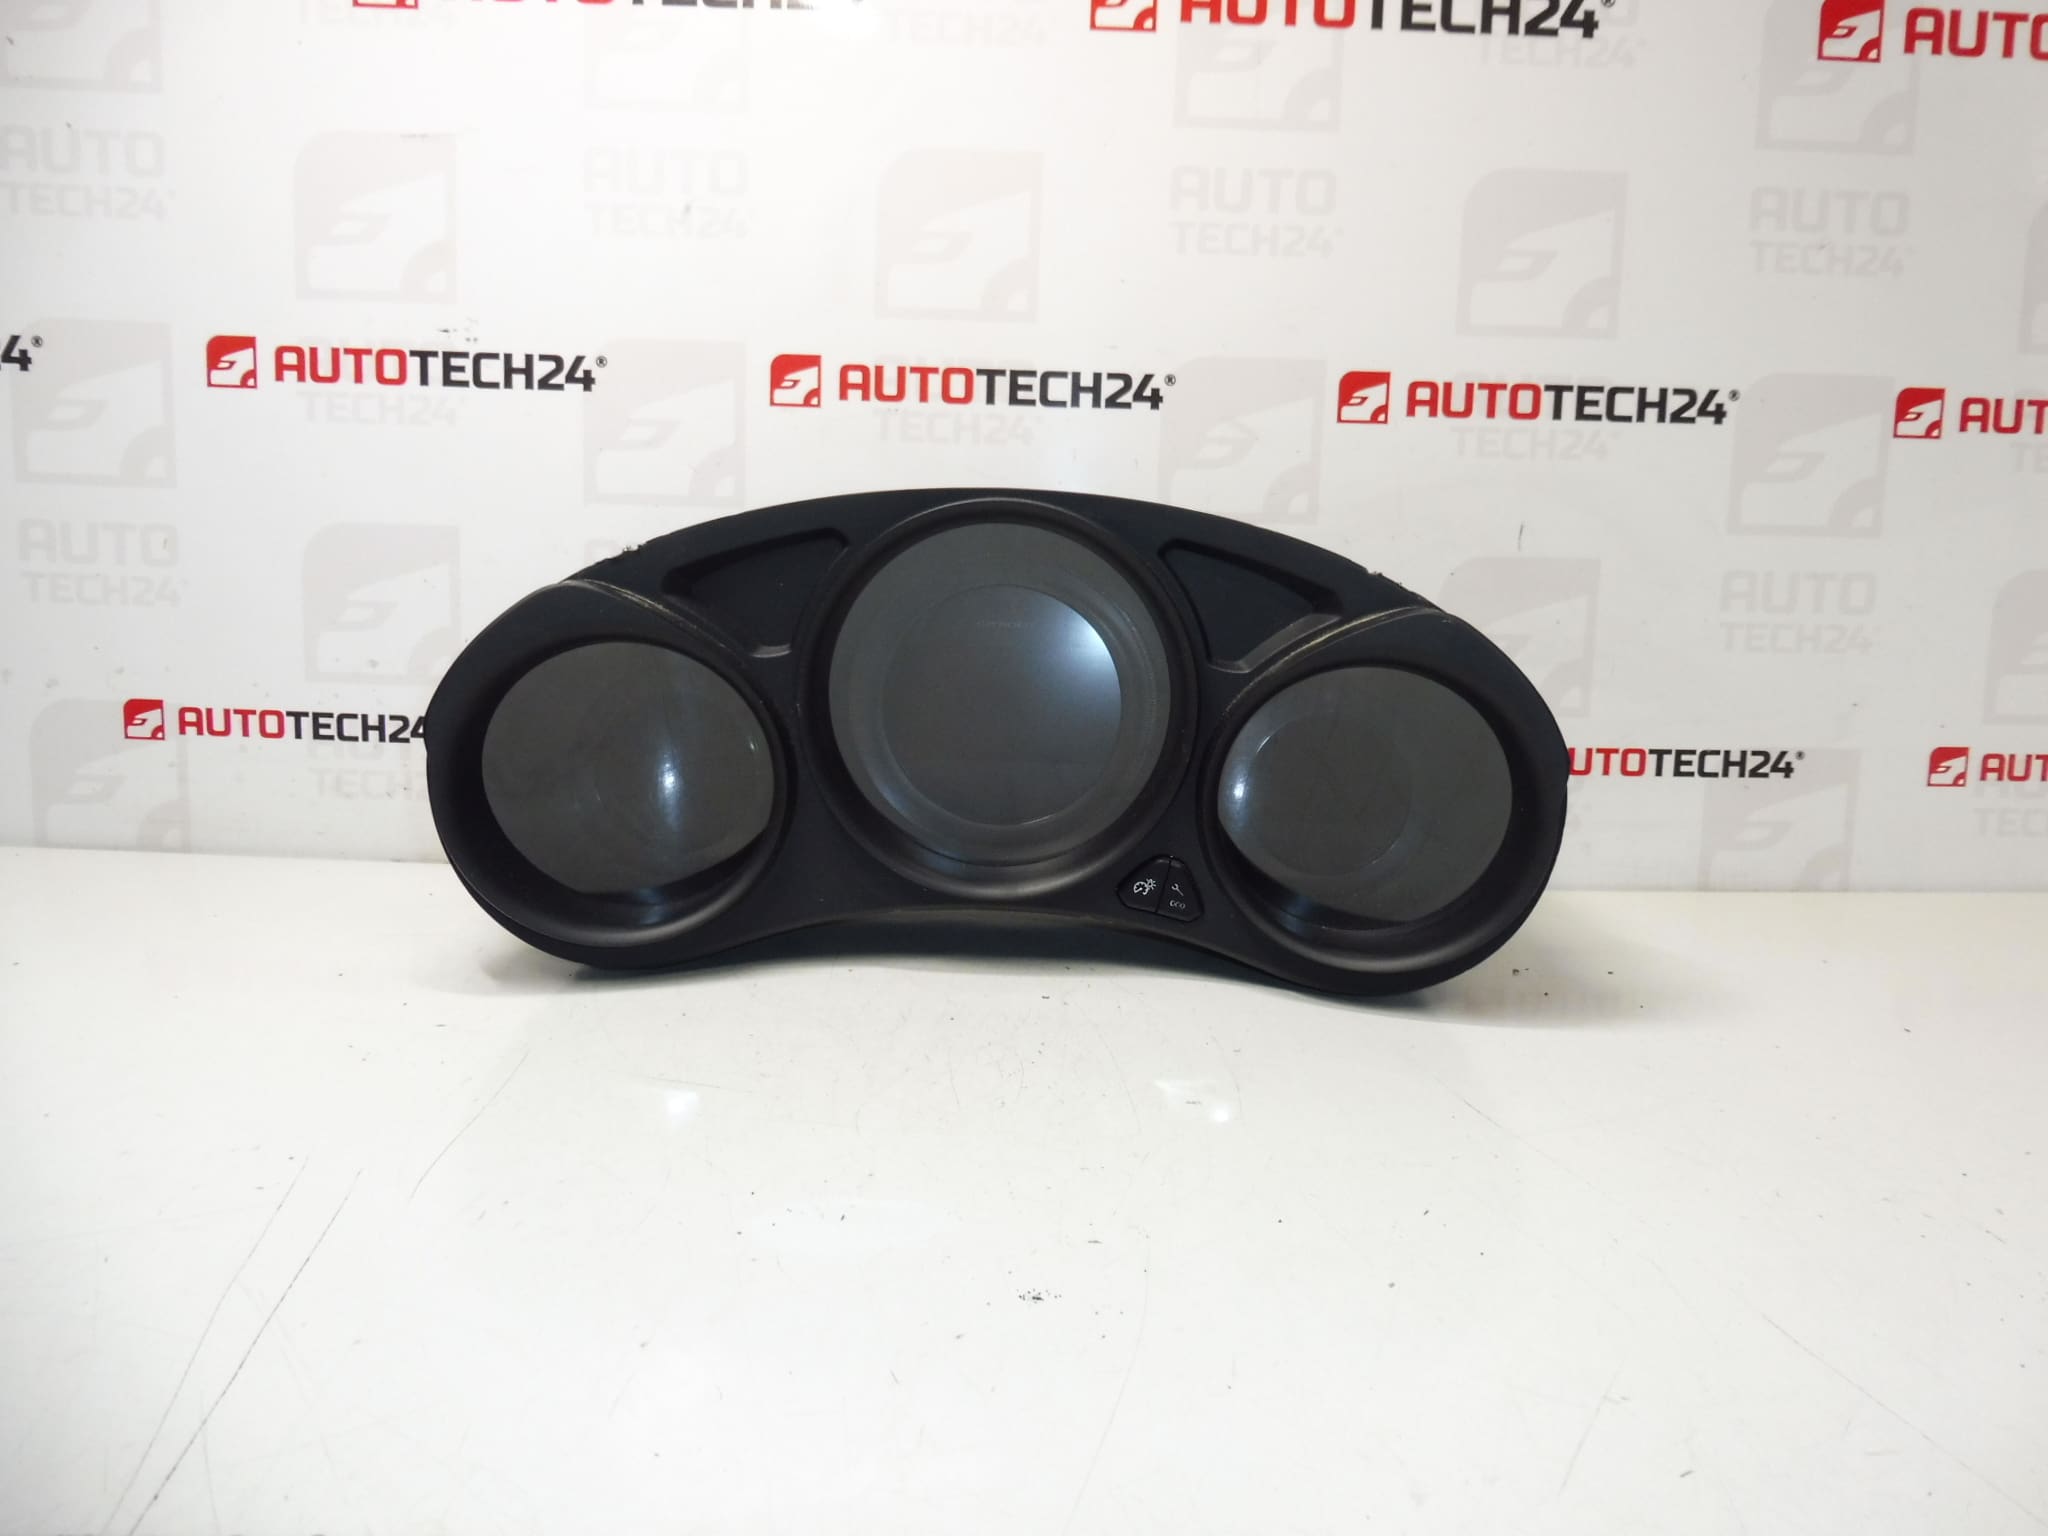
Instrument cluster for CITROEN C4 B7 cars
The vehicle had driven approximately 110,000 km +- 3 thousand km
Part description
This used speedometer / instrument cluster is for Citroen C4 B7 cars. It is an important part of the instrument panel that displays basic operational information about the vehicle and driving status. The condition of the vehicle on offer is approximately 110,000 km, with a deviation of approximately 3,000 km.
The part is suitable for car mechanics and home repairs, when it is necessary to replace a non-functioning, damaged or illegible original device. The advantage is traceability by production numbers, which makes it much easier to choose the right part when looking for a spare part for Citroën and Peugeot cars.
Technical information
- Manufacturer: Stellantis Citroen Peugeot
- Model: Citroen C4 B7
- Other numbers: 9812831980, 6103QE
Product codes
- Product codes: 96657316XT, 6103QC, 9812831980, 6103QE
- Models: Citroen C4 II, Citroen C4 B7
Installation recommendations
Generally/typically for this type of part, the exact procedure for changing the instrument cluster depends on the specific design of the car and the interior. Below is a safe general procedure for replacing an electrical part of this type.
1) Before assembly
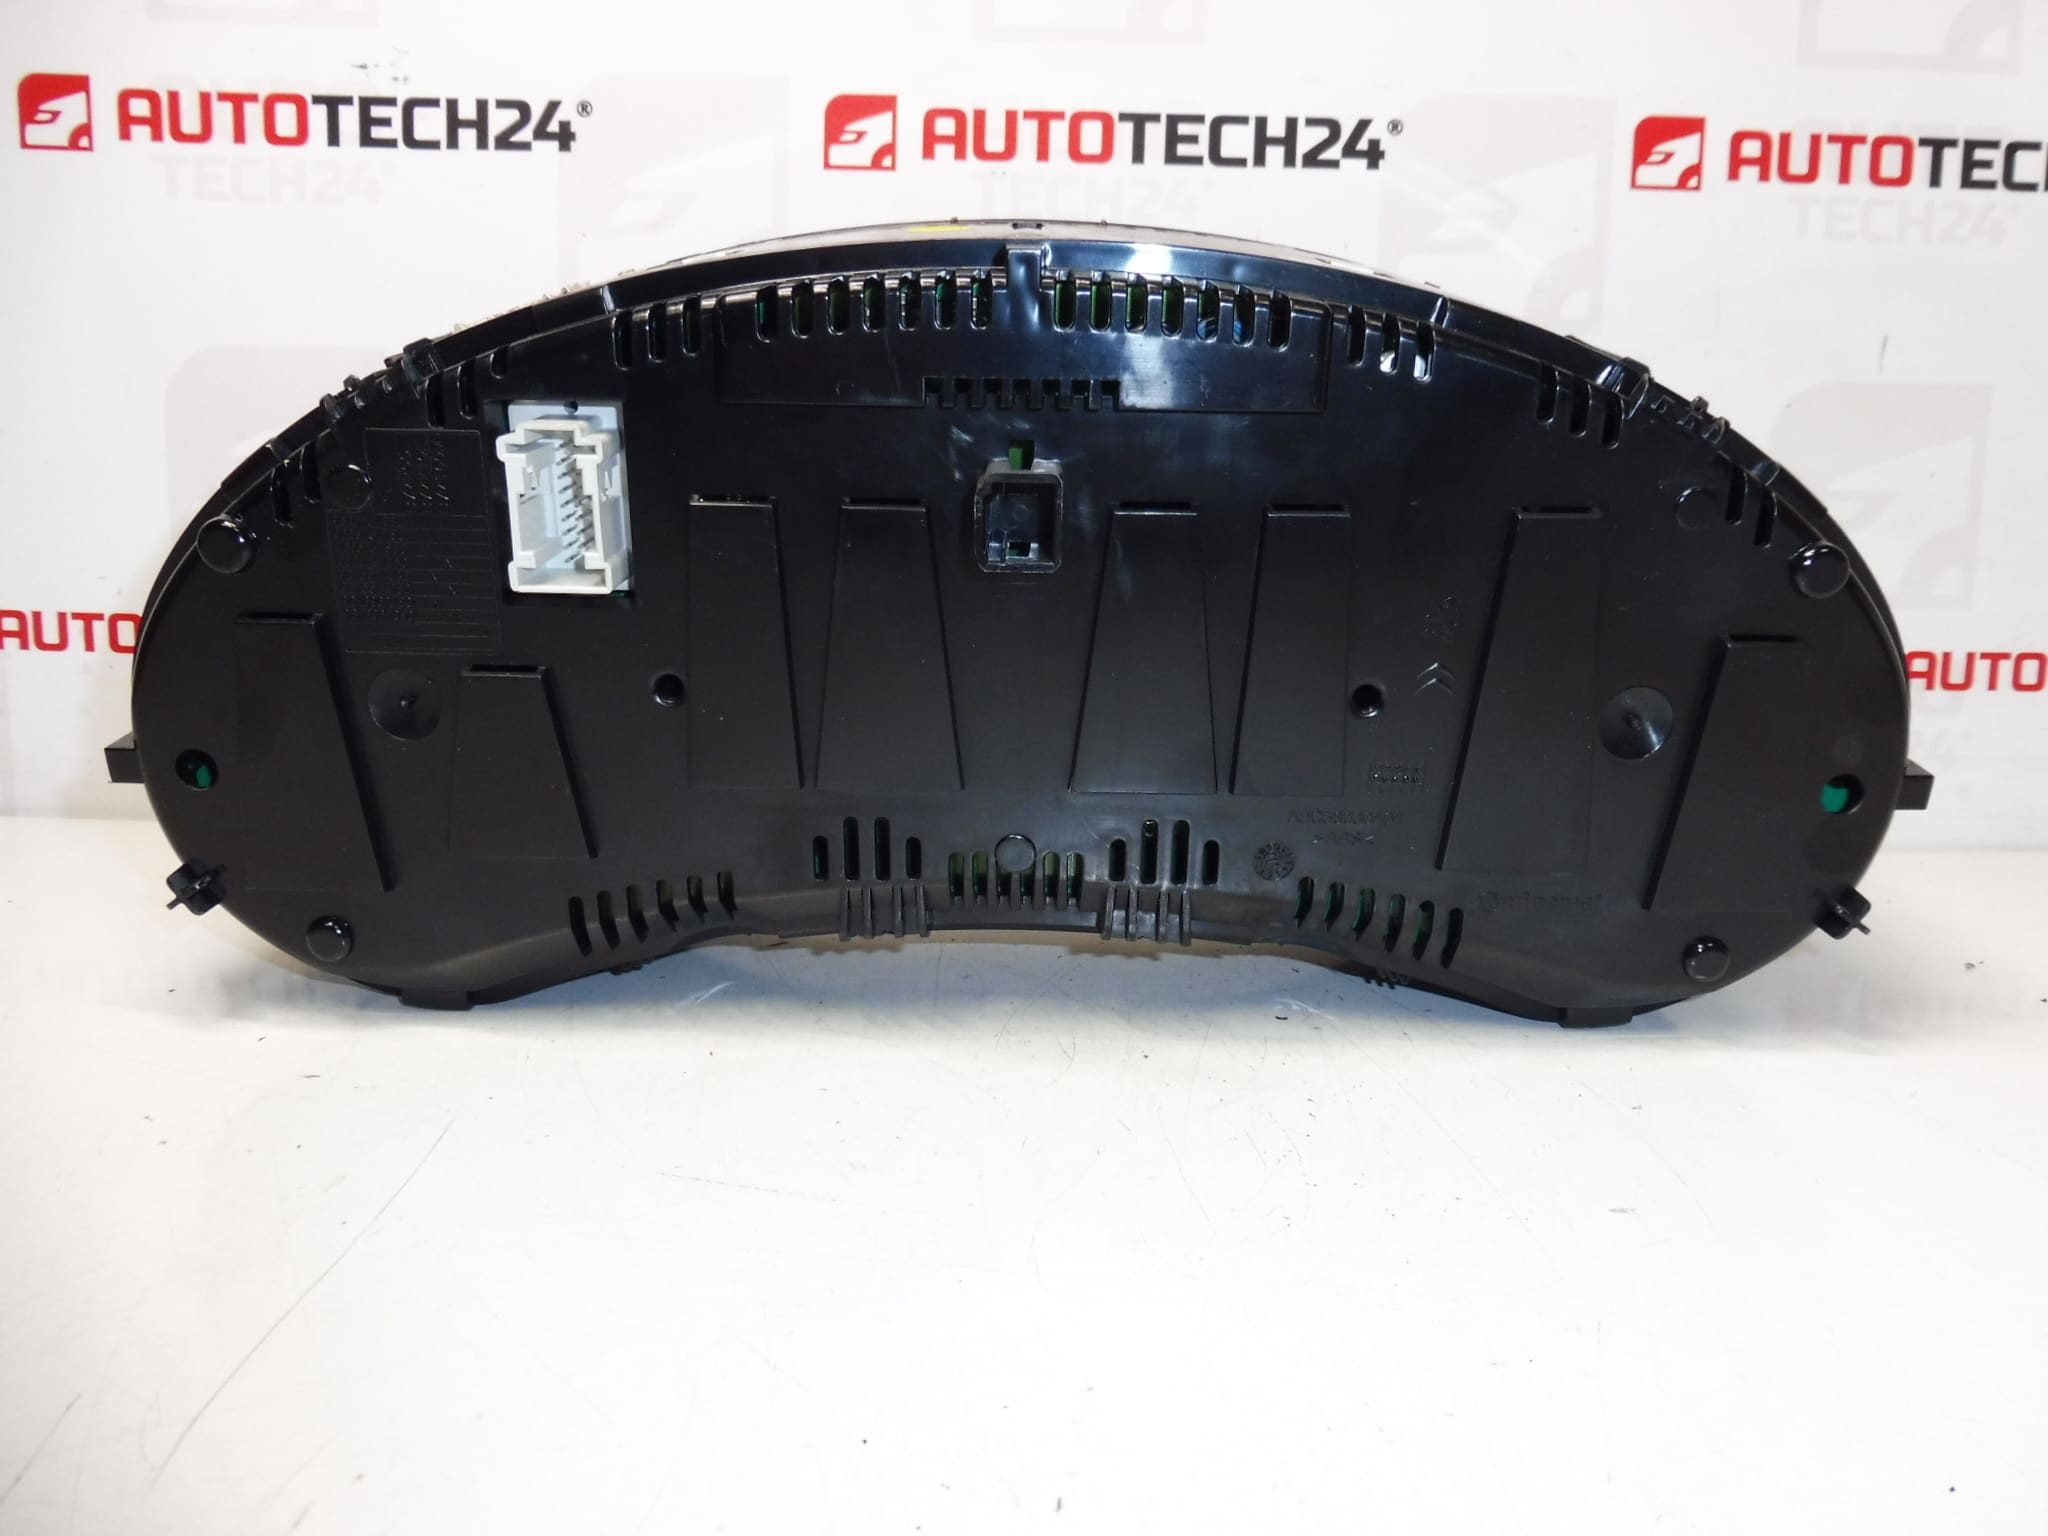
- Check that all part markings and connectors match the original piece.
- Compare the shape of the device, the attachment, the positions of the connectors and the overall condition of the cover and display.
- Inspect whether the plastic, front cover, connector pins or display surface is damaged.
- Before starting work, disconnect the battery and wait until the electrical system has completely calmed down.
2) Necessary tools and materials
- Basic set of screwdrivers and common hand tools
- Plastic pry bar for removing interior trim
- Clean gloves or cloth to avoid scratching the transparent cover
- Cleaner for electrical contacts, if needed
3) Step-by-step assembly procedure
- Secure the vehicle against movement and turn off the ignition.
- Disconnect the battery and wait a reasonable time before disassembling the electrical components.
- Carefully remove the dashboard covers or bezels that prevent access to the instrument cluster.
- Undo the fasteners of the original speedometer.
- Pull out the original device so that the connectors can be accessed without unnecessary pulling on the wiring.
- Disconnect the connectors and check their condition, cleanliness and any signs of oxidation or mechanical damage.
- Compare the old and new part side-by-side, especially by numbers, connectors and mounts.
- Connect the connectors to the replacement part and make sure they are properly seated and secure.
- Place the device in place without force and check that the wiring is not pinched anywhere.
- Reinstall the fasteners and subsequently the dismantled interior cover parts.
- Connect the battery.
- Turn on the ignition and verify the basic functions of the device, the readability of the display and the correct lighting of the indicator lights.
-
4) Post-assembly checks and test drive/function verification
- Check if the device activates without image dropouts or flickering after power on.
- Verify the readability of the display and the basic displayed data.
- On a short test drive, observe the stability of the display and the correct function of the indicators.
- After driving, check again that the part is firmly seated and does not make noises from the dashboard.
5) The most common assembly mistakes + how to avoid them
- Assembly without comparing part codes – always compare the numbers and designs of the connectors in advance.
- Damage to interior plastics during disassembly – use plastic tools and work without violence.
- Insufficiently secured connector – after connection, check for proper seating and locking.
- Manipulation without disconnecting the battery – this is a common cause of malfunctions or error states with electrical parts.
- Clear cover scratches – place the part on a soft surface and do not handle it over rough surfaces.
Reasons why the part is damaged
- Natural wear and tear of electronics and display over years of operation
- Voltage fluctuations in the vehicle’s electrical system
- Damage to connectors, pins or wiring due to improper handling
- Moisture, contact oxidation or long-term thermal stress
- Mechanical damage when disassembling the dashboard or during careless assembly