Description
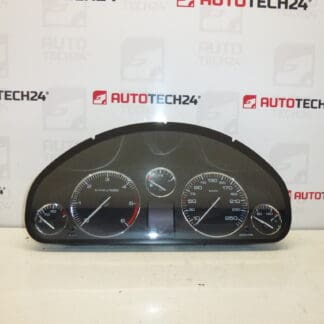
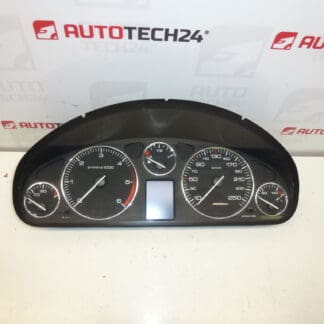
Instrument Cluster Tachometer Dashboard PEUGEOT 407 2.0 HDi 2010
Mileage Approximately 203,000 km
Display Functions OK
Used instrument cluster for Peugeot 407 2.0 HDi, ideal for professional mechanics and skilled DIY enthusiasts. This complete instrument panel includes speedometer, tachometer, odometer and multifunction display. The unit is frequently looked up by OEM and reference numbers (listed below), which makes it easy to find when searching online or checking spare-part catalogs. The display is reported to be working correctly, and the odometer reads about 203,000 km.
Technical Information
- Manufacturer: Stellantis (Peugeot / Citroën)
- Model: Peugeot 407 2.0 HDi (Dashboard / Instrument Cluster)
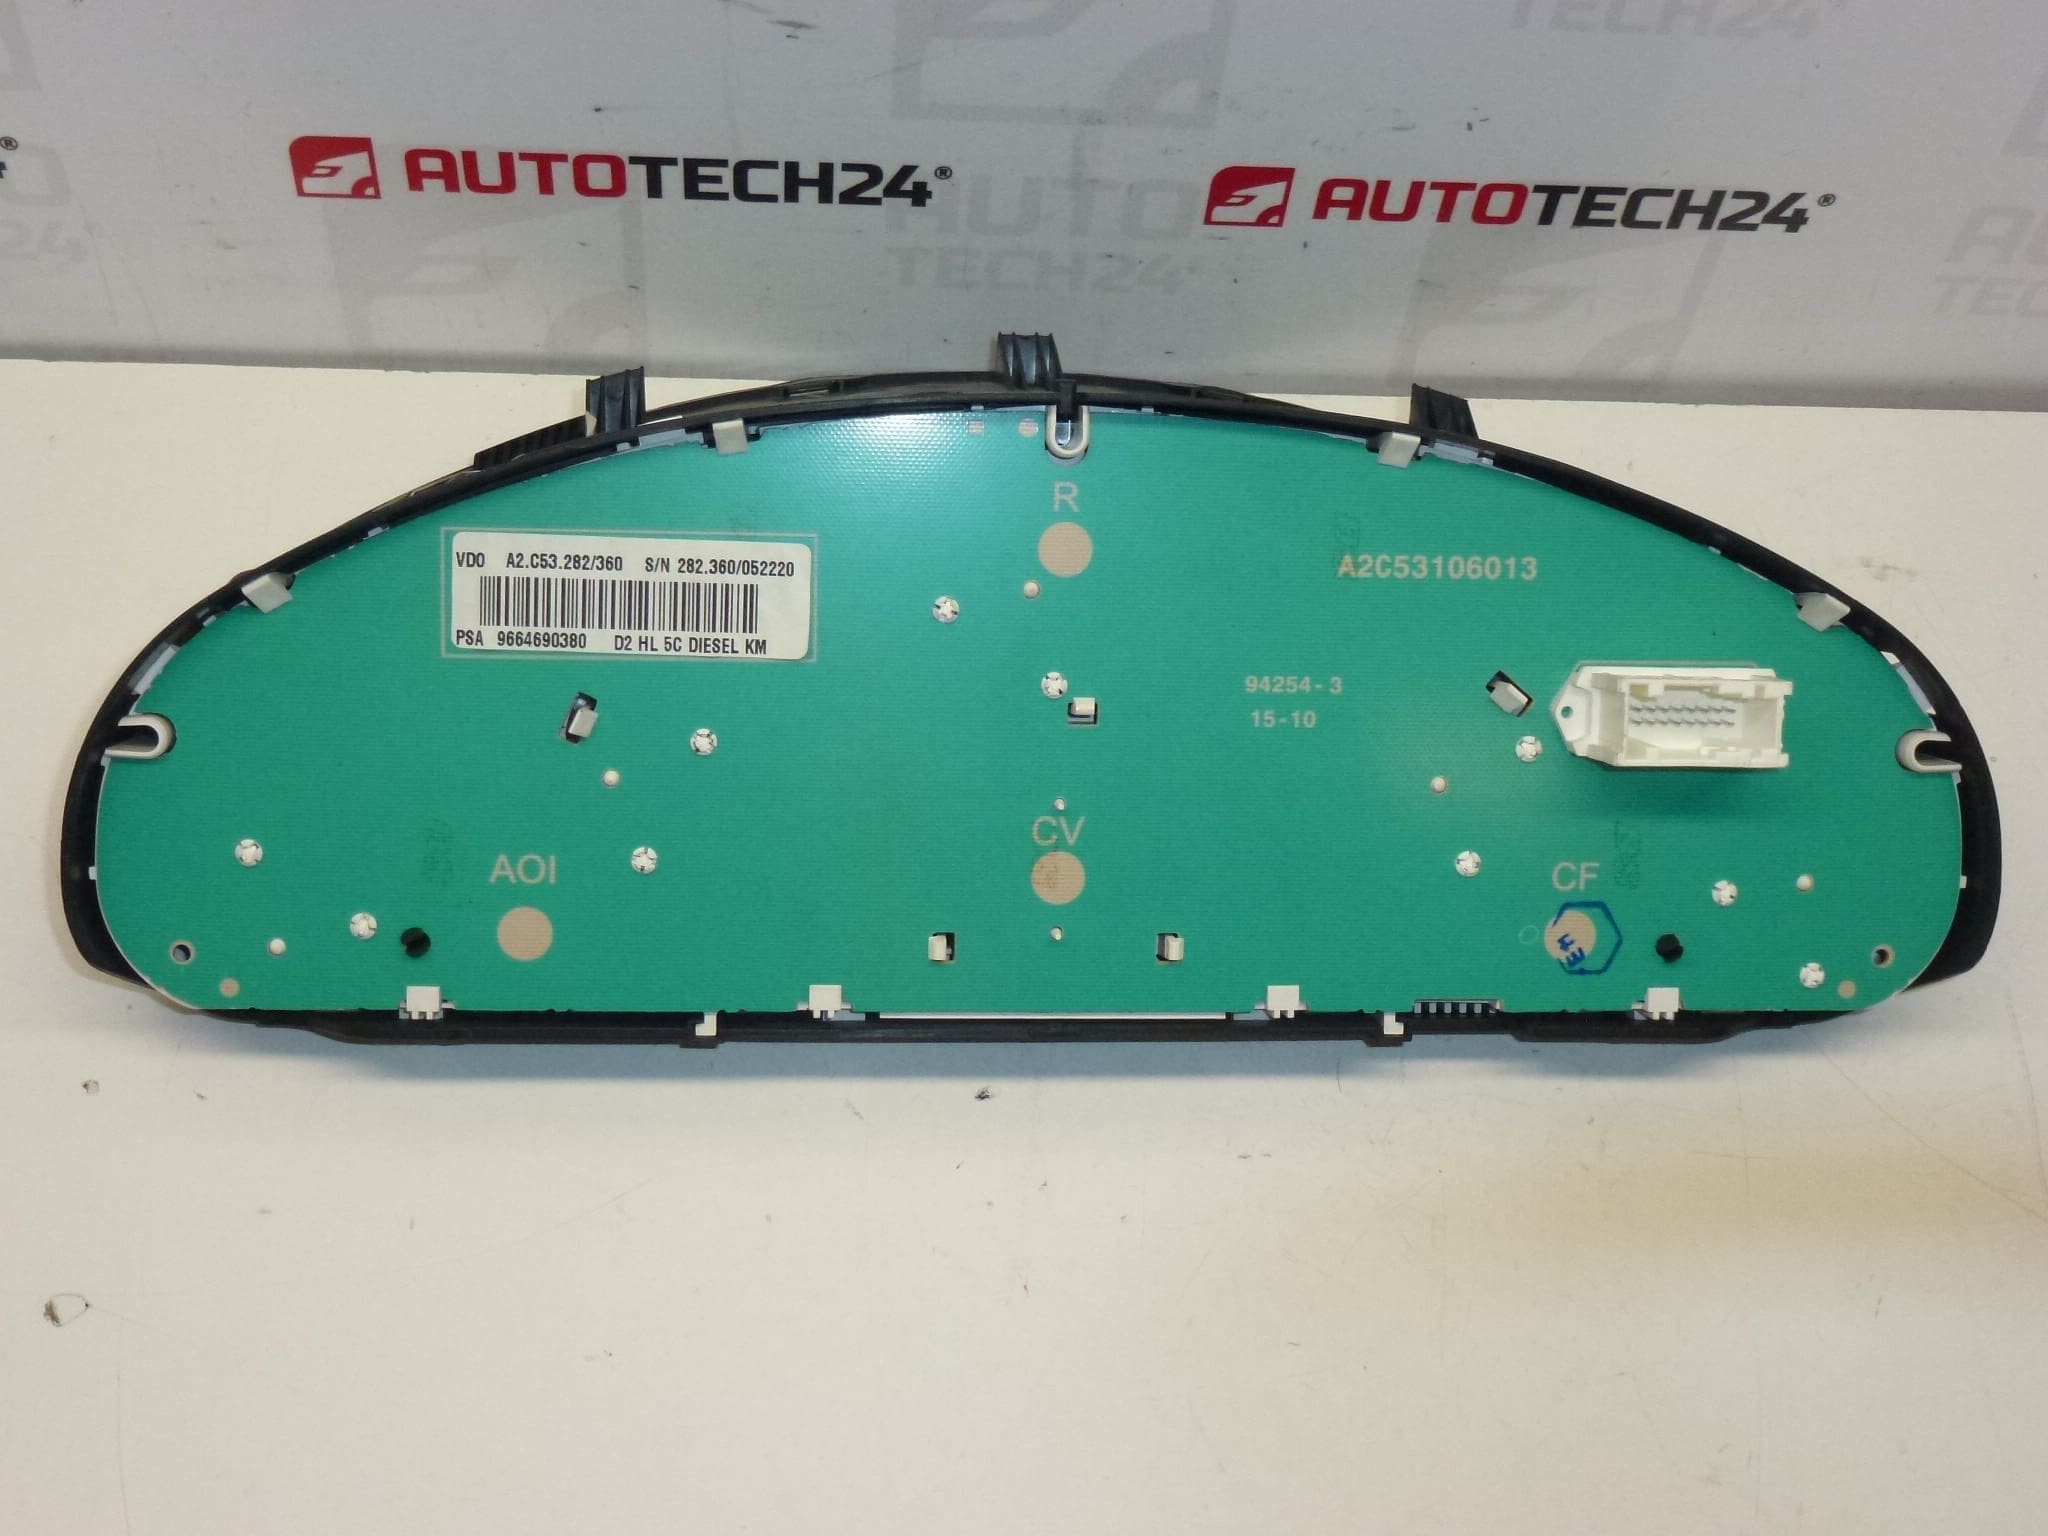
- Product Codes: 9664690380, 9658138580
- Additional Numbers: 610395, 610396, 6106W8
Function and Description
The instrument cluster is the central dashboard module that displays vehicle speed, engine RPM, total mileage and various warning indicators. It typically contains stepper motors for analogue needles, an LCD or LED segment display for the odometer and trip data, and a set of warning lamps for engine, ABS, airbag and other systems. On this specific unit the main display is functioning and the odometer shows approximately 203,000 km.
Installation Recommendations
- Disconnect Battery: Always disconnect the negative battery terminal before starting work to avoid short circuits and potential damage to electronics.
- Remove Trim Panels: Carefully remove the surrounding trim and bezel to access the cluster mounting screws. Use trim tools to avoid breaking clips.
- Unscrew and Unplug: Remove mounting screws and gently pull the cluster forward. Unplug all wiring connectors—note alignment and locking tabs.
- Swap and Test: Install the replacement cluster, reconnect harnesses and battery, then test all gauges, lights and indicators before reassembling trim.
- Coding and Initialization: Some vehicles may require initialization or coding with a diagnostic tool after cluster replacement (resetting mileage display, service intervals or CAN bus recognition). Have an appropriate diagnostic interface available if required.
- Handle With Care: Avoid touching circuit board components and protect the LCD from pressure. Ensure connectors are clean and fully seated to prevent intermittent faults.
Most Common Reasons for Failure
- High Mileage Wear: Stepper motors that drive analogue needles wear over time and can lose accuracy or seize.
- Display Degradation: Segment or backlight failures on the LCD/LED display can make information unreadable.
- Connector Corrosion or Loose Pins: Moisture ingress or vibration can cause poor electrical contact, leading to intermittent operation.
- Water Ingress: Leaks or roof/dash condensation can damage internal electronics.
- Voltage Spikes: Jump-starts or electrical faults can damage driver circuits inside the cluster.
Searchable by part numbers 9664690380, 9658138580, 610395 and 610396. Fits Peugeot 407 2.0 HDi instrument cluster replacements where these reference numbers match. Suitable for professionals and experienced DIY installers who are familiar with dashboard disassembly and basic ECU/cluster initialization procedures.