Description
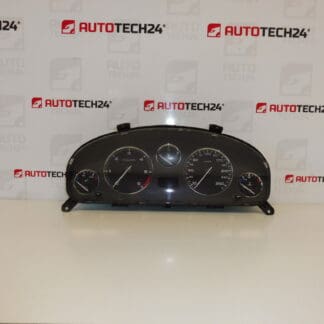
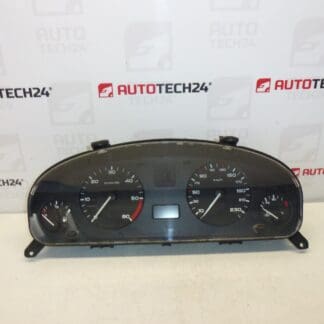
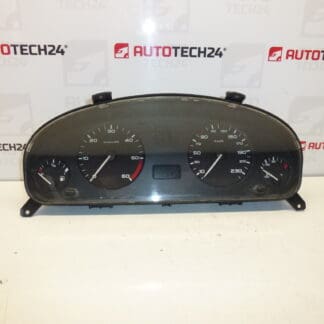
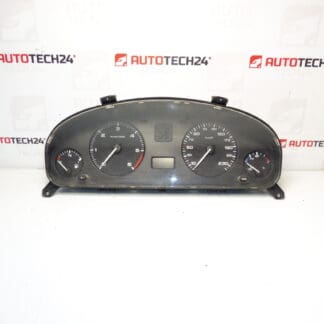
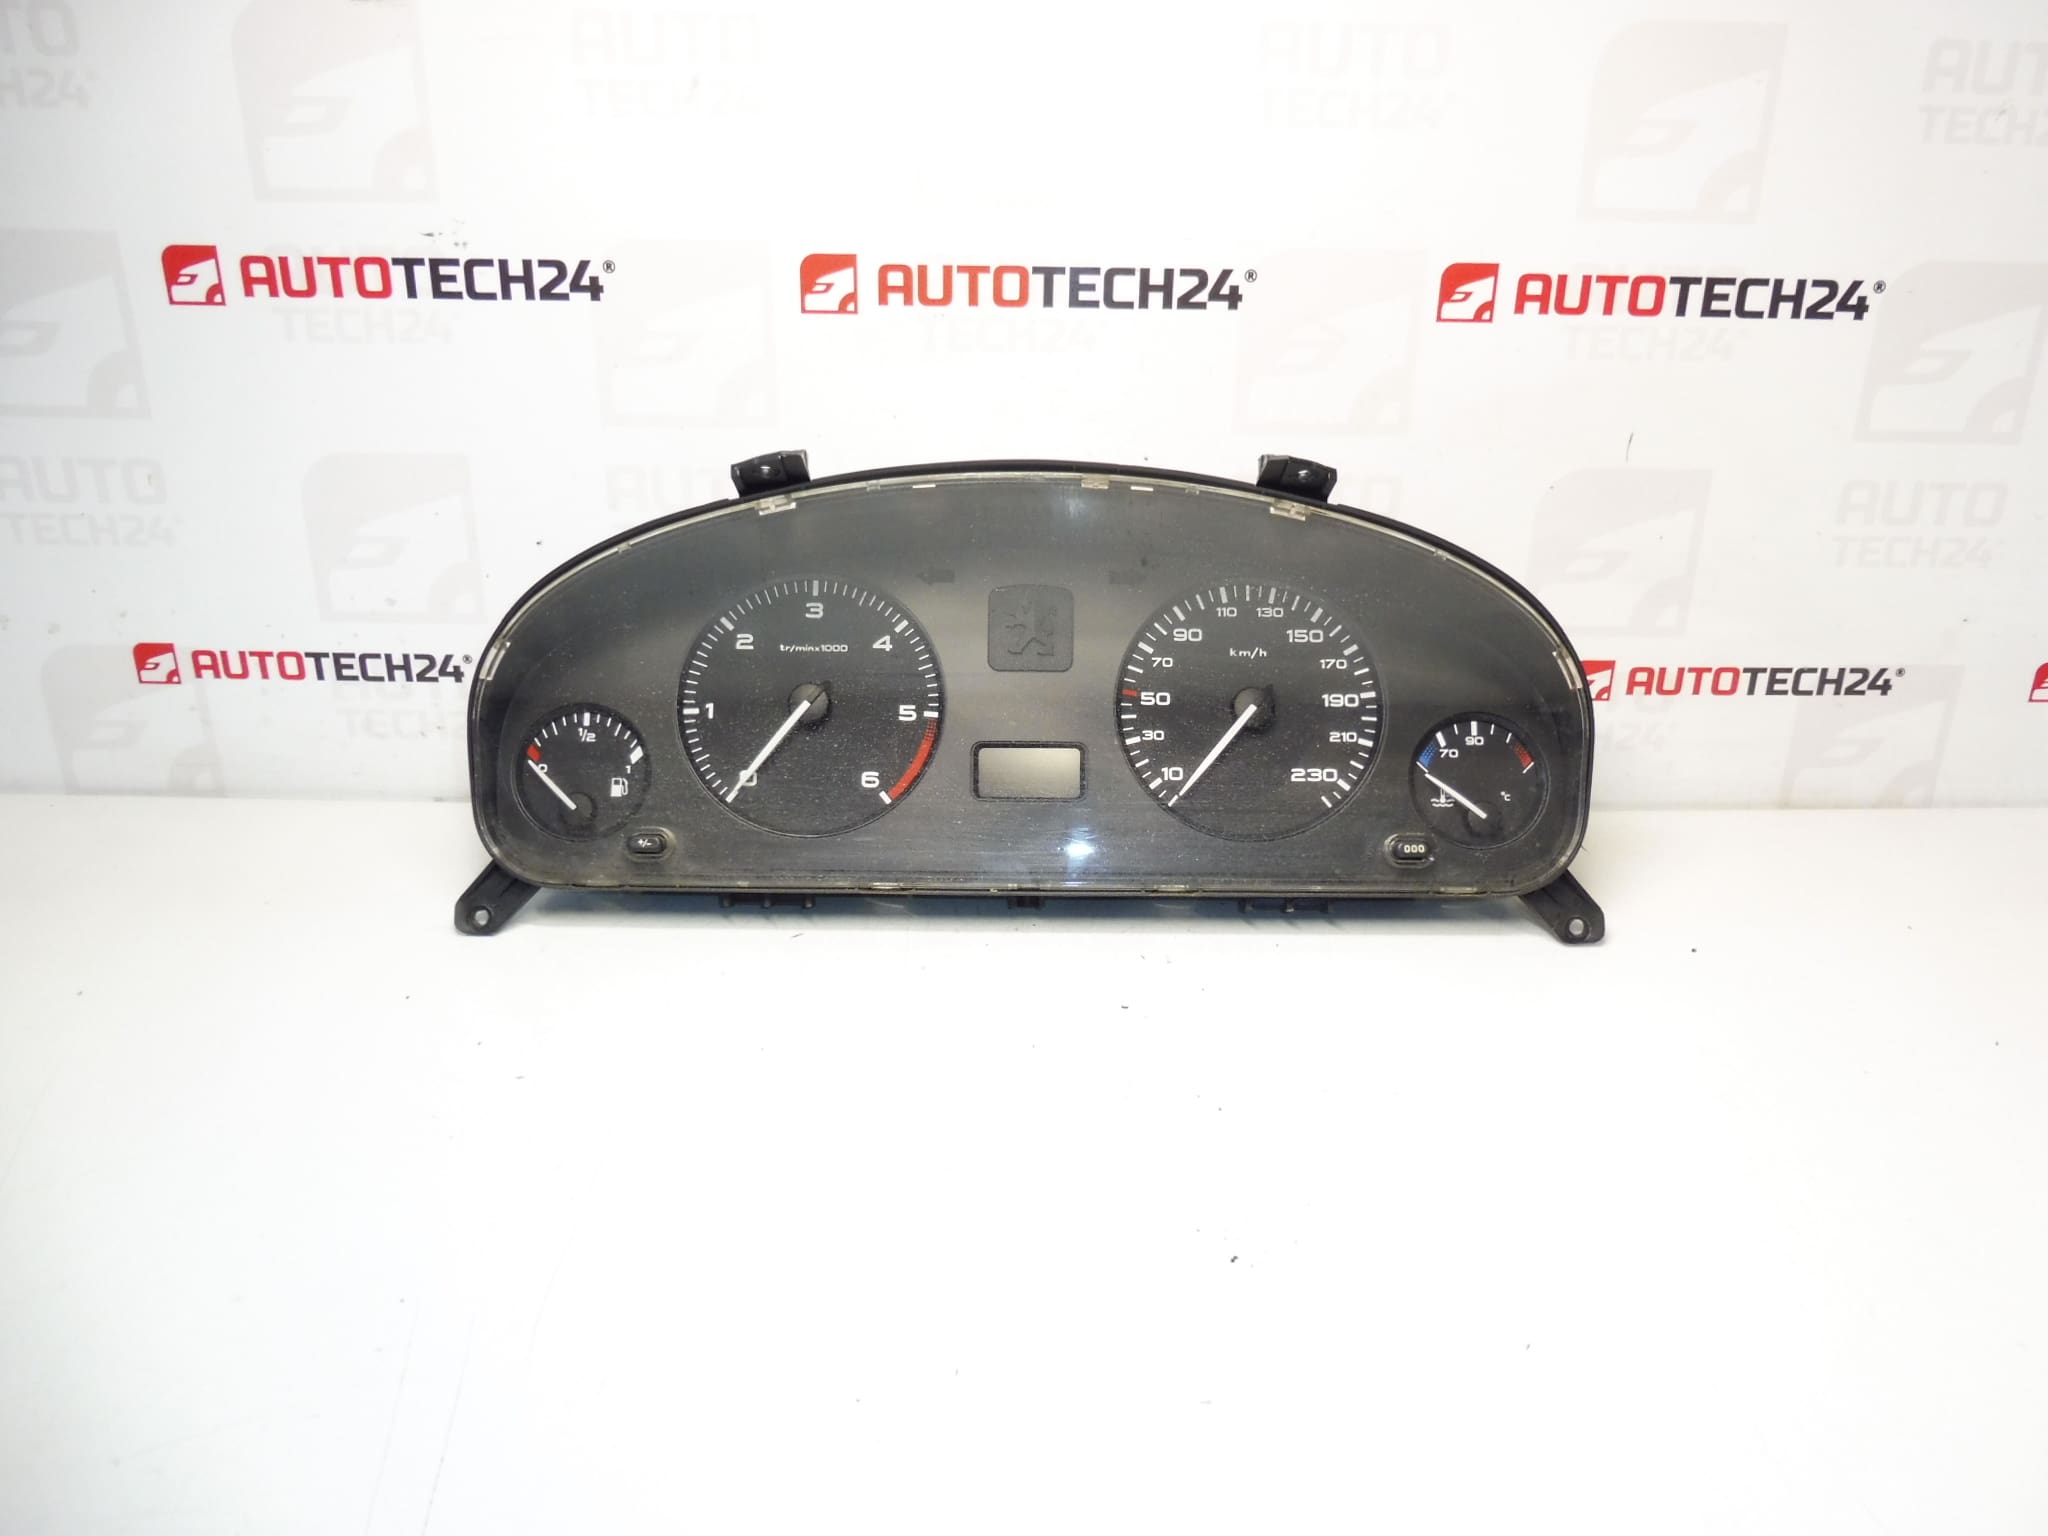
Speedometer and instrument cluster for Peugeot 406 2.0 HDi. Mileage unknown.
Premium replacement instrument cluster intended for Peugeot 406 2.0 HDi owners and professional workshops. This unit carries the manufacturer/product references 9642946280 and 6104W7, making it easy to find in catalogs and search engines. The cluster delivers all standard dashboard functions: speed indication, tachometer/engine RPM (if equipped), warning lights, and odometer readout. It is suitable for mechanics and experienced DIY enthusiasts who need a direct-fit instrument solution that matches original specifications.
Benefits And Application
Designed to restore full dashboard functionality on Peugeot 406 2.0 HDi models. Typical benefits include clear readouts, correct warning lamp operation, and compatibility with factory mounting points and connectors. Common search terms: “Peugeot 406 instrument cluster”, “Speedometer 9642946280”, “6104W7 tachometer”—useful for locating the exact part quickly.
Technical Information
- Manufacturer: Stellantis (Peugeot/Citroën)
- Model: Peugeot 406 2.0 HDi
- Product Codes: 9642946280, 6104W7
- Other Numbers: NFP
Installation Recommendations
- Always disconnect the vehicle battery before starting work to avoid electrical damage.
- Remove trim panels and unscrew the instrument cluster from the dash following the vehicle manufacturer’s procedure.
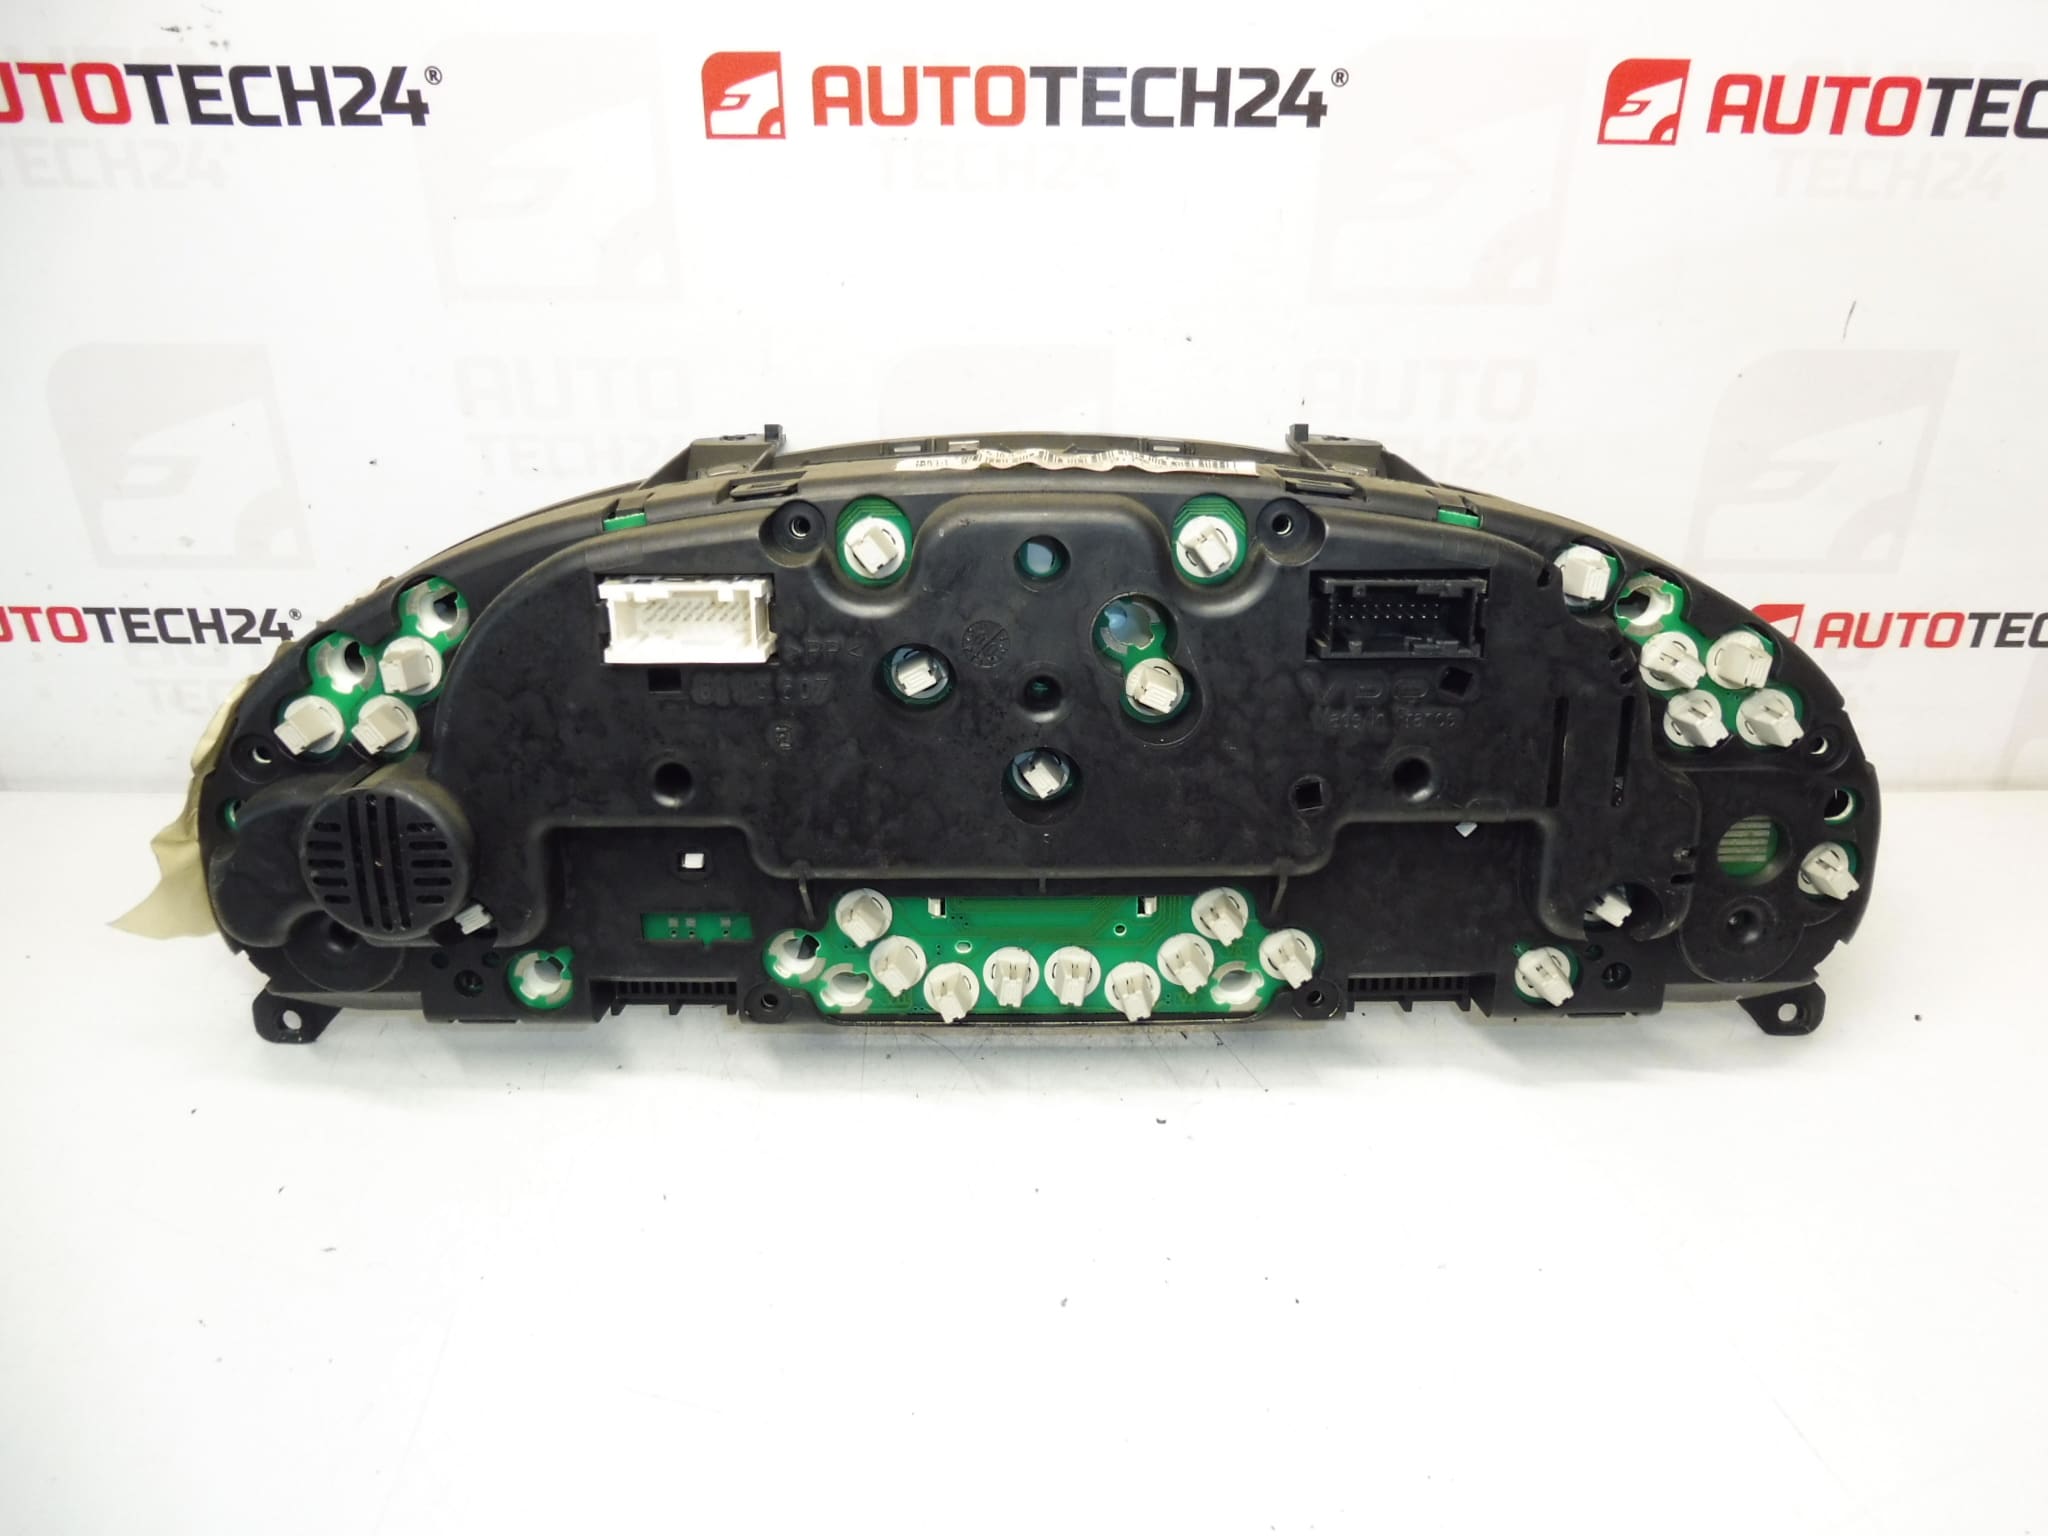
- Carefully unplug electrical connectors; inspect pins and sockets for corrosion or damage before connecting the replacement unit.
- After installation, verify all warning lights and gauges function correctly. If odometer, immobilizer, or certain warning indicators are not synchronized, professional initialization or coding may be required.
- Use appropriate tools and follow anti-static precautions when handling the unit to avoid PCB or component damage.
Why This Part Fails Most Often
Instrument clusters are generally durable, but the most common failure causes are:
- Age-related wear of stepper motors that drive analogue needles, causing inaccurate or stuck gauges.
- Failed display segments or backlight LEDs leading to missing digits or poor visibility.
- Corroded connectors or water ingress from damaged seals, especially in vehicles exposed to humidity or leaks.
- Solder joint cracks on the printed circuit board due to thermal cycling or vibration.
- Electrical surges or battery disconnects performed incorrectly, which can damage onboard electronics.
Practical Notes For Mechanics And DIYers
If you are replacing the cluster yourself, document the original connector orientation and take photos before removal to speed reassembly. When reusing bulbs or components, test them prior to installation. For vehicles exhibiting immobilizer or mileage discrepancies after swap, adaptation with PSA diagnostic equipment (DiagBox/Lexia/PP2000) may be necessary to restore full functionality.