Description
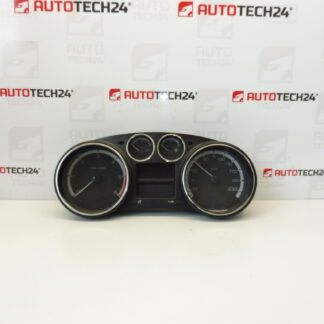
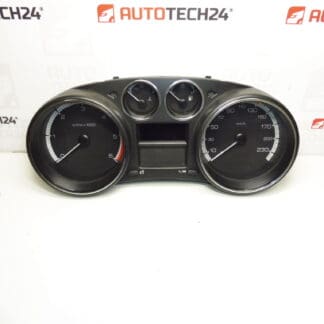
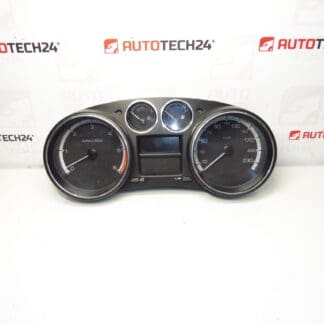
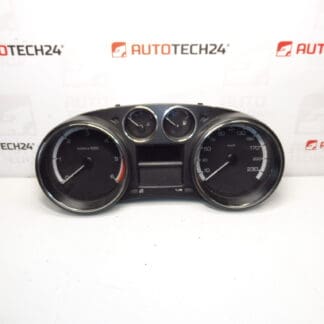
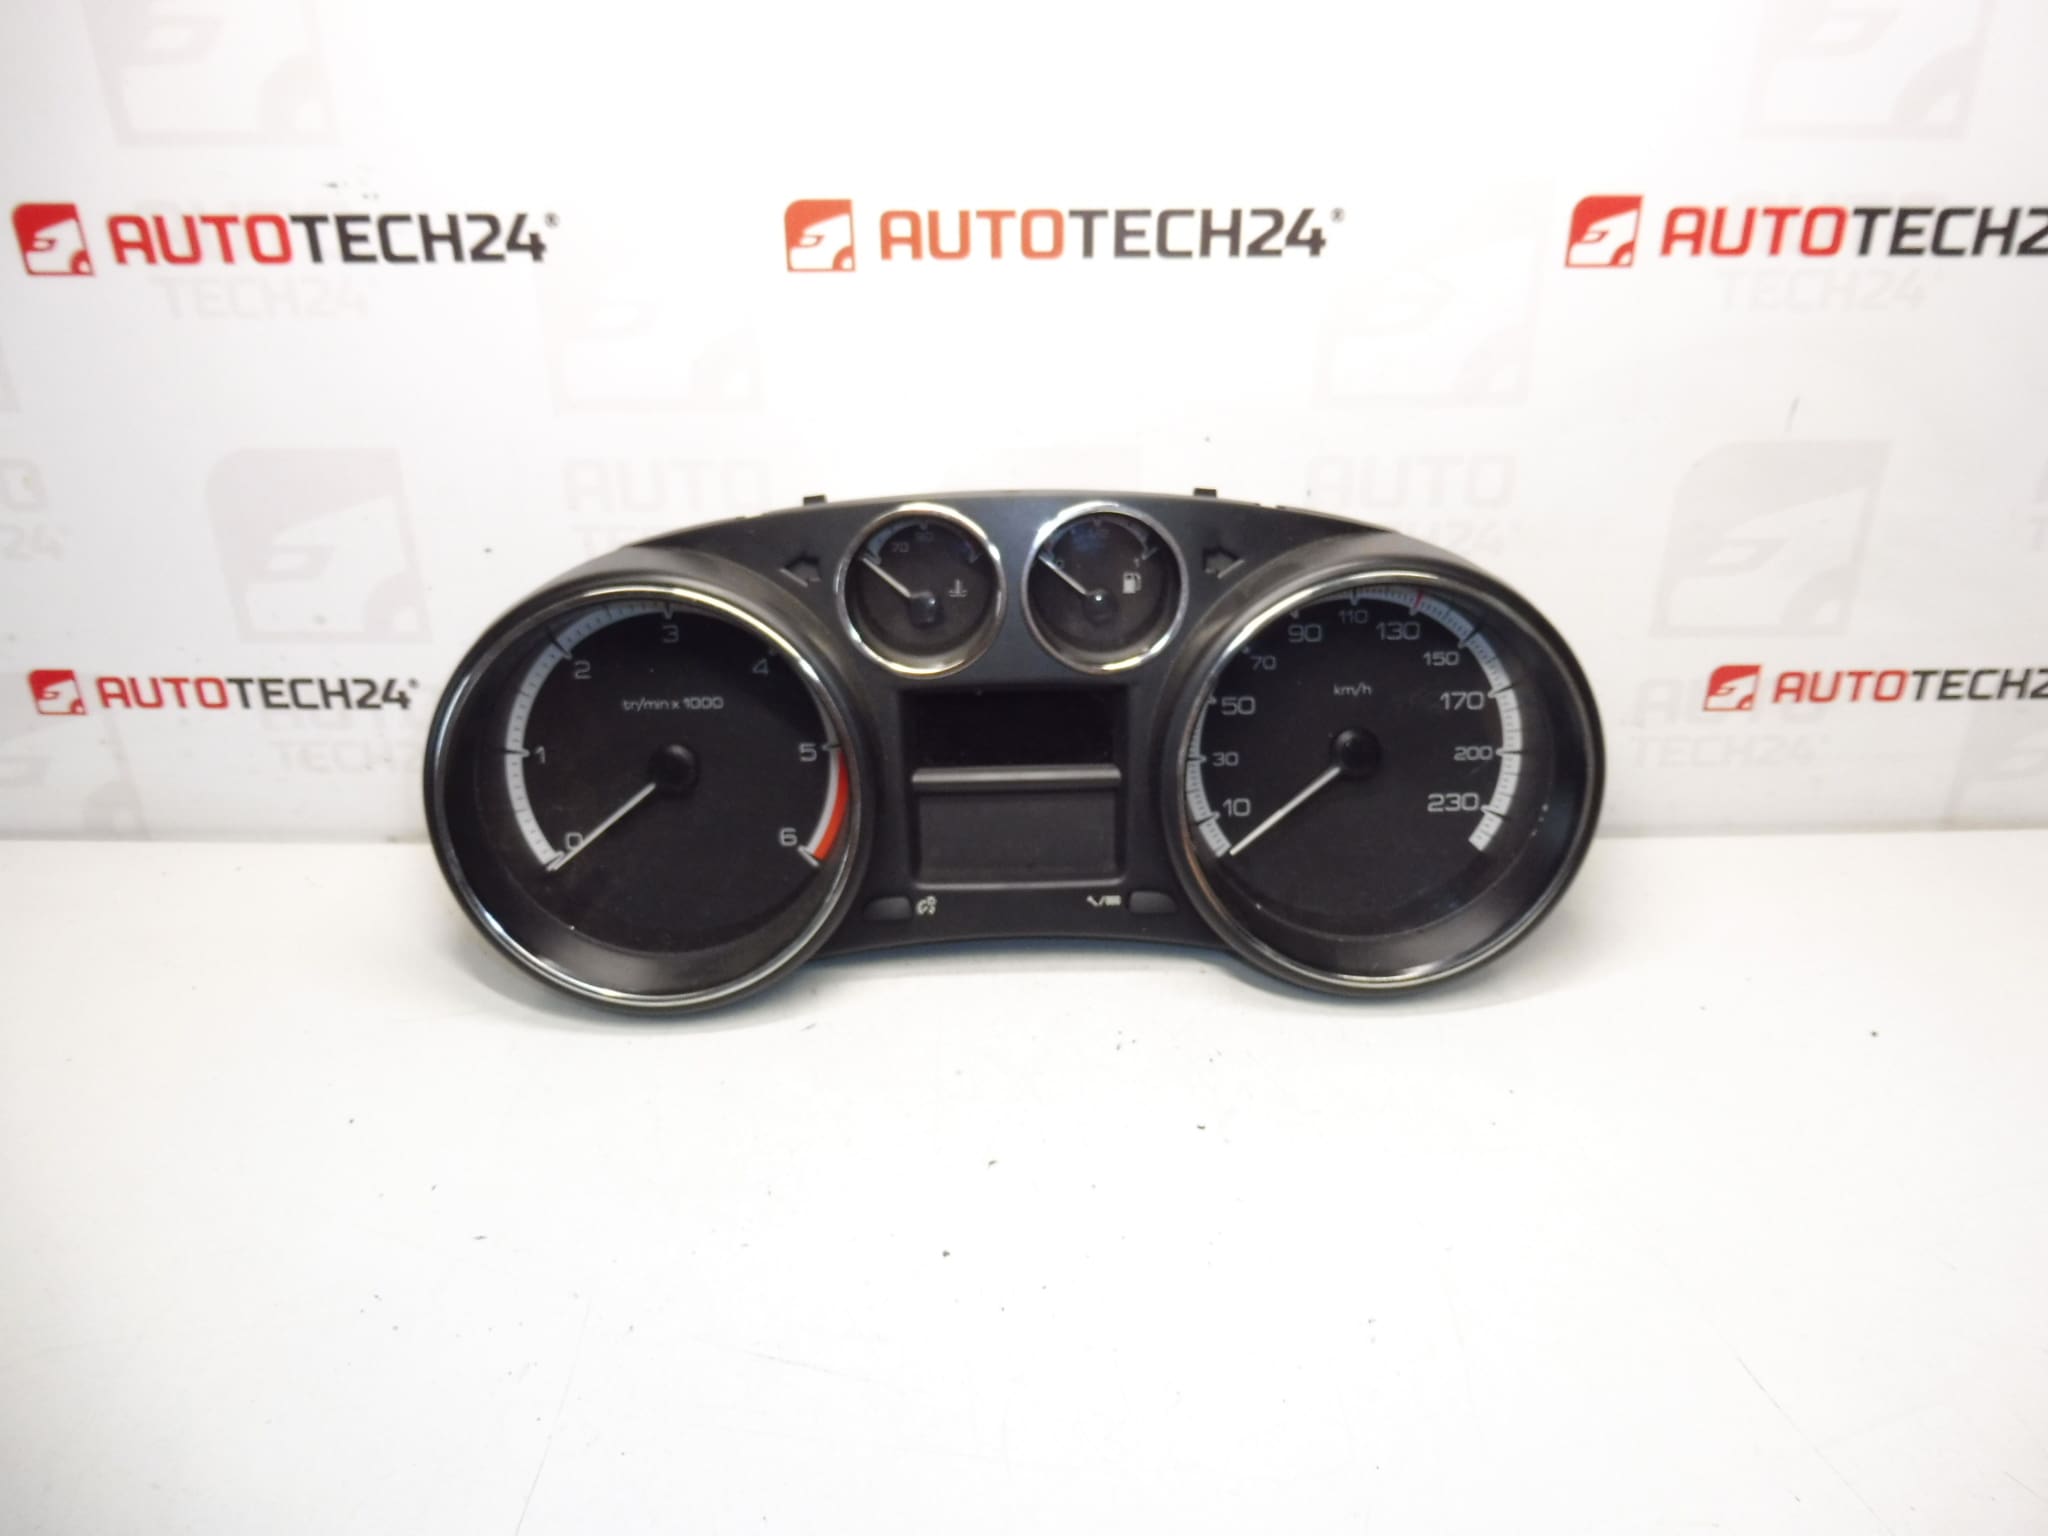
Complete instrument cluster for PEUGEOT 308 1.6 HDI cars
Mileage 71,606 km
Part description
This used speedometer / instrument cluster is for Peugeot 308 cars. It is an original electrical part of the Stellantis Citroën Peugeot group with an emphasis on conformity according to the product number, which is essential when choosing this type of part. The stated mileage is 71,606 km.
The instrument cluster is an important part of the car’s on-board equipment – it displays operational information needed for normal driving as well as diagnostics of the vehicle’s condition. For car mechanics and home repairmen, this part is a suitable choice when it is necessary to replace a damaged, non-functional or difficult to read original device.
Technical information
- Manufacturer: Stellantis Citroën Peugeot
- Model: Peugeot 308 1.6 HDI
- Other numbers: 9666649080, 9806132480
- Category: Electrical components, tachometers
- Mileage status: 71,606 km
Product codes
- Product codes: 9666649080, 9806132480
- Models from labels/backgrounds: Peugeot 308
Installation recommendations
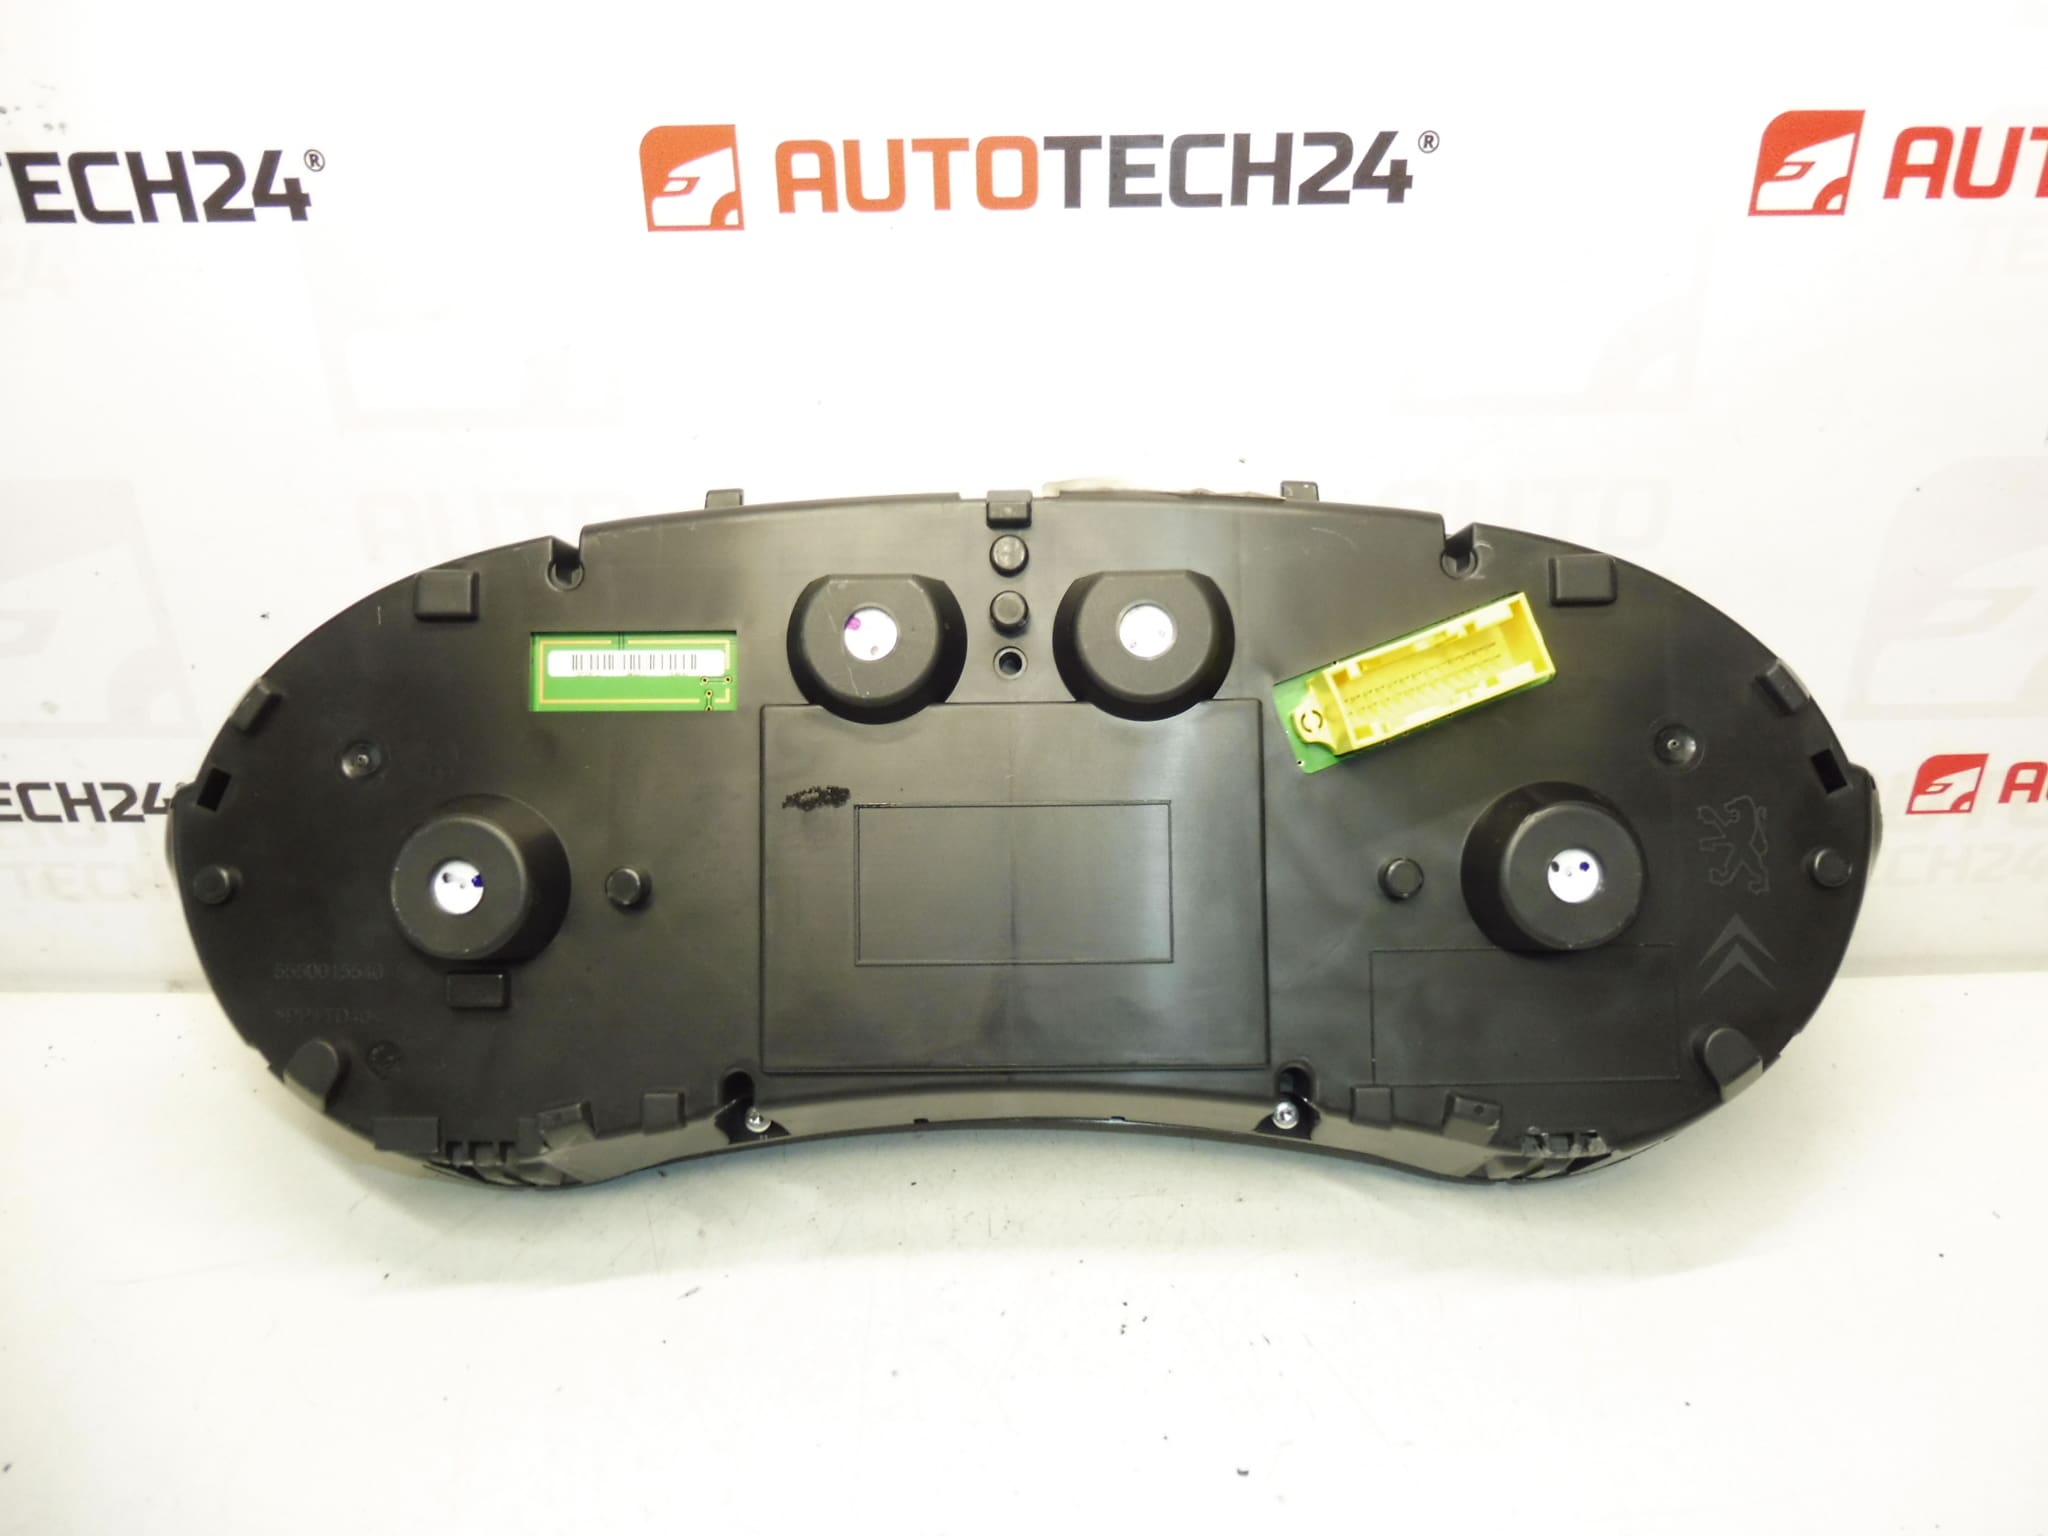
Generally/typically for this type of part, the exact procedure for changing the instrument cluster may vary depending on the specific design of the dashboard and vehicle equipment. Before assembly, it is advisable to carefully compare the original and the delivered piece and proceed with caution to avoid damage to the plastic parts of the interior or the connectors.
1) Before assembly
- Check that product numbers 9666649080 and 9806132480 match the old part.
- Compare the shape of the device, the location of the connectors, the attachment and the overall design.
- Inspect the condition of the connector pins, plastic holders and front cover.
- Before starting work, disconnect the battery according to normal service practice for electrical parts.
2) Necessary tools and materials
- Set of common hand tools
- Plastic pry bar for removing interior trim
- Suitable screwdrivers or bits
- Clean cloth to protect surrounding surfaces
- Or basic diagnostic equipment to check functions after assembly
3) Step-by-step assembly procedure
- Turn off the ignition and leave the vehicle in idle mode.
- Disconnect the battery.
- Carefully remove the surrounding paneling of the instrument panel so as not to damage the latches.
- Undo the fasteners of the original cluster.
- Slightly extend the device to gain access to the connectors.
- Carefully disconnect the electrical connectors without force and check their condition.
- Compare the old and new parts side by side again.
- Connect the connectors to the supplied device and verify their correct seating.
- Place the device in place and secure it with the original fasteners.
- Reinstall the removed covers and interior trim.
- Connect the battery.
- Turn on the ignition and check the basic display functions.
-
4) Post-assembly checks and test drive/function verification
- Verify the readability of the display and correct backlighting.
- Check if the device communicates without dropouts after switching on the ignition.
- Watch the behavior of indicators and warning lights.
- On a short test drive, verify the stability of the display and the correct response of the device during normal operation.
5) The most common assembly mistakes + how to avoid them
- Part replacement by appearance instead of number – always check the product label.
- Damage to the plastic parts of the dashboard – use suitable plastic tools and do not pry with force.
- Insufficiently inserted connector – after connection, check for proper seating and securing.
- Assembly without disconnecting the battery – it is safer to work with electrical components with the power supply disconnected.
- Check for mechanical damage to the used part before installation – before final assembly, perform a visual inspection of the cover, attachment and pins.
Reasons why the part is damaged
- Electronic failure due to age and normal operation
- Voltage fluctuations in the on-board network or power supply problems
- Damage to connectors, pins or wiring
- Moisture, condensation or dirt inside the device
- Mechanical damage during unprofessional disassembly or assembly
- Wear of the display, backlight or internal electronic components