Description
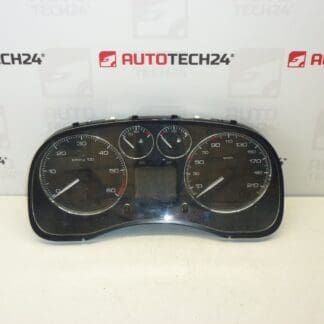
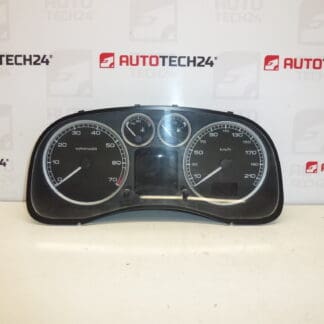
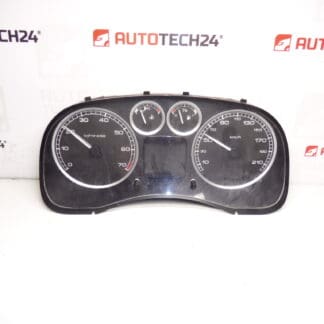
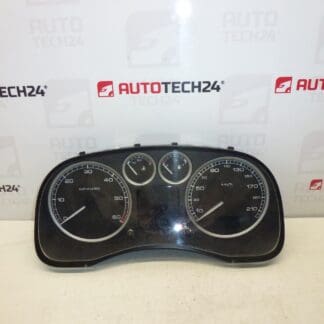
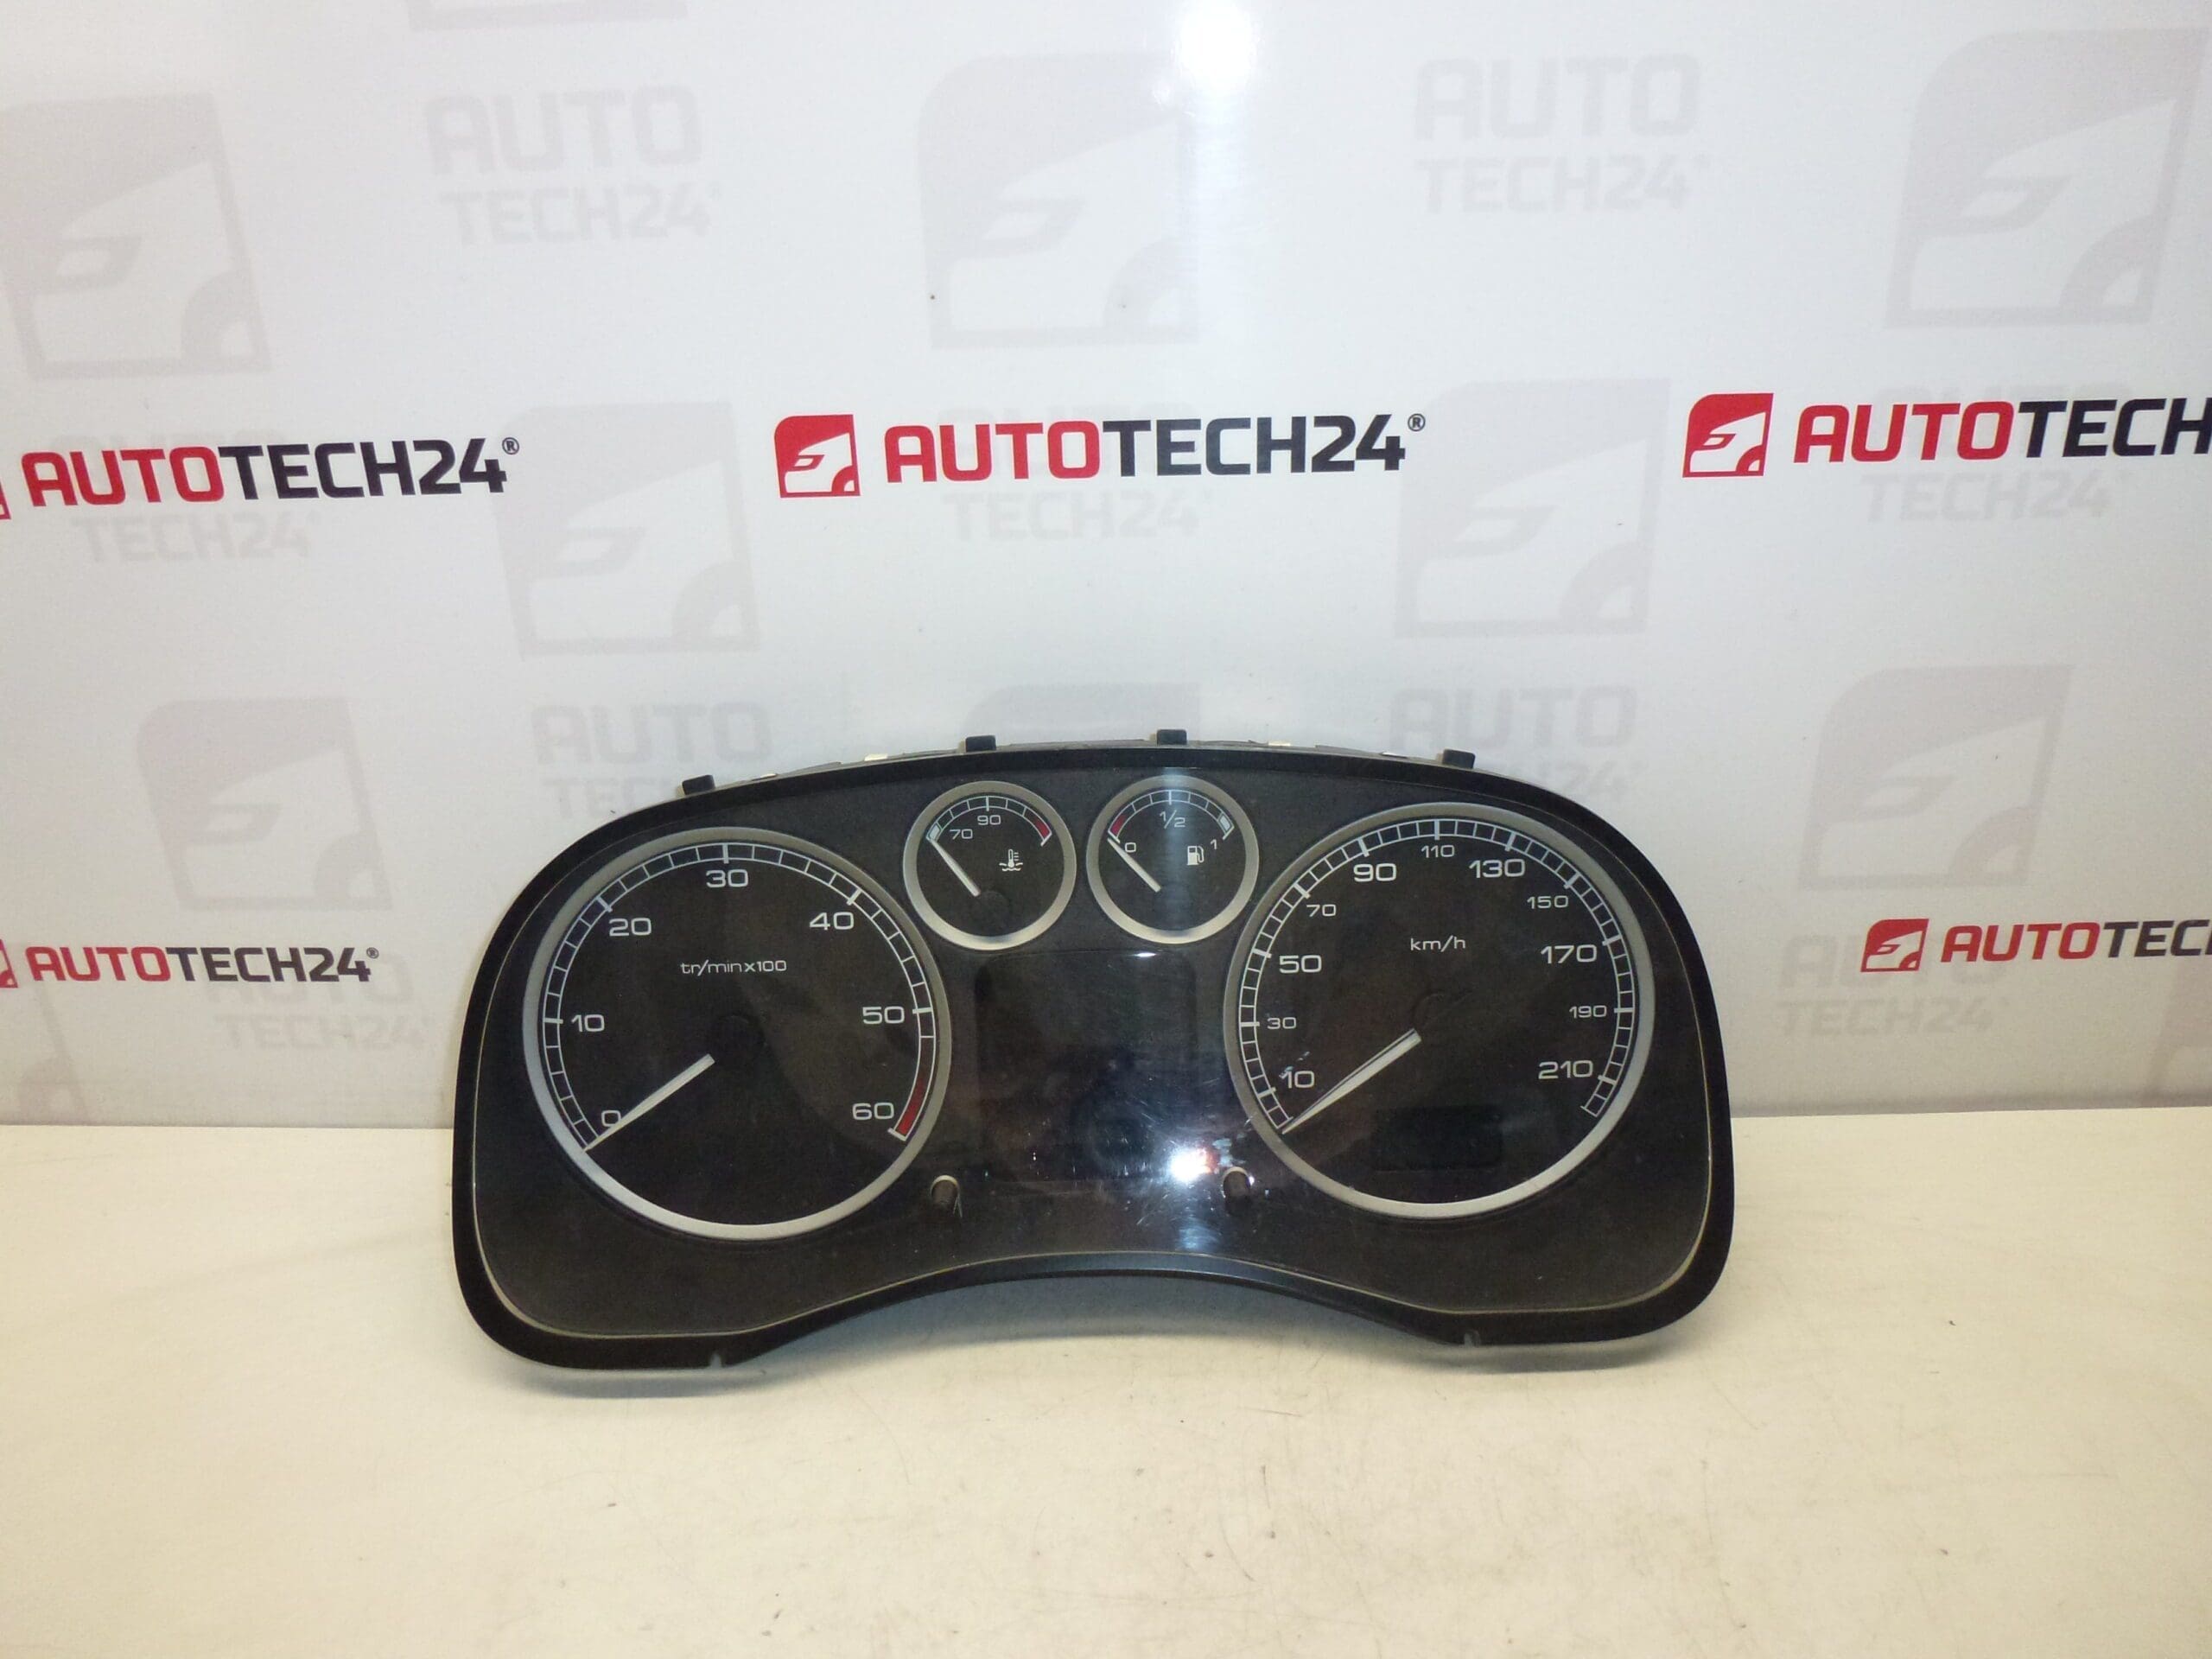
Speedometer for Peugeot 307. Mileage Unknown.
Overview
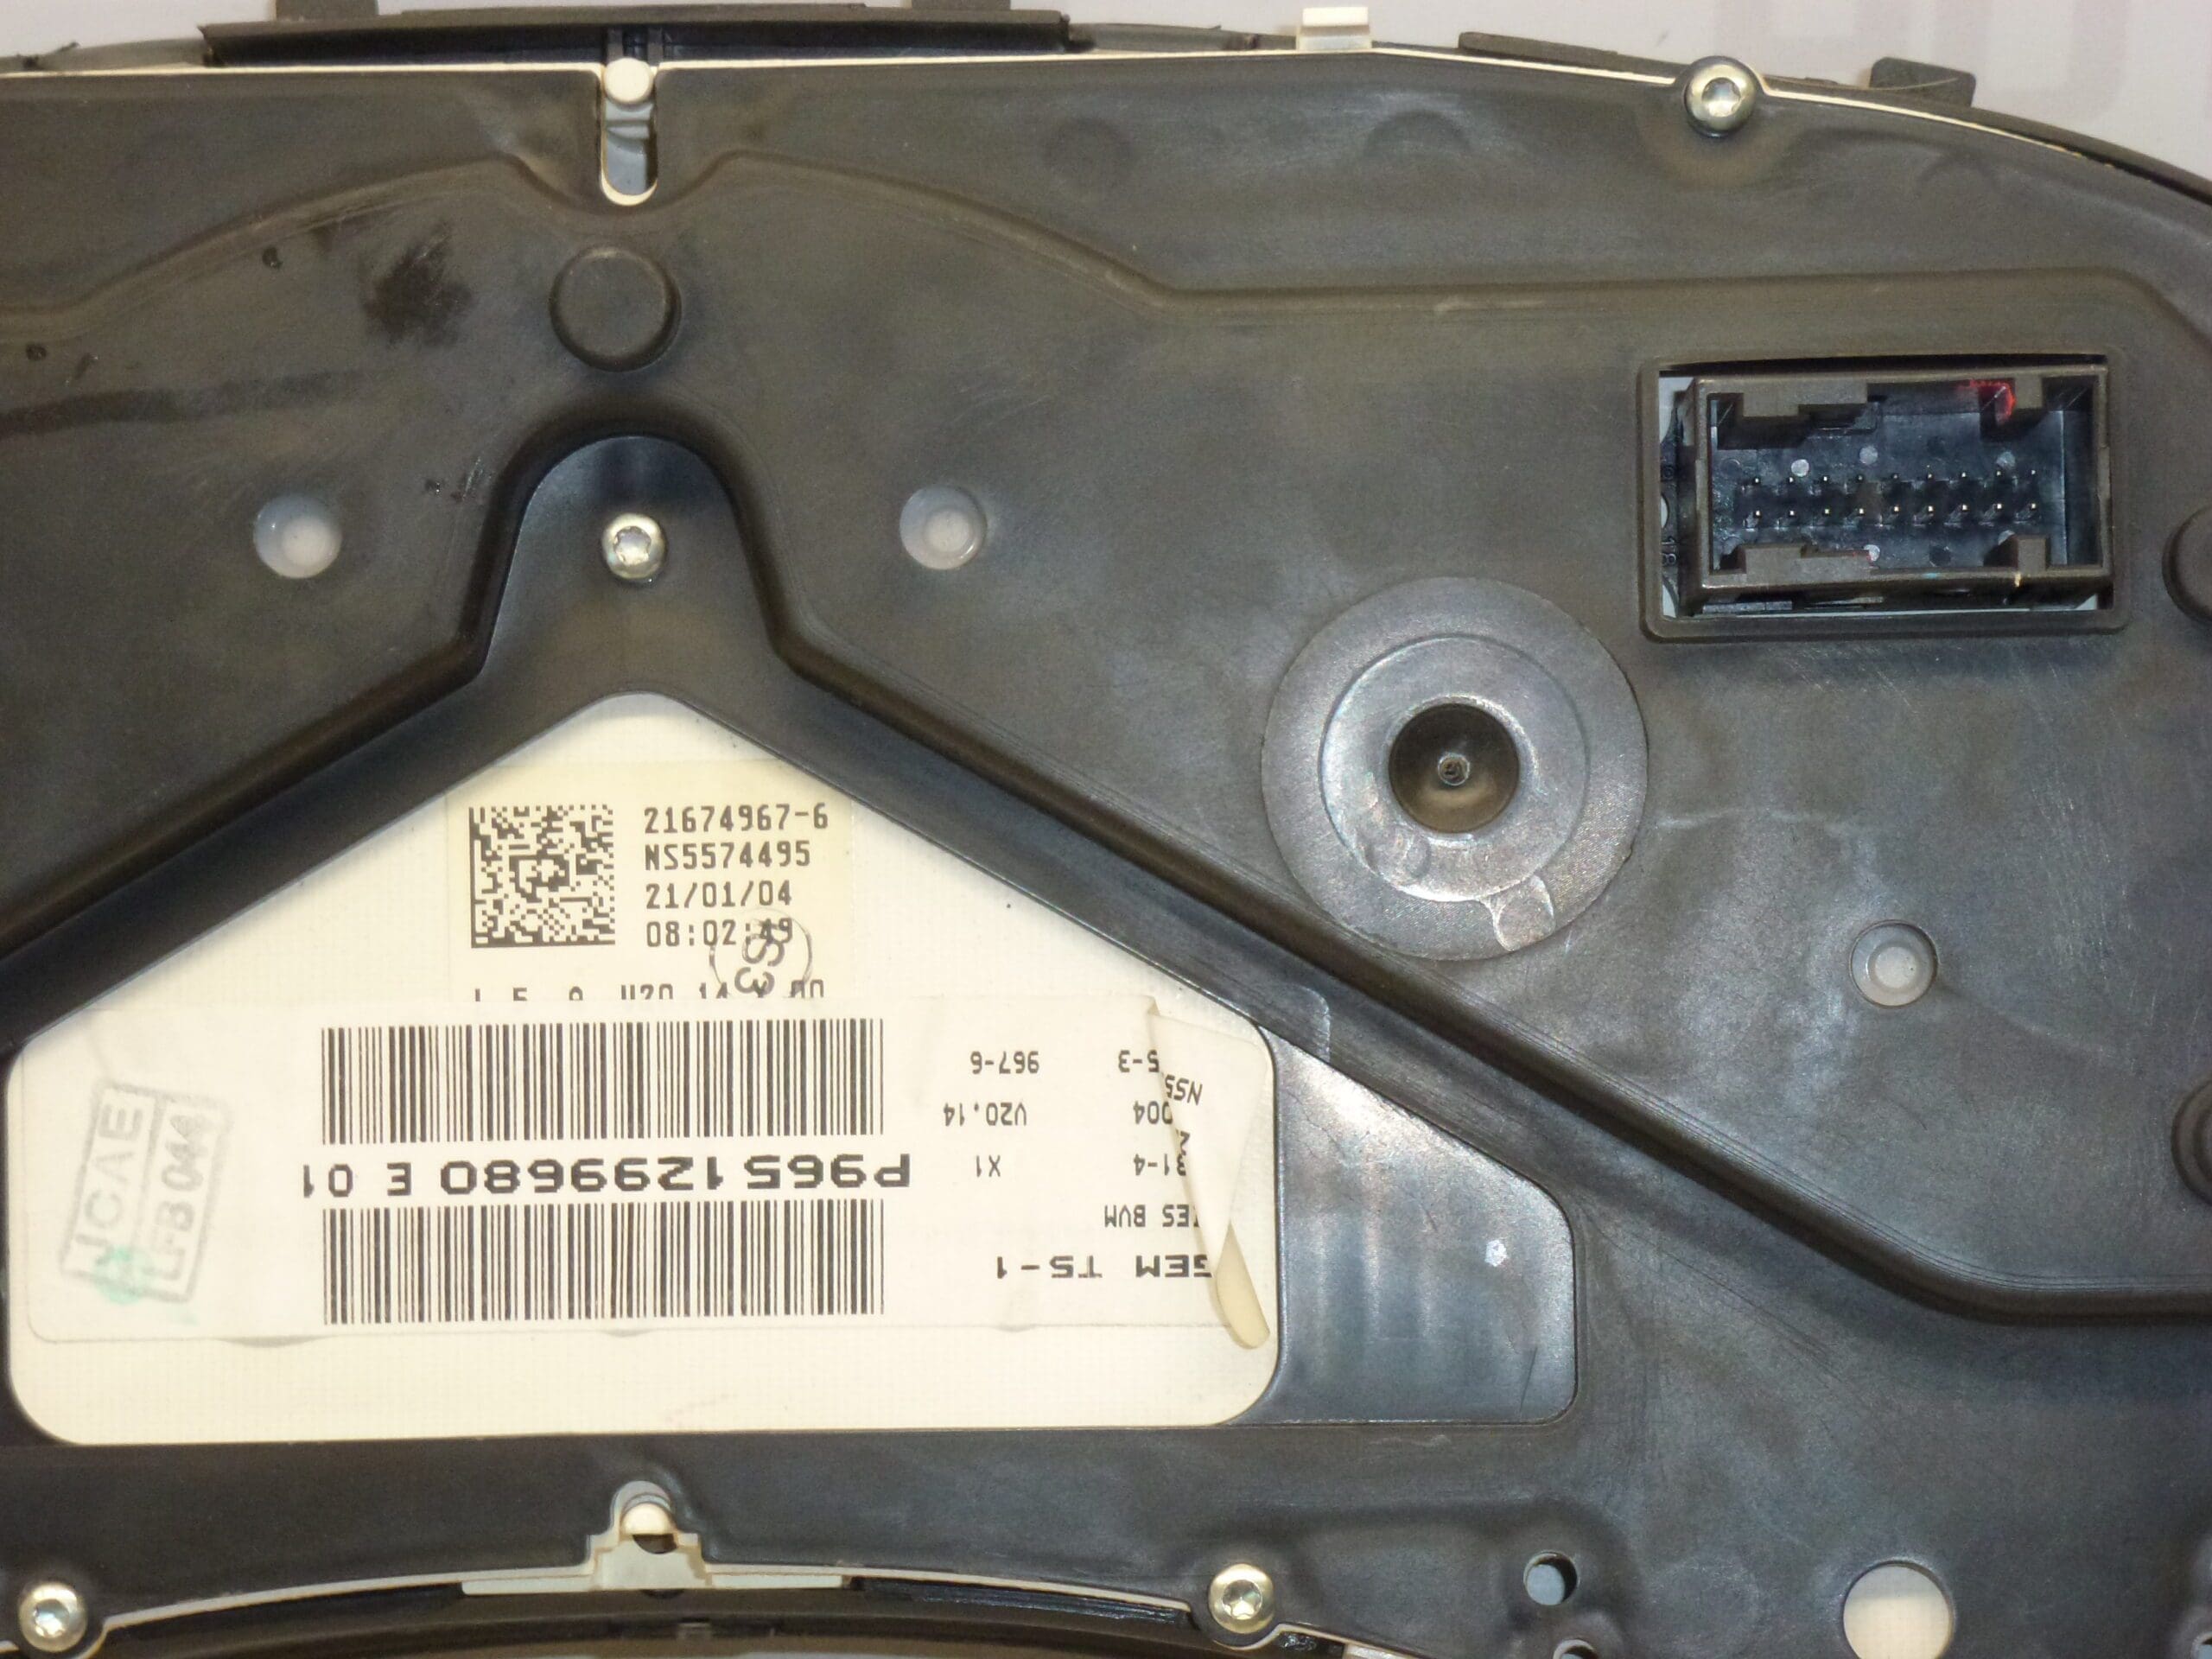
This instrument cluster speedometer is designed for Peugeot 307 vehicles and is commonly searched by part numbers 9651299680 or P9651299680 and reference codes 6104ZS / 6105KS. It displays vehicle speed, odometer/trip values and houses indicator/warning lamps. The unit is a direct-fit component for the 307 series and is suitable for mechanics and experienced DIYers who perform instrument cluster replacements.
Key Features
- Direct Replacement For Peugeot 307 Instrument Cluster
- Displays Speed, Odometer And Warning Indicators
- Compatible With Units Marked 9651299680 / P9651299680 / 6104ZS / 6105KS
- Ideal For Garage Repairs And Self-Repair Projects
Technical Information
- Manufacturer: Stellantis (Peugeot)
- Model: Peugeot 307
- Product Codes: 9651299680, P9651299680, E 01
- Other Numbers: 6104ZS, 6105KS
Compatibility
Fits Peugeot 307 models (Phase 1 and Phase 2). Compatibility depends on instrument cluster variant and on-board equipment; the part is most often referenced and located by the product codes listed above.
Installation Recommendations
- Always Disconnect The Battery Before Starting Work To Prevent Short Circuits And Data Loss.
- Remove Dashboard Trim And Steering Column Shrouds To Access The Cluster Screws.
- Unscrew The Instrument Cluster, Pull It Forward Carefully And Disconnect The Electrical Connectors.
- Swap The Unit, Reconnect The Connectors And Refit Screws And Trim.
- After Reinstallation, Reconnect The Battery And Verify All Gauges, Indicators And The Odometer Function Correctly.
- If The Vehicle Has Advanced Immobilizer Or Key Pairing Requirements, Follow Manufacturer Procedures For Initialization.
Why The Part Most Commonly Fails
- Wear Of Internal Stepper Motors Or Gauge Mechanisms Causing Incorrect Speed Indication.
- Faulty Solder Joints Or Cracked Traces On The Circuit Board Due To Vibration And Age.
- LCD Or Backlight Failure Leading To Poor Readability.
- Corrosion Or Water Ingress From Leaks Around The Dashboard.
- Electrical Spikes Or Charging System Faults Causing Component Damage.
Practical Notes
There Is No Scheduled Replacement Interval For Instrument Clusters; Lifespan Varies With Use, Environment And Electrical System Condition. When Diagnosing, Check Power And Ground Circuits, Fuses, And Connector Integrity Before Replacing The Entire Unit.
Search And Reference
Common Search Terms: 9651299680, P9651299680, 6104ZS, 6105KS, Peugeot 307 Tachometer, Peugeot 307 Instrument Cluster.