Description
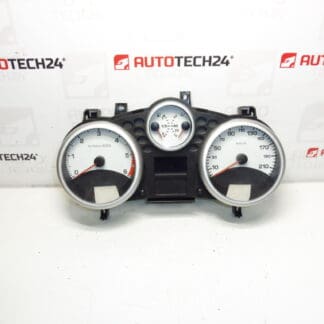
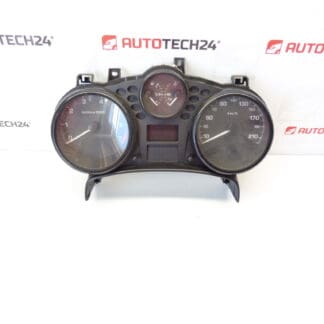
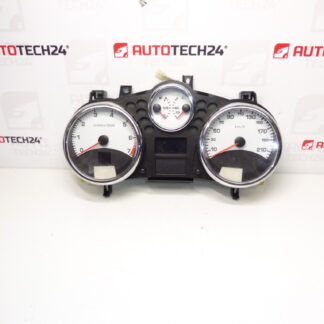
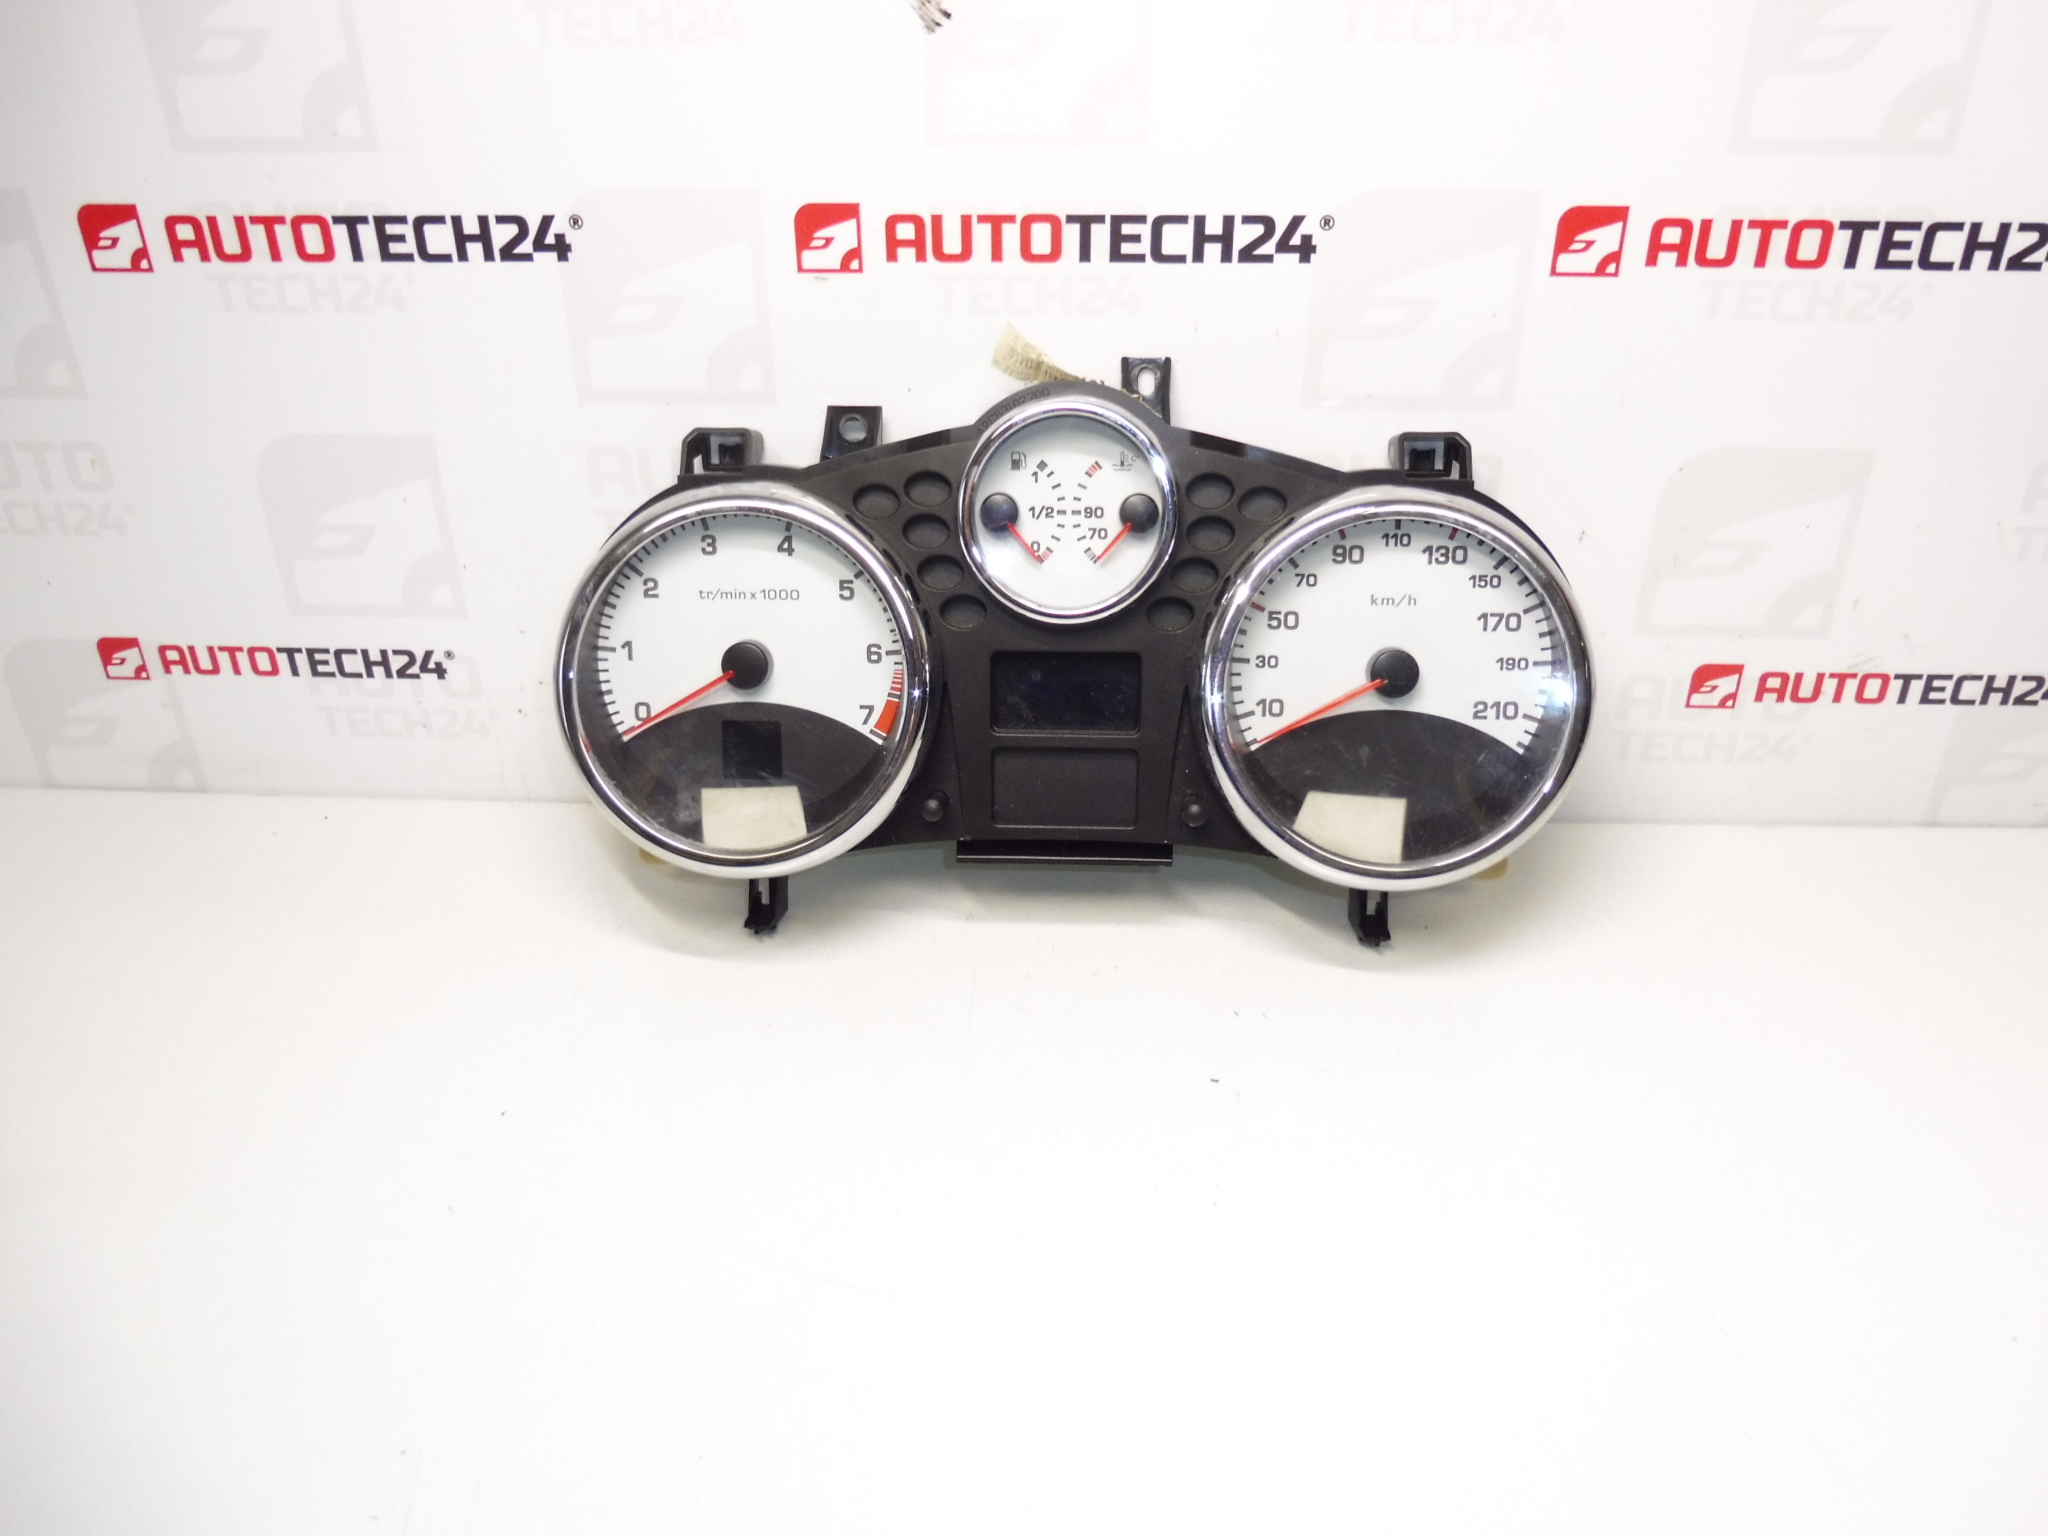
Speedometer, alarms, complete instrument cluster for PEUGEOT 207 cars with automatic or robotic transmission
Mileage 131000 km
Part description
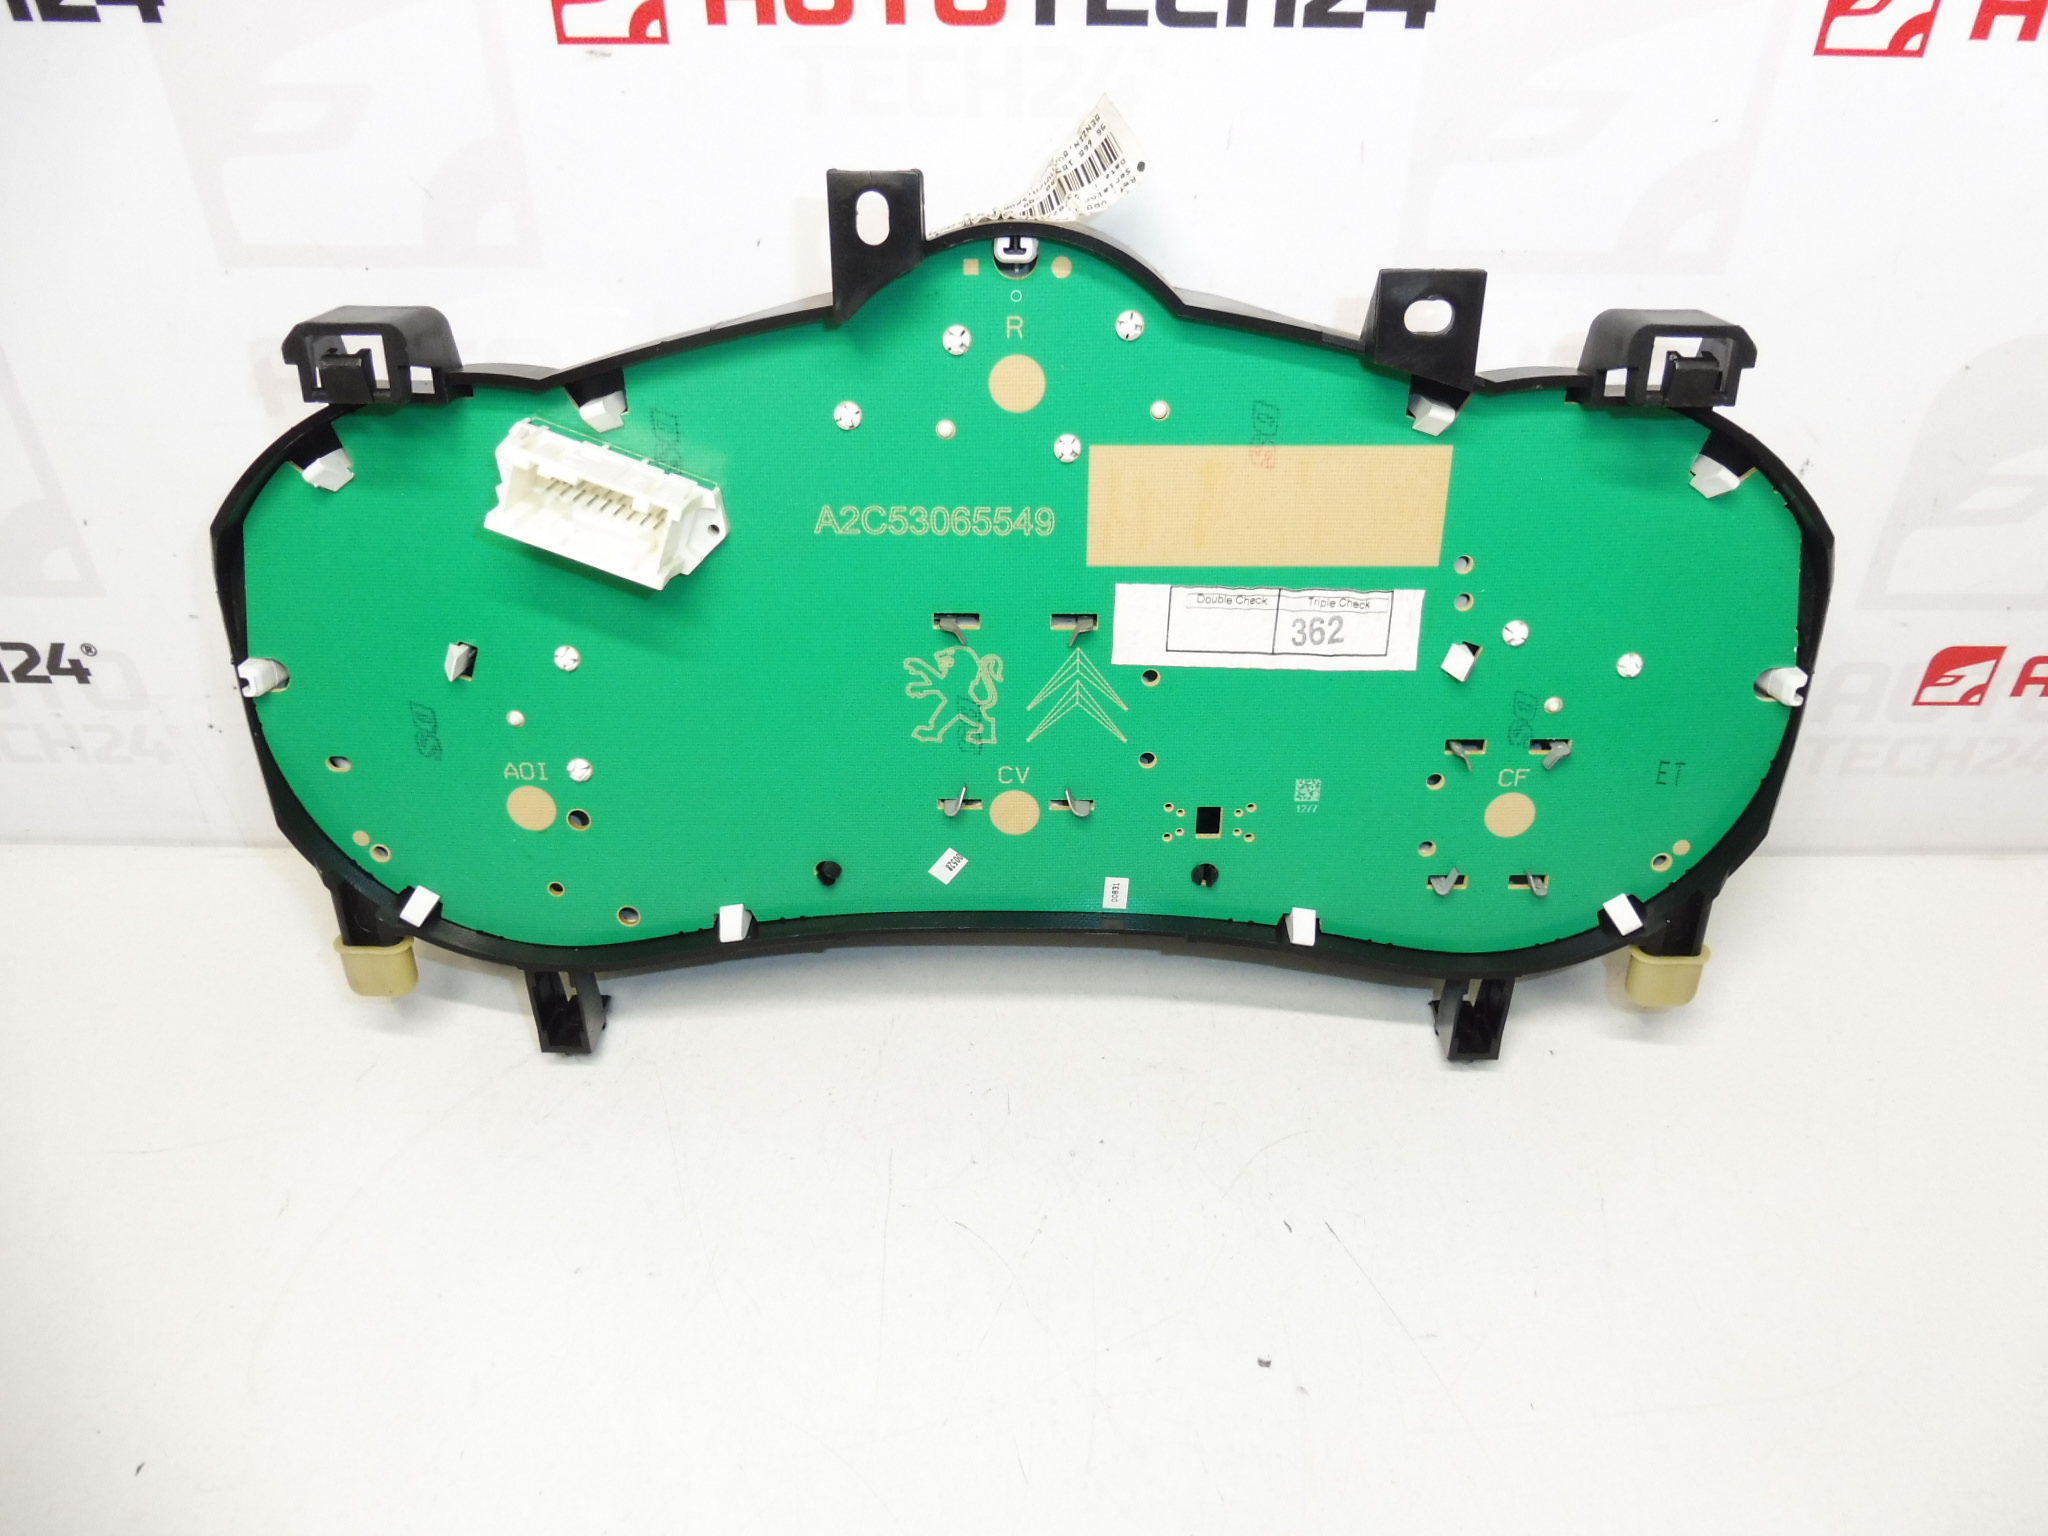
We are selling a used combined instrument (speedometer/alarm clocks) intended for Peugeot 207 in the version with automatic or robotic transmission. It is a complete instrument unit for displaying speed and operational data. The mileage is listed directly on this piece: 131,000 km.
This part is often searched by part number – in the description below you will find the exact codes for easy pairing with the old tachometer.
Technical information
Product codes
- Product codes: 9666818980, 6106JP
Installation recommendations
Generally/typically, changing the instrument cluster may vary depending on the specific car design and equipment. Below is a practical procedure for this type of electrical part.
1) Before assembly (checks of used part)
- Check that the product codes (9666818980, 6106JP) match the original part label.
- Verify that the part is for a Peugeot 207 with automatic/robotic transmission (according to the original part and car model).
- Inspect the connectors and pins: they must not be bent, leaking, oxidized or mechanically damaged.
- Visually check the front cover and mounting (cracks, broken locks).
2) Necessary tools and materials (in general)
- Basic set of screwdrivers and bits (according to the used connecting material)
- Plastic pry bar for removing interior moldings
- A clean cloth, or gentle contact cleaner (if the connectors are dirty)
- Protective gloves
3) Step-by-step assembly procedure
- Secure the vehicle against movement and turn off the ignition.
- Disconnect the battery (for electronics, this will reduce the risk of short circuits and error messages).
- Remove the dash covers/frame around the instrument cluster (typically the plastic snap-on or screw-on parts).
- Access the cluster mounting and carefully release it.
- Slide the device out to reach the connectors, but do not pull on the wiring.
- Unlock the connectors and disconnect them (always by the connector body, not the wires).
- Compare the old and new part (connectors, mounts, tags/part numbers) to see if everything matches.
- Connect the connectors to the replacement instrument cluster and check for proper snap/detent position.
- Place the device back in the dashboard so that the wiring is not pinched anywhere.
- Reinstall the fasteners and then the covers/frames.
- Connect the battery.
- Turn on the ignition and do a basic check of the display and lights.
-
4) Post-assembly checks and test drive/function verification
- Verify that the device lights up, displays data legibly and without dropouts.
- Check that the connectors are in place and that nothing is moving (possible outages are usually from connectors that are not clicked in).
- During a short test drive, check the basic functions of the instruments (typically the speedometer and warning lights) and whether there are any power failures.
5) The most common assembly mistakes + how to avoid them
- Connector not clicked in → always check the locking and security of the connection.
- Damage to plastic parts during disassembly → use a plastic pry bar and proceed with sensitivity.
- Manipulation by the cabling → pull out the connectors only by their bodies.
- Assembly without code checking → compare part numbers and designs before final assembly.
Reasons why the part is damaged
- Voltage fluctuations in the on-board network (weak battery, bad charging) can cause blackouts or malfunctions of the device’s electronics.
- Cold joints and fatigue of soldered joints due to vibration and age.
- Oxidation/fouling of connectors – poor contact leads to occasional blackouts of backlight or display.
- Mechanical damage during unprofessional disassembly (cracked handles, damaged connectors).