Description
BOSCH accelerator pedal for Stellantis vehicles
Part description
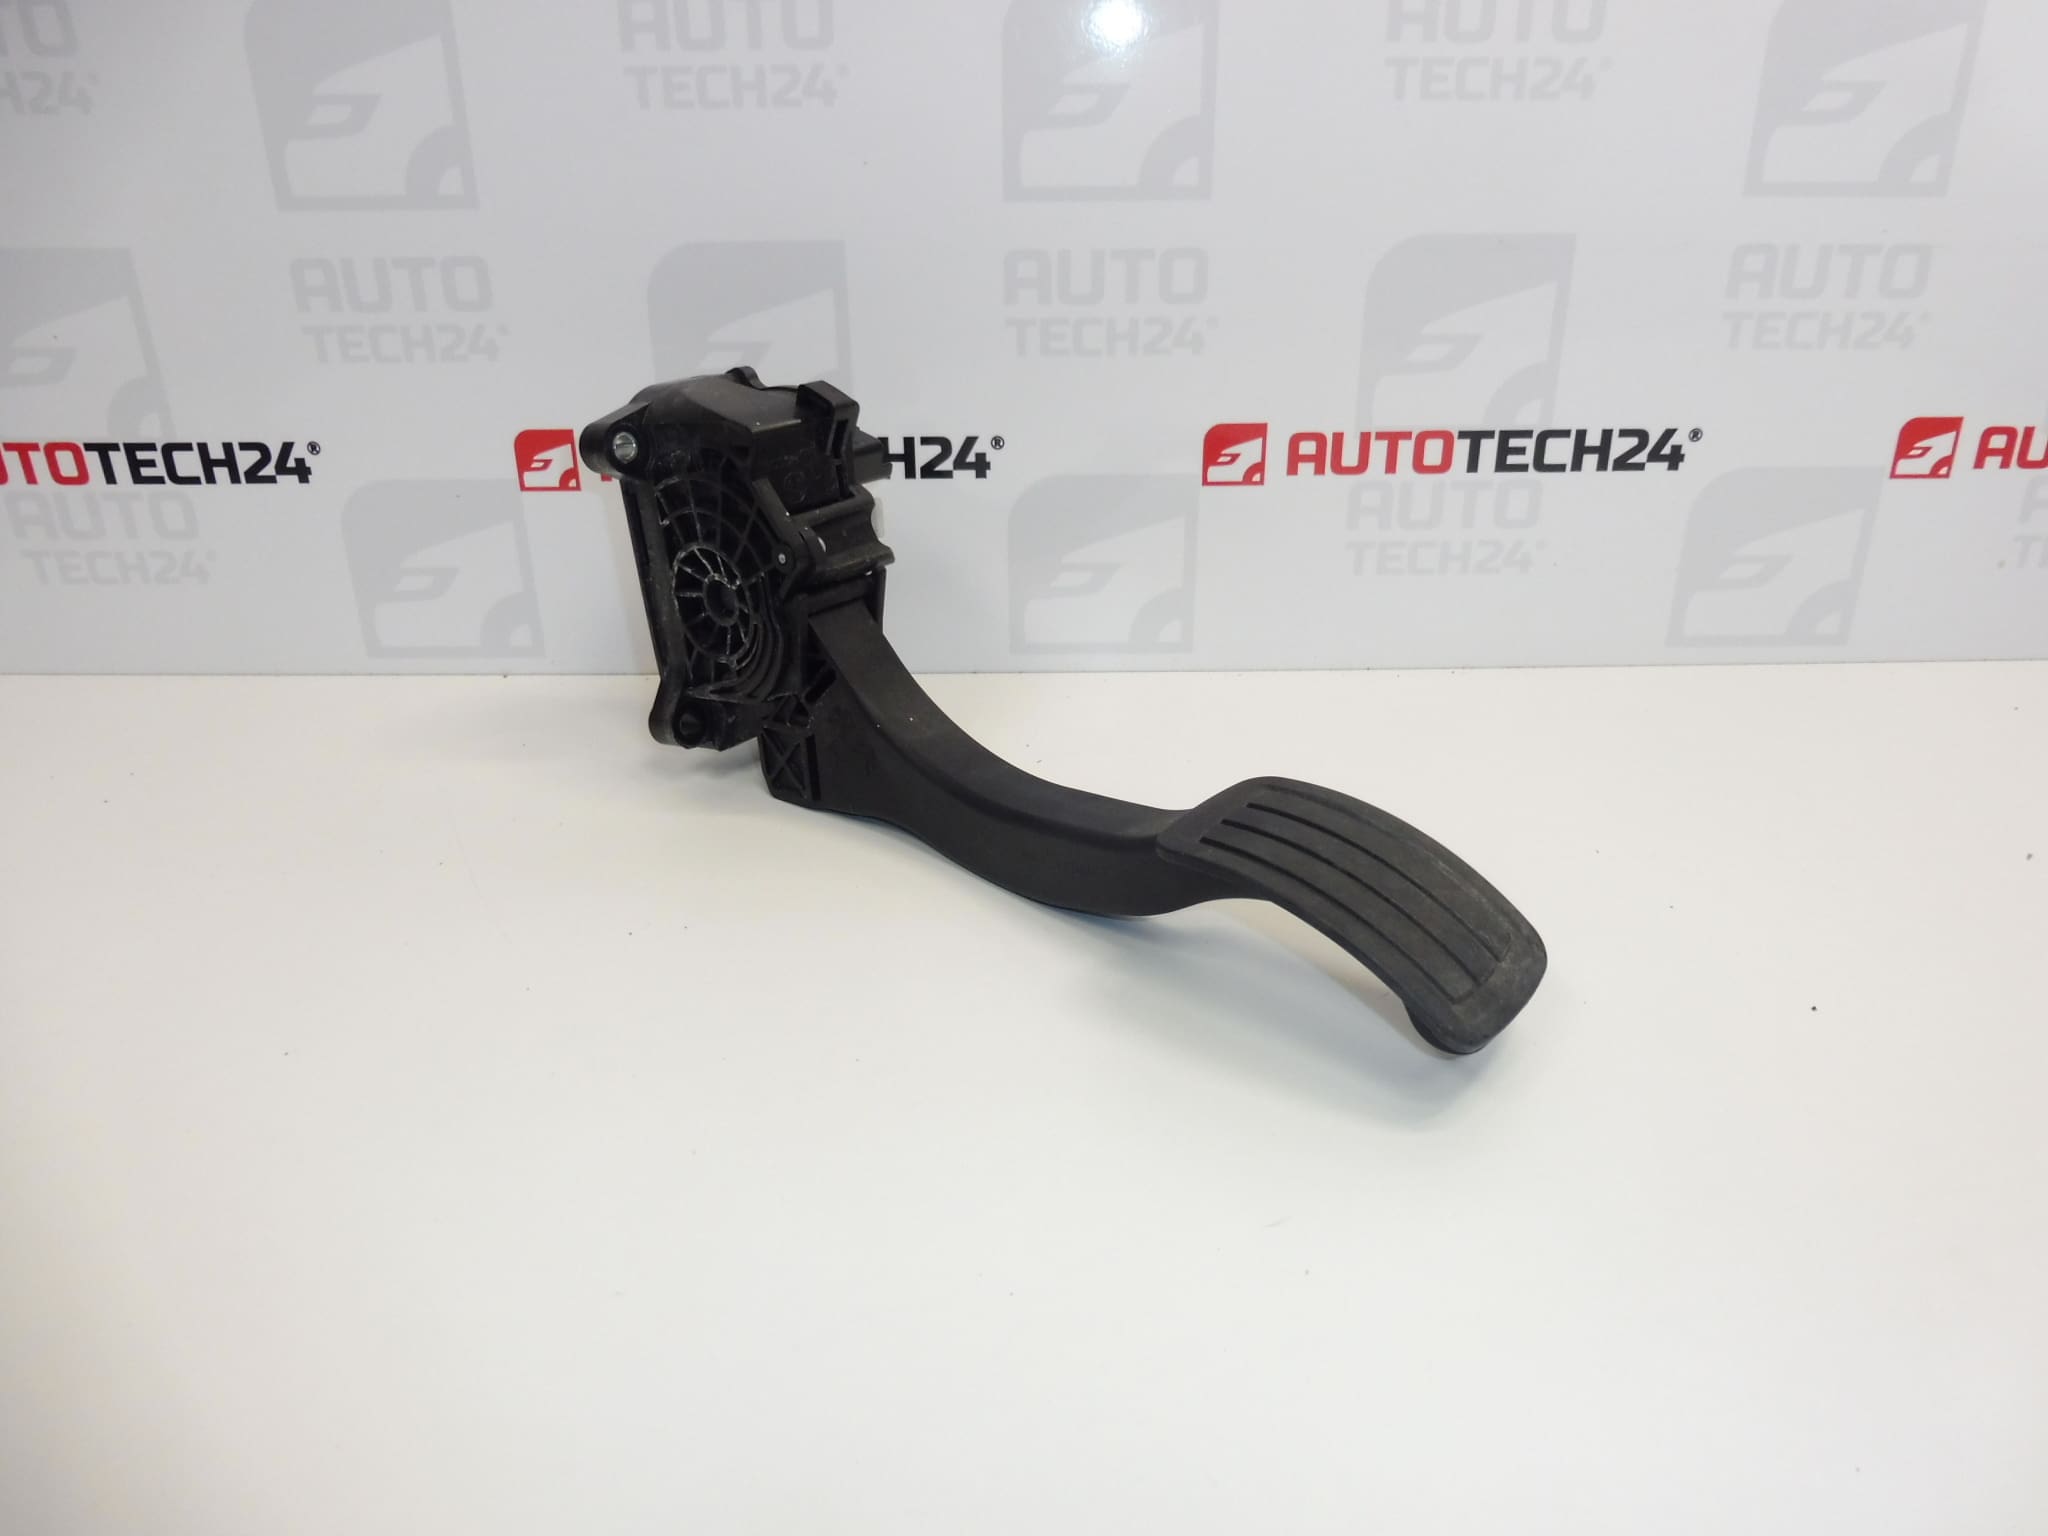
Used BOSCH accelerator pedal with product numbers 9674829780 and 9838028180 is designed for electronic control of the acceleration request. In this type of part, the pedal position sensor sends information about how far it is pressed to the control unit. Correct operation is important for a smooth and predictable response when accelerating.
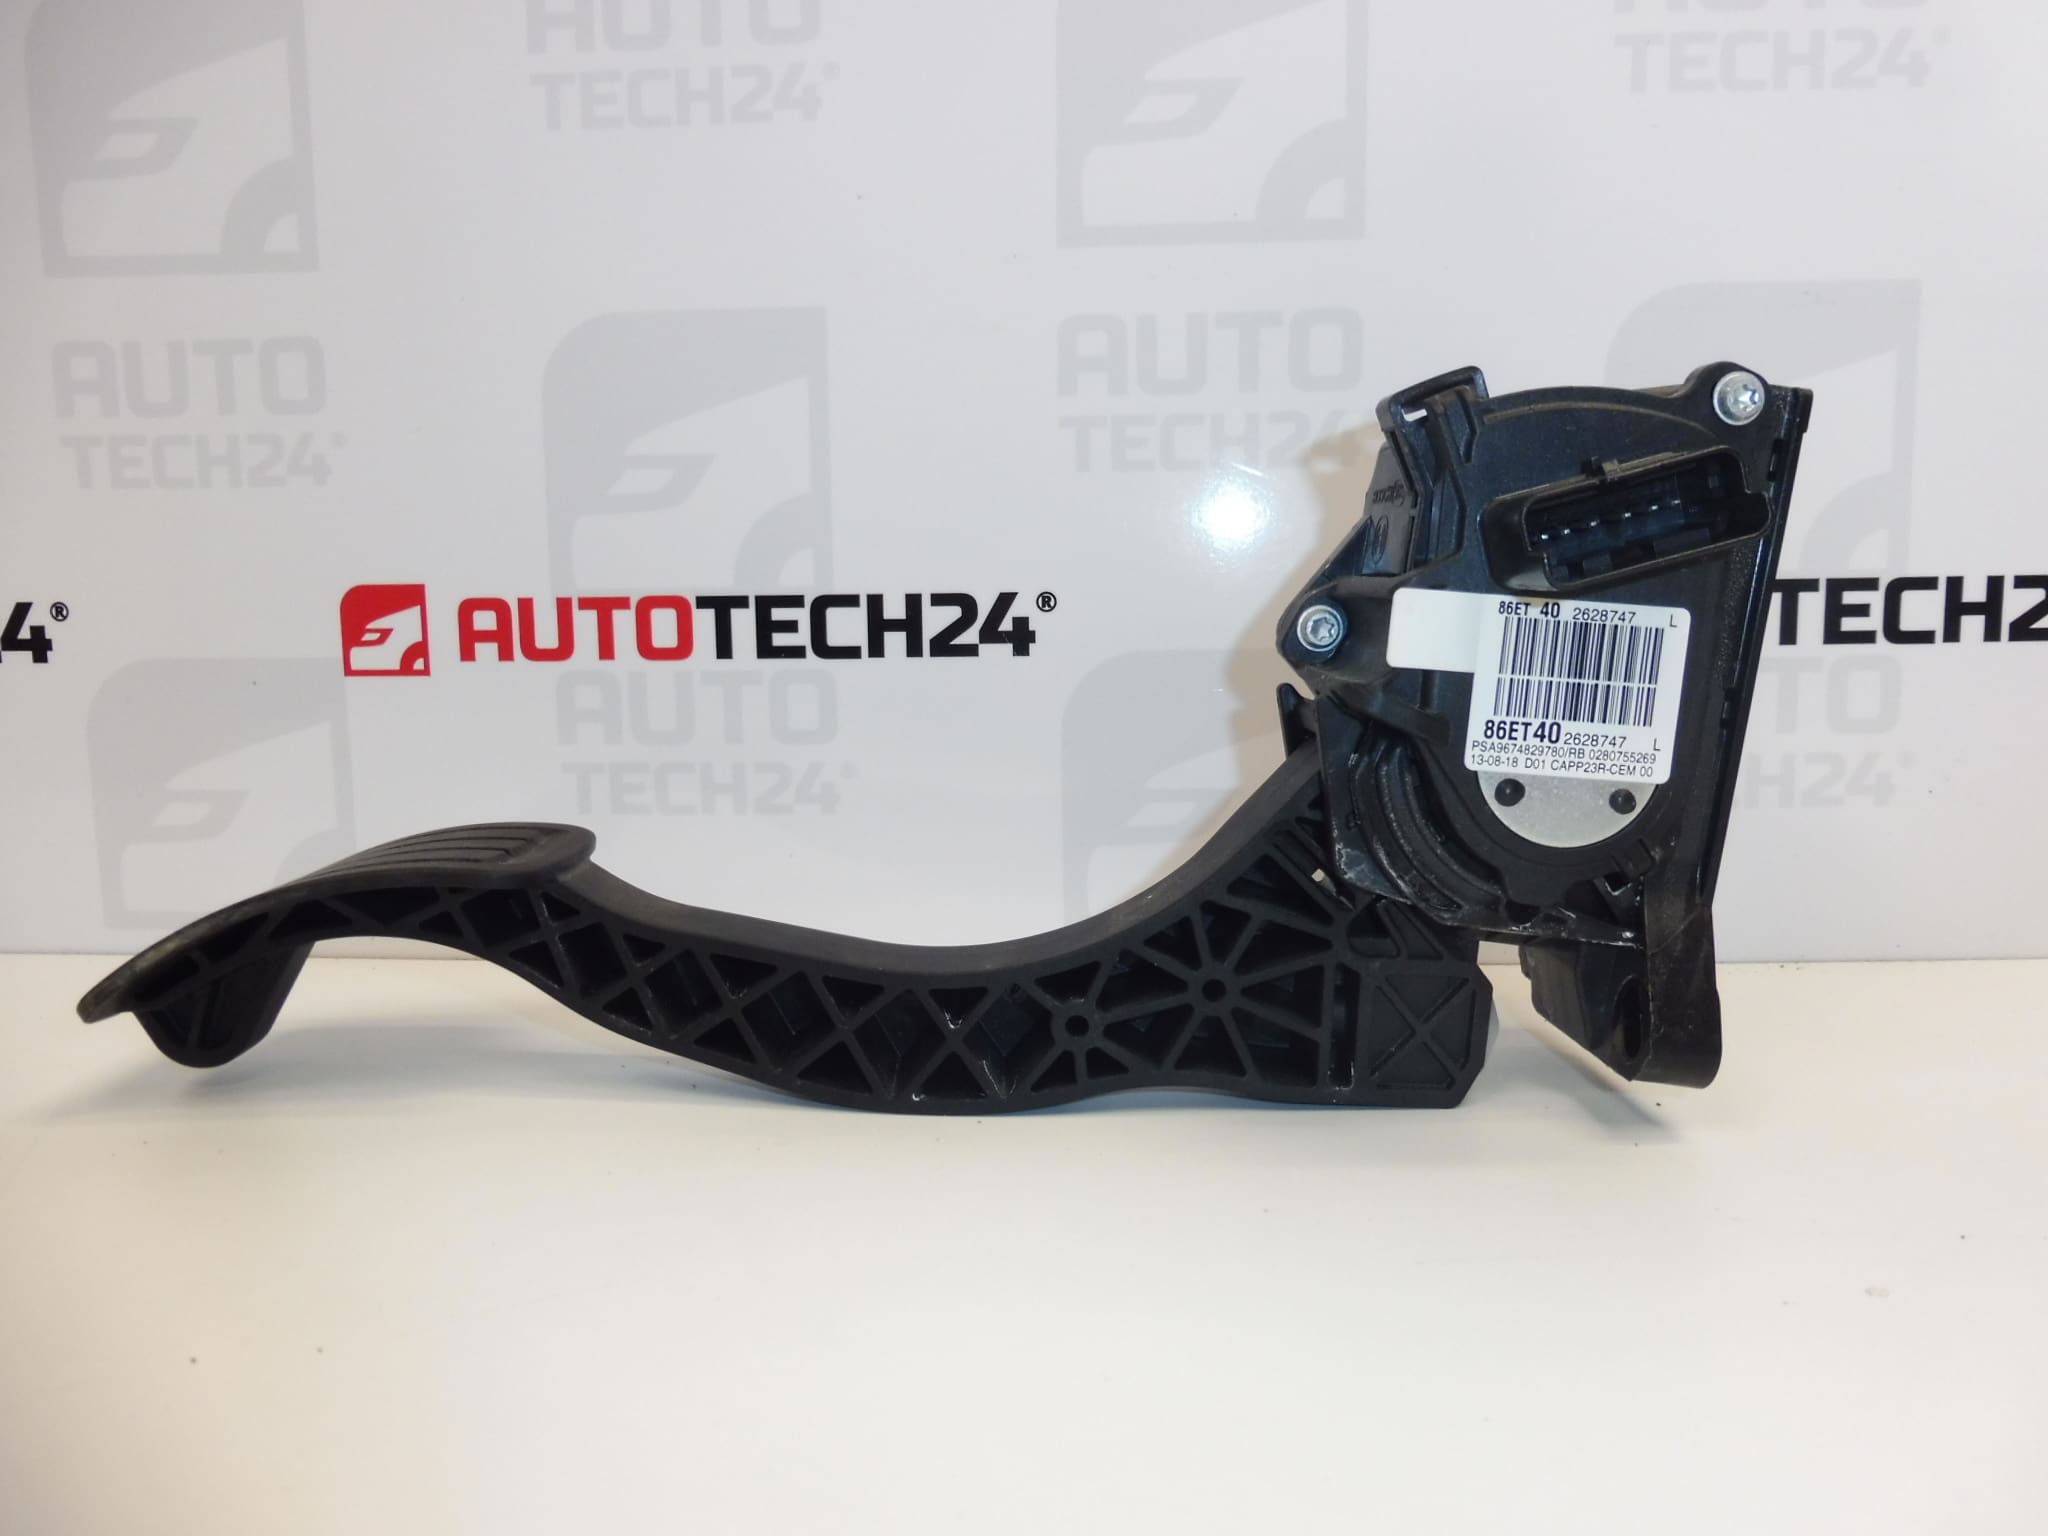
This is an option for replacing a faulty pedal when repairing a vehicle without purchasing a new part. When selecting one, check primarily the marking on the original part, connector design and mounting points. The list of models in the source information does not by itself indicate compatibility with all their variants.
Technical information
- Manufacturer: BOSCH
- Model: CITROEN BERLINGO III; Citroën Berlingo K9; FIAT DOBLO III; OPEL COMBO E K9; PEUGEOT PARTNER III; PEUGEOT RIFTER; Toyota ProAce City
- Part type: accelerator pedal with electronic position sensing
- Condition: used auto part
- Product numbers: 9674829780, 9838028180
- Other numbers: not specified
- Model years and engine variants: not specified
Product codes
- Product codes: 9674829780, 9838028180
Both numbers are listed in the source information for the pedal on offer. Compare them with the marking on the removed part; the pedals’ visual similarity alone does not necessarily mean that their electrical configurations match.
Installation recommendations
The following procedure is general for electronic accelerator pedals. The exact removal procedure, access to the mounting points and any adjustment after replacement depend on the specific model and vehicle configuration. Follow the manufacturer’s service procedure.
1) Before installation
- Compare the product numbers, pedal shape, mounting points and connector design with the old part.
- Check the pedal body, arm and mounting parts. They should not be cracked or deformed.
- Check that the pedal moves smoothly and returns to its starting position on its own. Do not use excessive force.
- Inspect the contacts and connector lock. Look for corrosion, moisture, bent contacts or signs of overheating.
- Before replacement, also check the wiring and connector in the vehicle, as the fault may not be in the pedal itself.
2) Required tools and materials
- Standard hand tools suitable for the fasteners used.
- A suitable tool for carefully releasing any covers and a flashlight.
- A clean cloth and, if necessary, a product intended for cleaning electrical contacts.
- A diagnostic tool suitable for the vehicle, especially for checking the pedal signal and fault memory.
3) Step-by-step installation procedure
- Secure the vehicle against movement and remove any objects or mats that could restrict pedal movement.
- If possible, read and record the faults and available pedal position data before removal.
- Switch off the ignition and, following the manufacturer’s instructions, allow the electronics to enter sleep mode. Disconnect the battery according to the service procedure for the specific vehicle.
- Access the pedal mounting points. Carefully remove any obstructing covers without damaging clips or wiring.
- Note the original routing of the wiring harness so that it can be returned to the same position.
- Release the electrical connector lock and disconnect it by holding the connector body, not by pulling on the wires.
- Release the fasteners, support the pedal and remove it. Check the condition of the contact and mounting surfaces.
- Compare the two parts once more and remove any dirt from the installation area. Do not allow liquids to enter the pedal mechanism or electrical components.
- Position the replacement pedal without putting it under strain and secure it according to the manufacturer’s specifications. Do not compensate for incorrect positioning by forcibly tightening it.
- Connect the connector until the lock engages and route the wiring so that it is not stretched, rubbed or in the way of pedal movement.
- Refit the removed covers, restore the power supply according to the manufacturer’s instructions and check that the pedal moves freely. Carry out any required adjustment using suitable diagnostic equipment.
4) Post-installation checks and function verification
- With the engine off, check that the pedal moves smoothly and returns properly, and that there is sufficient room for it to move, including with the mat correctly positioned.
- If the diagnostic tool can display pedal position, check that the readings change smoothly as the pedal is slowly pressed and released.
- Check the fault memory. Do not clear any faults without evaluating their cause.
- After a successful stationary check, verify the vehicle’s response with a short test drive in a safe location. If the response to acceleration is erratic, the pedal sticks or a warning message appears, stop driving and investigate the fault.
5) Common installation errors and how to avoid them
- Mixing up similar-looking pedals: compare the markings, connector and mounting points.
- Connector not secured properly: check that it is fully seated and that the lock works, not just that the connector is plugged in.
- Pinched or stretched wiring: retain the original routing and check it after refitting the covers.
- Damaging the mounting points by overtightening: follow the procedure and tightening specifications provided by the vehicle manufacturer.
- Replacing the part without checking the cause: also check the contacts and wiring to ensure that the original problem is resolved.
Reasons why the part may be damaged
The following are general possible causes of damage or incorrect operation in electronic accelerator pedals. They do not describe the condition of the part on offer.
- Prolonged mechanical stress on moving parts and the return mechanism.
- Moisture and dirt, which can damage electrical contacts or affect the mechanism’s movement.
- Damaged connector or wiring, for example as a result of pulling on the wires, chafing or careless removal.
- Mechanical impact or overload, which can cause the body, arm or mounting points to crack.
- Position-sensing fault, which can result in an erratic or implausible signal to the control unit.