Description
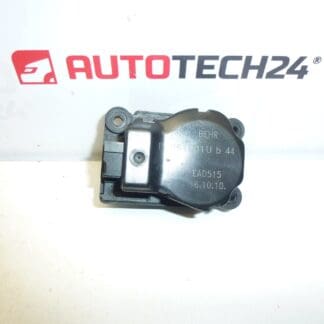
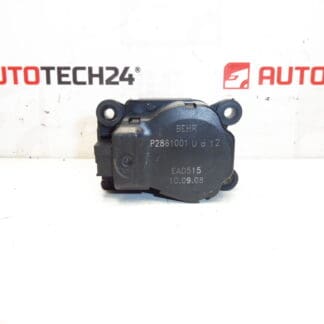
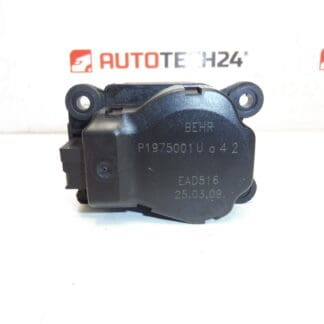
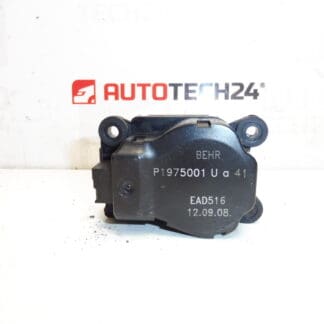
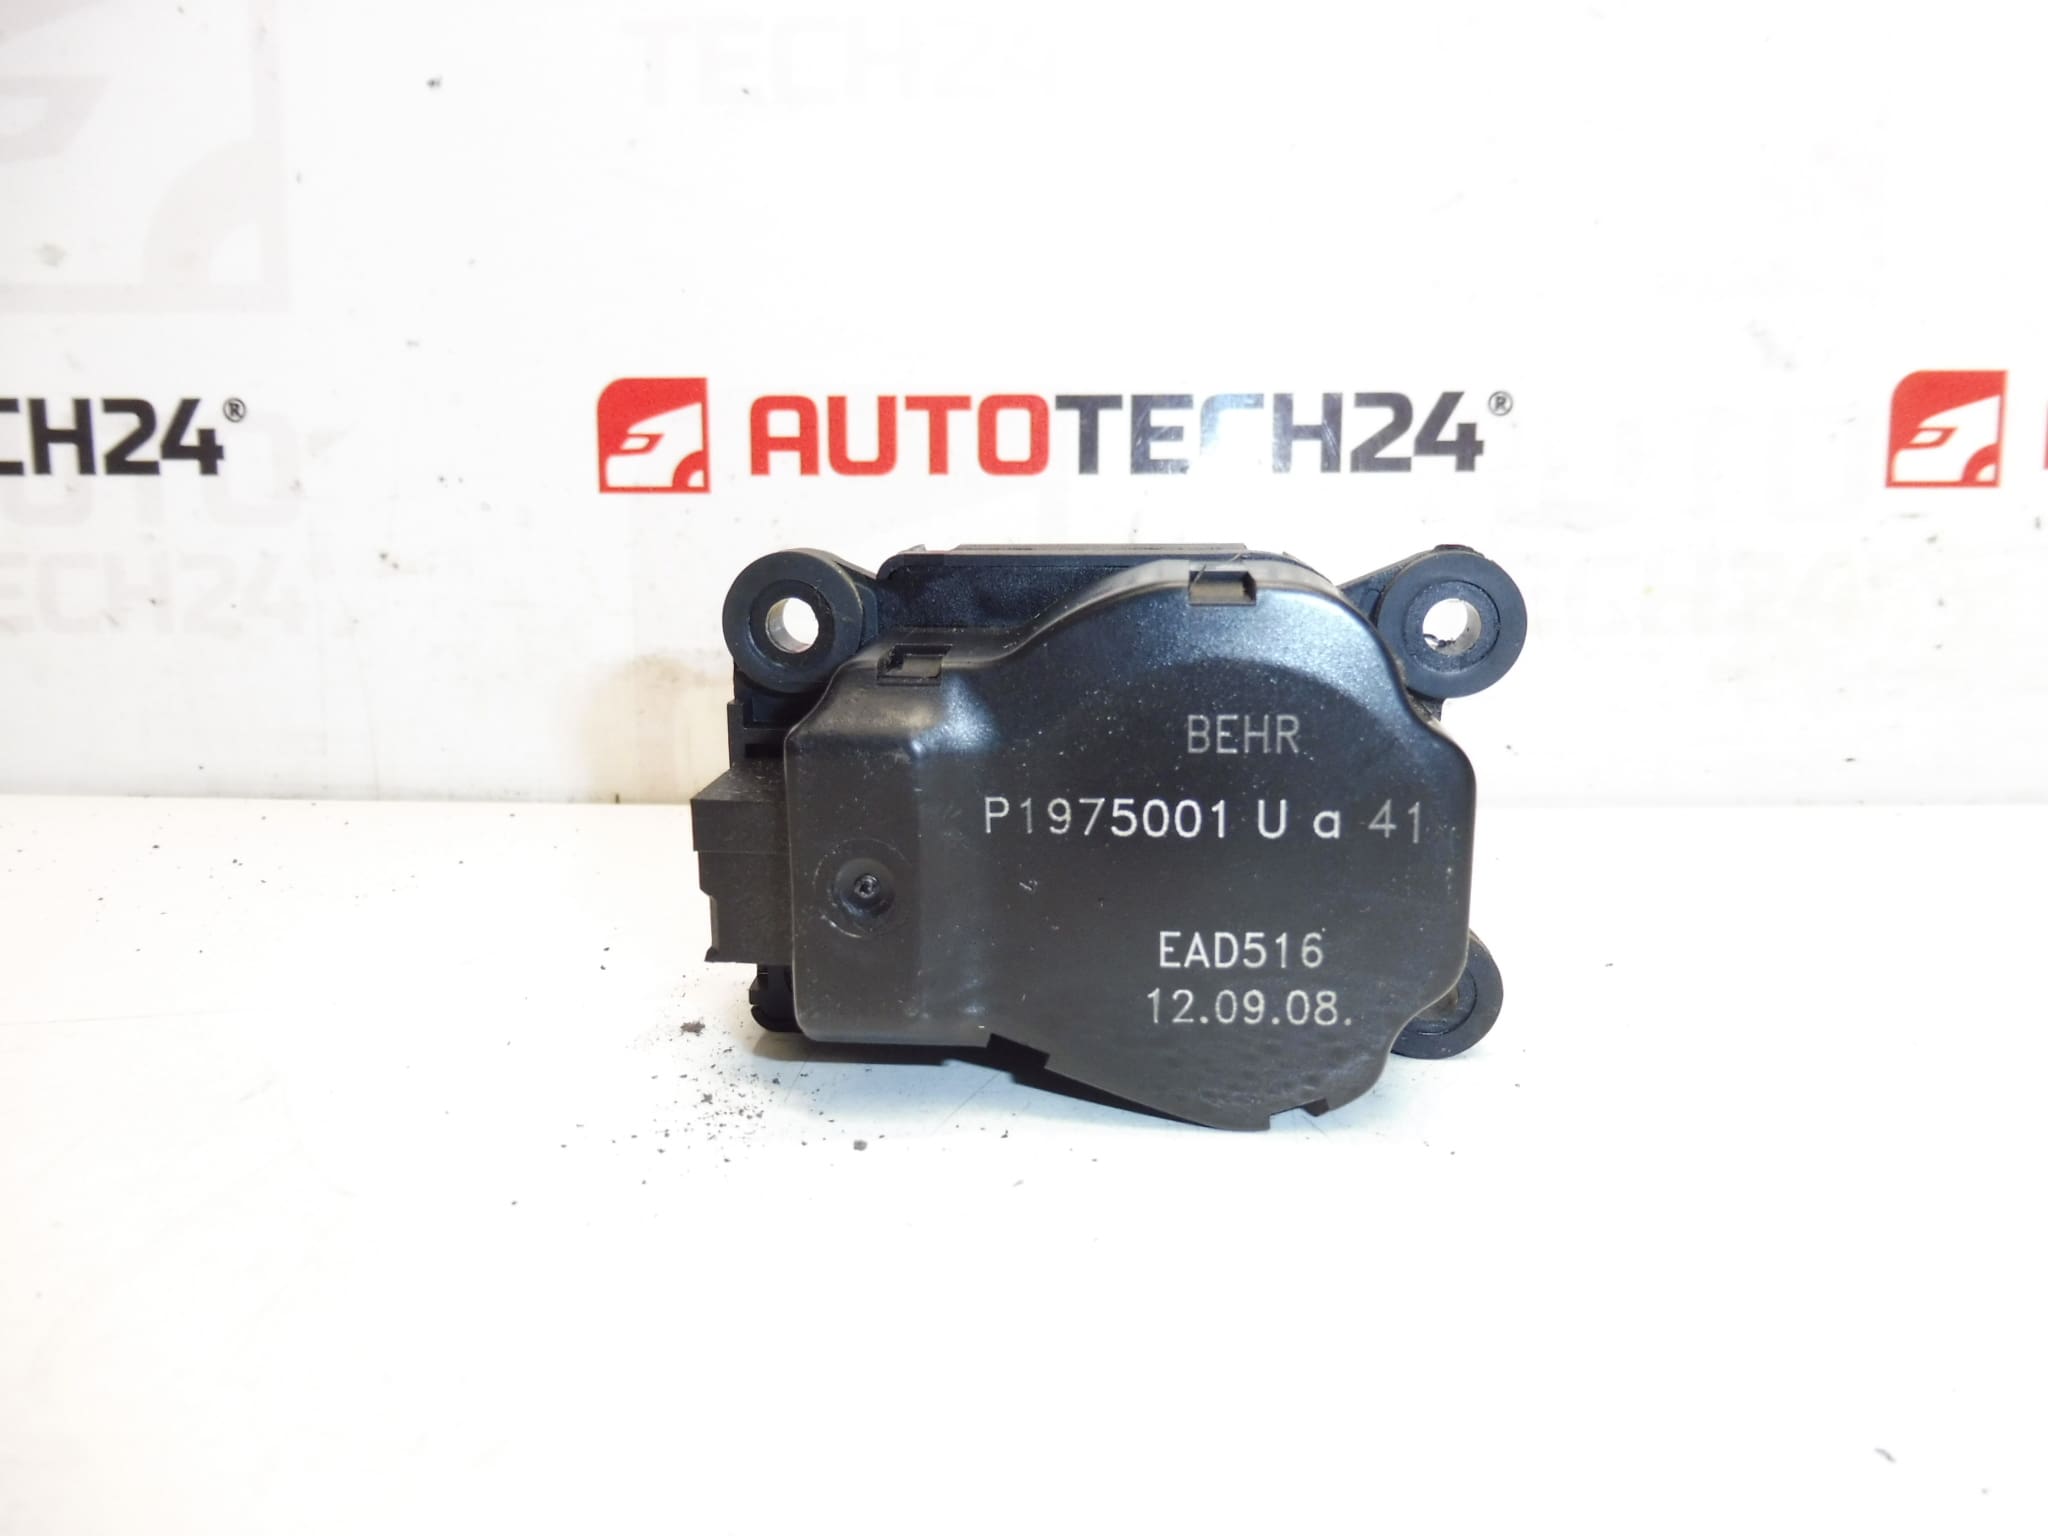
This BEHR heater actuator (servo motor) is used to control parts of the heating/air-conditioning system (typically the movement of flaps in the heater housing). If a vehicle exhibits irregular heater function, inability to change airflow direction or temperature, or clicking/skipping noises coming from the dashboard area, the actuator is often the cause.
Replacement heater actuator for Citroën and Peugeot climate systems, commonly searched under part codes EAD516, P1975001 and 647949. This BEHR servomotor restores reliable flap movement inside the heater box, returning proper airflow distribution and temperature control. Suitable for professional workshops and experienced DIY mechanics looking for a direct-fit solution for Citroën C5 X7 and Peugeot 407 climate faults.
Features and Benefits
- Precise Control: Restores accurate movement of air blend and mode flaps for correct temperature and airflow distribution.
- Direct Replacement: Supplied with common manufacturer codes for easy identification (EAD516, P1975001, 647949).
- Quiet Operation: Eliminates the audible clicking or skipping associated with a failing actuator mechanism.
- Workshop-Friendly: Compact design and standard fasteners for straightforward replacement without major disassembly.
Technical Information
- Manufacturer: BEHR
- Model: Citroën C5 X7; Peugeot 407
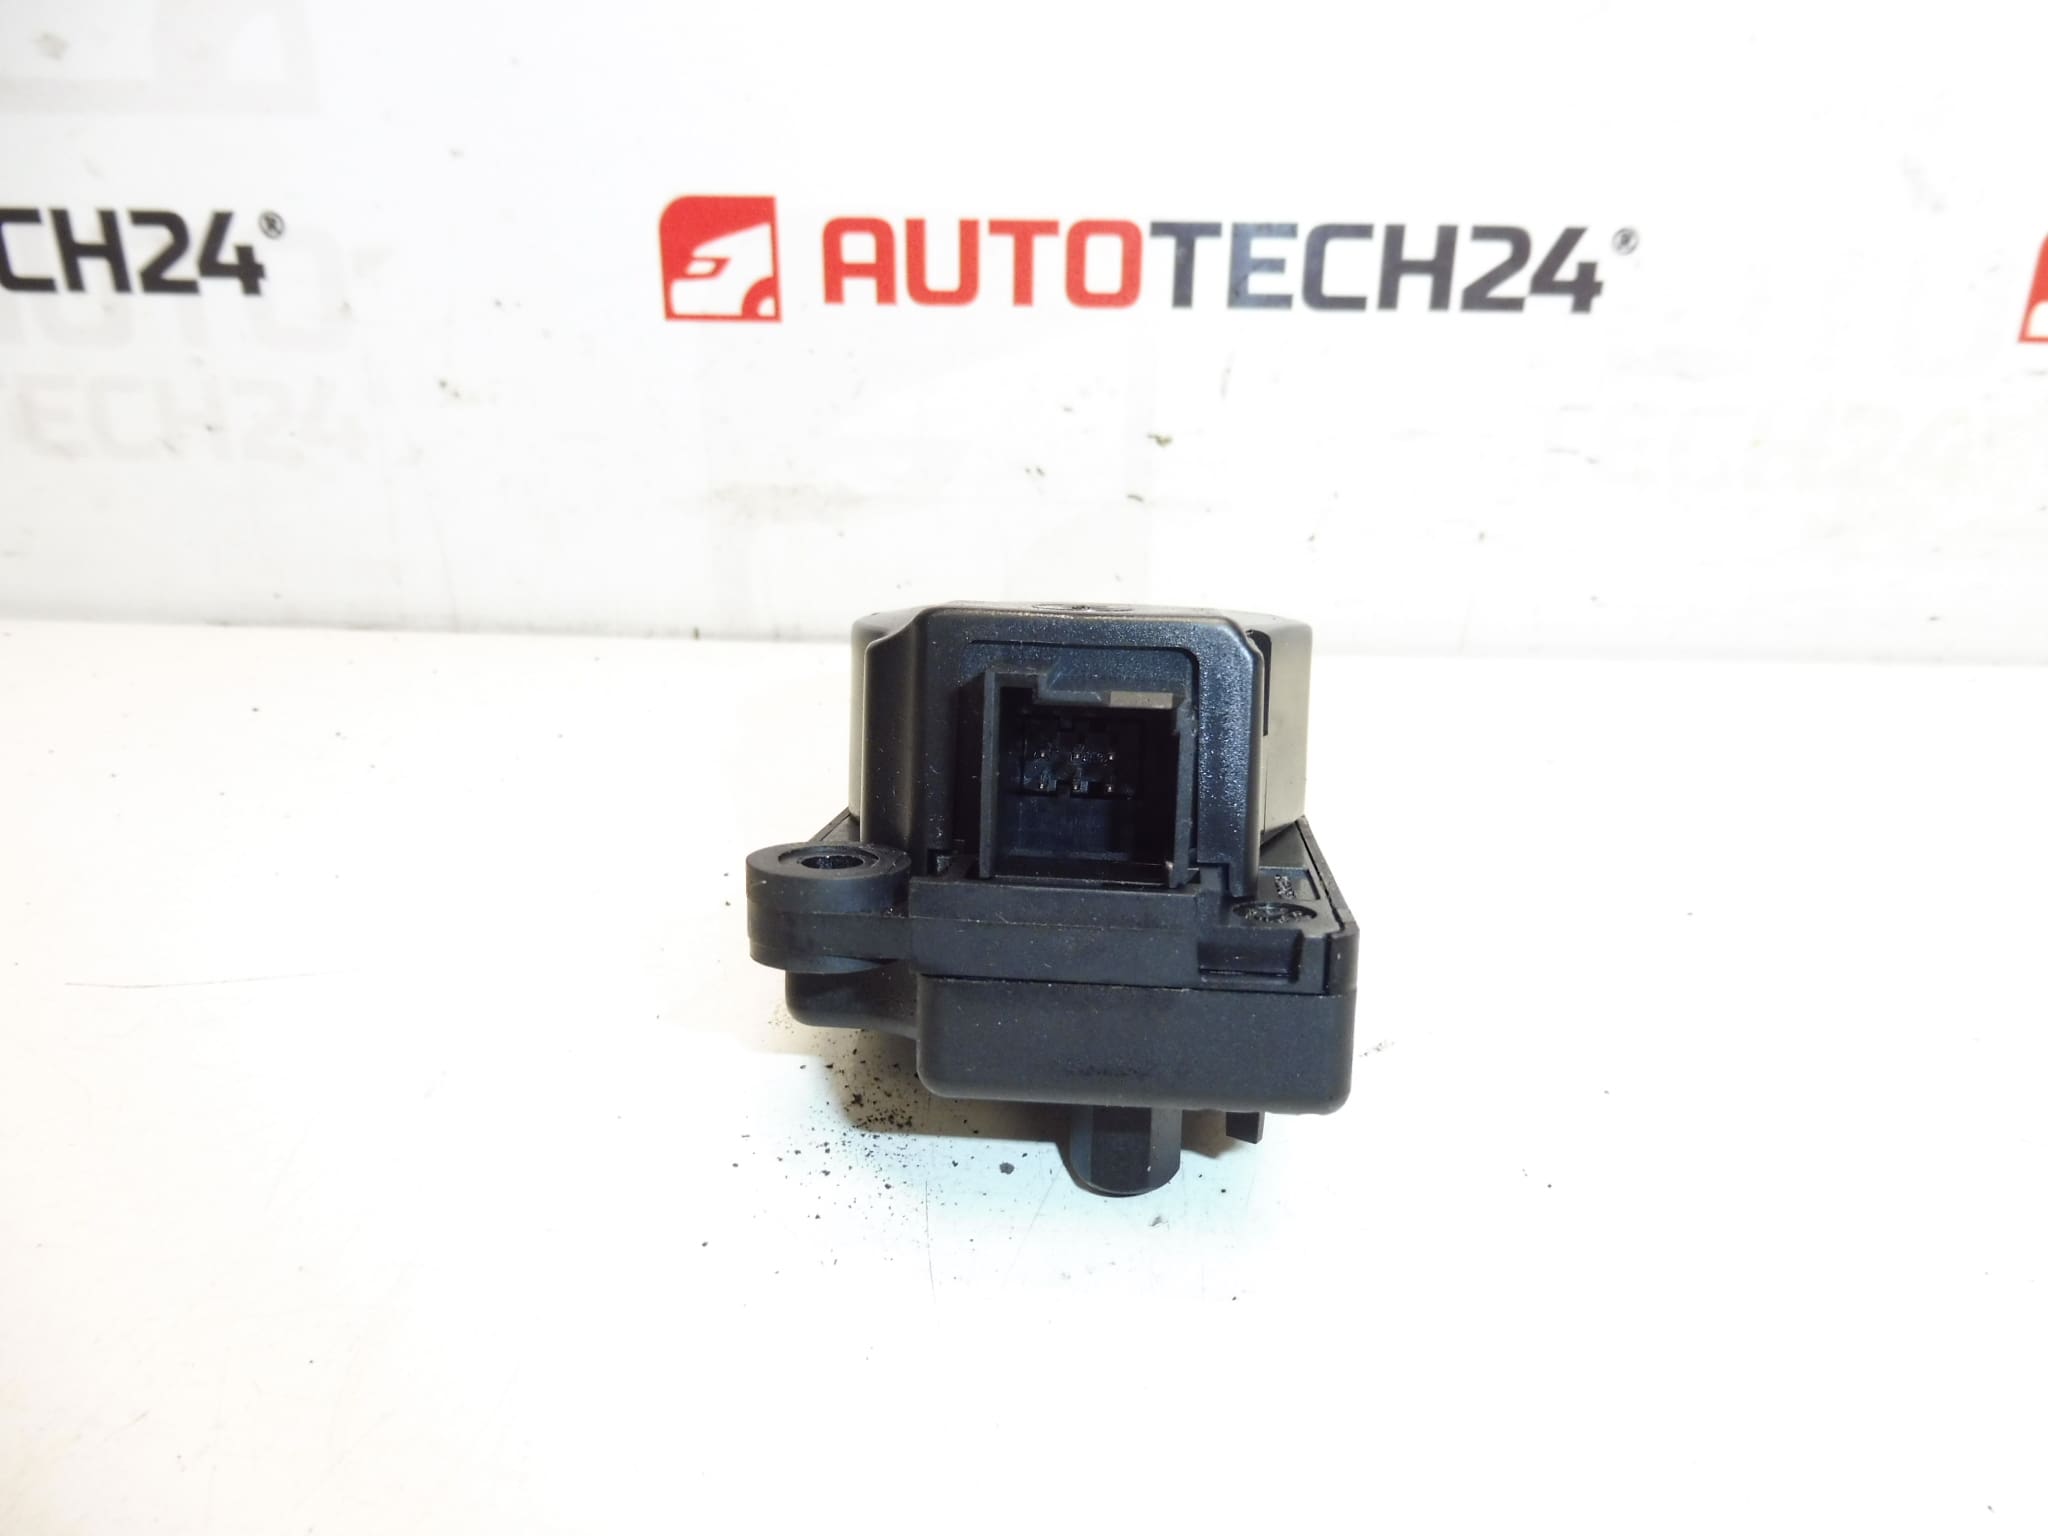
- Product Codes: EAD516; P1975001; U; 41 647949
- Additional Numbers: 647949
Installation Recommendations
Access to the actuator is typically gained from the passenger side behind the glovebox or from under the dashboard. Recommended steps:
- Remove glovebox or lower trim to expose the heater box area.
- Disconnect the electrical connector to the actuator.
- Remove retaining screws or clips and withdraw the faulty actuator from its mounting.
- Fit the replacement actuator, secure fasteners and reconnect the electrical plug.
- With ignition on, cycle the climate control through modes/temperatures to confirm correct flap movement before reassembling trim.
Typical tools: Phillips and Torx screwdrivers, small socket set, trim tools. If you are unsure about working on electrical components, isolate the battery before beginning. Allow approximately 30–60 minutes depending on vehicle trim and workshop experience.
Common Failure Causes
- Worn Or Stripped Plastic Gears: Gradual wear causes loss of engagement and irregular movement.
- Motor Burnout Or Internal Wear: Electric motor inside the actuator can fail after years of use.
- Contamination Or Foreign Objects: Debris inside the heater box can jam flaps and overload the actuator.
- Connector Corrosion Or Electrical Faults: Poor electrical supply results in intermittent function or complete failure.
Typical Symptoms: Clicking or grinding sounds from the dashboard, inability to change airflow direction or temperature, inconsistent cabin heating or cooling. Search by product codes EAD516, P1975001 or 647949 to find matching replacements quickly.