Description
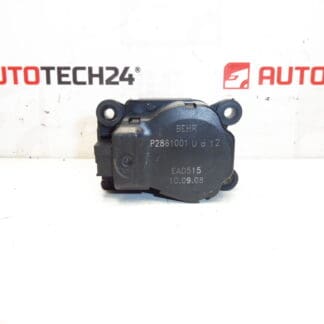
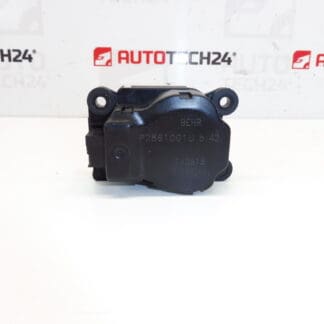
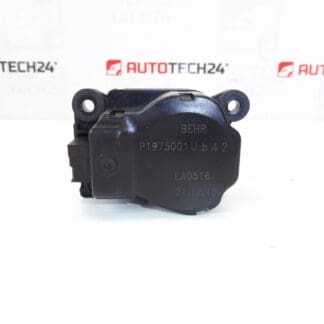
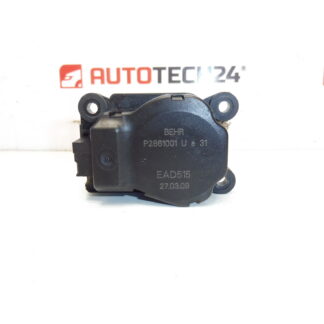
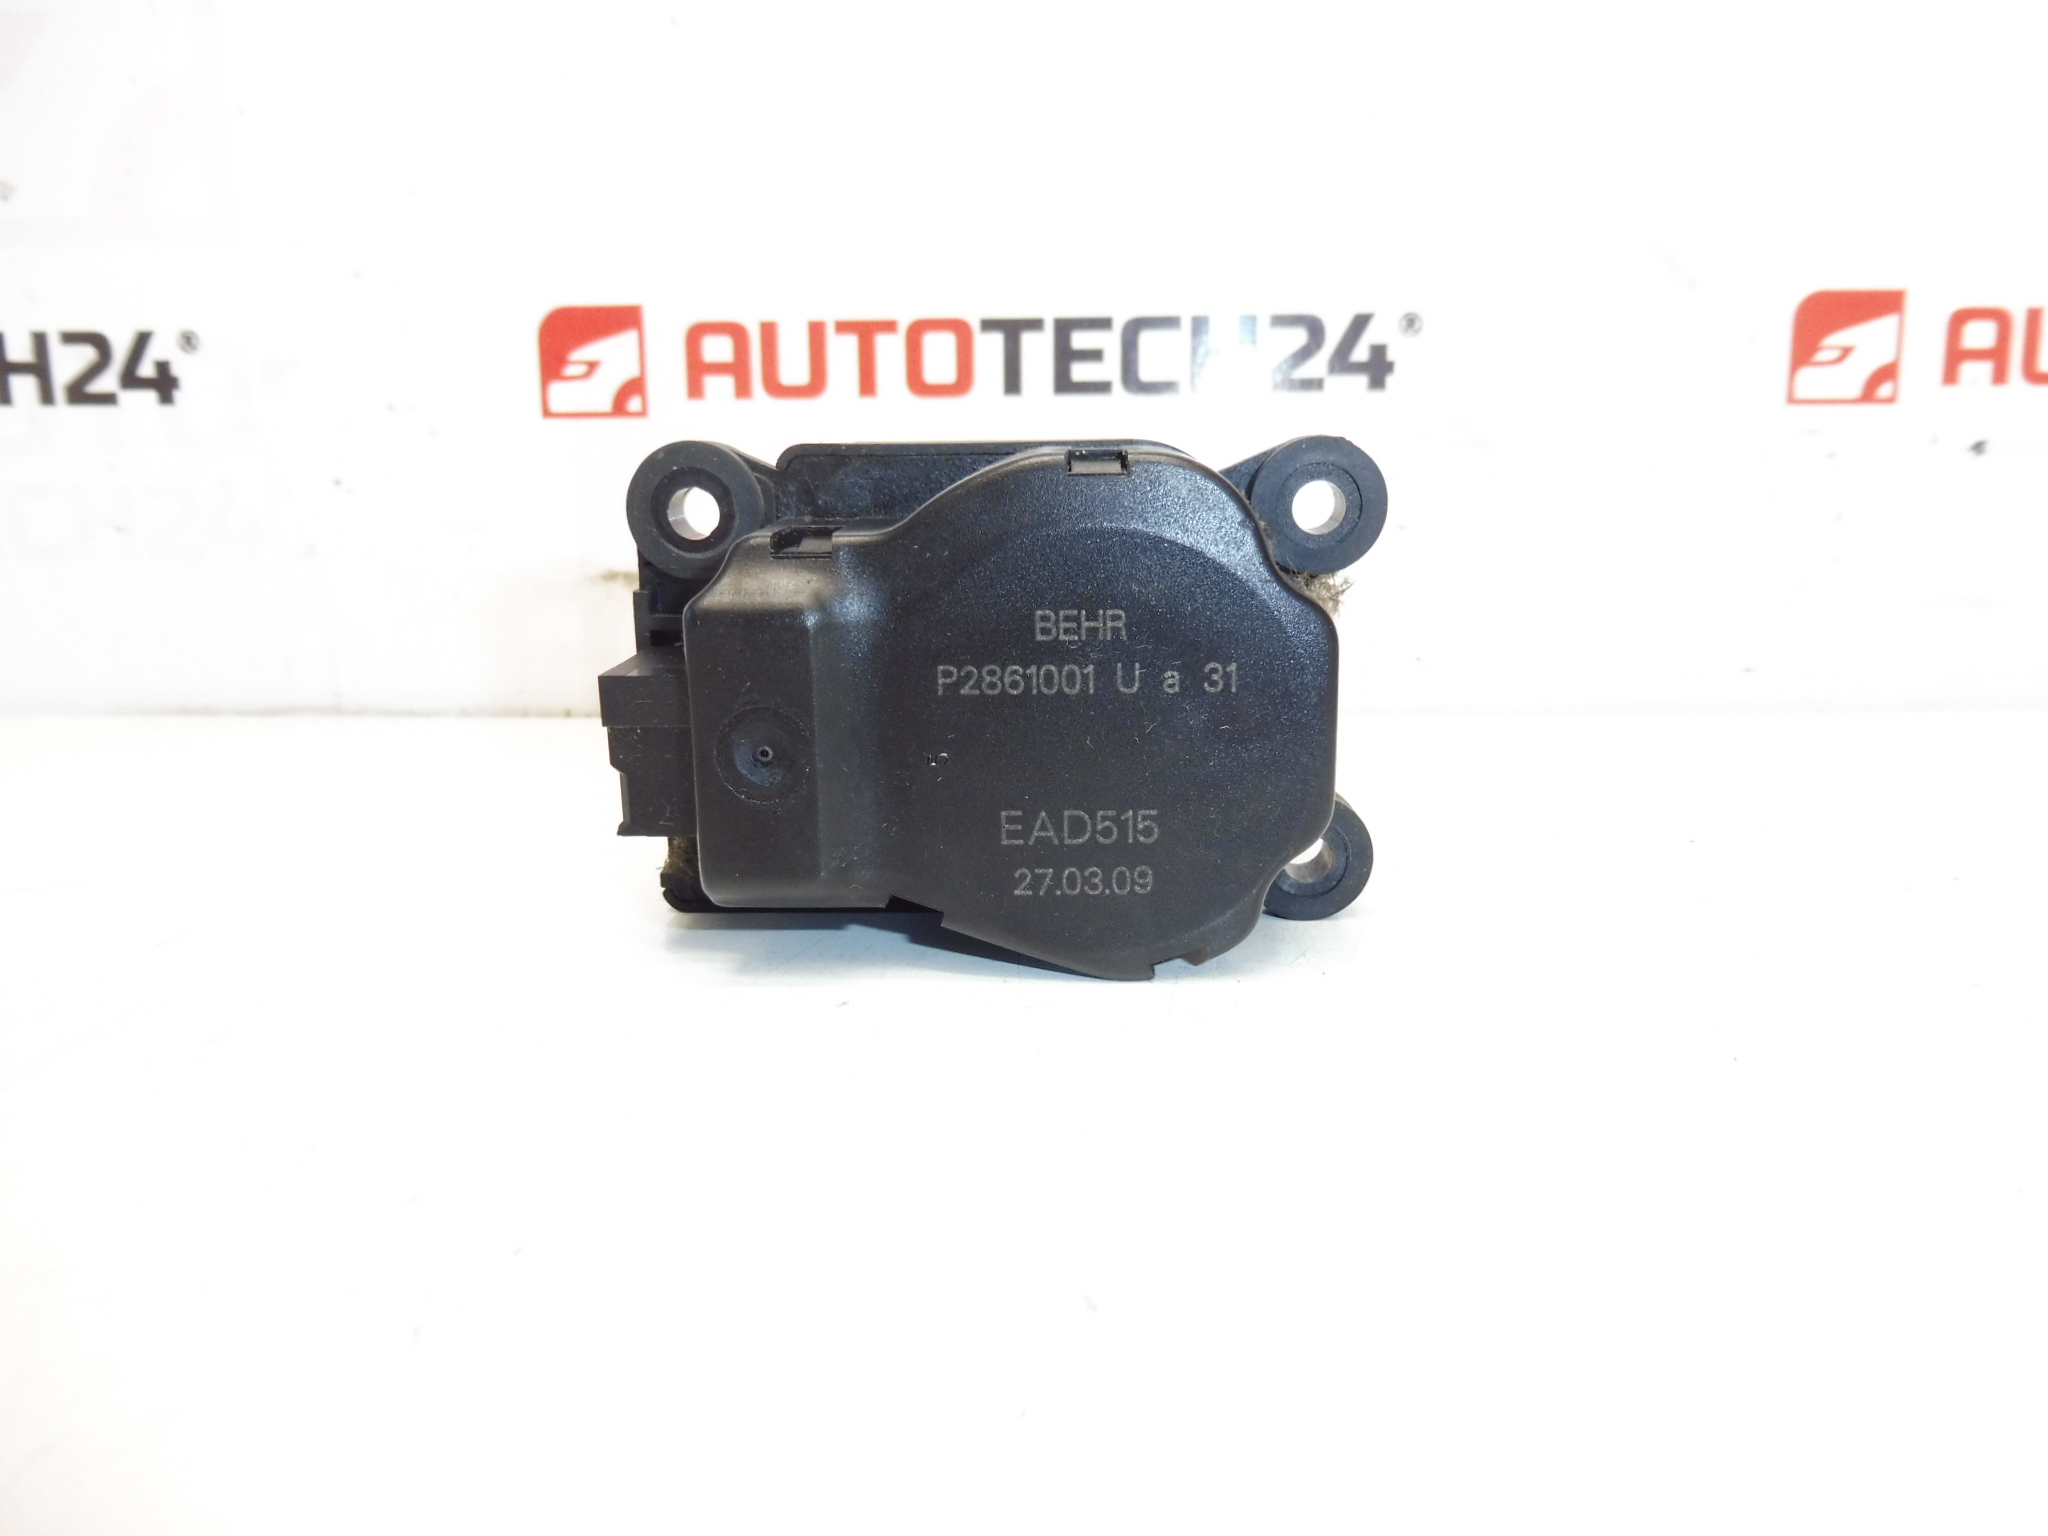
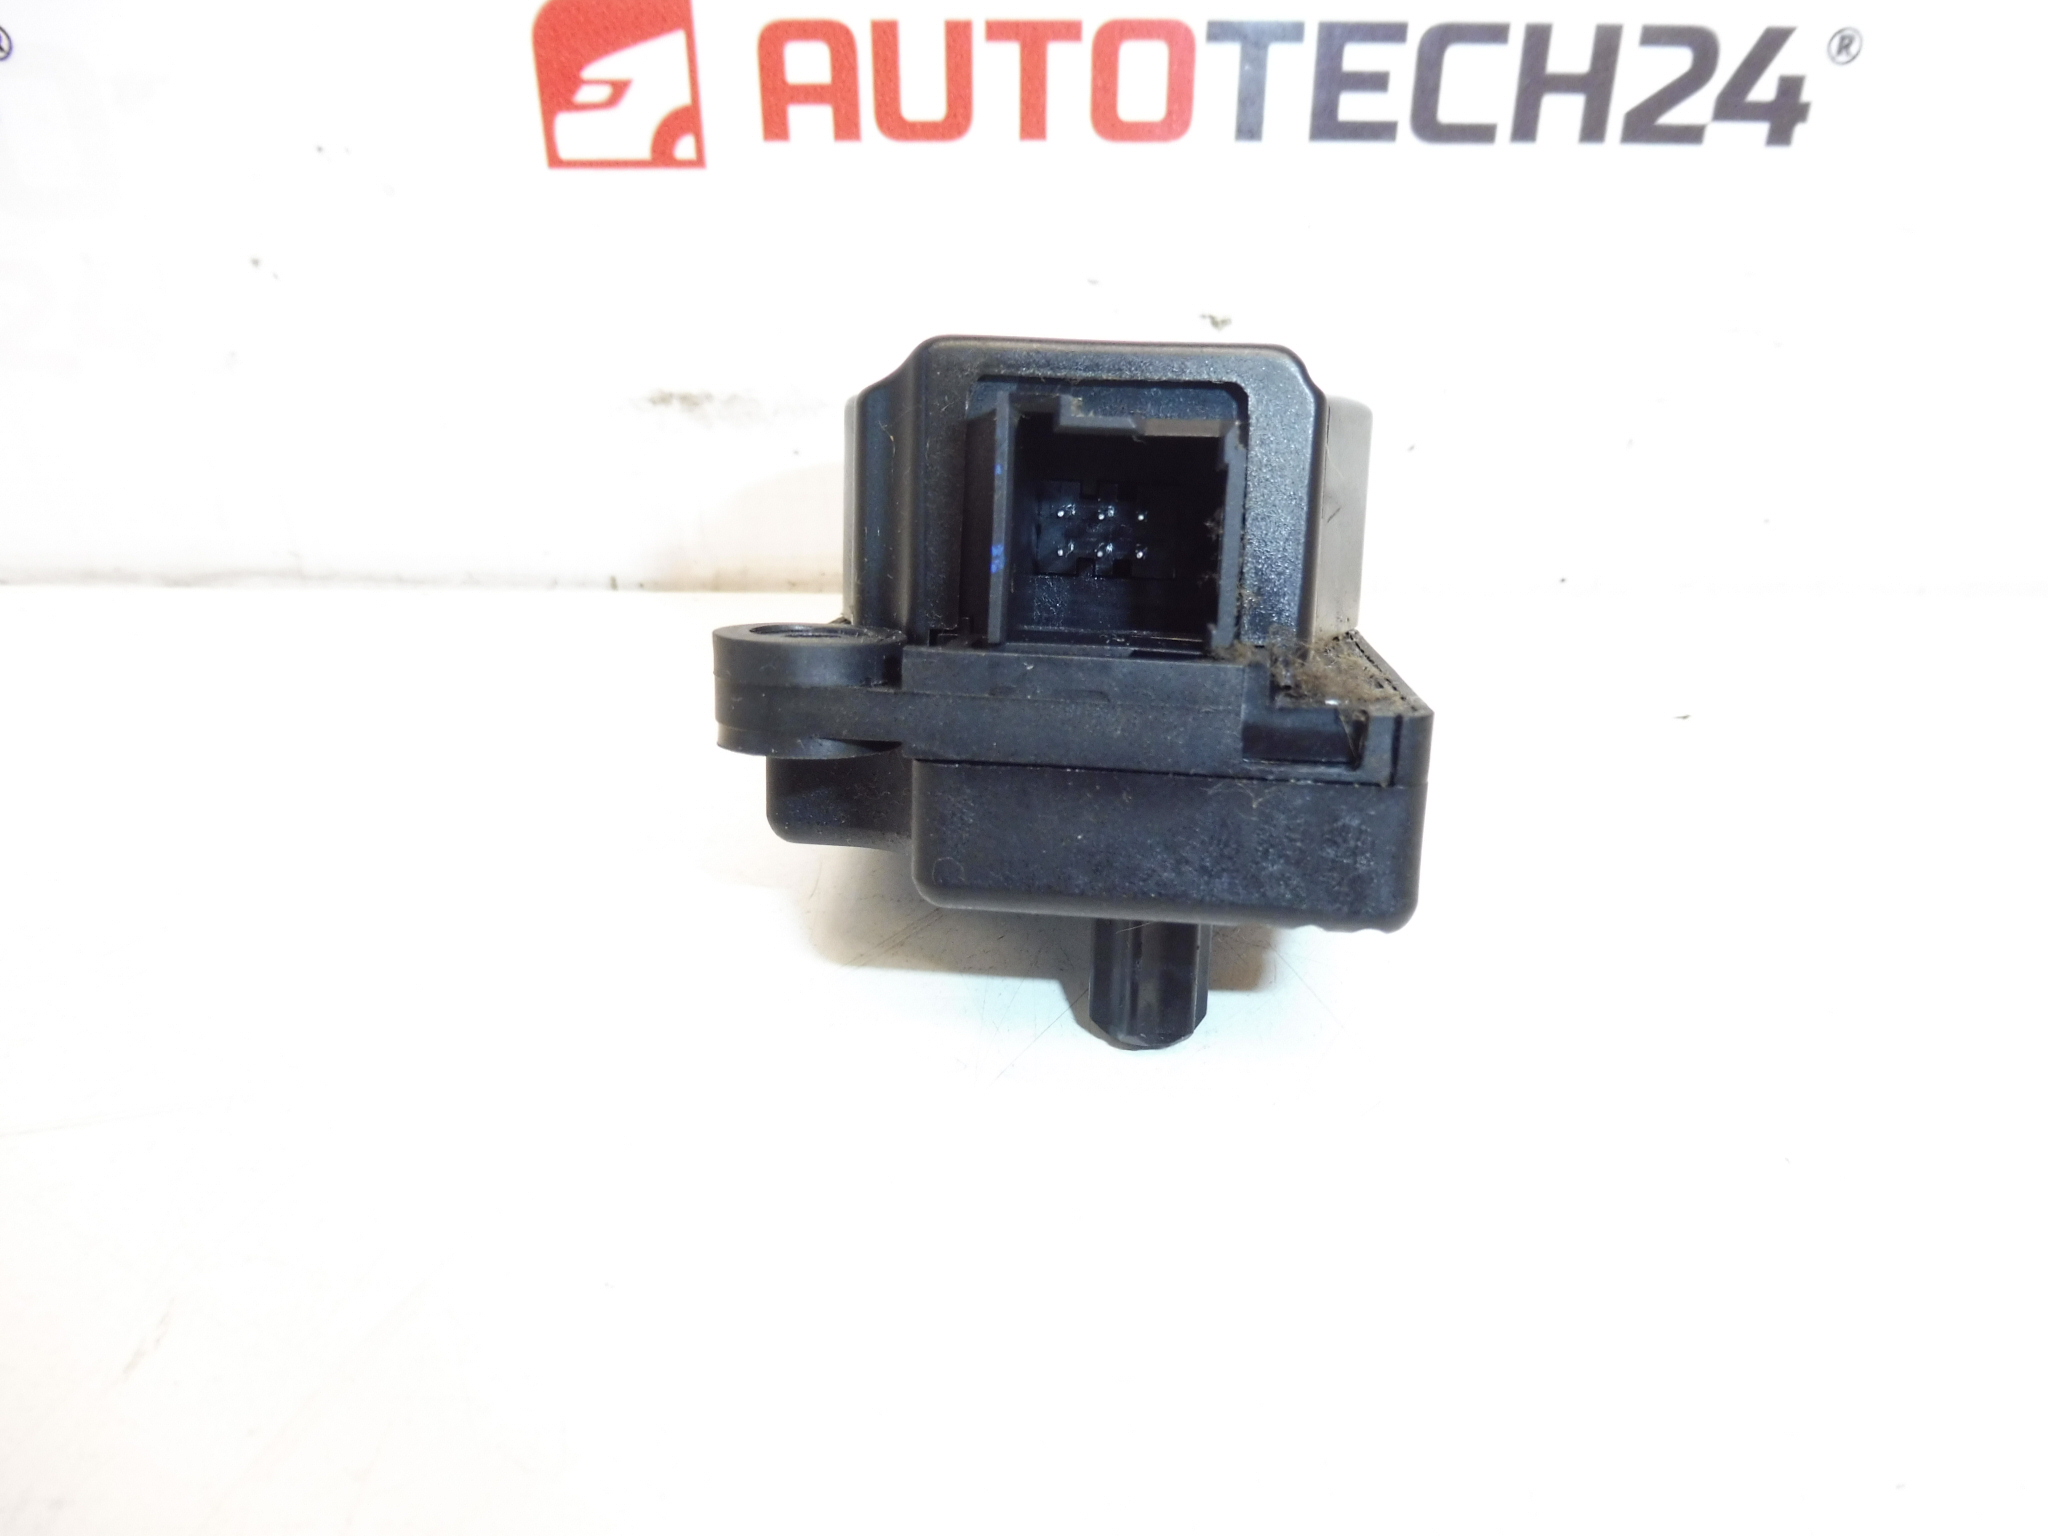
Behr heater servomotor for Citroën C5 X7 and Peugeot 407 facelift
This Behr heater servomotor (blend door actuator) is a direct-fit replacement designed for Citroën C5 X7 and Peugeot 407 facelift HVAC systems. Commonly searched under codes EAD515, P2861001U or 31 647947, the unit controls the movement of flaps inside the heater/air distribution box to direct airflow and regulate cabin temperature. The robust electric motor and internal gearing ensure precise flap positioning, restoring correct air distribution and removing symptoms such as constant clicking, lack of mode change, or incorrect temperature delivery.
Technical Information
- Manufacturer: Behr
- Model: Citroën C5 X7; Peugeot 407 (Facelift)
- Product Codes: EAD515, P2861001U
- Other Numbers: 31 647947, 647947
Fitment And Compatibility
Fits vehicles equipped with the original-style Behr heater box for Citroën C5 X7 and Peugeot 407 (facelift). This part is often located at the air distribution box and is referenced by product numbers EAD515, P2861001U or 31 647947 in aftermarket and OEM listings—entering these codes in search greatly increases the chance of finding the correct unit.
Symptoms Indicating Replacement
- Clicking or grinding noises from the dashboard area when changing HVAC modes.
- No change in airflow direction despite selecting different vent positions.
- Uneven cabin temperature or inability to switch between hot and cold paths.
- Intermittent operation or failure after moisture exposure.
Installation Recommendations
Recommended For Mechanics And Experienced DIYers. Typical replacement requires removal of lower dash panels or the glovebox to access the heater box. Basic steps:
- Disconnect the negative battery terminal before starting to avoid short circuits and undesired actuator movement.
- Remove necessary trim or glovebox to reach the HVAC box. Keep fasteners labeled for reassembly.
- Unplug the electrical connector and remove mounting screws holding the actuator to the heater box.
- Transfer any linkage or levers carefully and fit the new actuator in the same orientation.
- Reconnect the electrical connector, reconnect the battery, then cycle the ignition and HVAC controls to allow actuator calibration/self-adjustment (follow vehicle’s HVAC cycling procedure if available).
- Check for correct operation of all modes before reassembling trim; avoid over-tightening screws to prevent damaging the actuator housing.
Why This Part Commonly Fails
Failures are usually mechanical or electrical and often caused by:
- Worn or stripped plastic gears inside the actuator after many cycles.
- Motor burnout due to age, high duty cycles or voltage spikes.
- Corrosion or poor contact at electrical connectors, especially if moisture penetrates the heater box.
- Obstruction or debris inside the heater box that stresses the gears or linkage.
When replacing, inspect the heater box and linkages for damage or foreign objects and ensure connector pins are clean. Using the correct Behr replacement with matching product codes helps restore original HVAC behavior and avoids recurring faults.