Description
Heater Actuator Motor For Citroën C2, C3 And Other Citroën/Peugeot Models
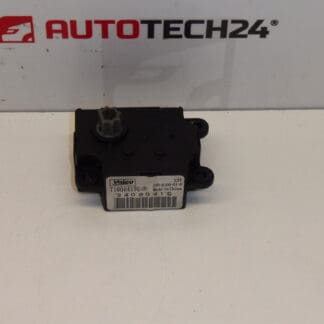
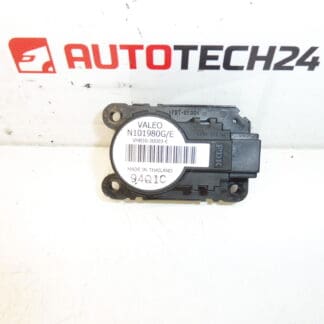
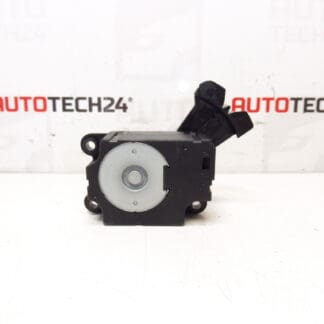
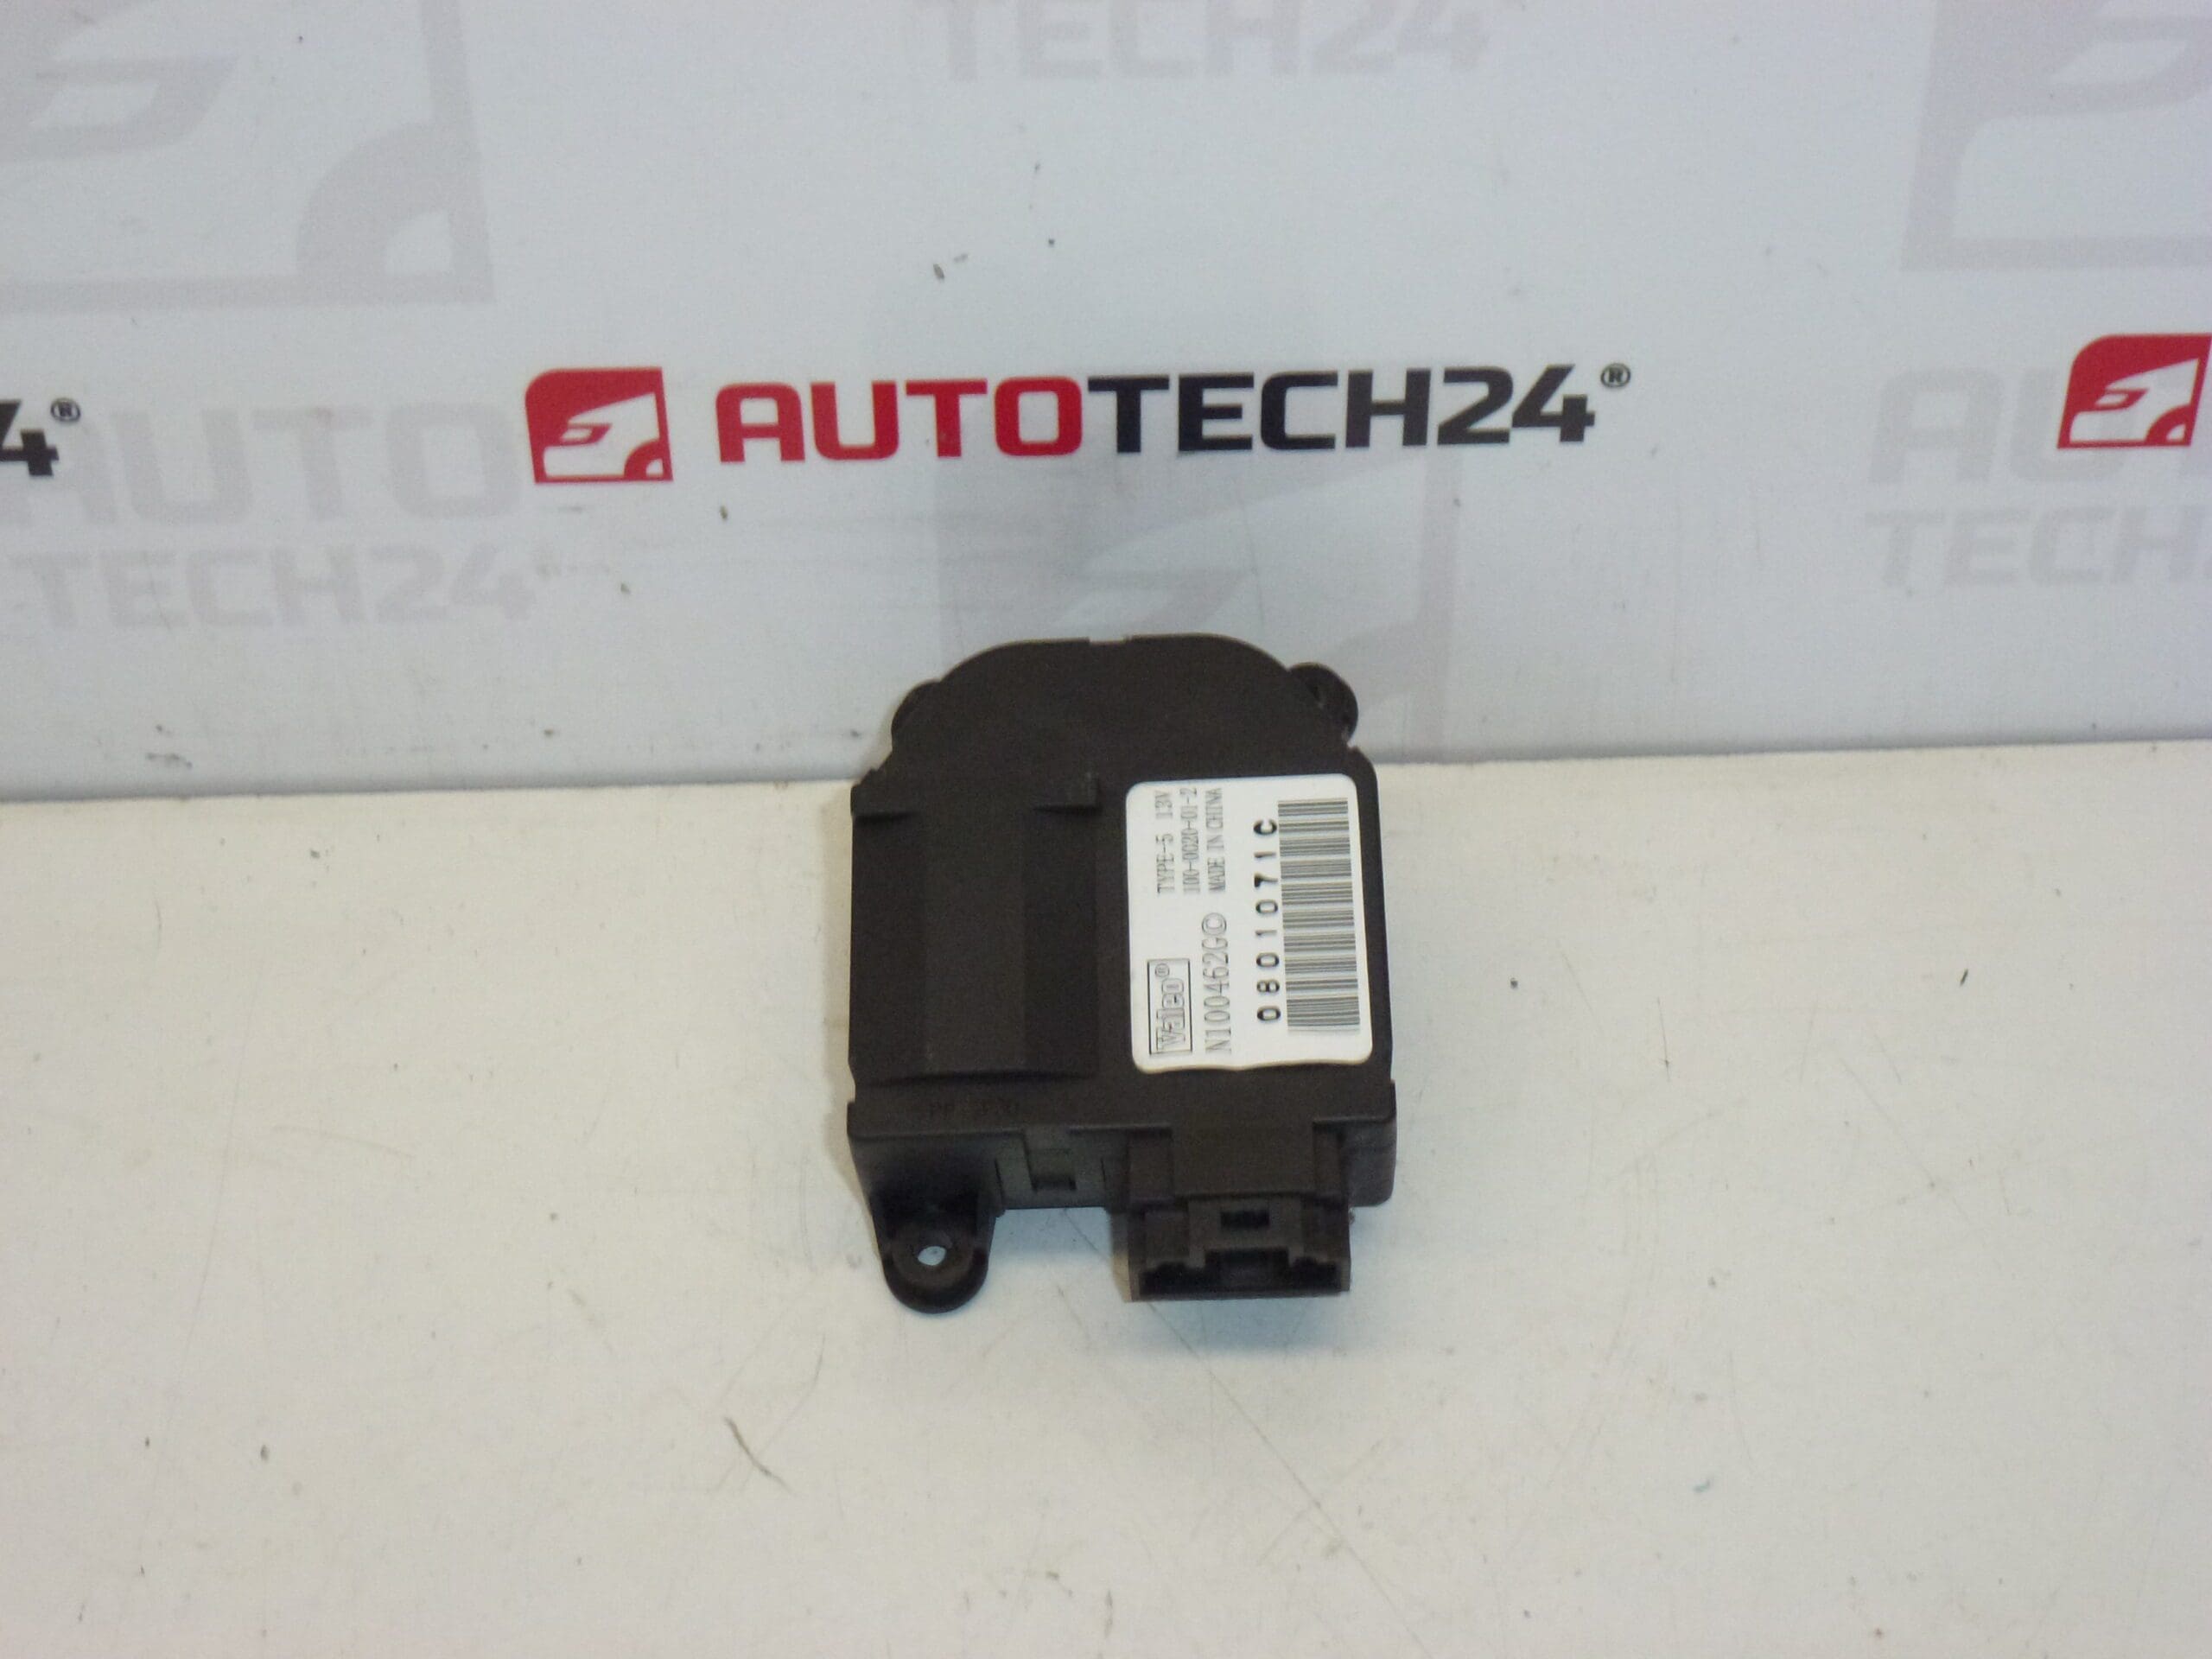
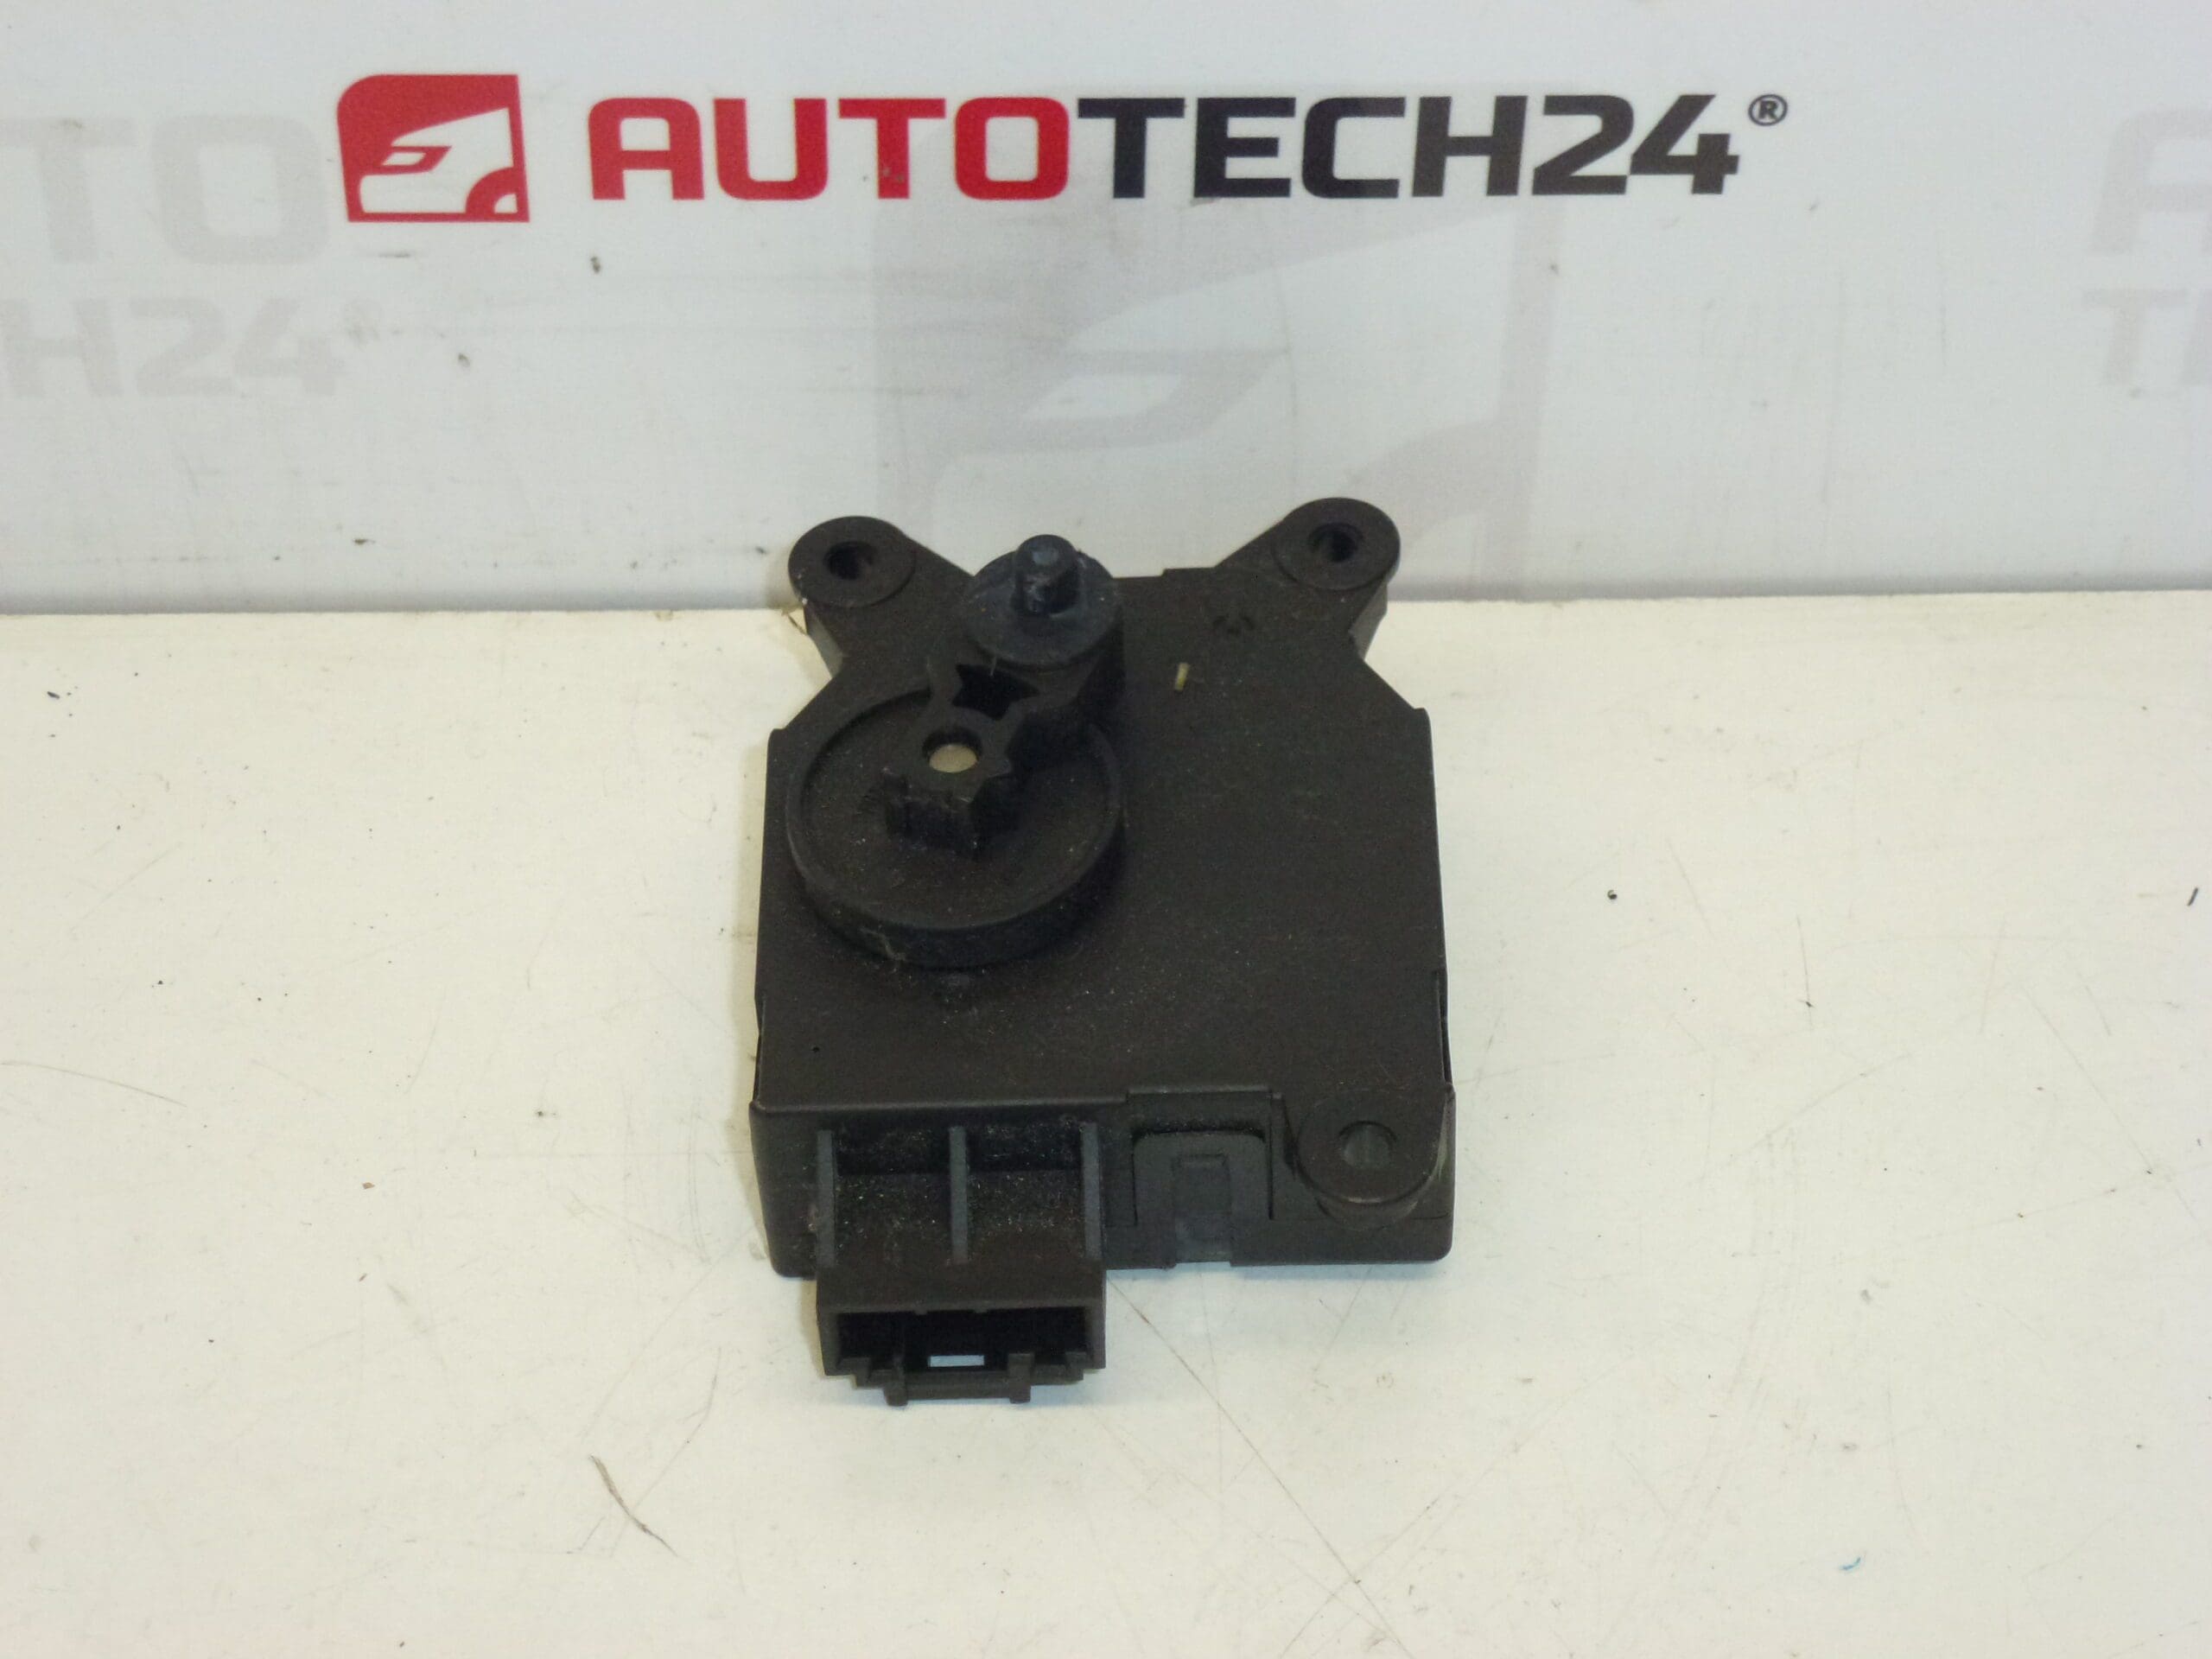
This Valeo heater actuator (servo motor) is a direct-fit replacement for heating and ventilation flaps on a range of Citroën and Peugeot models. It controls the position of the blend/recirculation/flap mechanisms inside the HVAC box to ensure correct air distribution and temperature mixing. Ideal for professional workshops and DIY mechanics looking for a reliable spare part identified by codes N100462G and 6447NQ.
The actuator delivers precise movement of internal HVAC flaps, eliminating erratic airflow, incorrect cabin temperature, or intermittent operation. Compatible with common OEM references used on smaller Stellantis platform models, this unit suits technicians who search by part number during diagnosis and repair.
Technical Information
- Manufacturer: Valeo
- Model: Citroën C2, Citroën C3, Citroën C3 Pluriel, Peugeot 1007
- Product Codes: N100462G, 6447NQ
- Other Numbers: 0801071C, 0901071C, 1201051C
Function And Symptoms
The actuator is an electric motor with internal gearing that moves HVAC flaps to select airflow direction and blend hot/cold air. Typical symptoms of a failing actuator include clicking or grinding noises from the dashboard, fixed or limited airflow directions, incorrect cabin temperature despite correct control settings, or an HVAC system that does not respond to controls.
Why The Part Commonly Fails
- Worn Or Stripped Plastic Gears: Repeated movement and age can damage the small plastic teeth in the gearbox.
- Motor Wear: Brushes or the small DC motor can degrade after long service life.
- Contamination And Corrosion: Moisture or debris in the HVAC housing can affect electrical contacts and gear operation.
- Mechanical Obstruction: Foreign objects inside the HVAC box can jam the flap mechanism and overload the actuator.
- Electrical Issues: Connector corrosion or wiring faults can interrupt power or control signals.
Installation Recommendations
- Safety First: Disconnect the negative battery terminal before starting electrical work to reduce the risk of shorts.
- Access: Remove the glovebox or lower dashboard trim panels to access the HVAC unit—location may vary by model.
- Disconnect And Remove: Unplug the actuator connector, remove the retaining screws or clips, and extract the old actuator from the HVAC box.
- Fitment: Install the new actuator in the correct orientation, secure screws to hand-tight plus a small fraction of torque (avoid overtightening plastic threads), and reconnect the electrical plug.
- Initial Check: Reconnect the battery, operate the HVAC controls through full range to verify smooth flap movement and listen for abnormal noises. Some vehicles require an automatic recalibration cycle—cycle the ignition and HVAC controls according to the vehicle service instructions.
- Final Steps: Refit trim pieces and glovebox. Confirm full functionality on all vent positions and temperature settings before returning the vehicle to service.
Recommended Use
Replace the actuator when symptoms appear to prevent further damage to HVAC components. Part numbers printed above help locate the correct unit quickly in catalogs and search engines. Suitable for mechanics and experienced DIYers familiar with dashboard disassembly and basic electrical testing.