Description
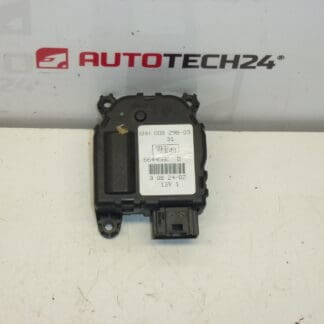
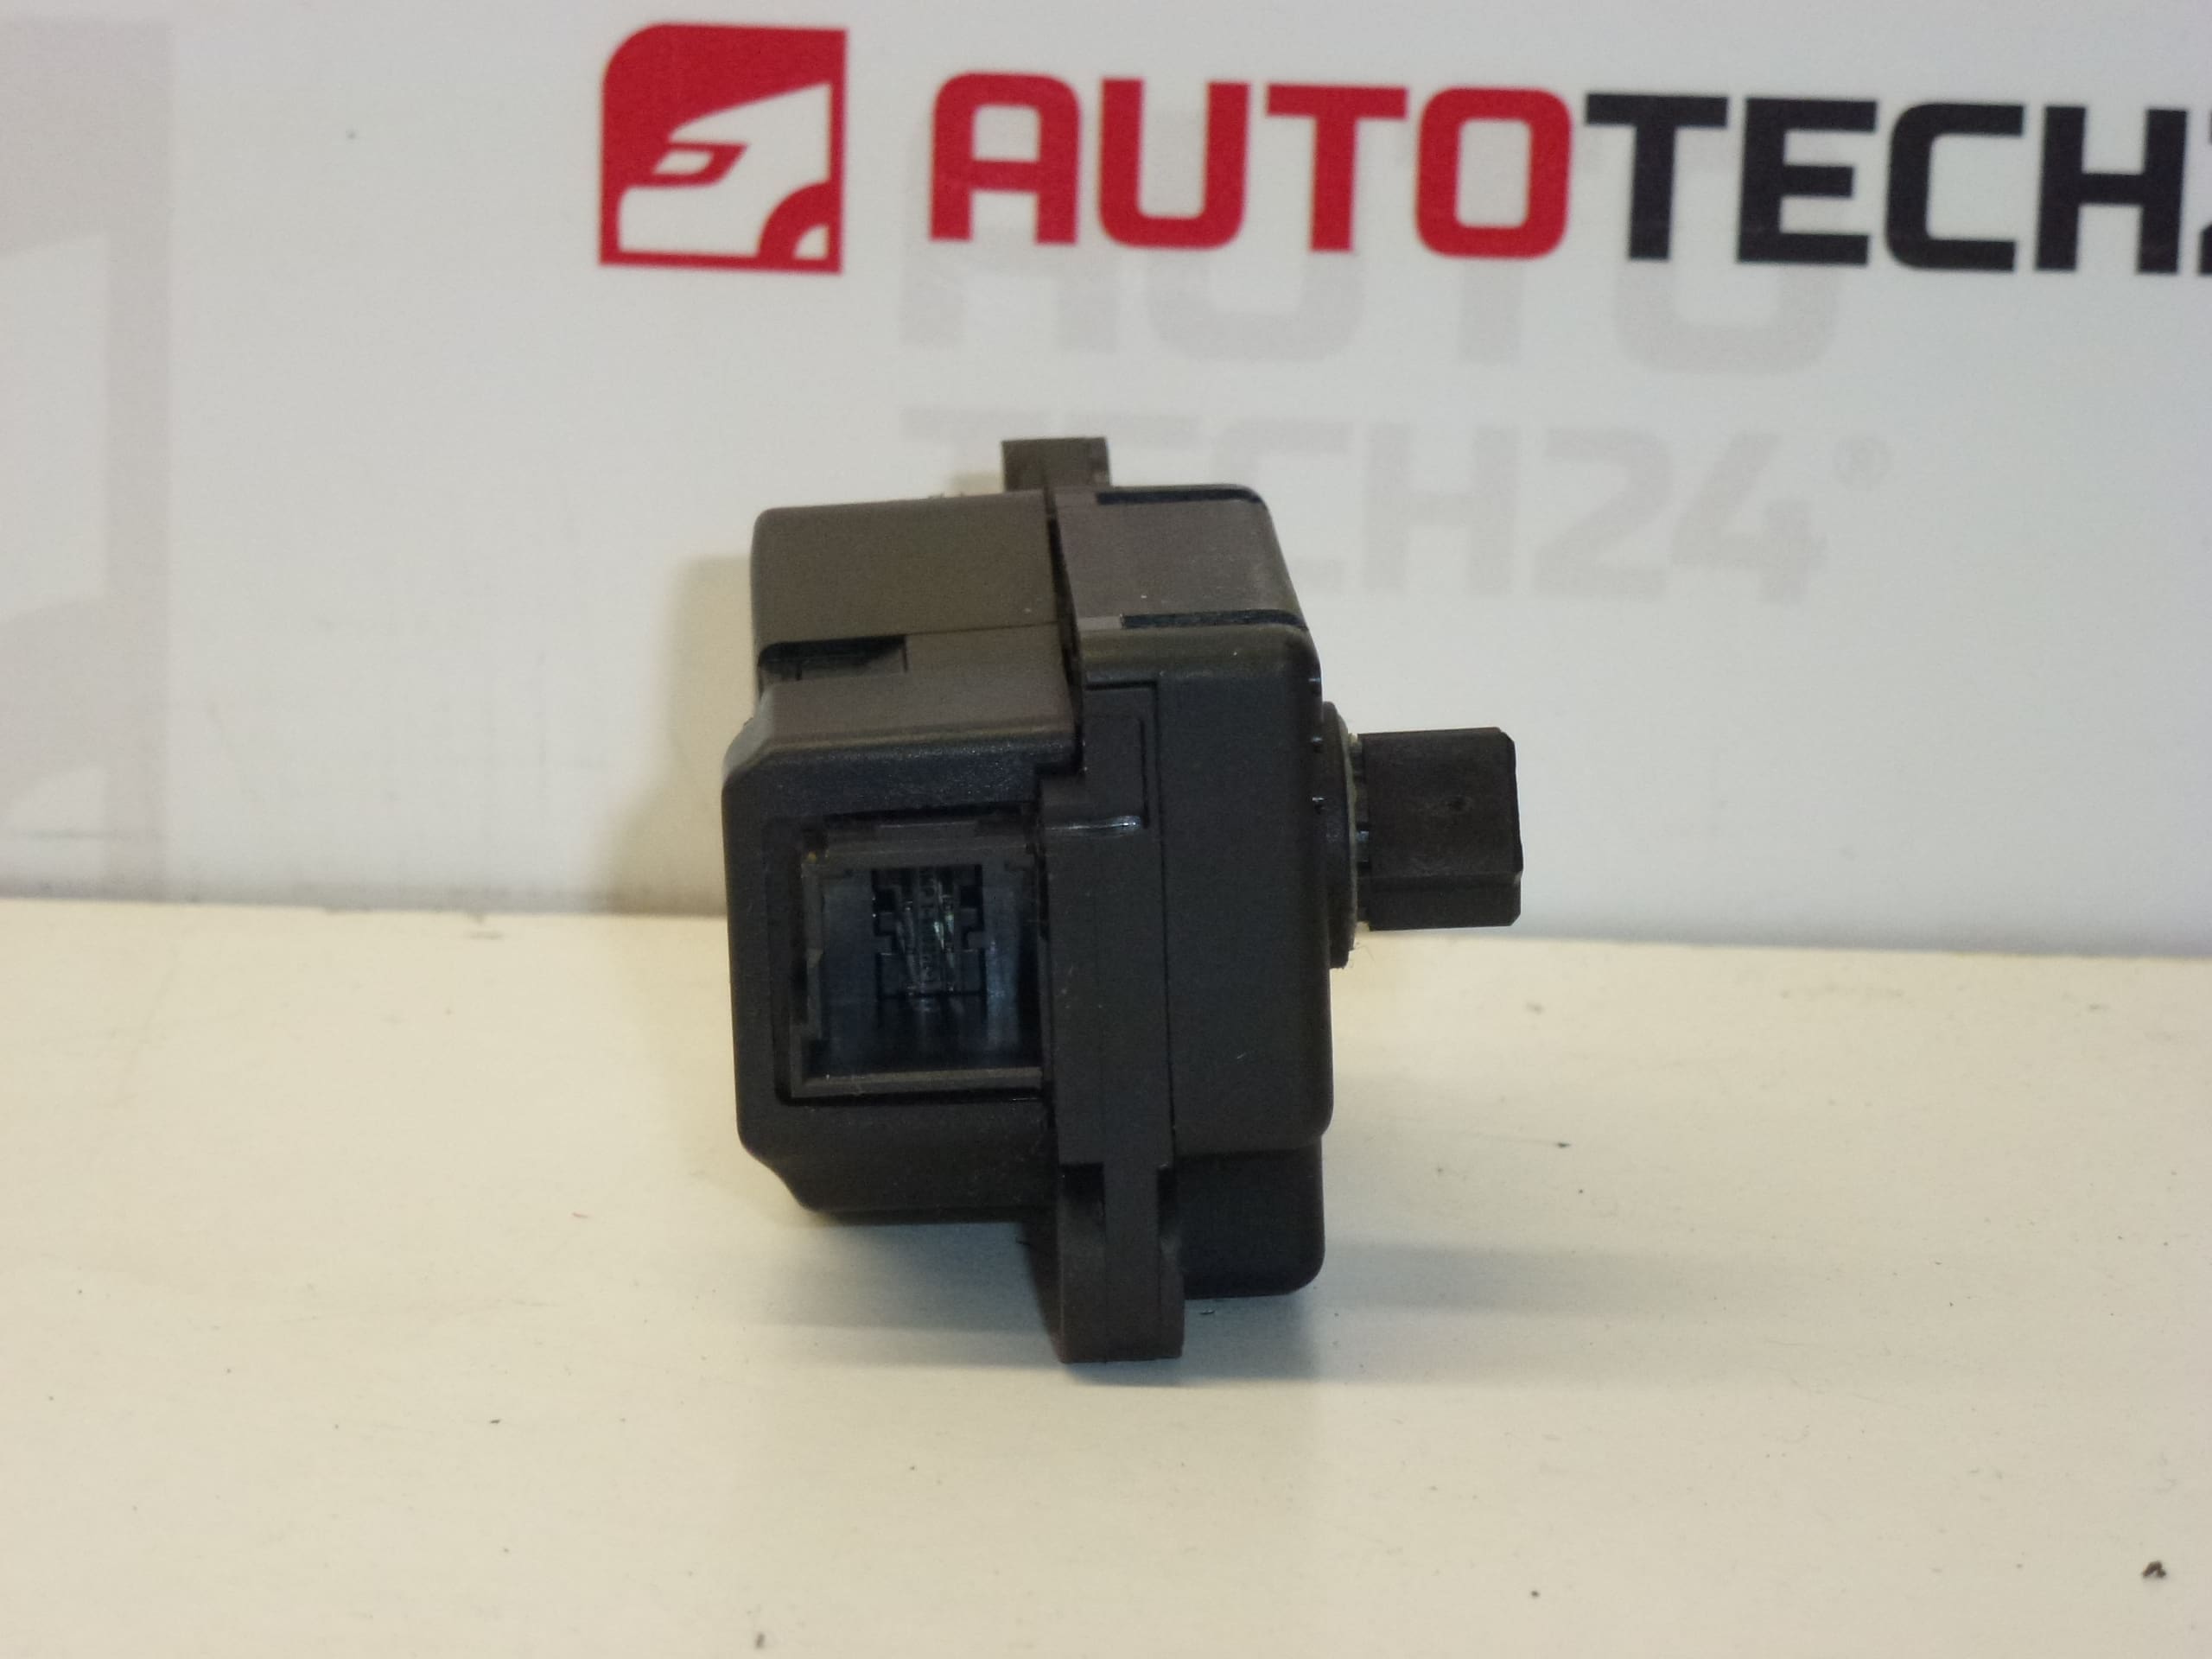
Heater servo motor for Citroën C2, C3 and other Citroën/Peugeot 1007 models.
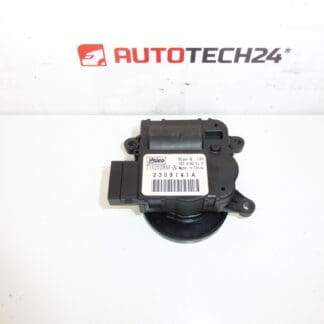
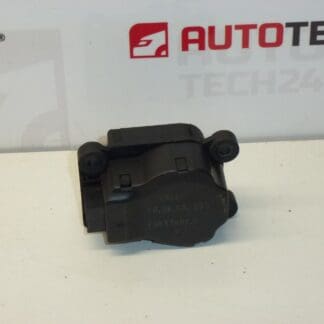
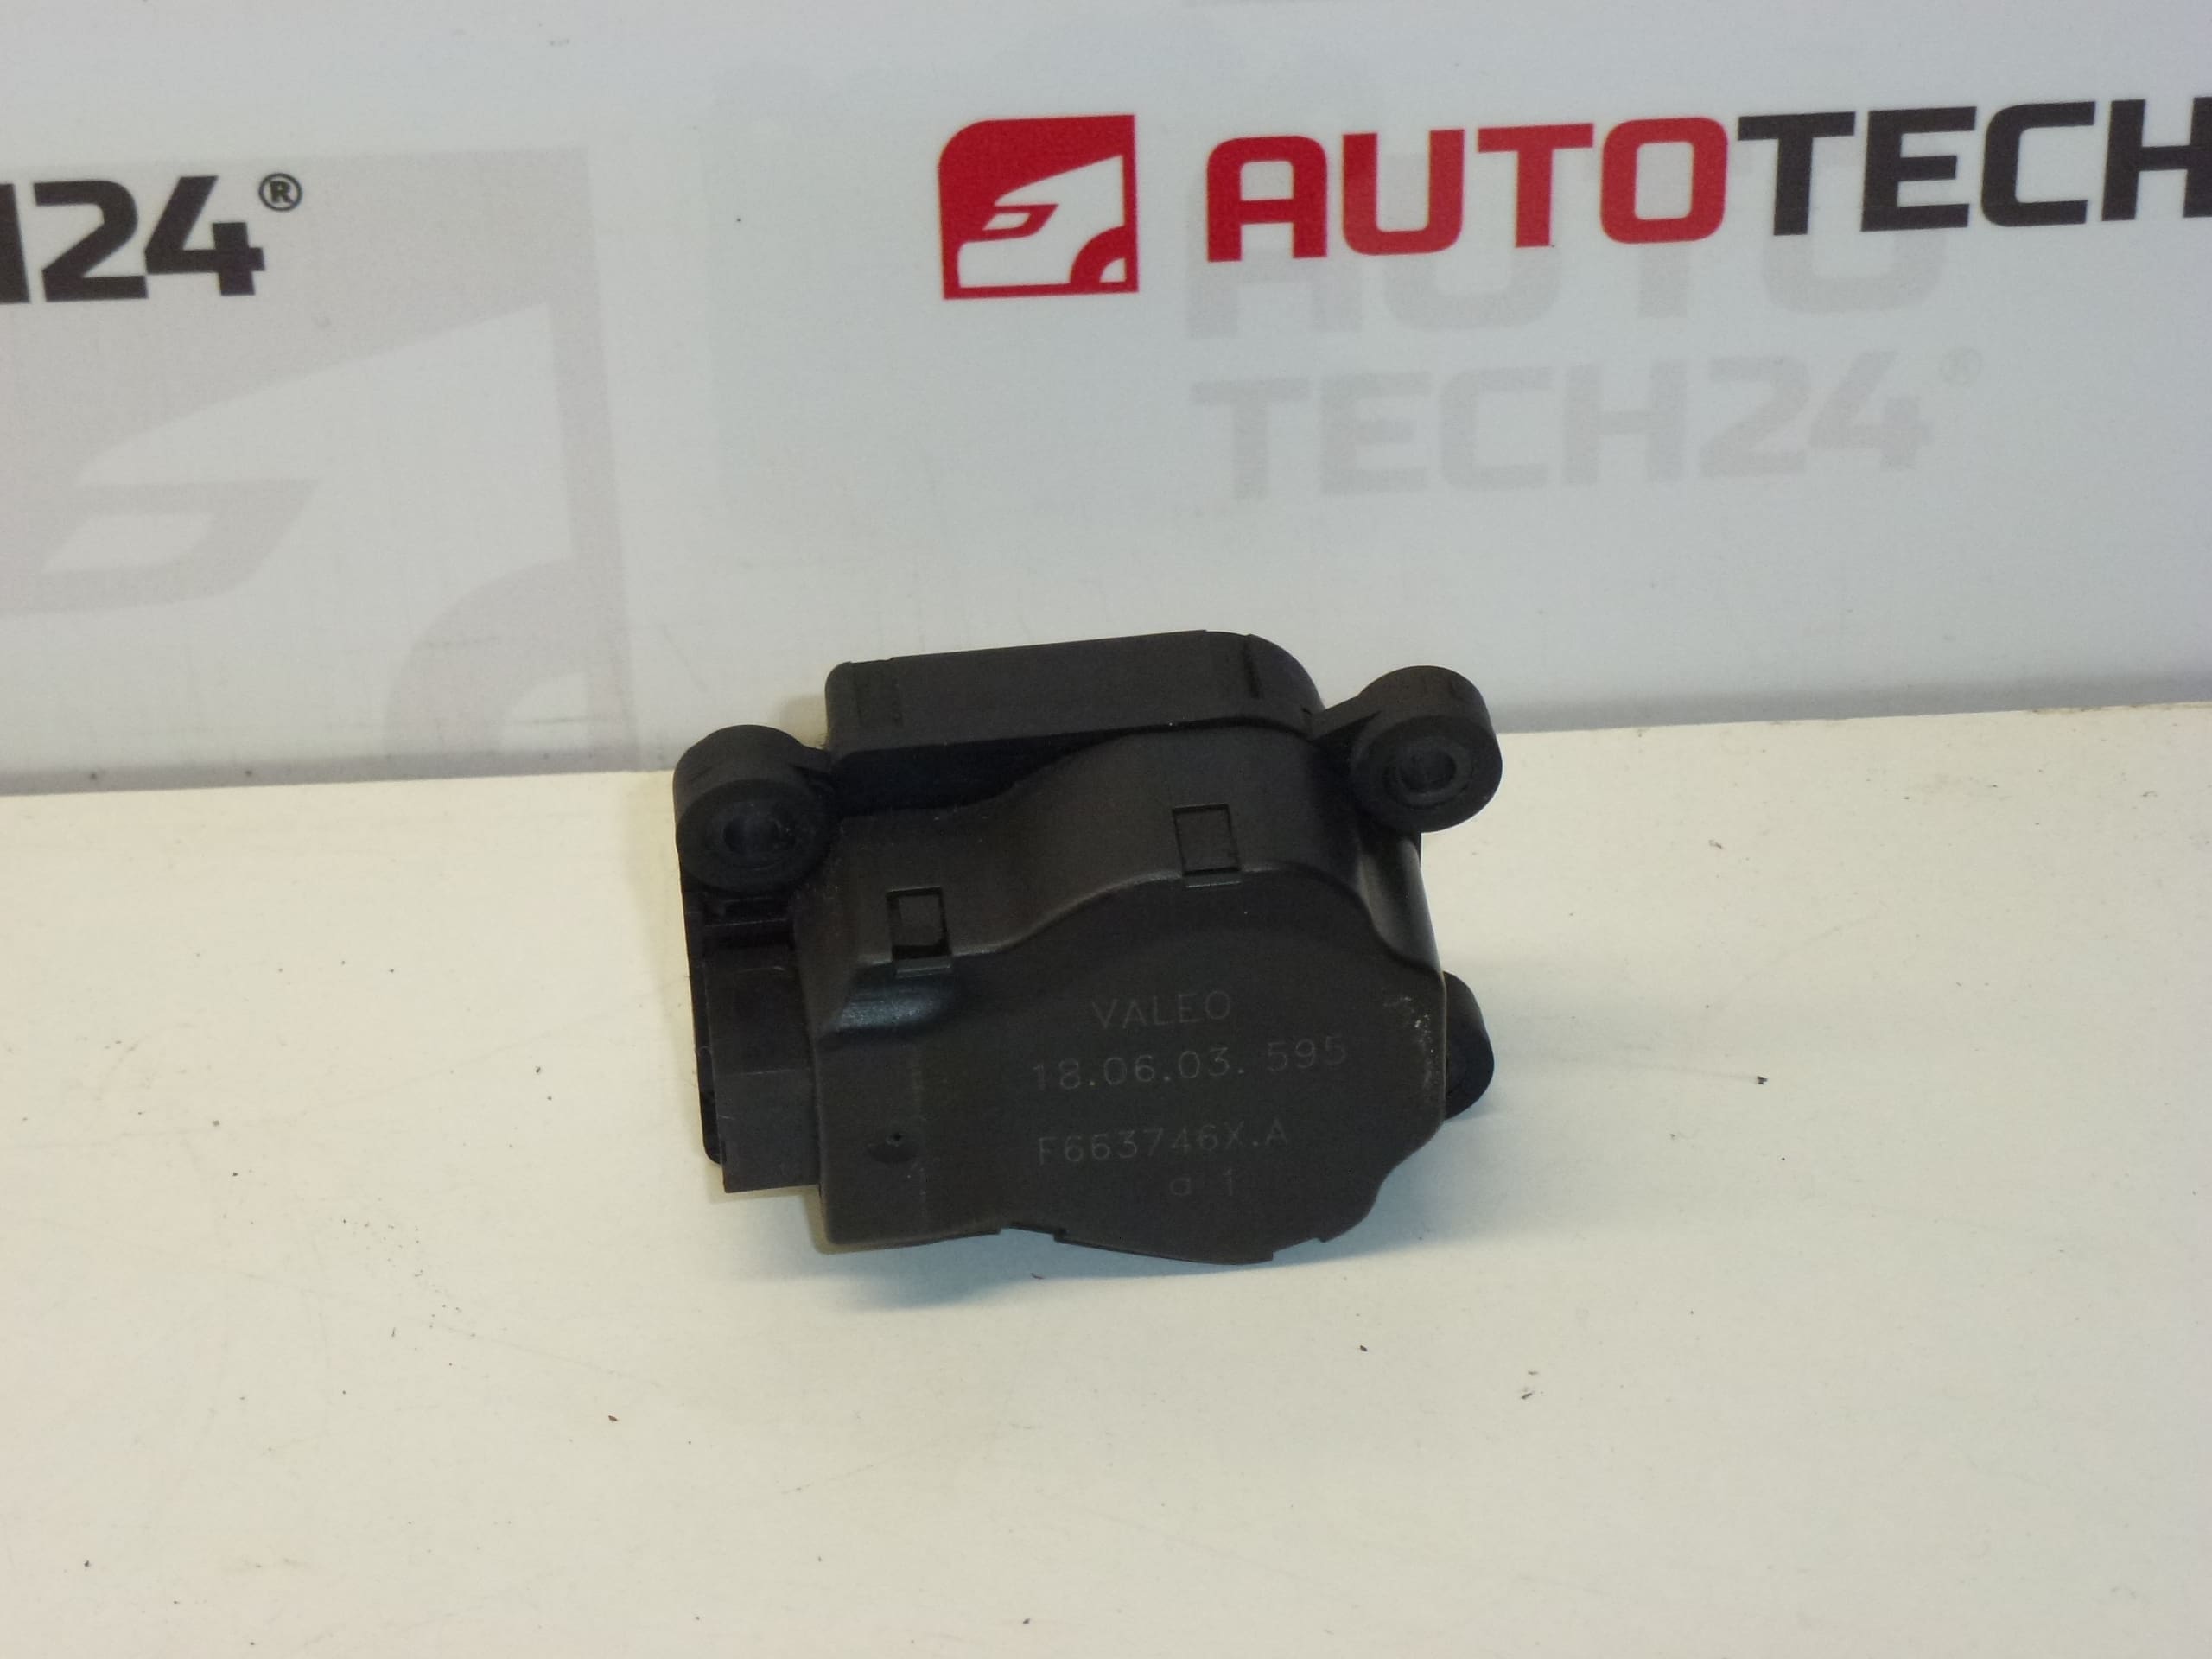
Valeo heater servo motor designed as a direct-fit replacement for faulty HVAC actuators on Citroën and Peugeot small cars. This compact actuator restores precise control over the heater/ventilation flaps, improving temperature regulation, airflow distribution and overall comfort in the cabin. The unit is commonly searched under part codes F663746X.A and 6447NL, so including those references in your order will speed up finding the correct item.
Technical Information
- Manufacturer: Valeo
- Model: Citroën C2, Citroën C3, Citroën C3 Pluriel, Peugeot 1007
- Product Codes: F663746X.A, 6447NL
- Additional Numbers: Stellantis Application References (vehicle group fitment)
Function
The heater servo motor (also called an HVAC actuator or blend door actuator) moves the internal flaps inside the heater box to regulate air distribution and temperature blending between hot and cold air. Proper operation is essential for accurate climate control, defrosting performance and even air flow to different vents.
Common Reasons For Failure
Actuators on these models typically fail due to worn plastic gears, motor wear after many cycles, connector corrosion, or contamination and debris causing the flap to stick. Heat cycling inside the dashboard and prolonged use accelerate gear wear. Electrical faults such as damaged wiring or a blown fuse may mimic actuator failure and should be checked during diagnosis.
Replacement And Installation Recommendations
Disconnect The Battery Before Starting Work. Access Usually Requires Removing The Glovebox Or Lower Dashboard Trim To Reach The Heater Box. Unplug The Electrical Connector And Remove The Mounting Screws Or Clips Securing The Actuator. Note The Position Of The Flap And The Orientation Of The Actuator Drive Arm Before Removal. Install The New Unit In The Same Orientation, Secure Fasteners, Reconnect The Connector And Restore Power.
After Installation, Run The HVAC System Through Its Full Range Of Positions To Allow The Control Module To Recalibrate The New Actuator. Check For Smooth Movement And Correct Airflow At Each Vent. If The Vehicle Has A Specific Relearn Procedure In The Service Manual, Follow That Procedure.
Recommended Tools: Torx/Screwdrivers, Trim Tools, Multimeter For Quick Electrical Checks. Typical Replacement Time For An Experienced Technician: 30–90 Minutes Depending On Access.
Lifespan And Maintenance
Typical Service Life Depends On Use And Environment; Many Actuators Last Several Years But Can Fail Sooner If Exposed To Moisture, Extreme Temperatures Or Mechanical Obstruction. Regularly Check Cabin Filters And Drain Channels To Reduce Debris And Moisture Ingress That Can Lead To Premature Actuator Wear.
Why Choose This Part
This Valeo unit is offered as a direct-fit option for common Citroën and Peugeot models listed above and is keyed to the widely used part codes F663746X.A and 6447NL. Use These Codes When Searching To Ensure Compatibility With Your Vehicle. Suitable For Both Professional Workshops And Competent DIY Enthusiasts Looking For A Reliable HVAC Actuator Replacement.