Description
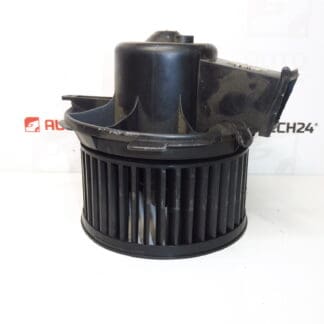
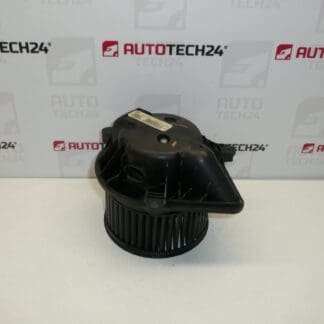
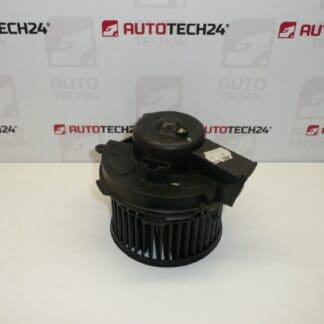
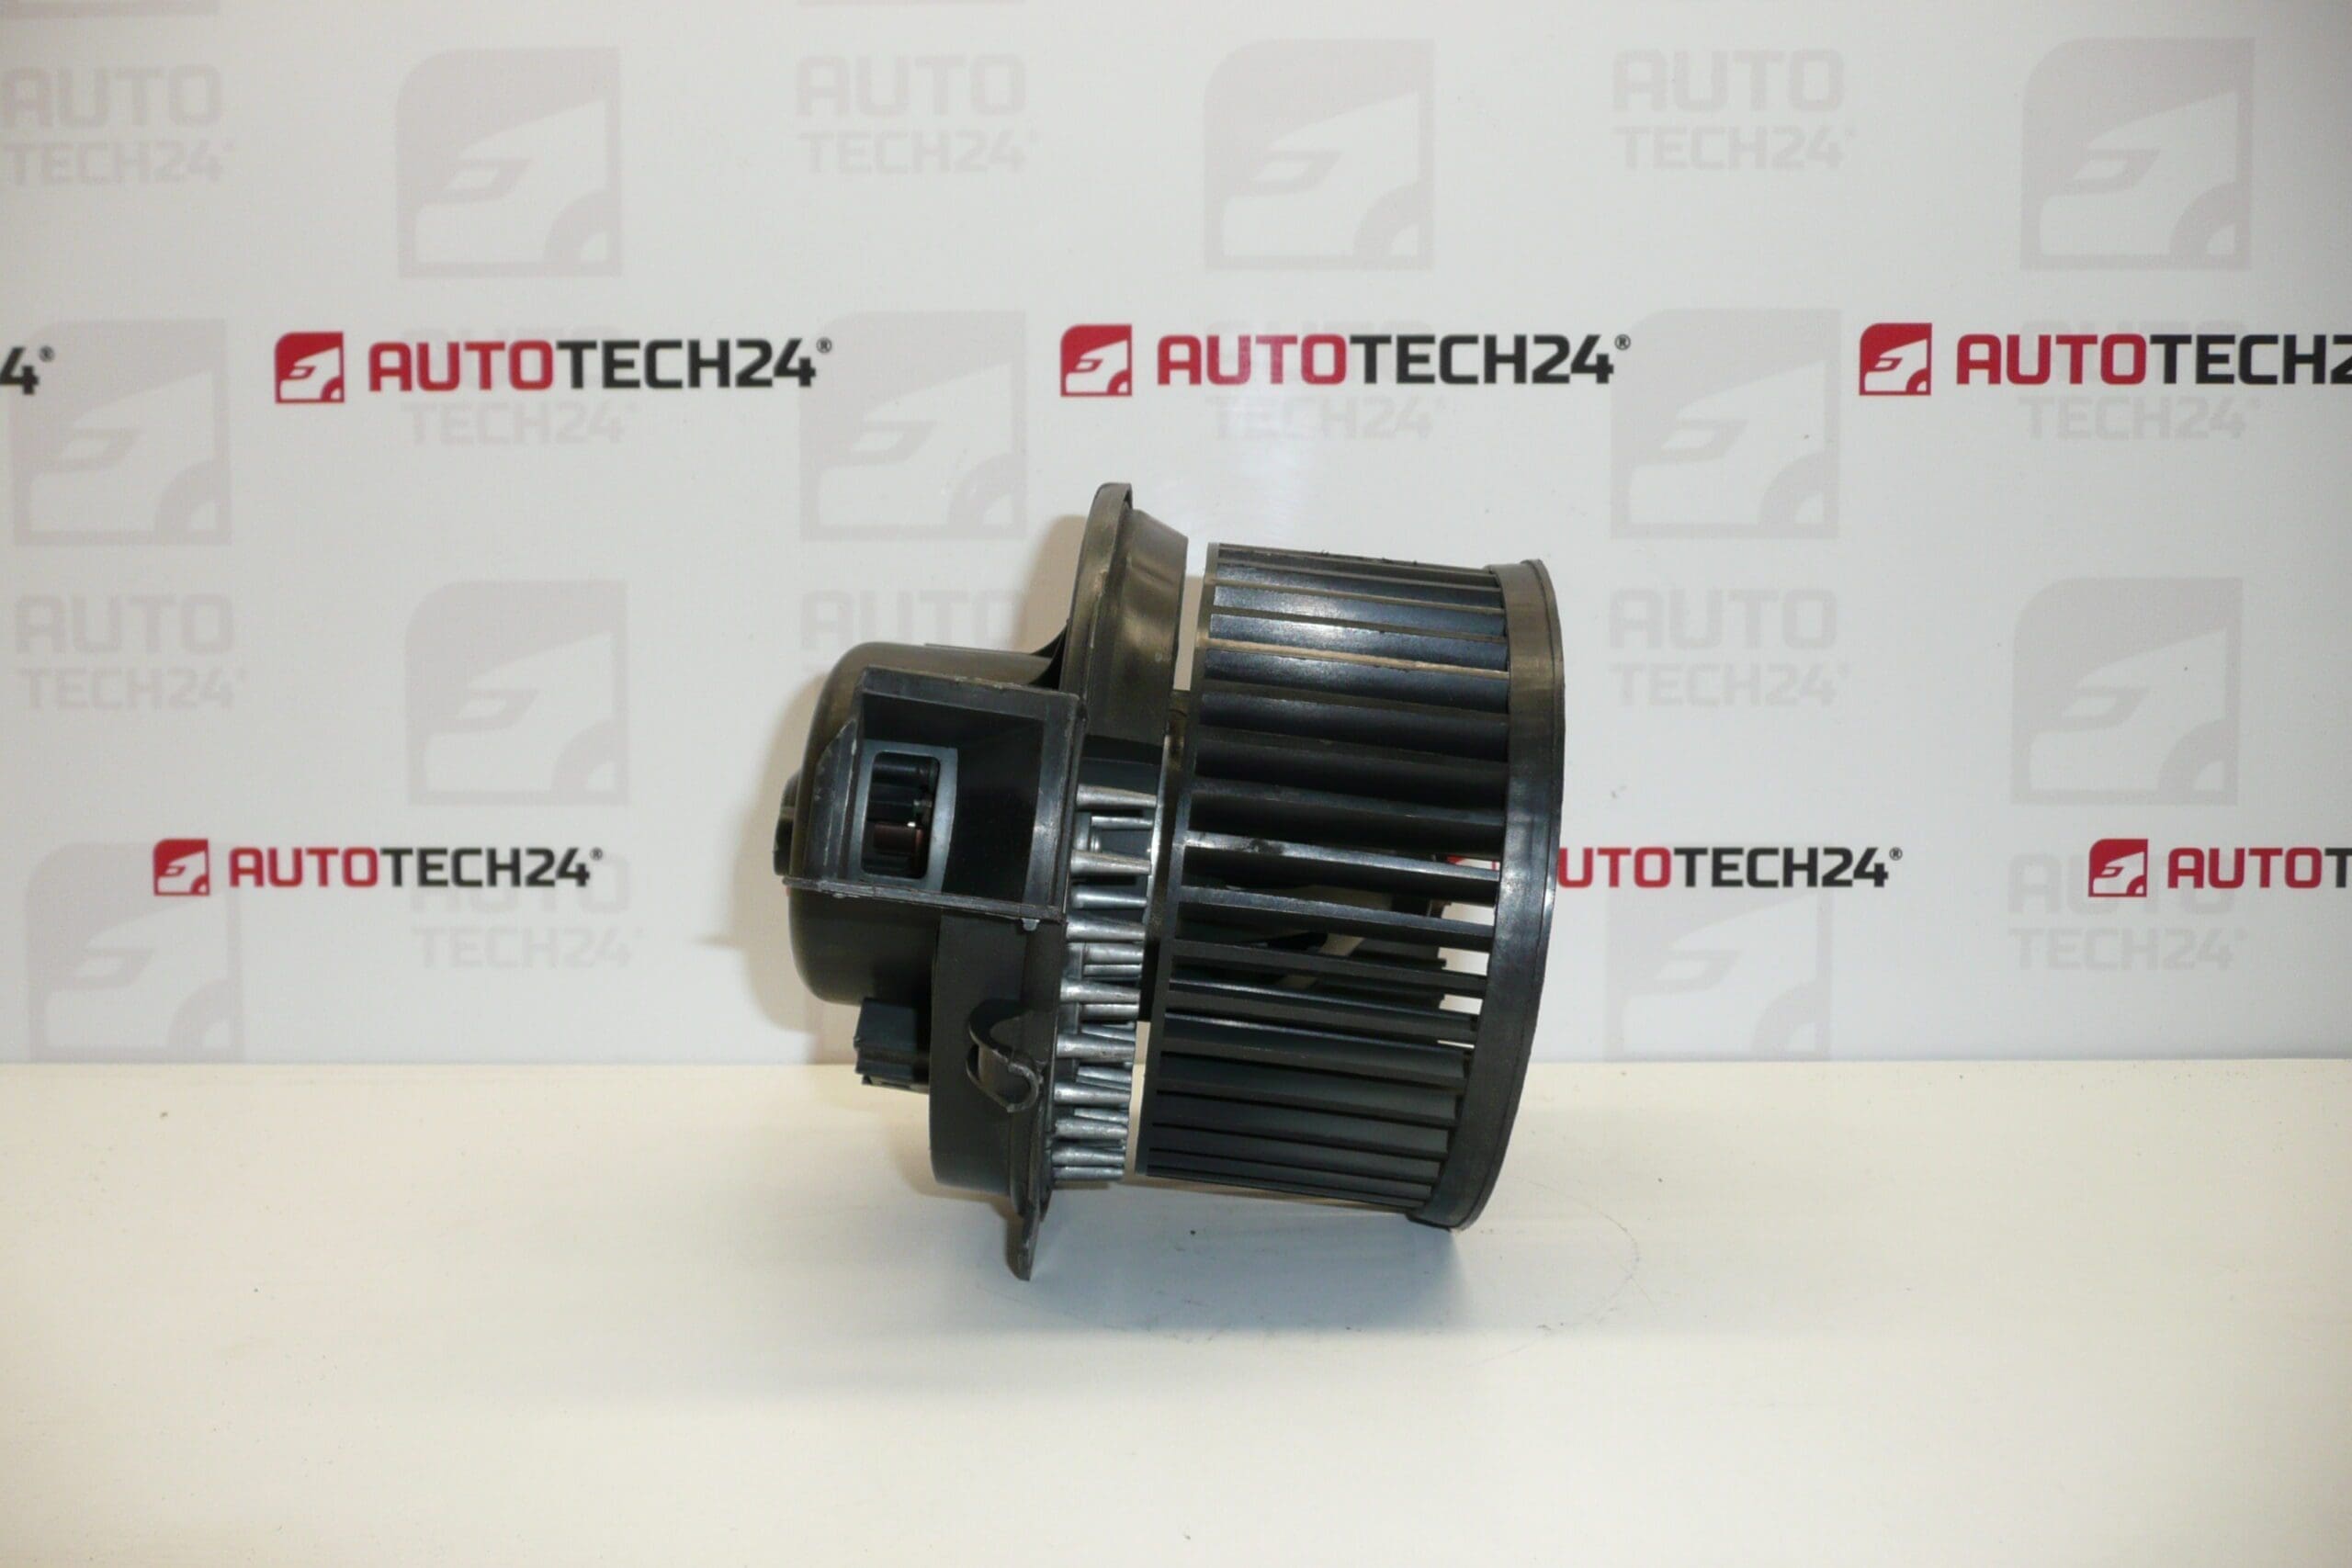
Heating and air conditioning fan for CITROEN XSARA PICASSO and PEUGEOT 206, 307
For cars with automatic air conditioning
Part description
This used heater fan (interior HVAC fan) is intended for Citroën and Peugeot cars with automatic air conditioning. Its task is to ensure the flow of air through the heating and air-conditioning circuit so that the cabin responds quickly to the set temperature and the intensity of the blowing.
The part is often searched by the number 6441K0, or by the numbers from the label. A suitable choice if you are dealing with a malfunctioning blower, fluctuating fan speeds or noisy operation.
Technical information
- Manufacturer: Stellantis (CITROEN / PEUGEOT)
- Model: Citroën Xsara Picasso; Peugeot 206; Peugeot 307
- Other numbers: HE8EW009159-581; 009159581
Product codes
- Product codes: 6441K0; HE8EW009159-581; 009159581
Installation recommendations
Generally/typically applies to replacing the heater fan (the exact procedure may vary depending on the specific car design and equipment, here is a practical universal procedure for this type of part).
1) Before assembly
- Compare with the old part: part number 6441K0, body shape, mount, connector and orientation.
- Check that the impeller rotates freely without rubbing or excessive play.
- Inspect the connector and pins (no oxidation, no pulled contacts).
- Visually check whether there are no cracks on the plastic body, broken locks or damaged seating surfaces.
2) Necessary tools and materials (in general)
- Set of screwdrivers and bits (according to the screws used in the interior)
- Ratchet with extensions, possibly small keys
- Plastic crowbar for removing upholstery/covers
- Flashlight
- Contact cleaner (optional) and cloth
3) Step-by-step assembly procedure
- Turn off the ignition and disconnect the battery for safety reasons.
- Access the space for the heating fan by removing the necessary covers/panelling (according to the specific model).
- Disconnect the fan electrical connector – release the connector lock and pull the connector out without prying the cables.
- Remove the fan fasteners (screws/latches according to design).
- Remove the old fan and check that there are no dirt or foreign objects left around that could cause noise.
- Clean the seating surface and the suction area so that the new piece fits properly and does not attract dirt.
- Insert the heater fan into the correct position (do not overdrive by force; it must fit into the guides/locks).
- Secure the fan with fasteners – tighten evenly so that the body fits around the perimeter.
- Connect the electrical connector and verify that the fuse clicks.
- Reinstall all removed covers/trims.
- Connect the battery.
-
4) Post-assembly checks and test drive/function verification
- Verify that the fan runs smoothly and without unusual noises (whistling, rubbing, vibrating).
- Try multiple levels of blowing intensity and the response of the automatic air conditioning.
- Check that air is distributed to the selected exhausts and there are no dropouts when riding over bumps (may indicate a poorly secured connector).
5) The most common assembly mistakes + how to avoid them
- Replacing the connector / poorly engaged fuse – always pull the connector lightly to make sure it holds.
- Bad seating in the body – the fan must sit straight; crooked seating often causes vibration and noise.
- Leaving debris around the intake – leaves and dust can quickly damage the impeller or cause whistling.
- Pulling by the wiring – always disconnect by the body of the connector, you will avoid breaking the wires.
Reasons why the part is damaged
- Bearing wear and subsequent whistling/humming, possibly seizing.
- Impurity (leaves, dust) sucked into the fan – vibrates, makes noise, can damage the impeller.
- Increased resistance when running (clogged suction) – the fan motor overheats and shortens its life.
- Electrical problems in the connector/cabling (oxidation, transition resistance) – blackouts, speed fluctuations, overheating of contacts.