
Description
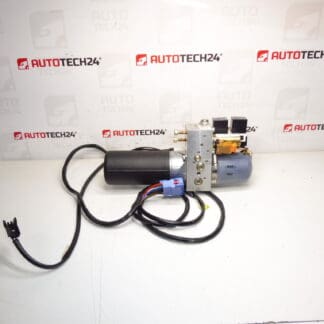
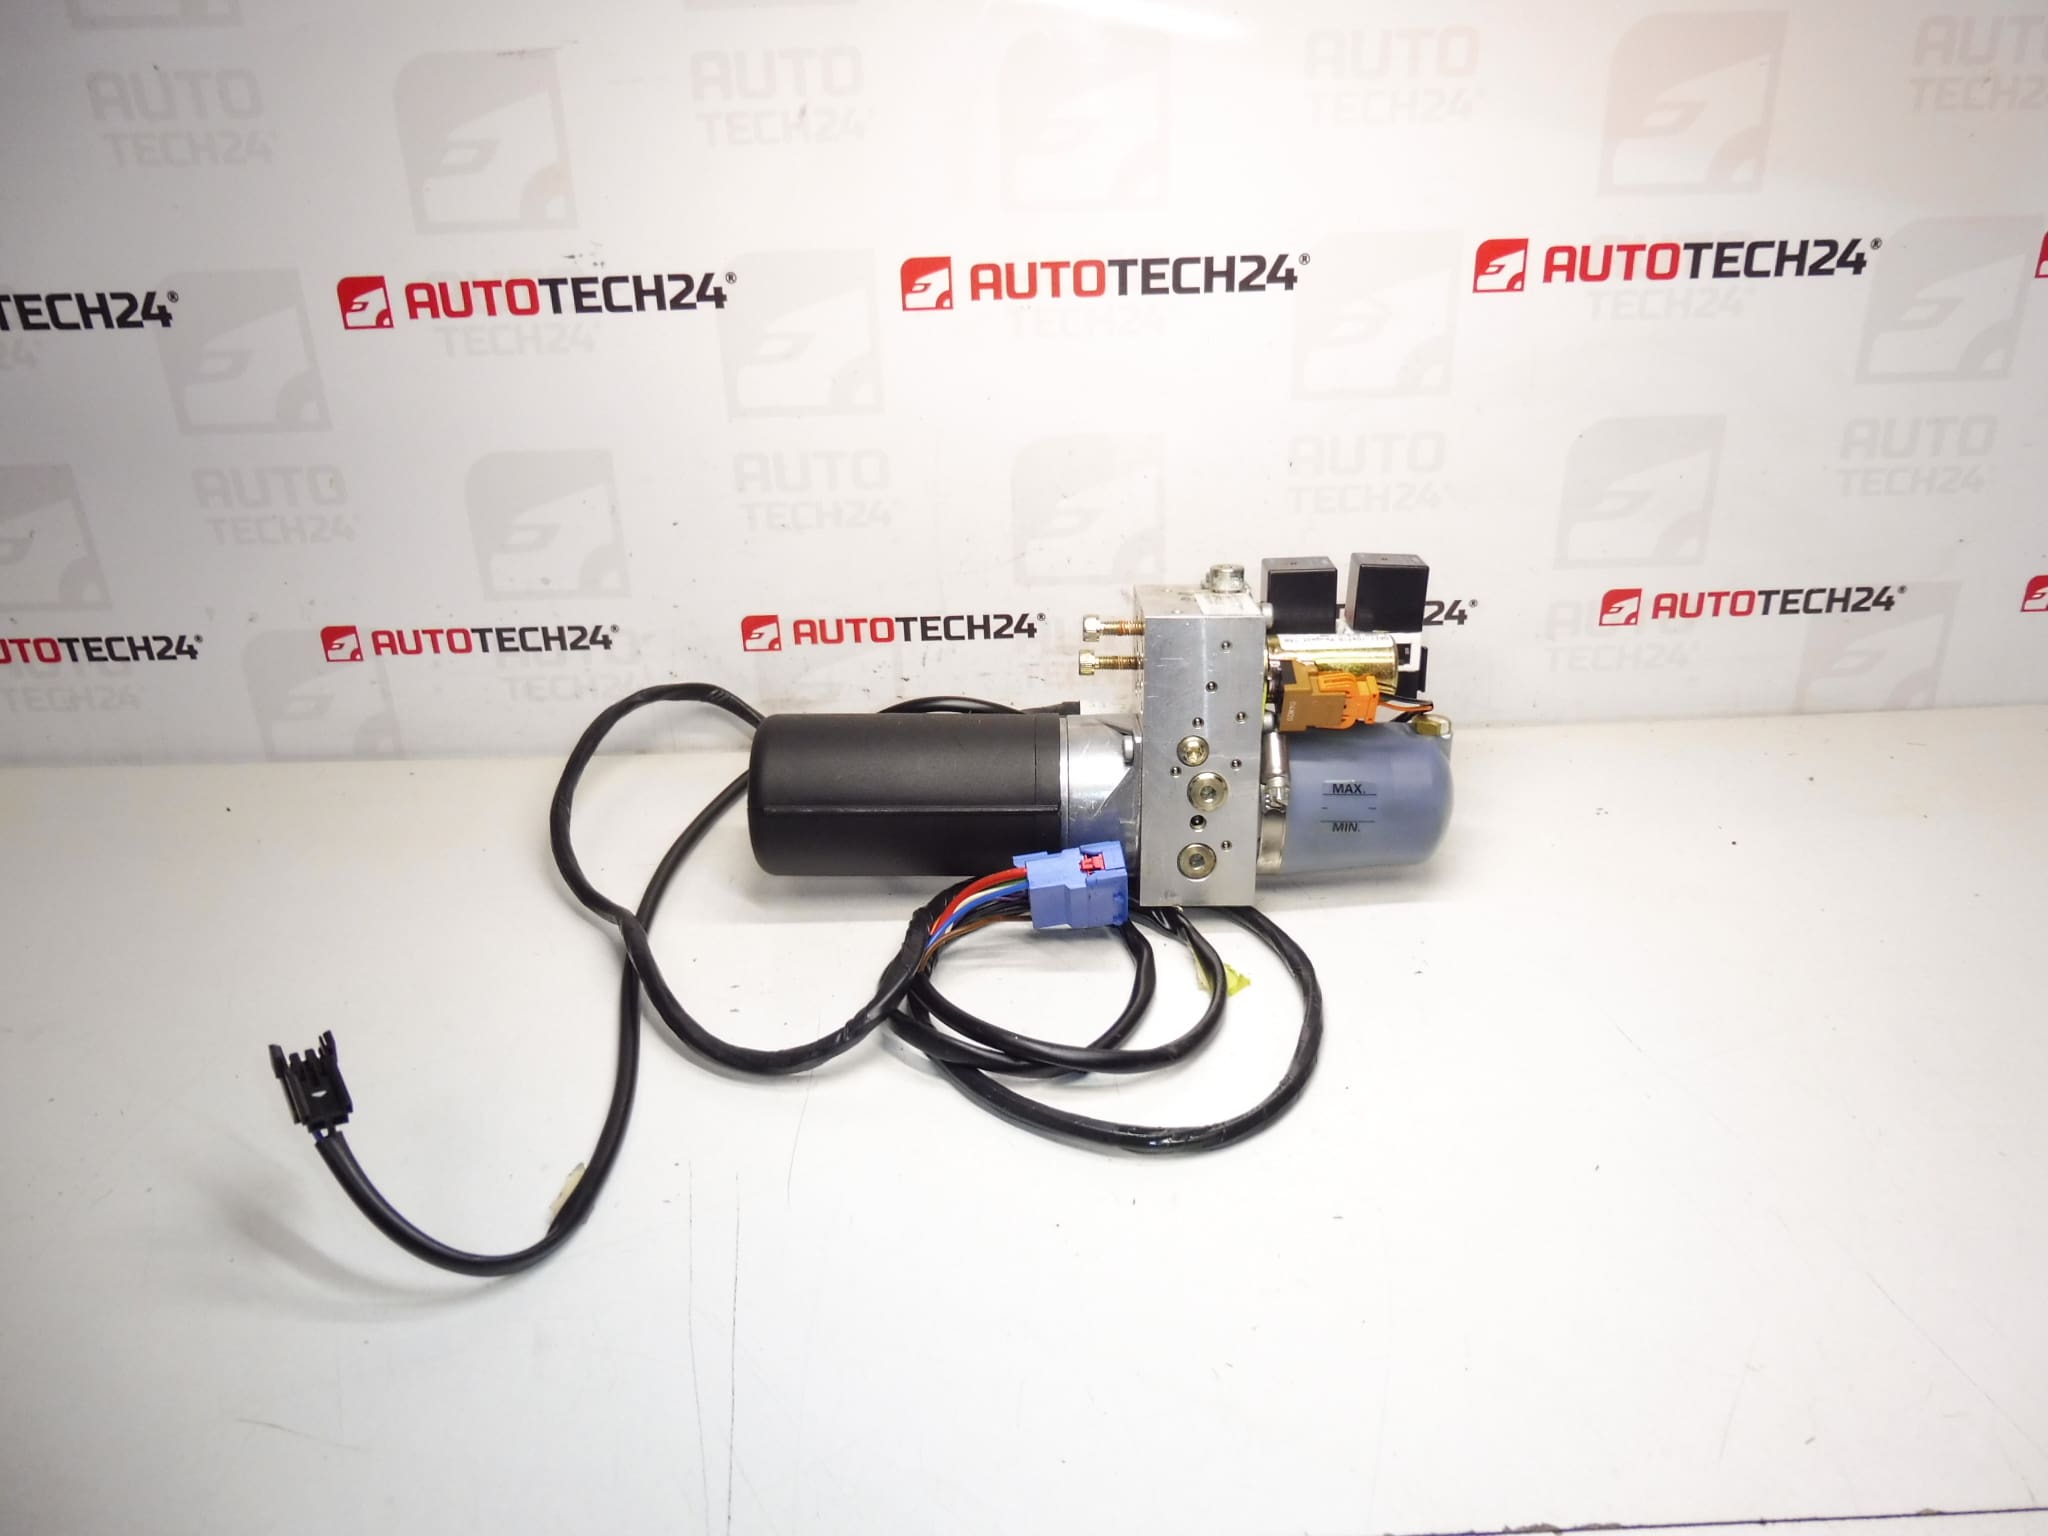
Electric sunroof hydraulic pump for Peugeot 307 CC cars
Part description
The roof retracting pump is a key part of the folding roof system in the Peugeot 307 CC. This part ensures the creation of hydraulic pressure for the movement of the roof mechanism during opening and closing. If the roof does not respond, works slowly or does not complete the entire cycle, the hydraulic pump is one of the most frequently addressed components.
In practice, this part is often searched for by the product number 8446S4, which is important for the correct identification of the variant.
Technical information
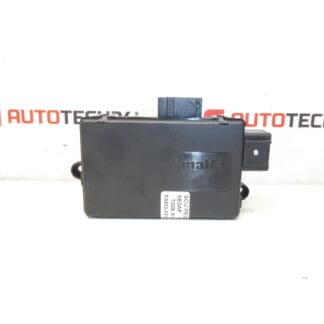
Product codes
- Product codes: 8446S4
Installation recommendations
Generally/Typically replacing a hydraulic roof pump is a job that requires care due to electrical connectors, hoses and system tightness. The exact procedure may vary depending on the specific model of the car.
1) Before assembly
- Compare the old and new part: part number 8446S4, connector design, mounting and pin orientation.
- Check the condition of the pump body (cracks, traces of leakage), connectors and threads/outlets for lines.
- Verify that the part includes all the elements you expect according to the disassembled piece (holders/fixtures according to your design).
2) Necessary tools and materials
- Basic set of hand tools (ratchet, bits, wrenches, screwdrivers)
- Pliers and preparations for safe release of clips/grips
- Cleaning agents for degreasing and rags
- Collection container and protection of surrounding parts against possible liquid contamination
3) Step-by-step assembly procedure
- Secure the vehicle against movement and prepare a work area.
- Disconnect the battery (for the safety of working on electrical parts).
- Access the pump according to the design of the car (removal of covers/linings that prevent access).
- Label electrical connectors and lines/hoses to avoid confusion during reassembly.
- Disconnect the pump electrical connector(s) and check the pins for oxidation or damage.
- Carefully release the lines/hoses from the pump to minimize contamination and the risk of dirt entering the system.
- Unscrew the fasteners and remove the pump from the bracket.
- Clean the contact surfaces and the surrounding area of the installation.
- Install the pump in the bracket and tighten the fasteners appropriately so that they fit without tension.
- Reconnect the lines/hoses and check that the connections are properly seated.
- Connect the electrical connectors and make sure the connector fuses are firmly secured.
- Reinstall all removed covers/trims.
- Connect the battery.
-
4) Post-assembly checks and test drive/function verification
- Perform a function test of the roof cycle (open/close) and observe the smooth operation.
- Check that there are no fluid leaks and that the connections are dry.
- Listen to the operation of the pump – significantly non-standard sounds may indicate a problem in the system or in the attachment.
5) The most common assembly mistakes + how to avoid them
- Exchanging cables/connectors: always mark everything before disassembly.
- System contamination when handling wiring: work clean and protect open ends.
- Insufficient mounting: check that the pump sits in the bracket without vibration or tension.
- Leak leakage: recheck all joints after the first roof cycle.
Reasons why the part is damaged
- Wear from frequent use of the roof mechanism.
- Leaks in the system and subsequent deterioration of function (the pump is under more strain).
- Contamination around/on the connectors which can cause bad contact.
- Moisture and corrosion of electrical parts and connectors.
- Overloading the system when the roof is running with increased resistance (e.g. mechanical stuttering).