Description
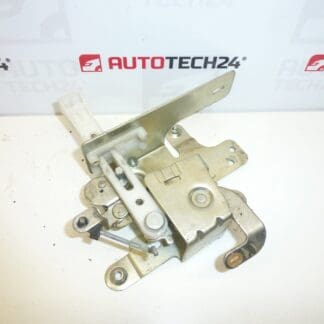
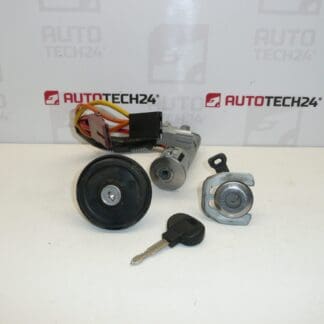
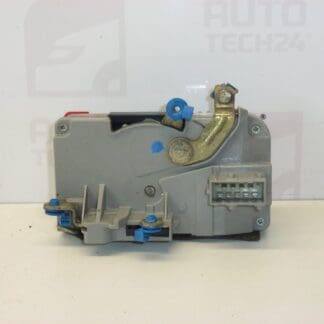
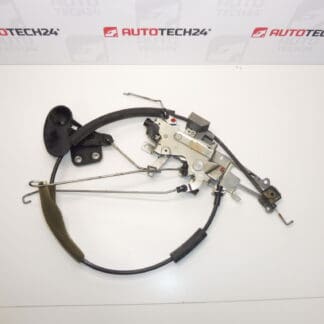
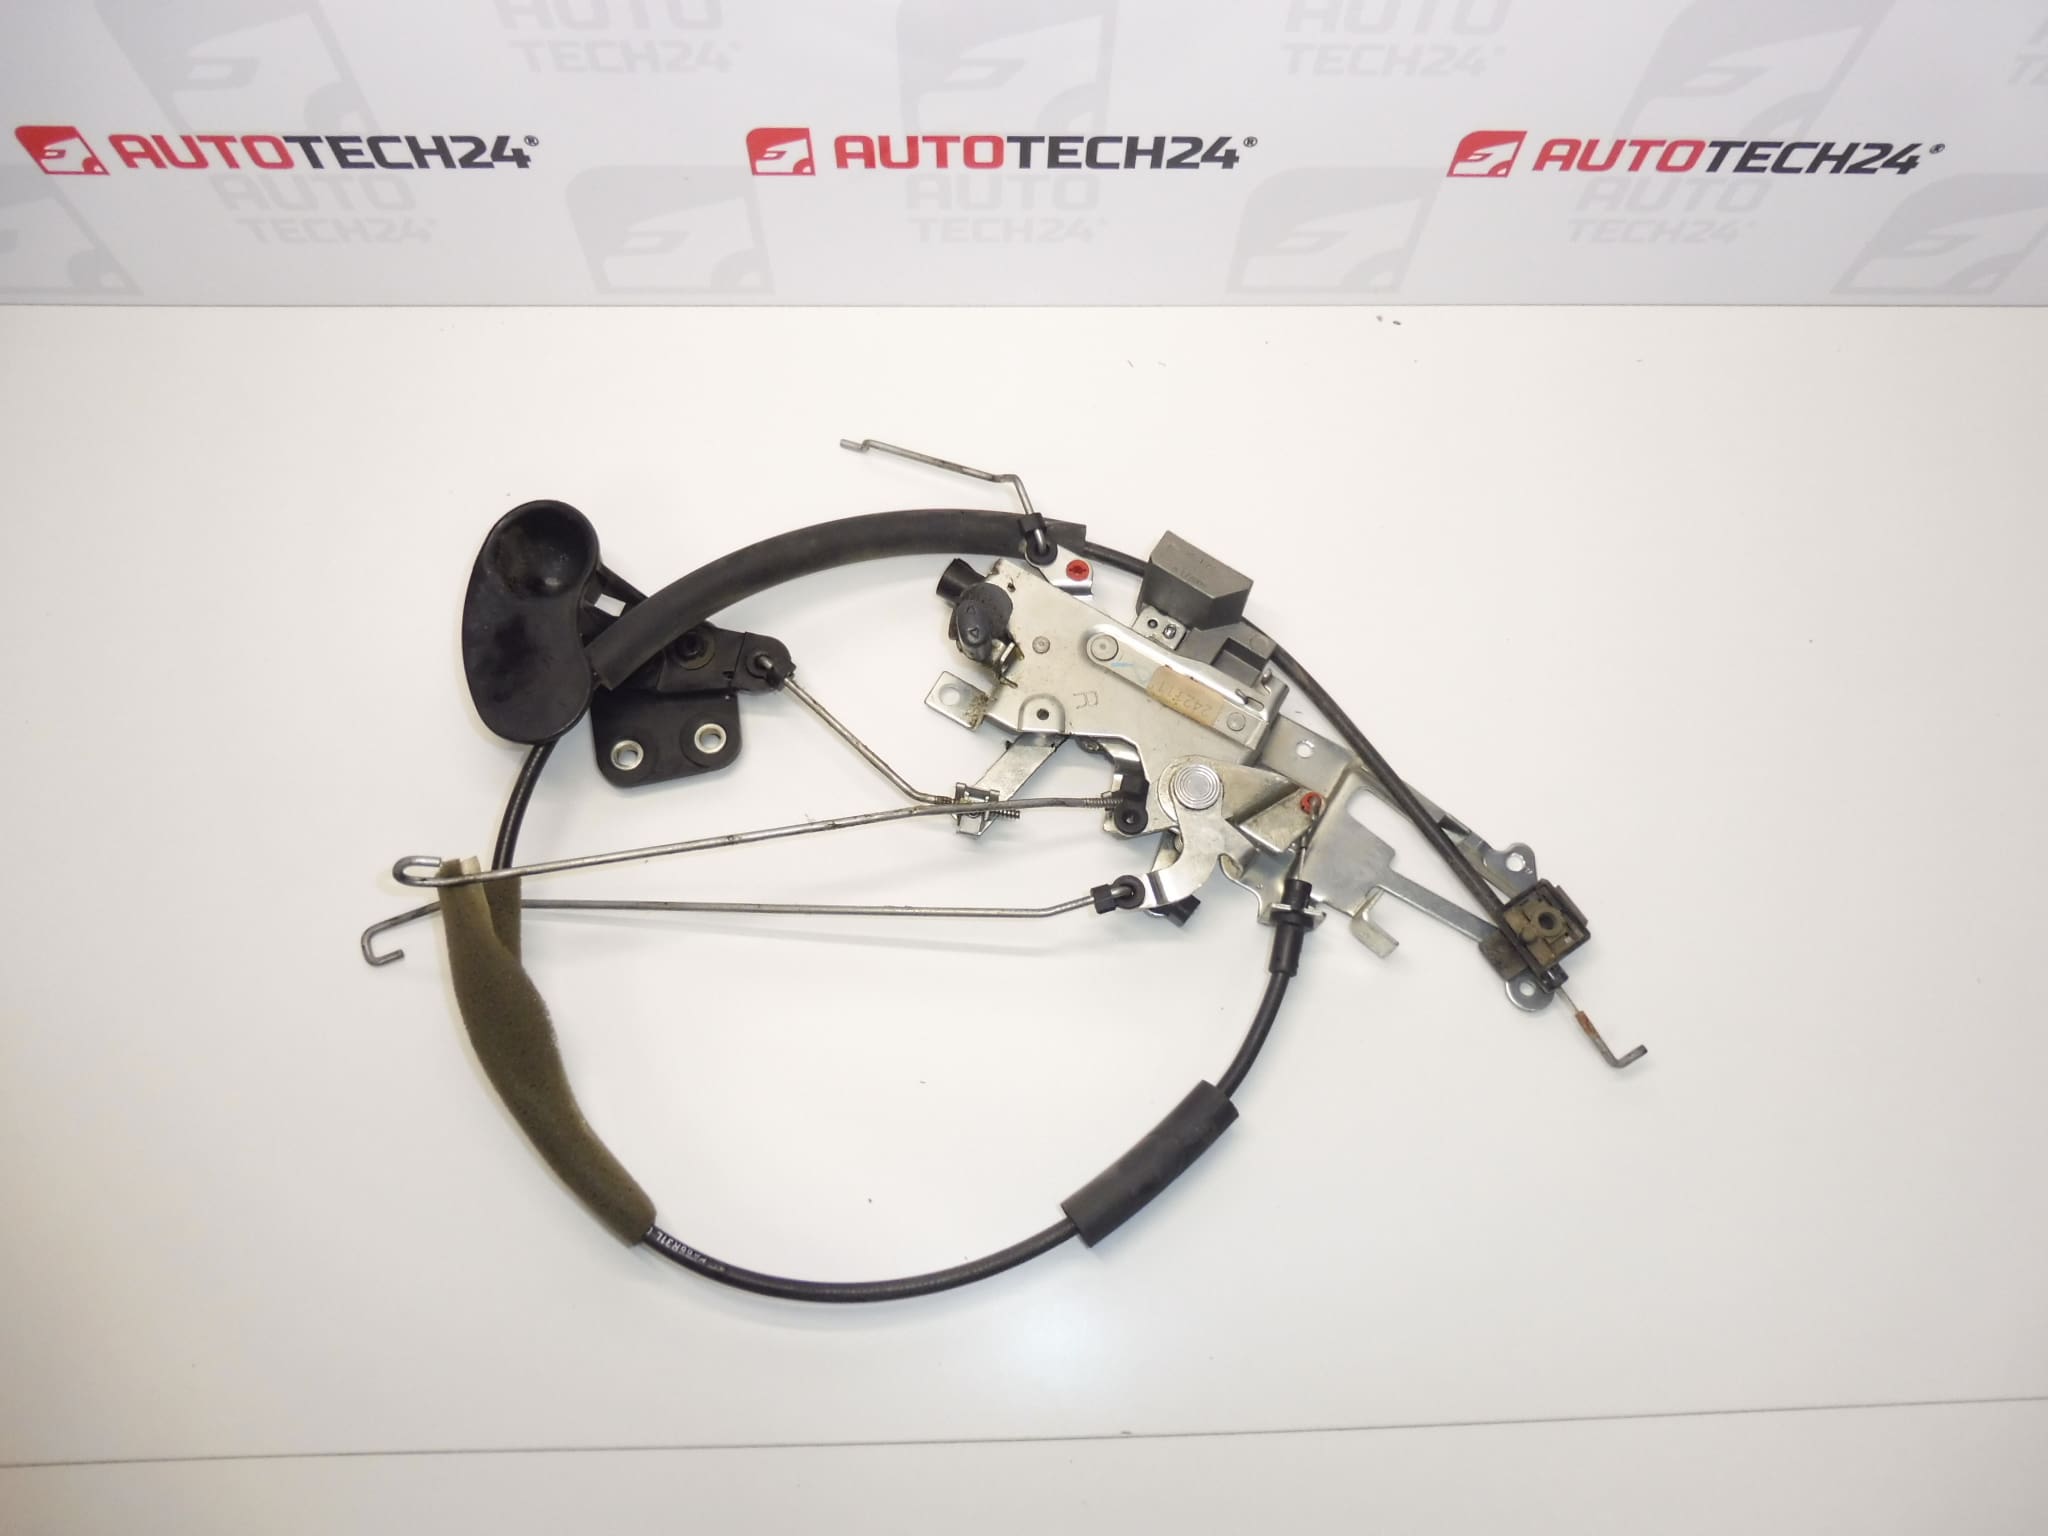
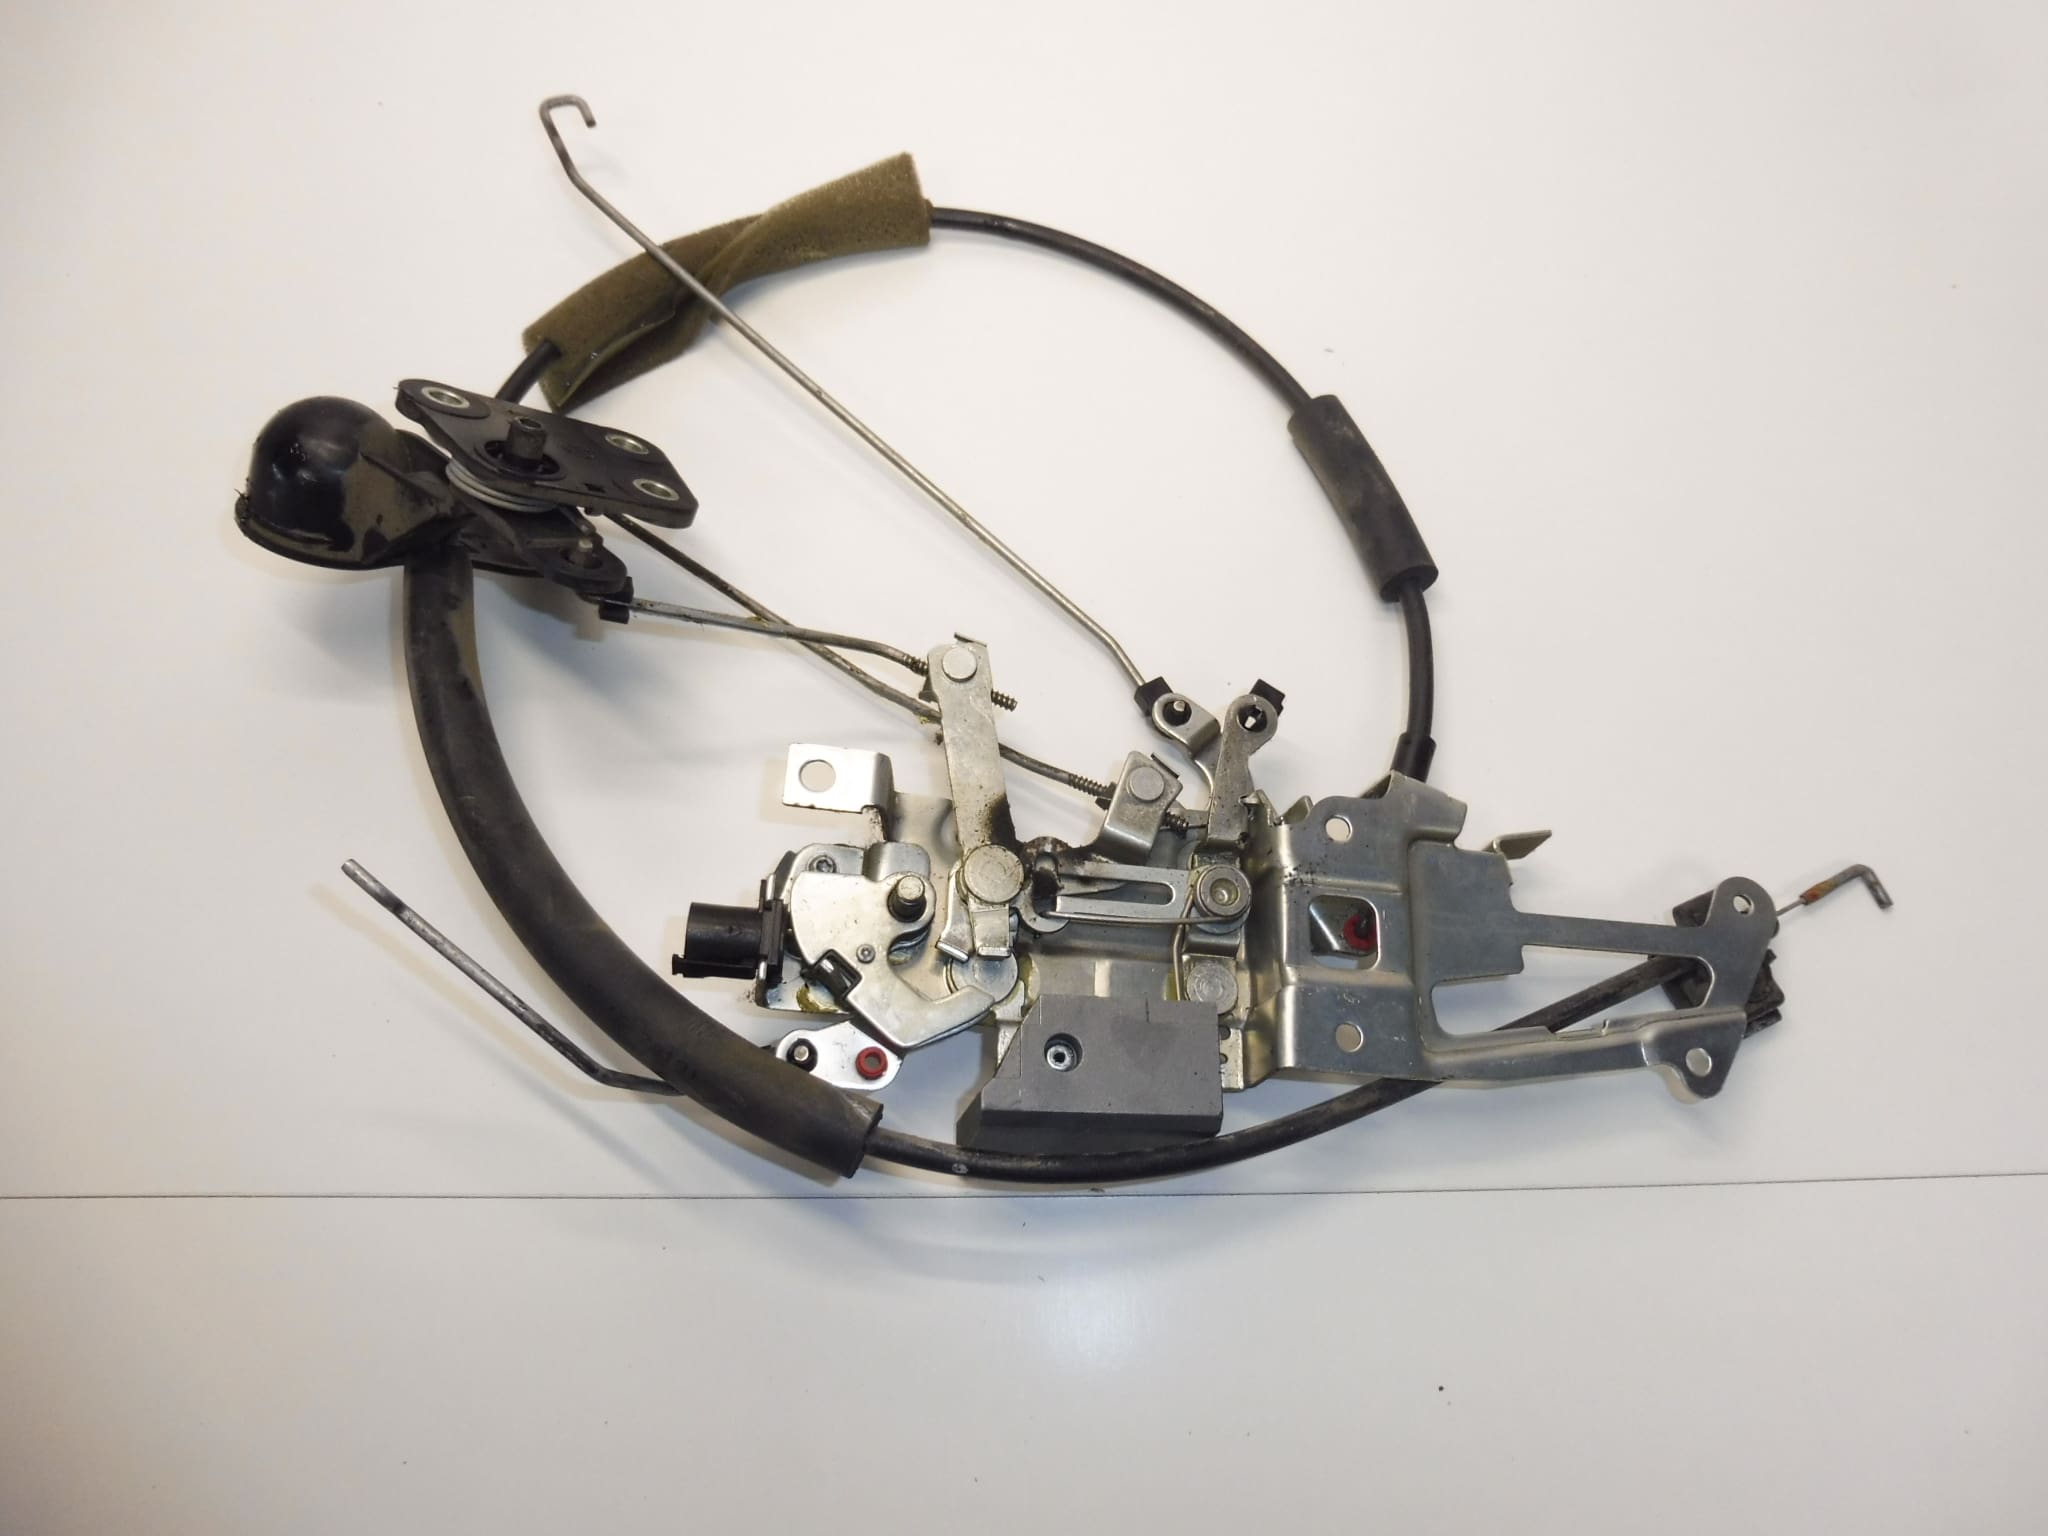
Electric lock for locking the right rear door of CITROEN BERLINGO and PEUGEOT Partner cars of the first series
Complete with cable and all tie rods
Part description
This used right rear door electric lock is for Citroën Berlingo and Peugeot Partner cars. A cable guide and all tie rods are included, making it easy to replace the original damaged or malfunctioning mechanism. Thanks to its complete design, the part is suitable for repairing defects in central locking and mechanical door control.
The door lock is an important part for the correct closing, securing and unlocking of the door. For these cars, it is often also searched for by serial number, which is why it is especially suitable for mechanics and DIYers who want to replace the original part with a corresponding used original part.
Technical information
- Manufacturer: Stellantis Citroën Peugeot
- Model: Citroën Berlingo, Peugeot Partner first series
- Other numbers: 9138F5
Product codes
- Product codes: 9138F5
- Models from labels/backgrounds: Citroën Berlingo, Peugeot Partner
Installation recommendations
Generally and typically for this type of part, the exact replacement procedure may vary depending on the specific design of the car and the door. Below is a practical general procedure for replacing an electric door lock with pulls and cable.
1) Before assembly
- Check that the new used part matches the old part in shape, fit, connector and tie rod routing.
- Compare the length and design of the cable, the position of the fixing points and the mechanical operation of the lock.
- Make sure that there are no damage to the plastic handles, pull rods, connector or control levers.
- Before starting work, it is advisable to disconnect the battery, especially if it interferes with the electric locking control.
2) Necessary tools and materials
- Set of common hand tools
- Screwdrivers and bits
- Plastic pry bar for panel removal
- Pliers
- Detergent for removing dirt
- A suitable agent for light lubrication of moving parts, if needed
3) Step-by-step assembly procedure
- Open the door and remove the inner lining so as not to damage the handles and cover elements.
- Carefully remove any interfering cover layers or protective films so that you can reuse them.
- Disconnect the electrical connector of the original lock.
- Release the tie rods and cable guide from the original mechanism and note their routing and position.
- Unscrew or loosen the lock fastening and remove the old part from the door.
- Compare the old and new part side-by-side, especially the mounts, levers, connector and tie rod travel paths.
- Put the replacement lock in place and fit it first without final tightening so that the position can be fine-tuned.
- Connect all tie rods and cable guide in the correct positions and check their free movement without binding.
- Connect the electrical connector.
- Fix the lock in the final position and verify that the mechanism is not under tension and the door mechanism works smoothly.
- Before installing the lining, test the mechanical and electrical operation of the lock several times.
- Reinstall the protective layers and door trim.
-
4) Post-assembly checks and test drive/function verification
- Check the correct closing and opening of the right rear door.
- Verify the function of the central locking and the mechanical control.
- Make sure the lock responds without delay and without unusual sounds.
- After a short drive, double check that the door closes properly and nothing has come loose.
5) The most common assembly mistakes + how to avoid them
- Swapping the position of tie rods – note or document their routing before disassembly.
- Insufficient seat of the lock – always test the operation of the mechanism before final tightening.
- Damage to connector or trim tabs – use appropriate tools and proceed without violence.
- Omission of the functional test before folding the door – test the function before returning the paneling to its place.
- Wear to the internal lock mechanism from normal use.
- Stiffening or increased resistance of the tie rods and cable.
- Intrusion of moisture, dirt or corrosion into the mechanism.
- Fault of the electrical part of the locking control.
- Forcibly closing the door or long-term use when the mechanism is impaired.