Description
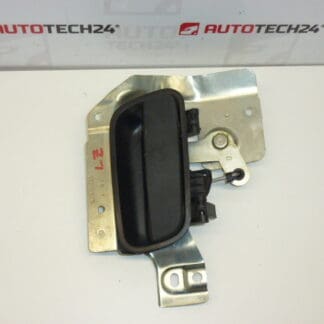
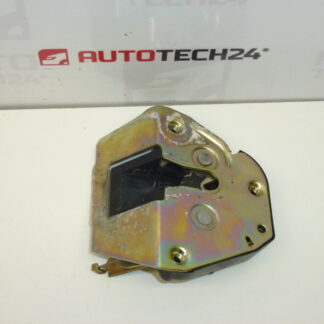
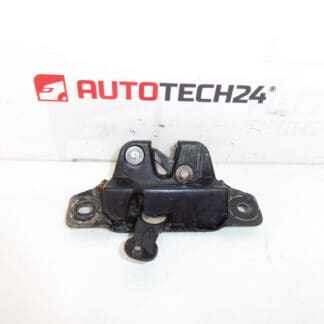
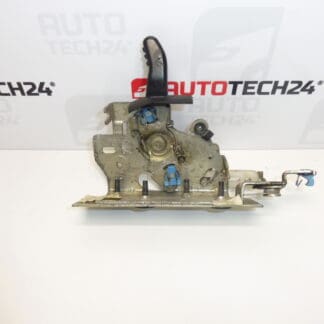
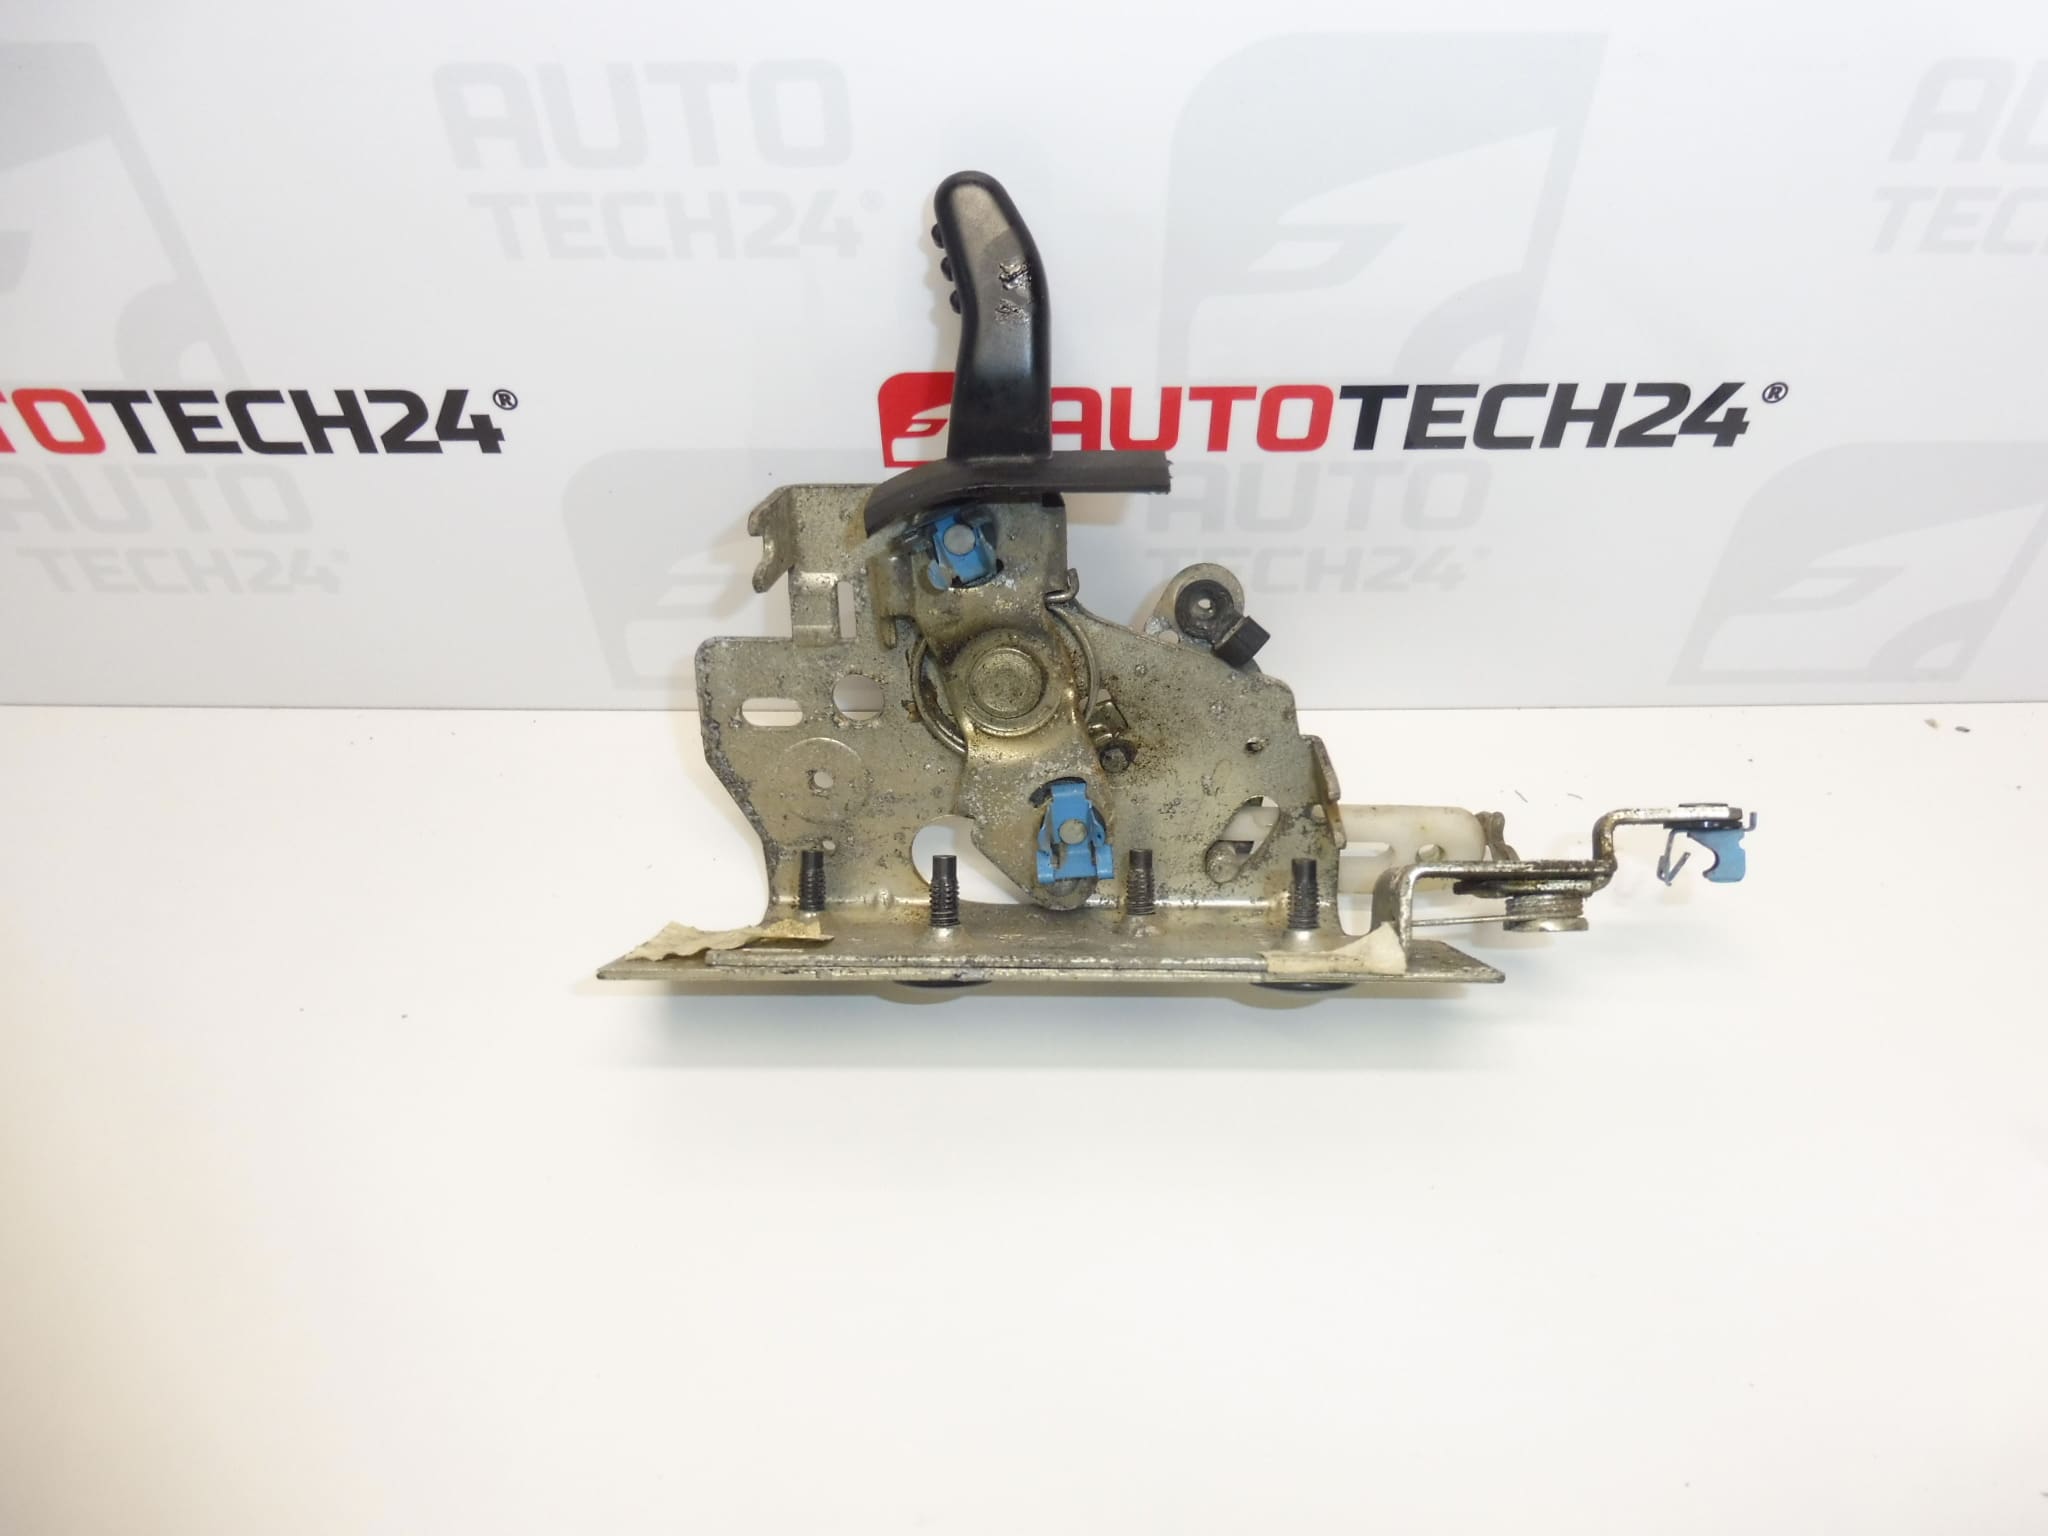
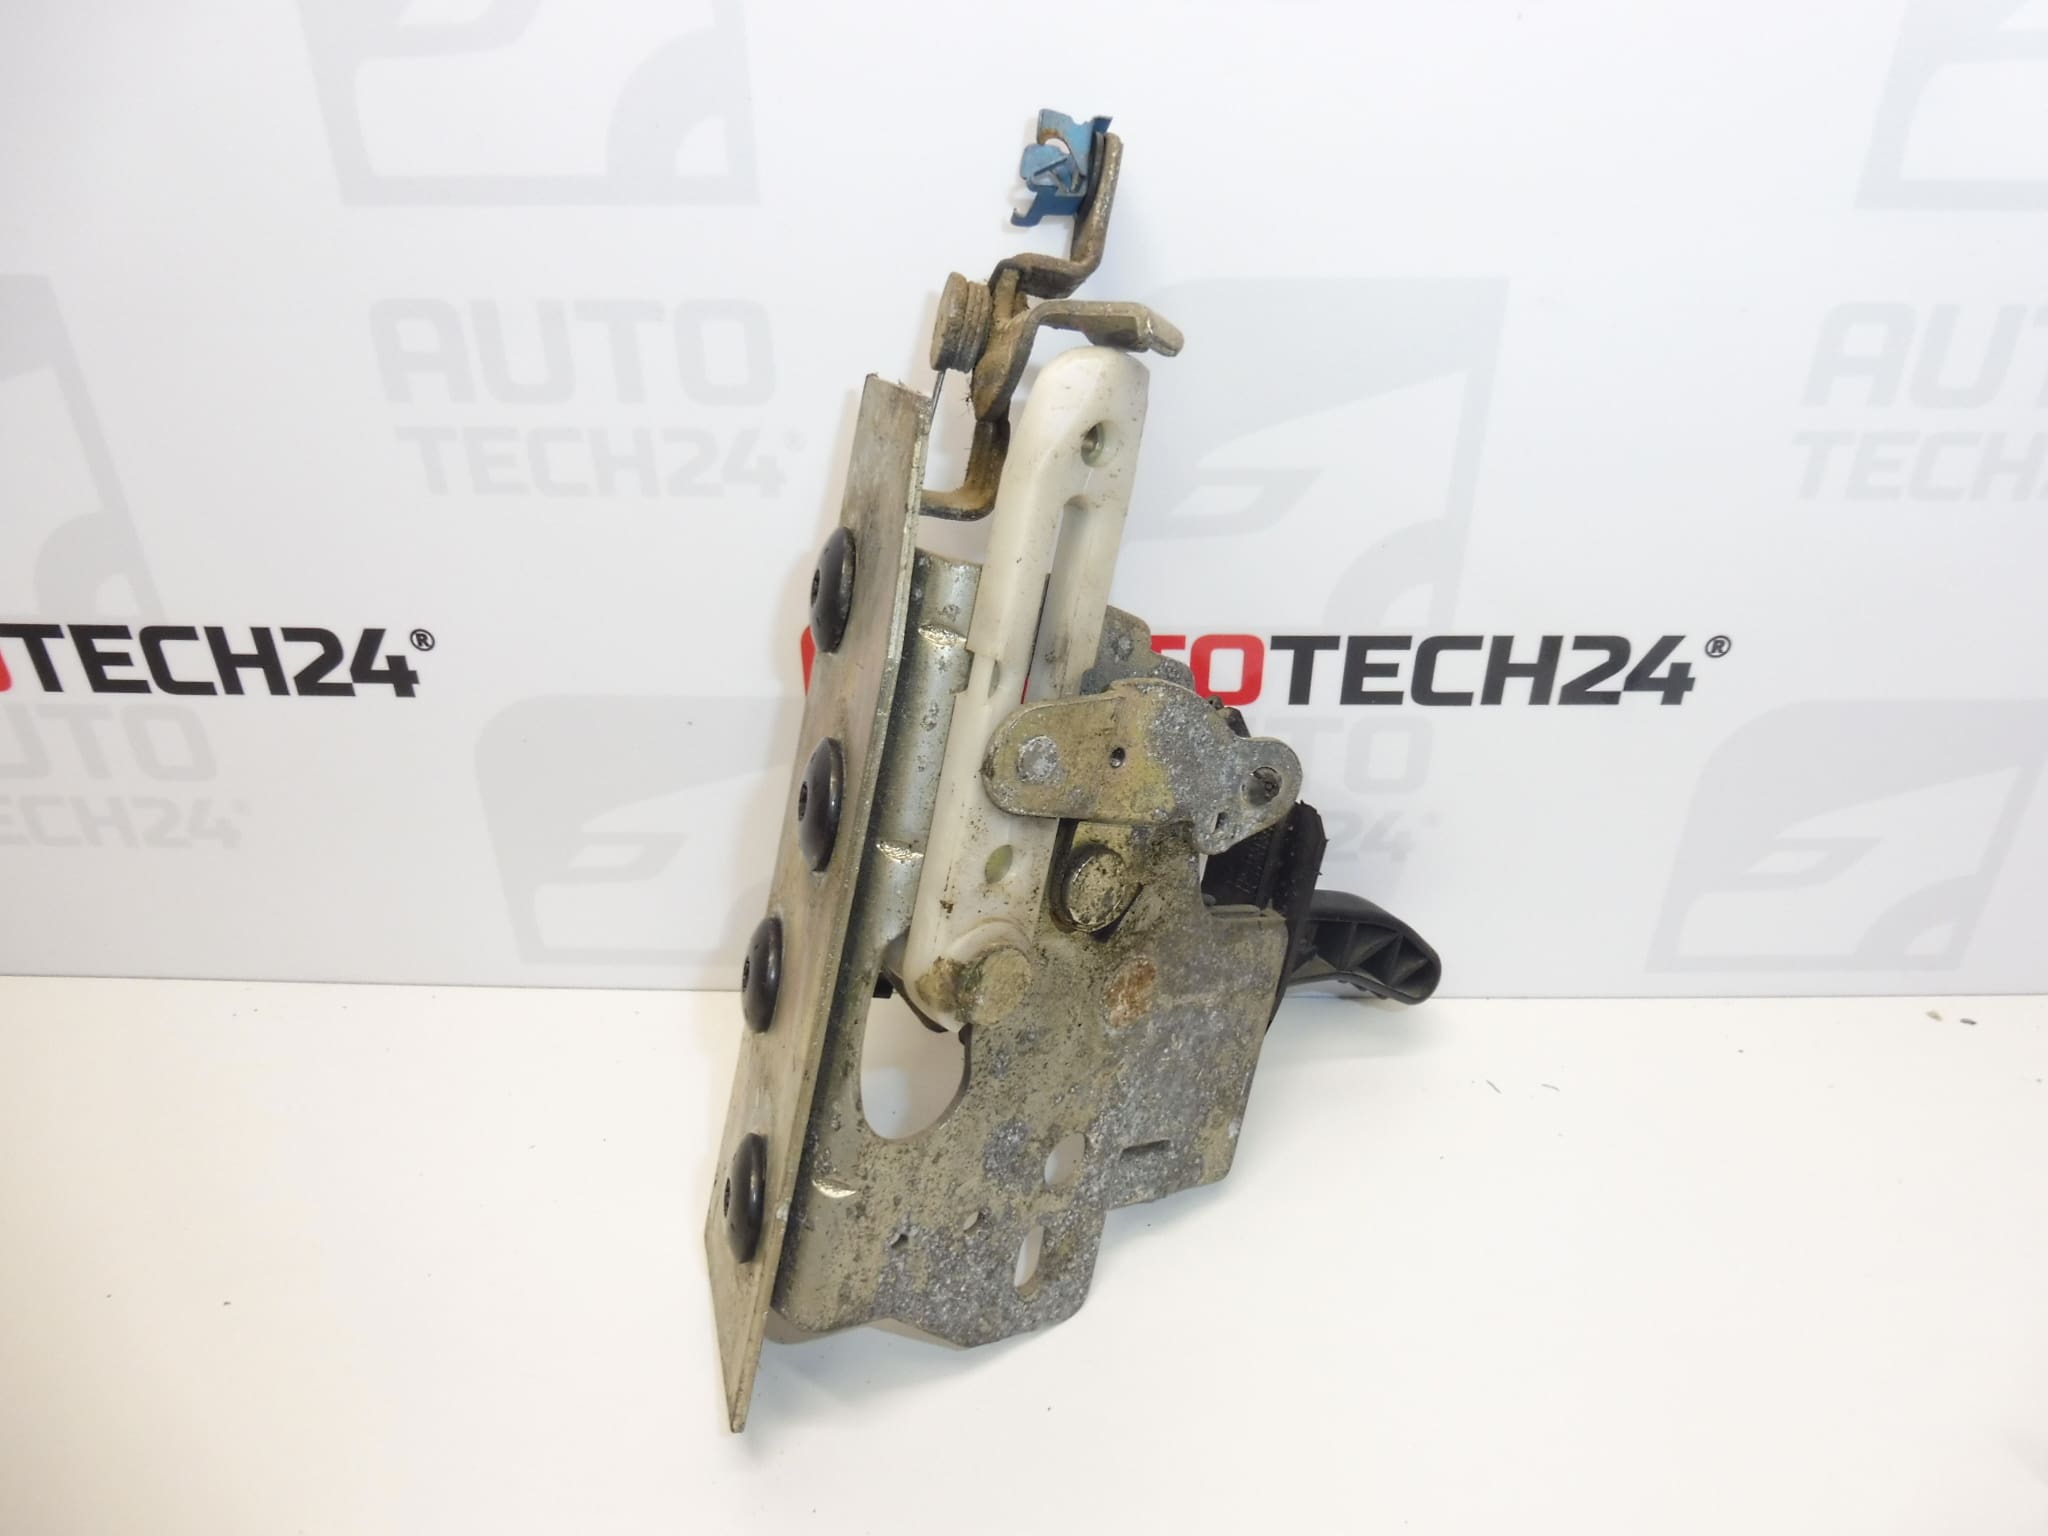
Plate with swing door clearances for CITROEN BERLINGO and PEUGEOT PARTNER I and II cars
Side – right rear
Part description
This used part is intended for the repair of the hinged door closing mechanism and corresponds to the designation 8726F4. It is the bottom lock of the right wing door, or the plate with the door clearances, which is important for the correct closing, securing and function of the rear door.
The part is particularly suitable for Citroën Berlingo I and II and Peugeot Partner I and II cars, as can be seen from the documents supplied. It is an advantage for car mechanics and home repairers that the car part you are looking for can also be easily found by product number 8726F4.
- an original part of the Stellantis Citroën Peugeot
- intended for right rear wing door
- solution in the event of a door closing or locking failure
- suitable as a spare used part for economic repair
group
Technical information
- Manufacturer: Stellantis Citroën Peugeot
- Model: Citroën Berlingo I, Citroën Berlingo II, Peugeot Partner I, Peugeot Partner II
- Other numbers: 8726F4
Product codes
- Product codes: 8726F4
- Model names: Citroën Berlingo, Peugeot Partner
Installation recommendations
Generally/typically for this type of part, the exact replacement procedure may vary depending on the specific design of the car and the design of the rear wing door. Below is a practical general procedure for replacing a lock or door clearance plate.
1) Before assembly
- Compare the new and original part by shape, fit, orientation and number 8726F4.
- Check the condition of the rods, levers, attachment points and any moving parts of the mechanism.
- Check whether there is damage to the counter of the lock, the door guide or the structure of the door leaf itself.
- Before assembly, clean the surroundings of the mechanism from dirt and old grease.
2) Necessary tools and materials
- regular set of hand tools
- screwdrivers and bits according to the type of connecting material
- Ratchet with extensions
- plastic pry bar for removing covers
- cleaner for mechanical parts
- suitable lubricant for moving parts of the mechanism
- protective gloves and work lighting
3) Step-by-step assembly procedure
- Secure the vehicle against movement and open the rear wing door so that the mechanism can be safely accessed.
- Dismantle internal covers or access parts that prevent access to the lock and mechanism distributions.
- Document the position of tie rods, couplings and attachment points, for example with photos before disassembly.
- Carefully disconnect the links or fasteners of the mechanism of the old part.
- Unfasten the original lock or spacer plate and remove the part.
- Check surrounding parts for bent, excessive wear or contamination.
- Compare the old and new part side by side, especially the orientation of the right side and the position of all fasteners.
- Place the spare part in place and clamp it lightly to allow for any fine adjustments.
- Reconnect the tie rods and verify that they run freely without stuttering.
- Tighten the fastening of the part and check that the mechanism fits without tension.
- Lubricate moving parts to the extent normal for this type of mechanism and remove excess grease.
- Before installing the covers, try closing and opening the door manually several times.
-
4) Post-assembly checks and test drive/function verification
- Verify that the rear right wing door closes properly and stays in the locked position.
- Check that the mechanism runs smoothly without excessive resistance or skipping.
- Check that the door does not loosen after closing and that the mechanism is correctly connected to the counter.
- After reassembling the trim, recheck the function during normal use.
5) The most common assembly mistakes + how to avoid them
- Reversing the part side – always verify that it is the rear right side.
- Incorrect connection of the tie rods – note their exact routing and position before disassembly.
- Assembly without counter check – even when changing the lock, a problem can be caused by a worn or displaced counter.
- Lack of cleaning and lubrication of the mechanism – dirt and dry running significantly impair function and service life.
- Premature assembly of covers – first always test the correct functioning of the mechanism several times.
Reasons why the part is damaged
- normal mechanical wear from frequent opening and closing of doors
- clogging of the mechanism with dust, dirt or corrosion
- long-term operation without lubrication of moving parts
- sudden closing of the door or excessive force during manipulation
- incorrect adjustment of the door or the counter of the lock
- damage to pull rods or connecting parts that transfer increased load to the lock itself