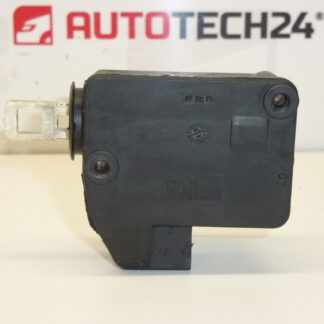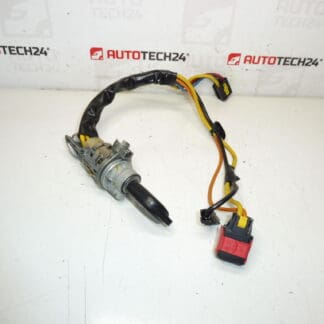
Description
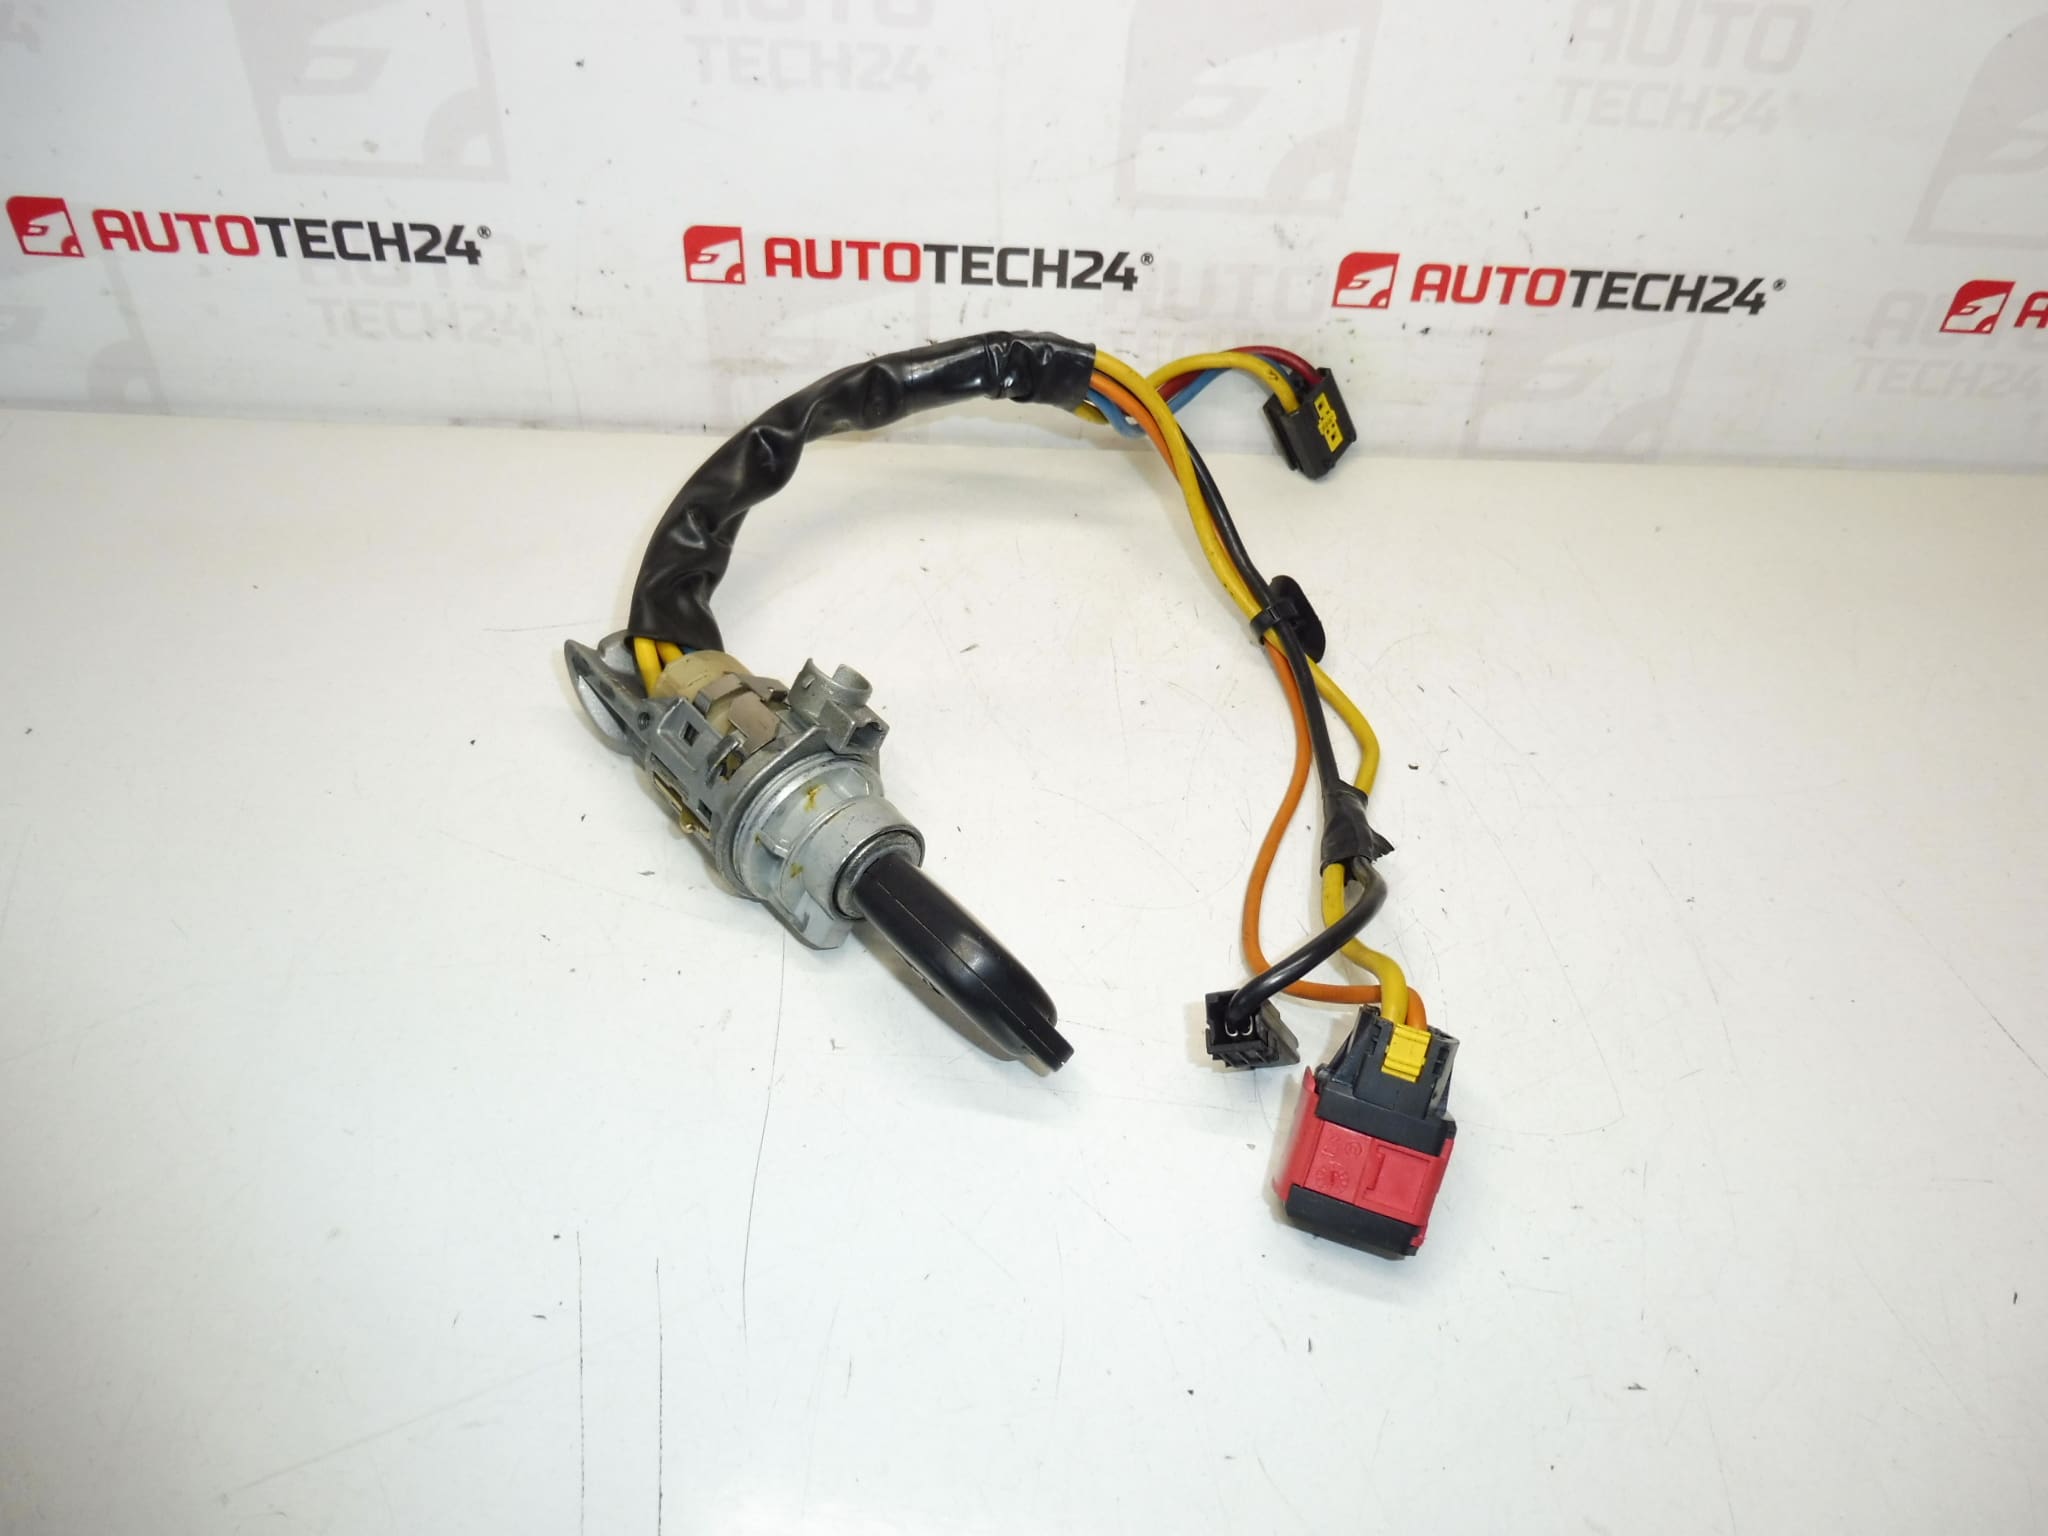
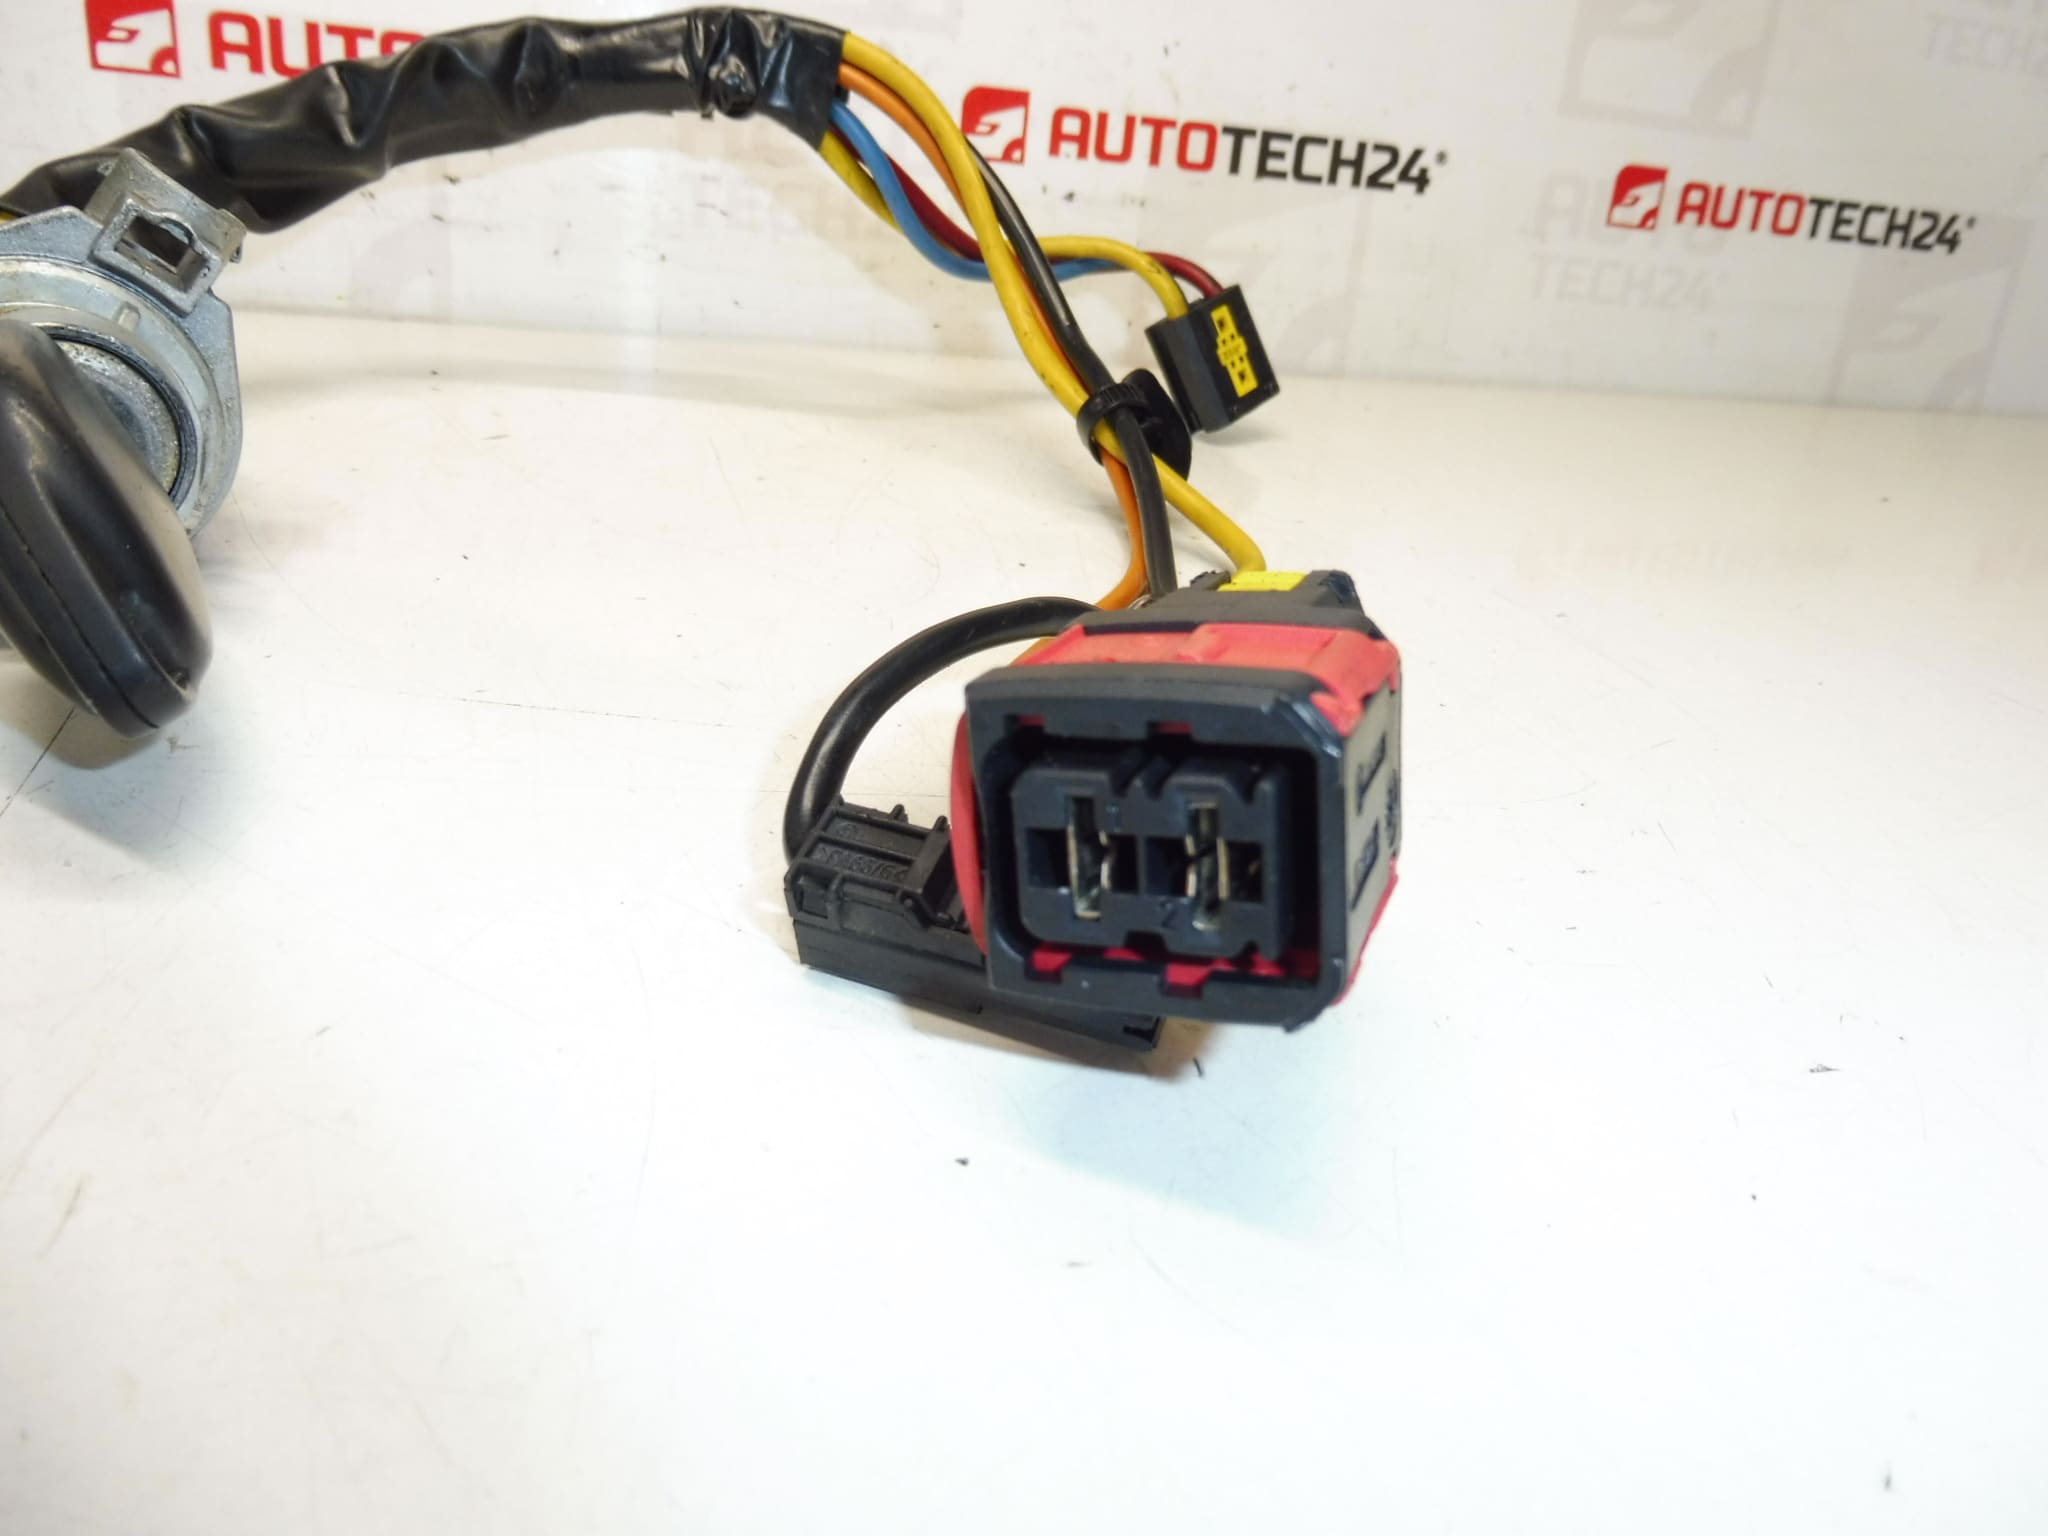
Ignition switch housing + 1 key for Peugeot 406 vehicles.
Overview
This ignition switch assembly with one key is a direct-fit replacement part designed for Peugeot 406 models. It combines the mechanical lock barrel and the electrical ignition switch in a single unit, providing a ready-to-install solution when the original ignition lock is worn, damaged, or the key no longer operates smoothly. Part number 4162R7 is commonly used when searching for a compatible unit.
Why Choose This Part
Ideal for professional workshops and experienced DIY mechanics, this assembly restores reliable starting, steering lock function and key operation. Supplied with one cut key, it saves time compared with sourcing individual components and reduces downtime during repairs. Using the correct part number (4162R7) increases the chance of finding the exact match quickly in catalogs and search engines.
Technical Information
- Manufacturer: Stellantis (Peugeot/Citroën)
- Model: Peugeot 406
- Product Codes: 4162R7
- Additional Numbers: 4162R7 NFP
Compatibility Note
Fits Peugeot 406 models using the corresponding ignition barrel and electrical switch assembly. Verify the part number (4162R7) against the unit fitted to the vehicle to ensure correct match before installation.
Common Failure Modes
Ignition switch assemblies typically fail due to a combination of mechanical and electrical wear. Common causes include worn tumblers inside the lock cylinder, a broken or bent key, abrasion and dirt ingress, corrosion on electrical contacts, and internal contact wear within the switch. Immobilizer transponder faults or damaged key transponders can also present as a non-start condition even when the mechanical barrel appears intact.
Installation Recommendations
- Always disconnect the vehicle battery before starting work to avoid short circuits and protect vehicle electronics.
- Remove steering column covers carefully to access the ignition assembly; note screw locations and retain fasteners.
- Mark or remember the routing of any wiring or connectors before disconnection. Unplug electrical connectors only when safe to do so.
- If the replacement includes a new cylinder, ensure the key aligns with steering lock and ignition positions before final assembly.
- After mechanical installation, confirm electrical operation of all ignition positions (ACC/ON/START) and check that accessories and starter operate correctly.
- Key programming or immobilizer alignment may be required if the transponder in the supplied key is not pre-coded. Perform key pairing or module synchronization according to manufacturer procedures.
- Follow Peugeot service instructions and torque settings for reassembly. Test thoroughly before returning the vehicle to service.
Practical Tips For Workshops
Keep a small stock of common key-cut cores and replacement ignition assemblies for frequent models like the 406 to reduce vehicle downtime. When diagnosing a no-start related to the ignition switch, inspect both the mechanical lock and the electrical contacts — intermittent faults often point to wiring or contact wear rather than the lock barrel itself.