Description
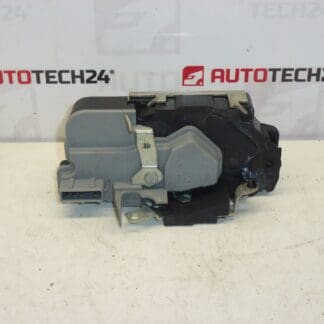
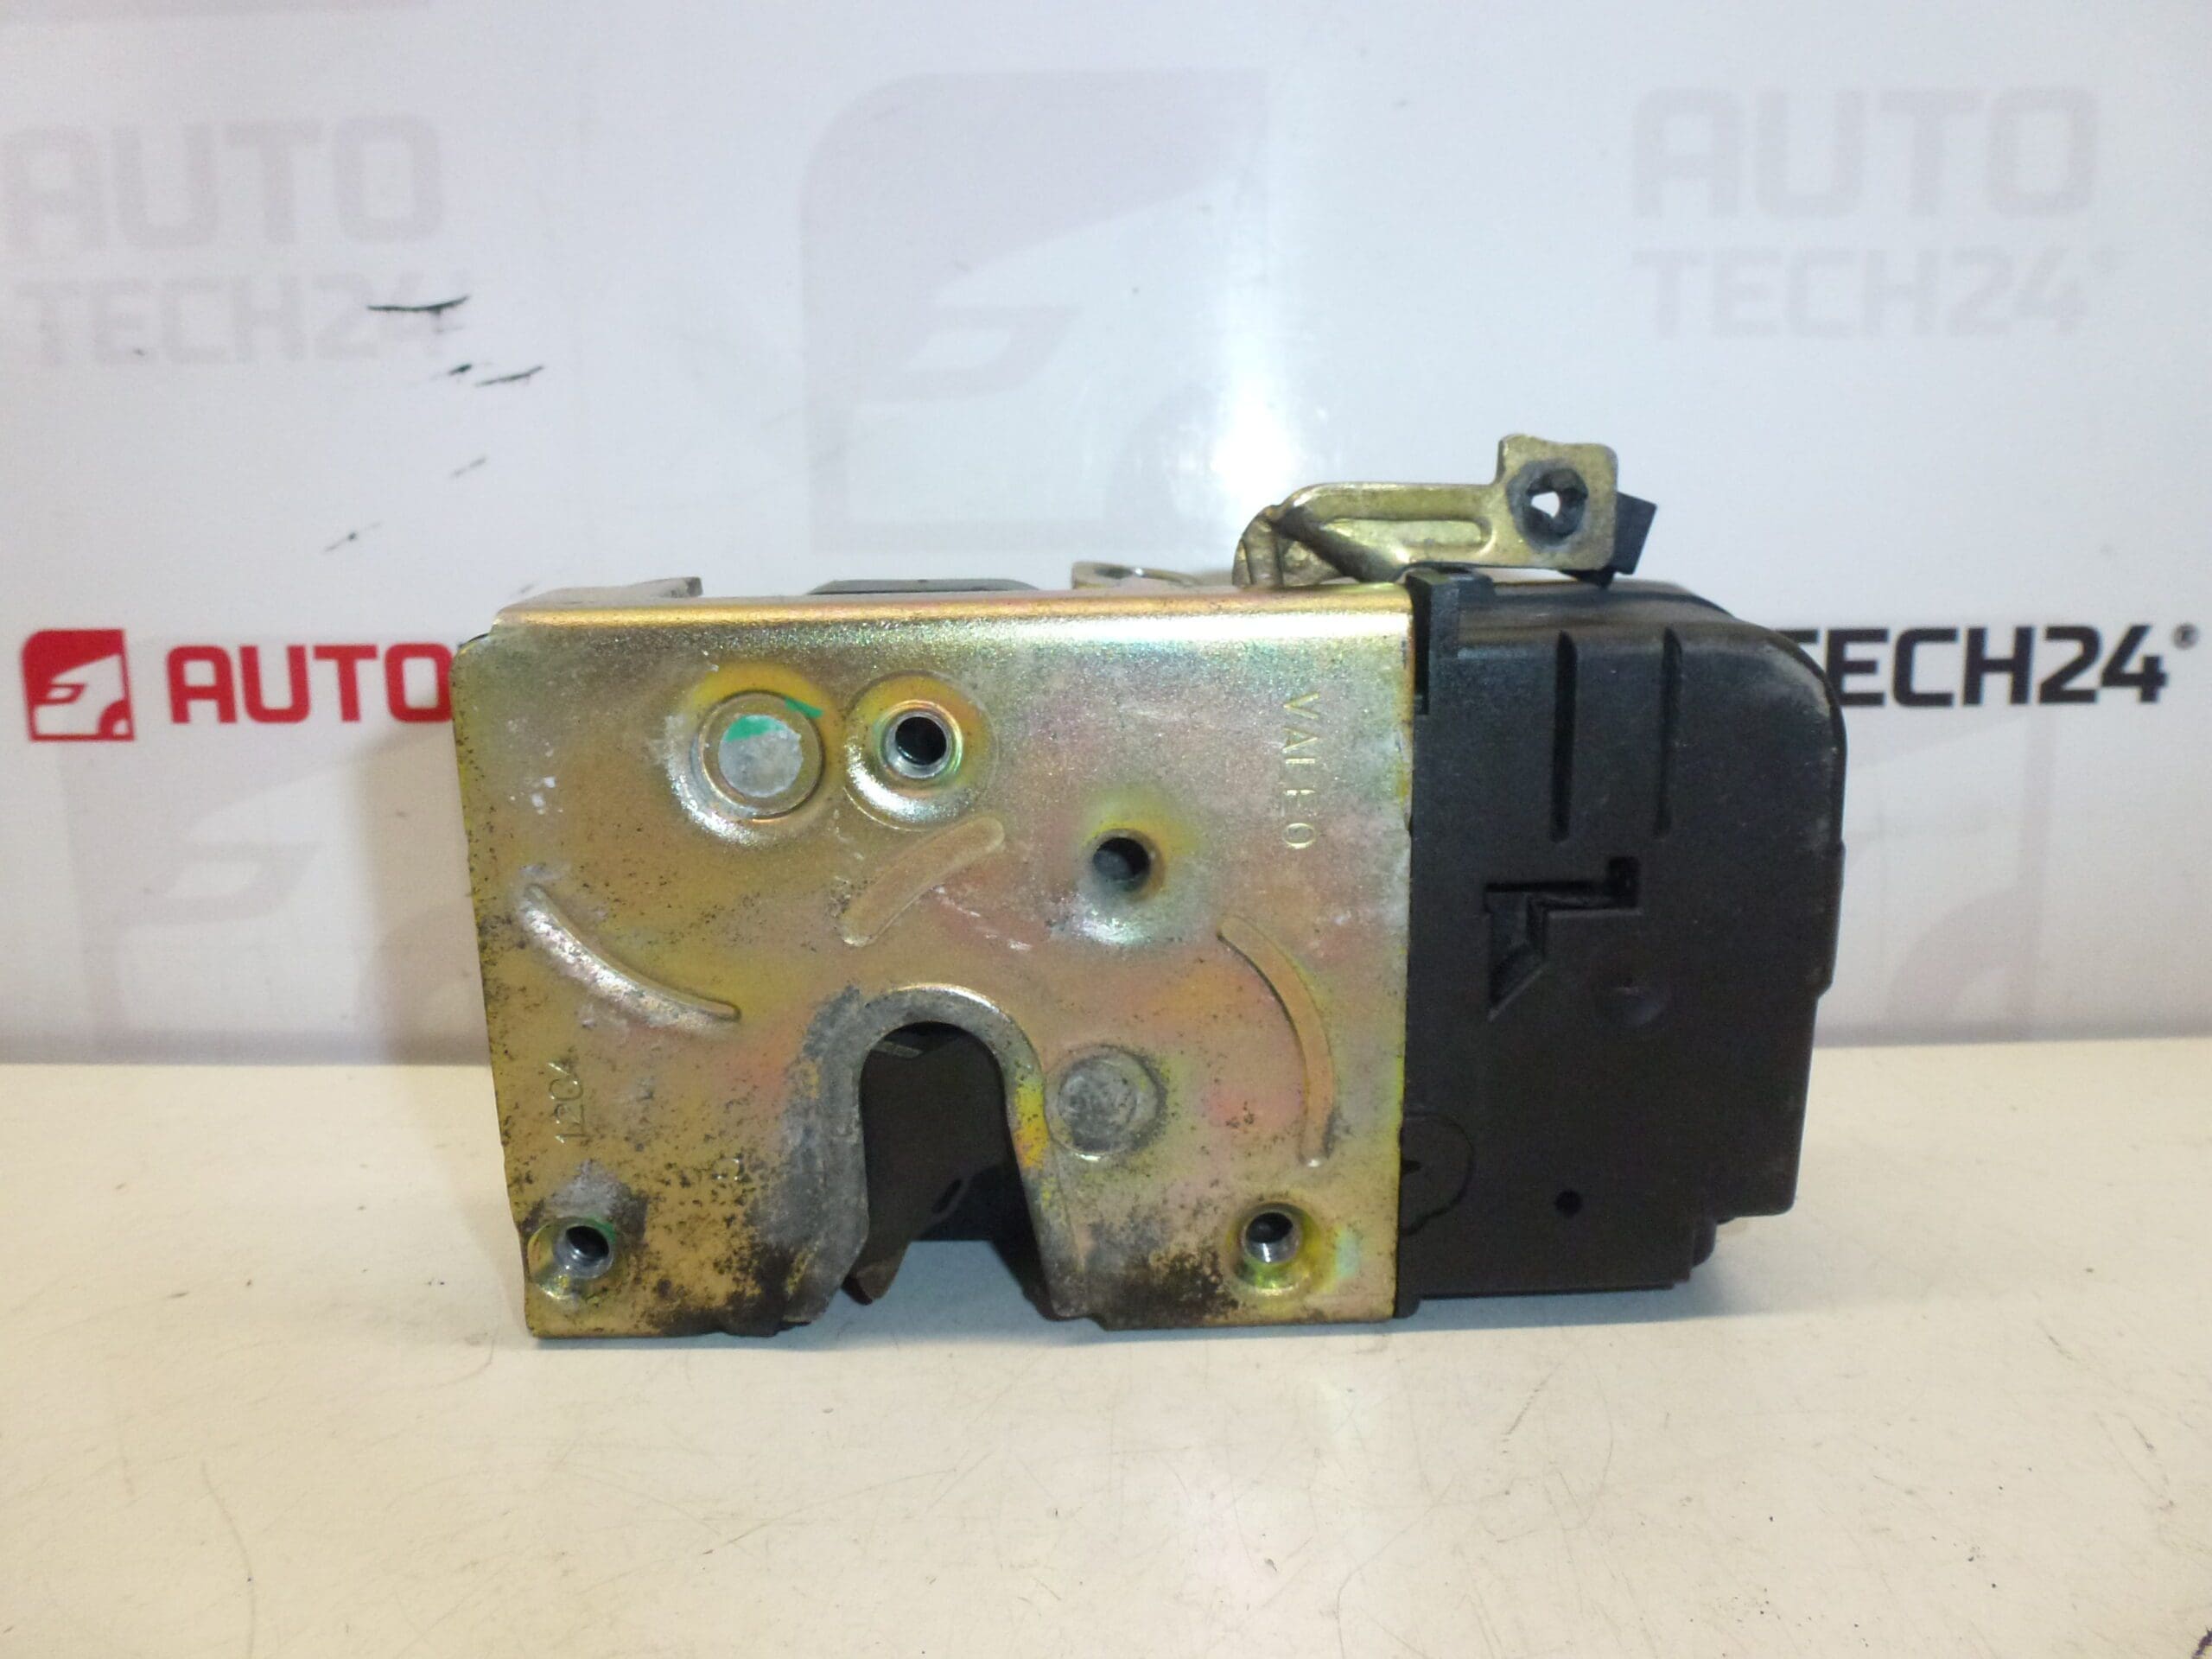
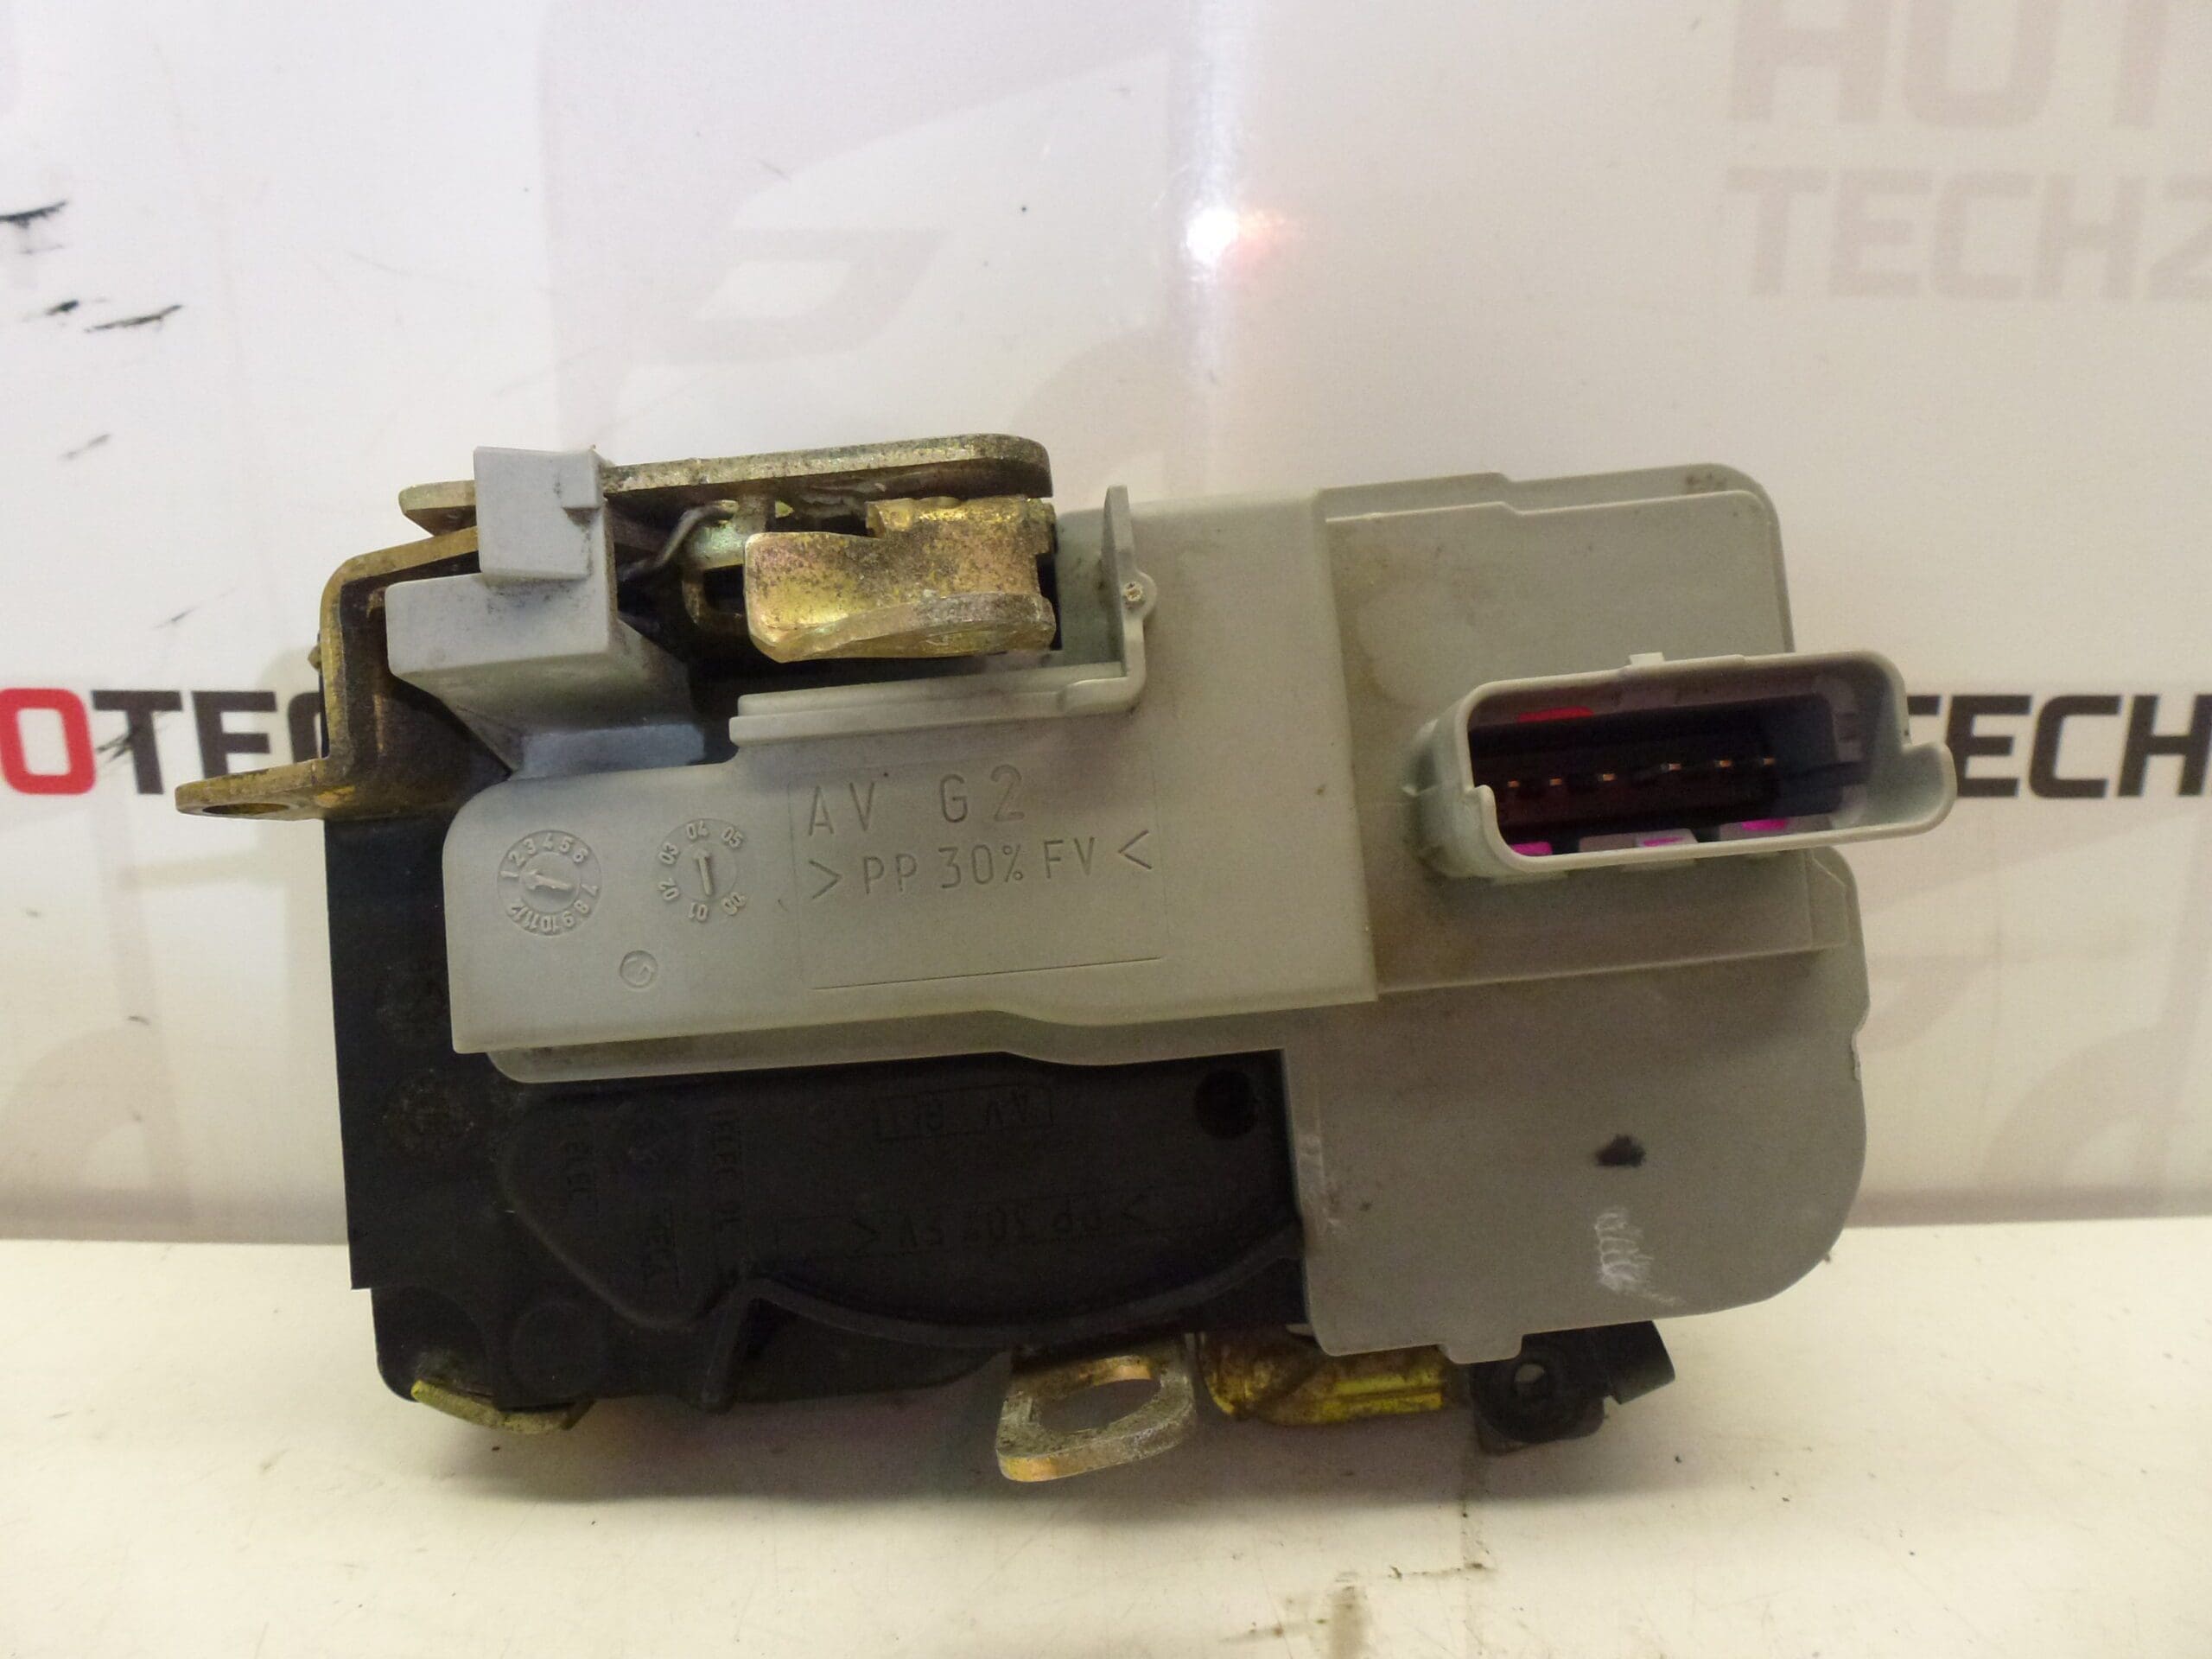
Electric central locking lock for the left front door for PEUGEOT 206 vehicles
With oval connector
For 3-door and 5-door
Overview
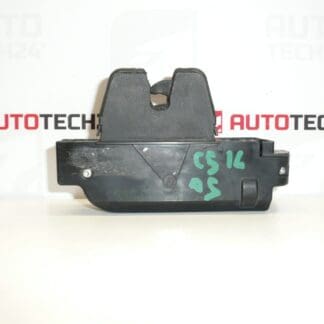
Replacement electric lock for the left front door of the Peugeot 206. Designed to work with the vehicle’s central locking system and fitted with an oval electrical connector. Commonly referenced by part number 9135H3, this unit is suitable for both 3-door and 5-door body styles. Ideal for professional workshops and DIY mechanics looking for a direct-fit locking mechanism.
Key Features
- Direct-fit replacement for left front door of Peugeot 206 (3-door and 5-door).
- Oval electrical connector for standard Peugeot/Citroën wiring harness.
- Compatible with central locking actuation and manual opening via interior/exterior handles.
- Part number reference: 9135H3, useful for fast lookup in catalogs and search engines.
Technical Information
- Manufacturer: Stellantis / Citroën / Peugeot
- Model: Peugeot 206
- Product Codes: 9135H3
- Additional Numbers: Oval Connector
Installation Recommendations
- Prepare Tools: panel trim tools, Torx/Phillips screwdrivers, socket set, pliers and lubricant.
- Safety First: Disconnect the negative battery terminal before starting to avoid short circuits and accidental central locking activation.
- Door Trim Removal: Carefully remove the inner door panel by releasing plastic clips and removing screws (start with door handle trim and armrest), keeping fasteners in a safe place.
- Disconnect Electrical Connector: Unplug the oval electrical connector from the lock unit and inspect for corrosion or damaged pins.
- Detach Linkages: Disconnect the mechanical rods/cables from the lock (release retaining clips) and note their routing for reinstallation.
- Remove Lock Unit: Unscrew the lock securing bolts and extract the lock from the door cavity.
- Fit New Unit: Install the replacement lock, secure bolts to factory torque if available, reconnect rods and the oval connector.
- Function Check: Reconnect the battery temporarily and test central locking, interior/exterior handle operation and child locks before reassembling the door trim.
- Final Steps: Refit the door panel, ensure all clips and screws are secured, and perform a final operational test.
Most Common Failure Reasons
- Mechanical Wear: Internal gears and latch components wear over time from repeated use.
- Corrosion and Moisture Ingress: Water in the door can corrode contacts, connectors and mechanical parts, leading to intermittent or failed operation.
- Damaged Linkages: Bent or detached rods/cables between the lock and handles prevent proper actuation.
- Connector Problems: Oxidised or loose pins in the oval connector cause electrical faults or loss of power to the actuator.
- Impact Damage: Door collisions or slamming can misalign or break the lock mechanism.
Notes for Mechanics and DIYers
This unit is frequently searched by its product code (9135H3) — include this code when sourcing parts or checking fitment. When replacing the lock, inspect the door’s internal moisture barriers and restore any damaged seals to prevent premature failure. Lubricate moving parts with appropriate lock grease and ensure linkages are correctly adjusted to avoid binding.