Description
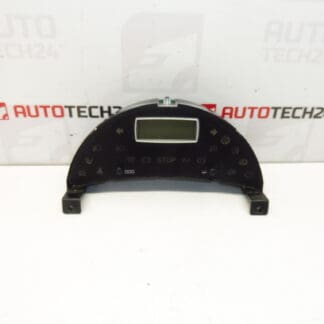
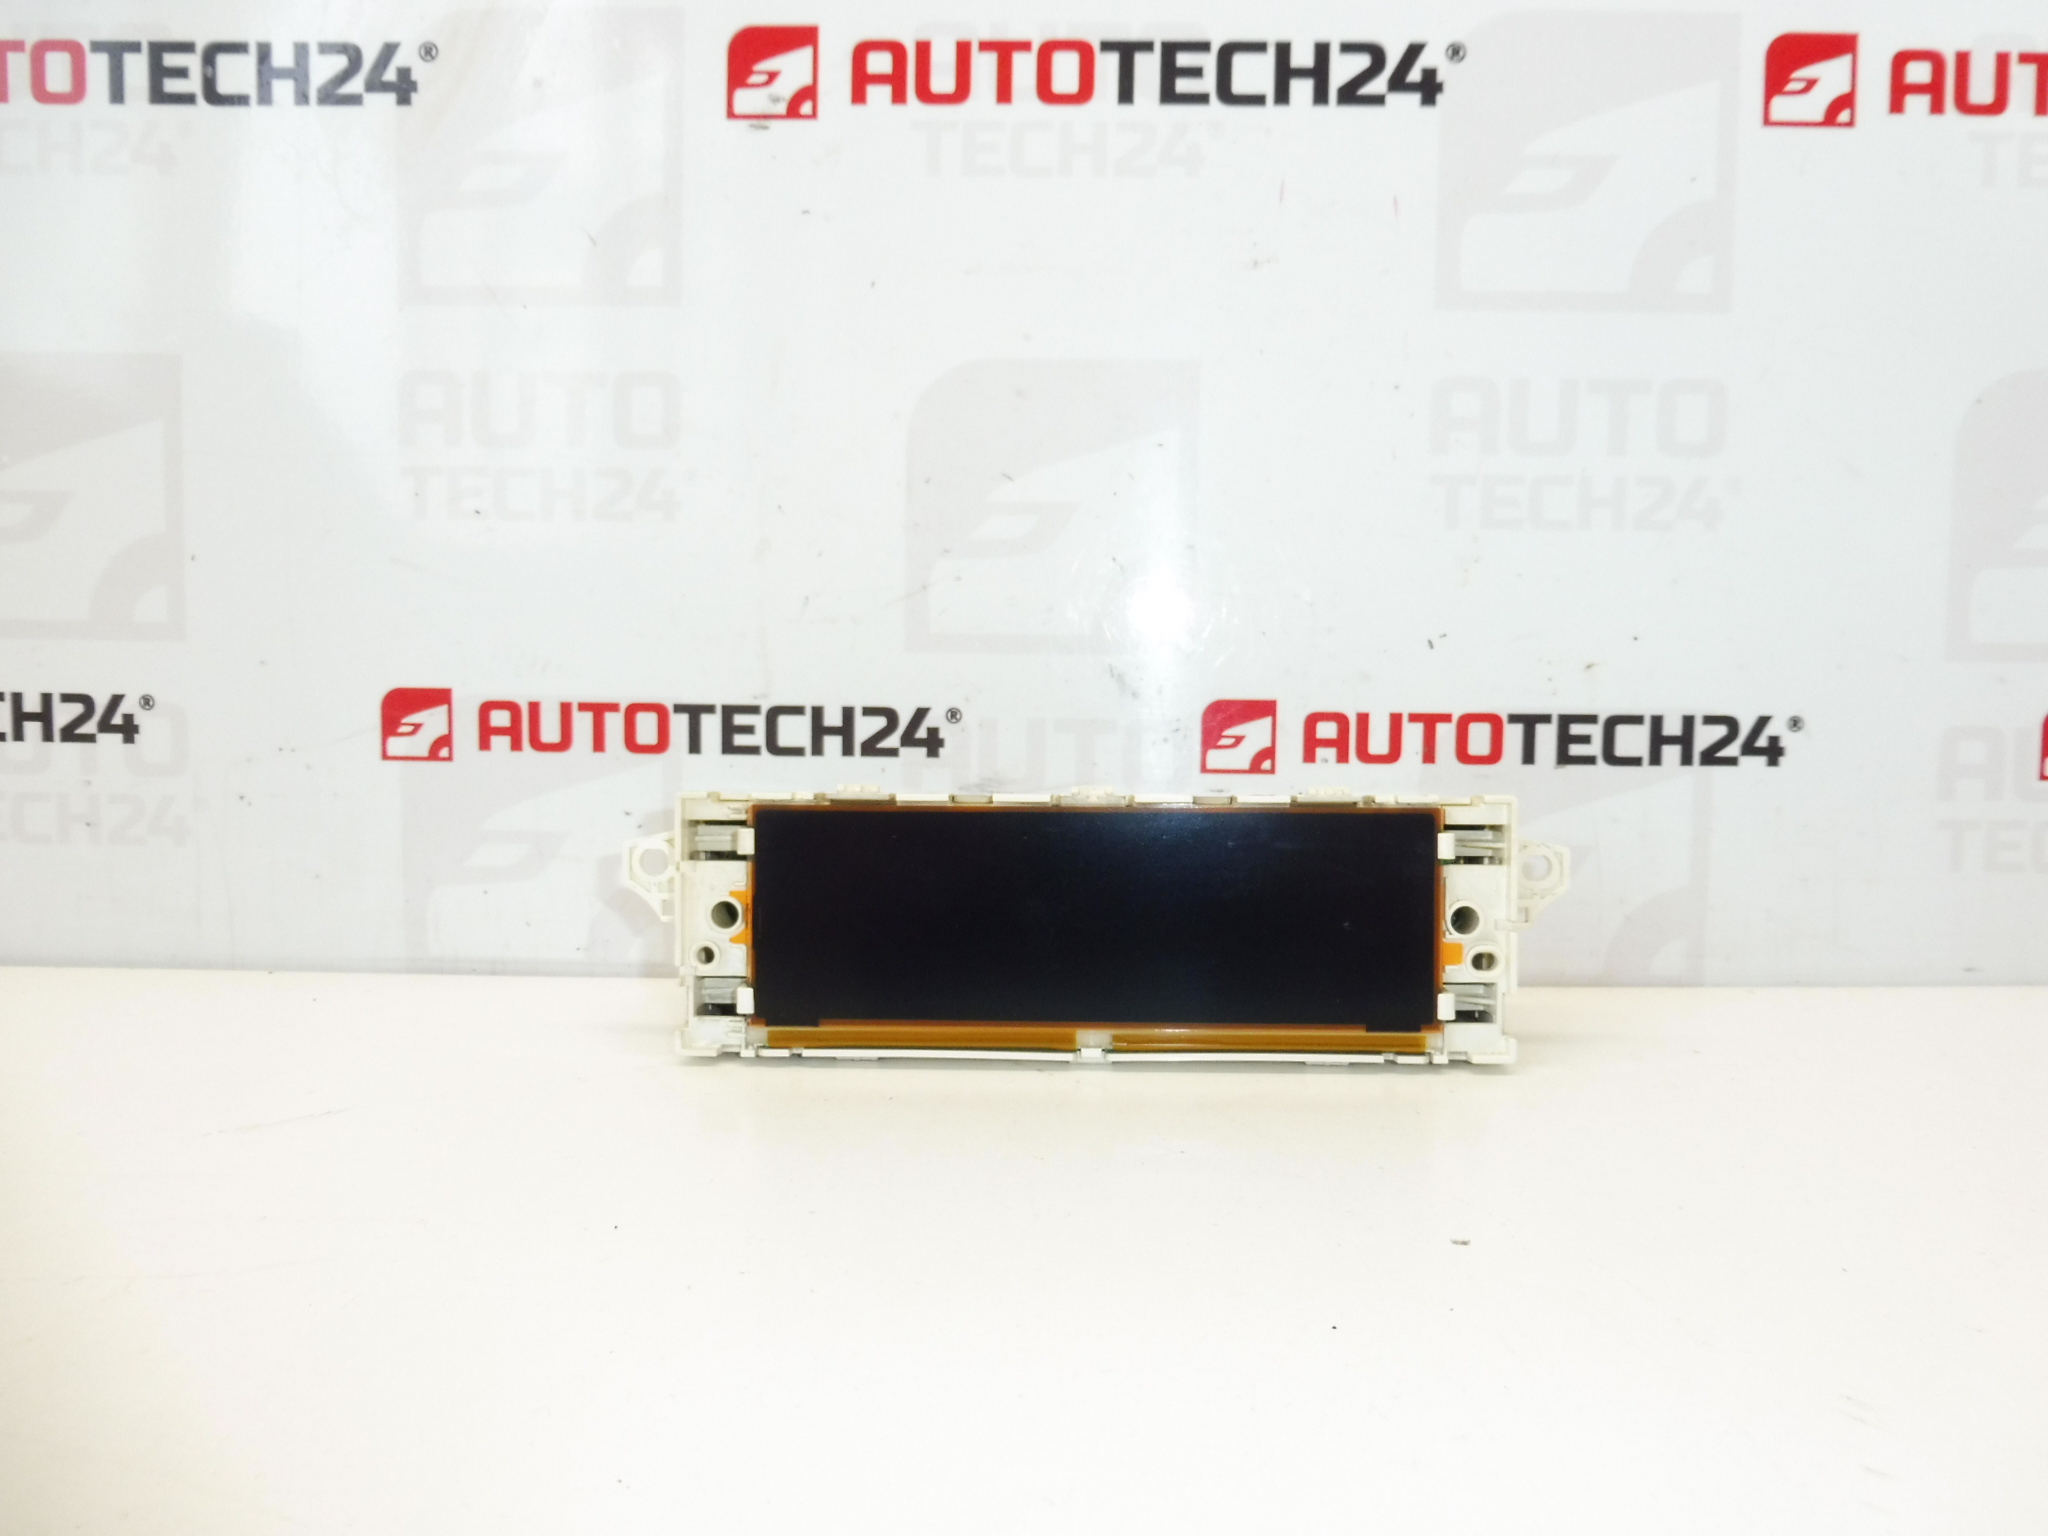
Radio display and computer for Citroën and PEUGEOT vehicles. This display may need to be flashed to the vehicle via a diagnostic tool to enable certain functions. It is from a Citroën C8 2007.
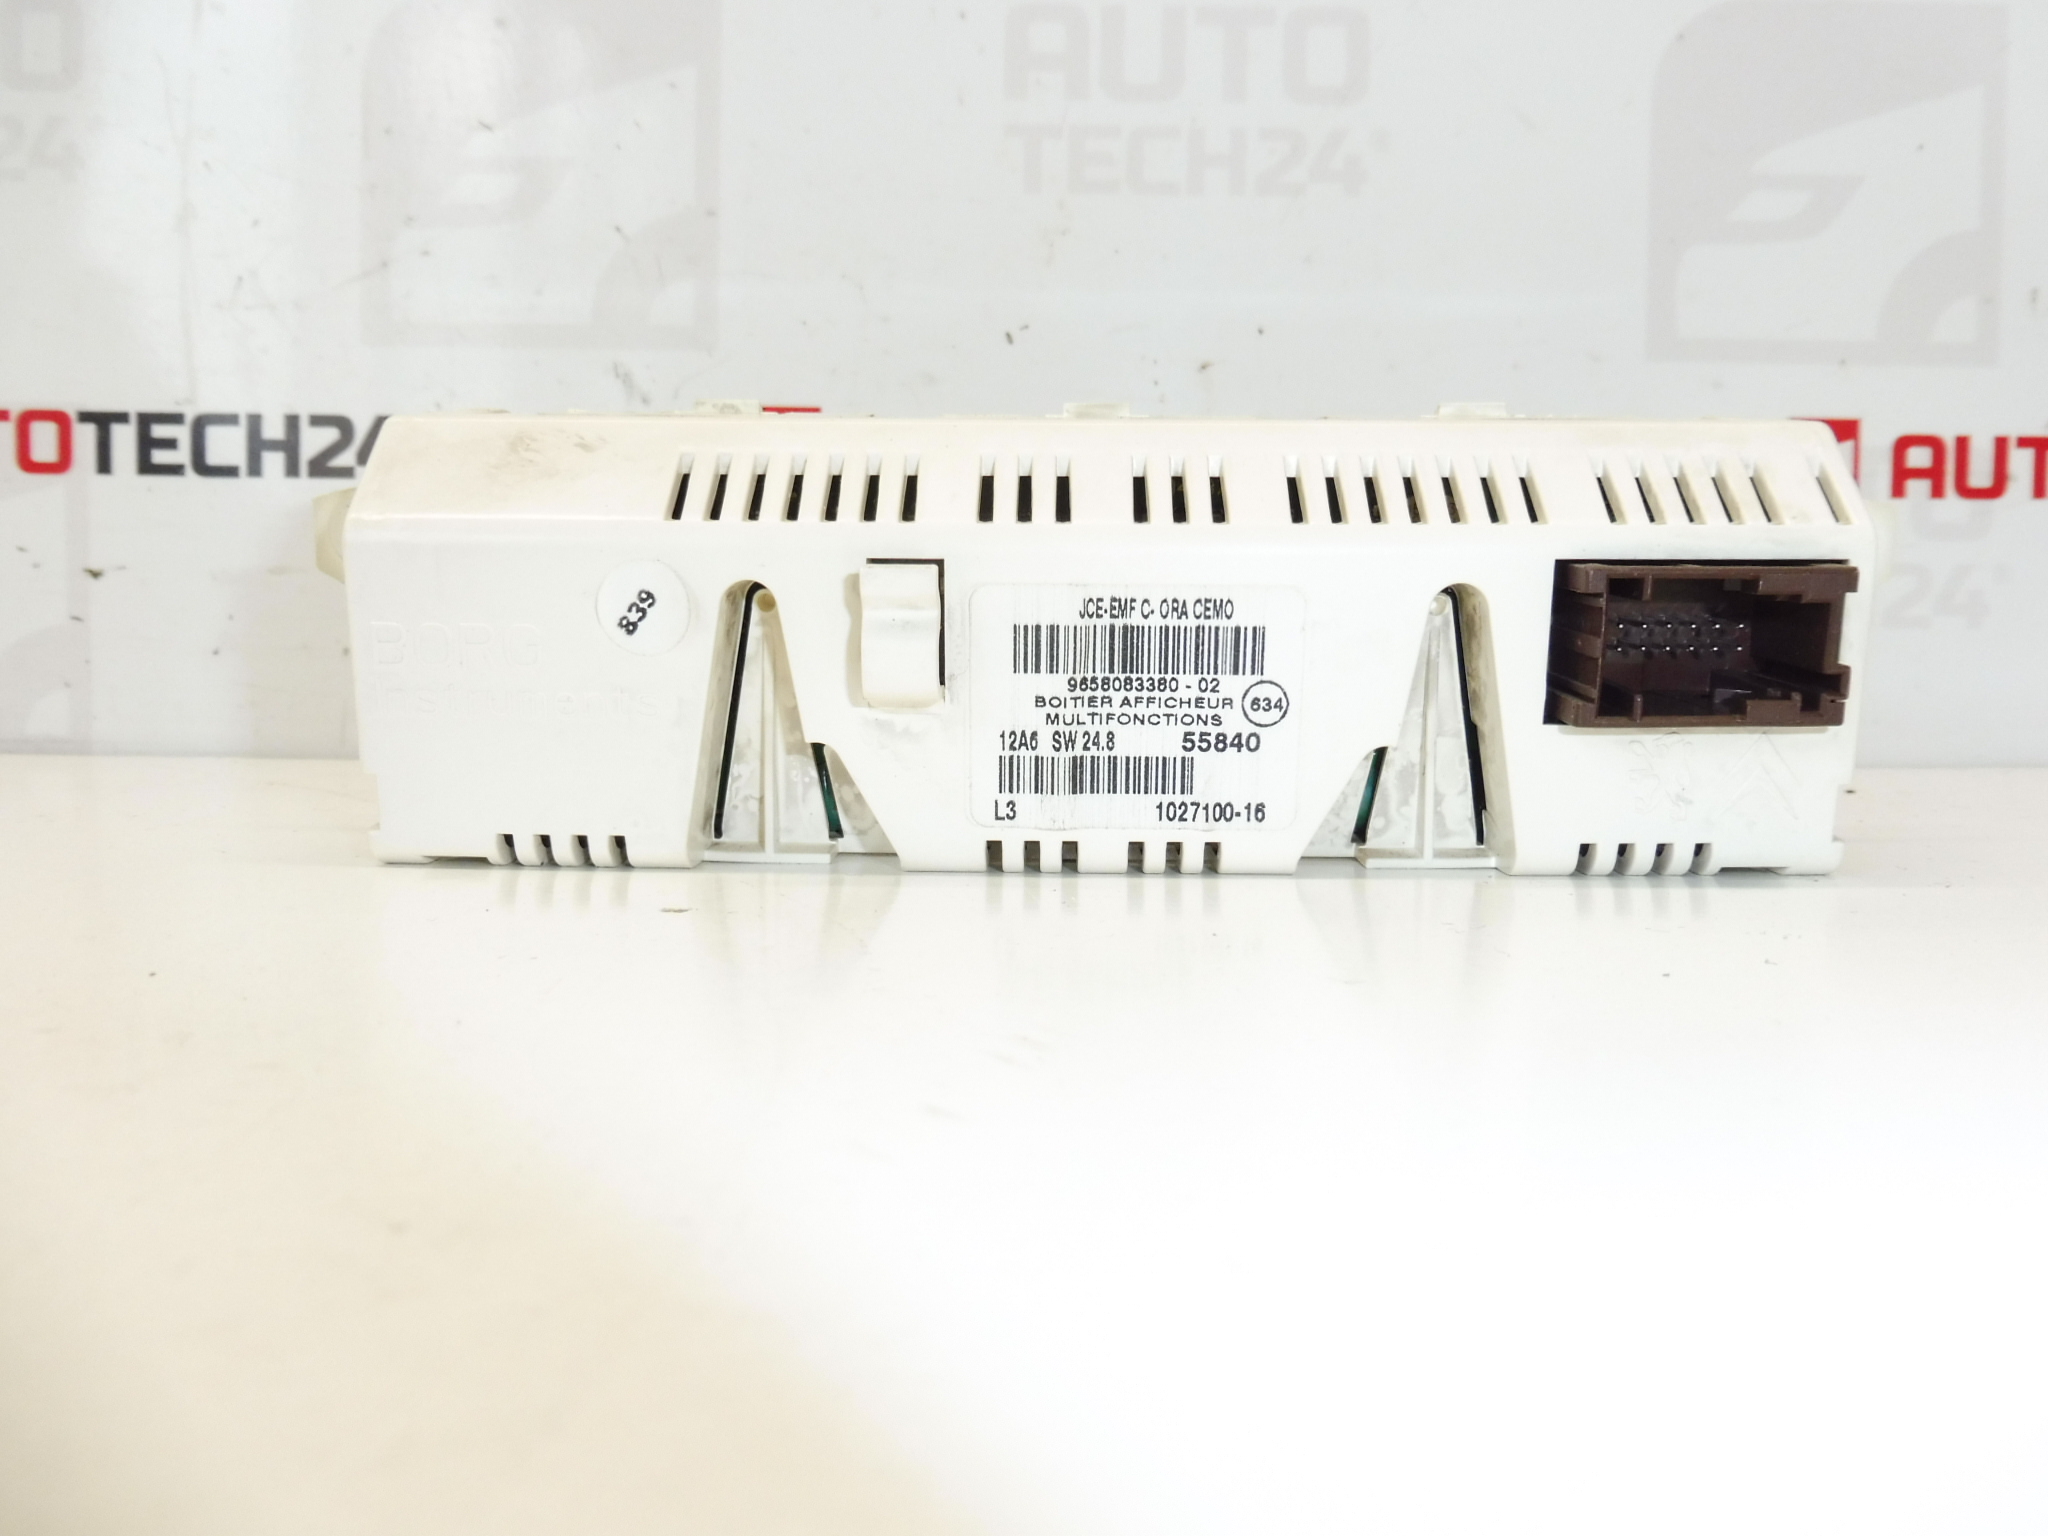
This replacement display module is intended for mechanics and experienced DIY enthusiasts who service Stellantis vehicles. The unit handles radio information and the on-board computer display functions—showing station and media data, trip information and menu prompts—and communicates with the vehicle via the CAN network. Many buyers search by part number (e.g. 9658083380) when looking for this component, so the listed codes below will help you find the exact match.
Technical Information
- Manufacturer: Stellantis
- Model: Citroën C8 (2007); Compatible With: Peugeot 807, Peugeot 307, Peugeot 207 (as indicated)
- Product Codes: 9658083380, 9658083380-02
- Other Numbers: 9821852480, 659330, 659331
Function And Features
The unit serves as the radio display and on-board computer interface. It displays audio sources, station and track information, vehicle messages and basic trip/computer readouts. It requires proper connection to the vehicle wiring harness and data bus to operate. Some vehicle functions controlled through this display may remain disabled until the module is initialized or programmed with diagnostic equipment.
Installation Recommendations
- Disconnect The Negative Battery Terminal Before Work To Prevent Short Circuits And Data Corruption.
- Remove Interior Trim Panels Carefully To Access The Radio/Display Module; Use Suitable Trim Tools To Avoid Damage.
- Note Electrical Connector Locations And Unlock Latches Before Pulling Connectors; Do Not Force Pins.
- Handle The Display Module With ESD Precautions And Avoid Touching Circuitry Or Flat Cables Directly.
- After Mechanical Installation Reconnect The Battery And Verify Power And Backlight; Check Fuses Related To Radio/Instrument Circuitry If Unit Has No Power.
- Perform Diagnostic Programming/Initialization If Required—Some Functions May Need To Be Enabled Via A Dealer Or Aftermarket Diagnostic Tool.
- Test All Displayed Functions, Radio Reception, Steering Wheel Controls And On-Board Computer Menus Before Final Reassembly.
Common Failure Causes
- Heat And Age: Internal Components Such As Solder Joints Or Capacitors Can Degrade Over Time, Causing Intermittent Or Permanent Failures.
- Moisture Or Corrosion: Water Ingress Or Corroded Connectors Can Cause Display Malfunctions Or Loss Of Communication On The Data Bus.
- Power Surges Or Poor Grounding: Voltage Spikes And Bad Grounds May Damage Electronics Or Corrupt Software.
- Software Or Communication Errors: Corrupted Software Or Faulty CAN Bus Communication Can Prevent Proper Operation Until Reprogrammed.
- Mechanical Damage: Impact Or Improper Removal Can Break Connectors, Mounts Or Internal Flex Cables.
Search Tips: Use the part numbers 9658083380, 9658083380-02, 9821852480, 659330 or 659331 when searching to find matching units quickly. If the vehicle requires activation of functions after replacement, plan for diagnostic time during the job.
This description is intended to give a clear technical overview for replacement and servicing. Always follow vehicle-specific service manuals and safety procedures when working on electrical systems.