Description
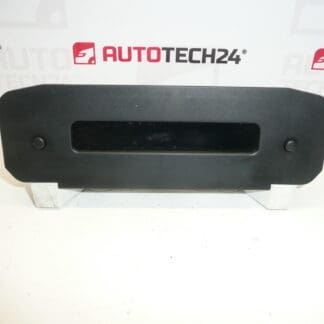
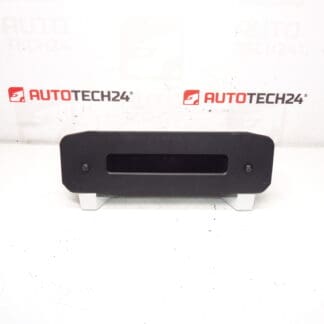
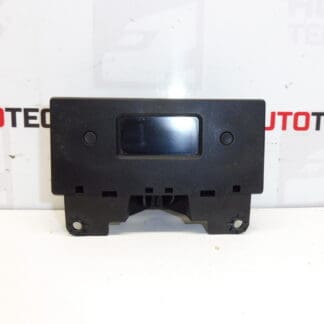
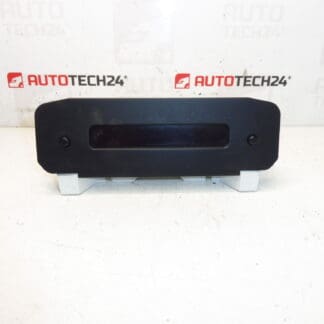
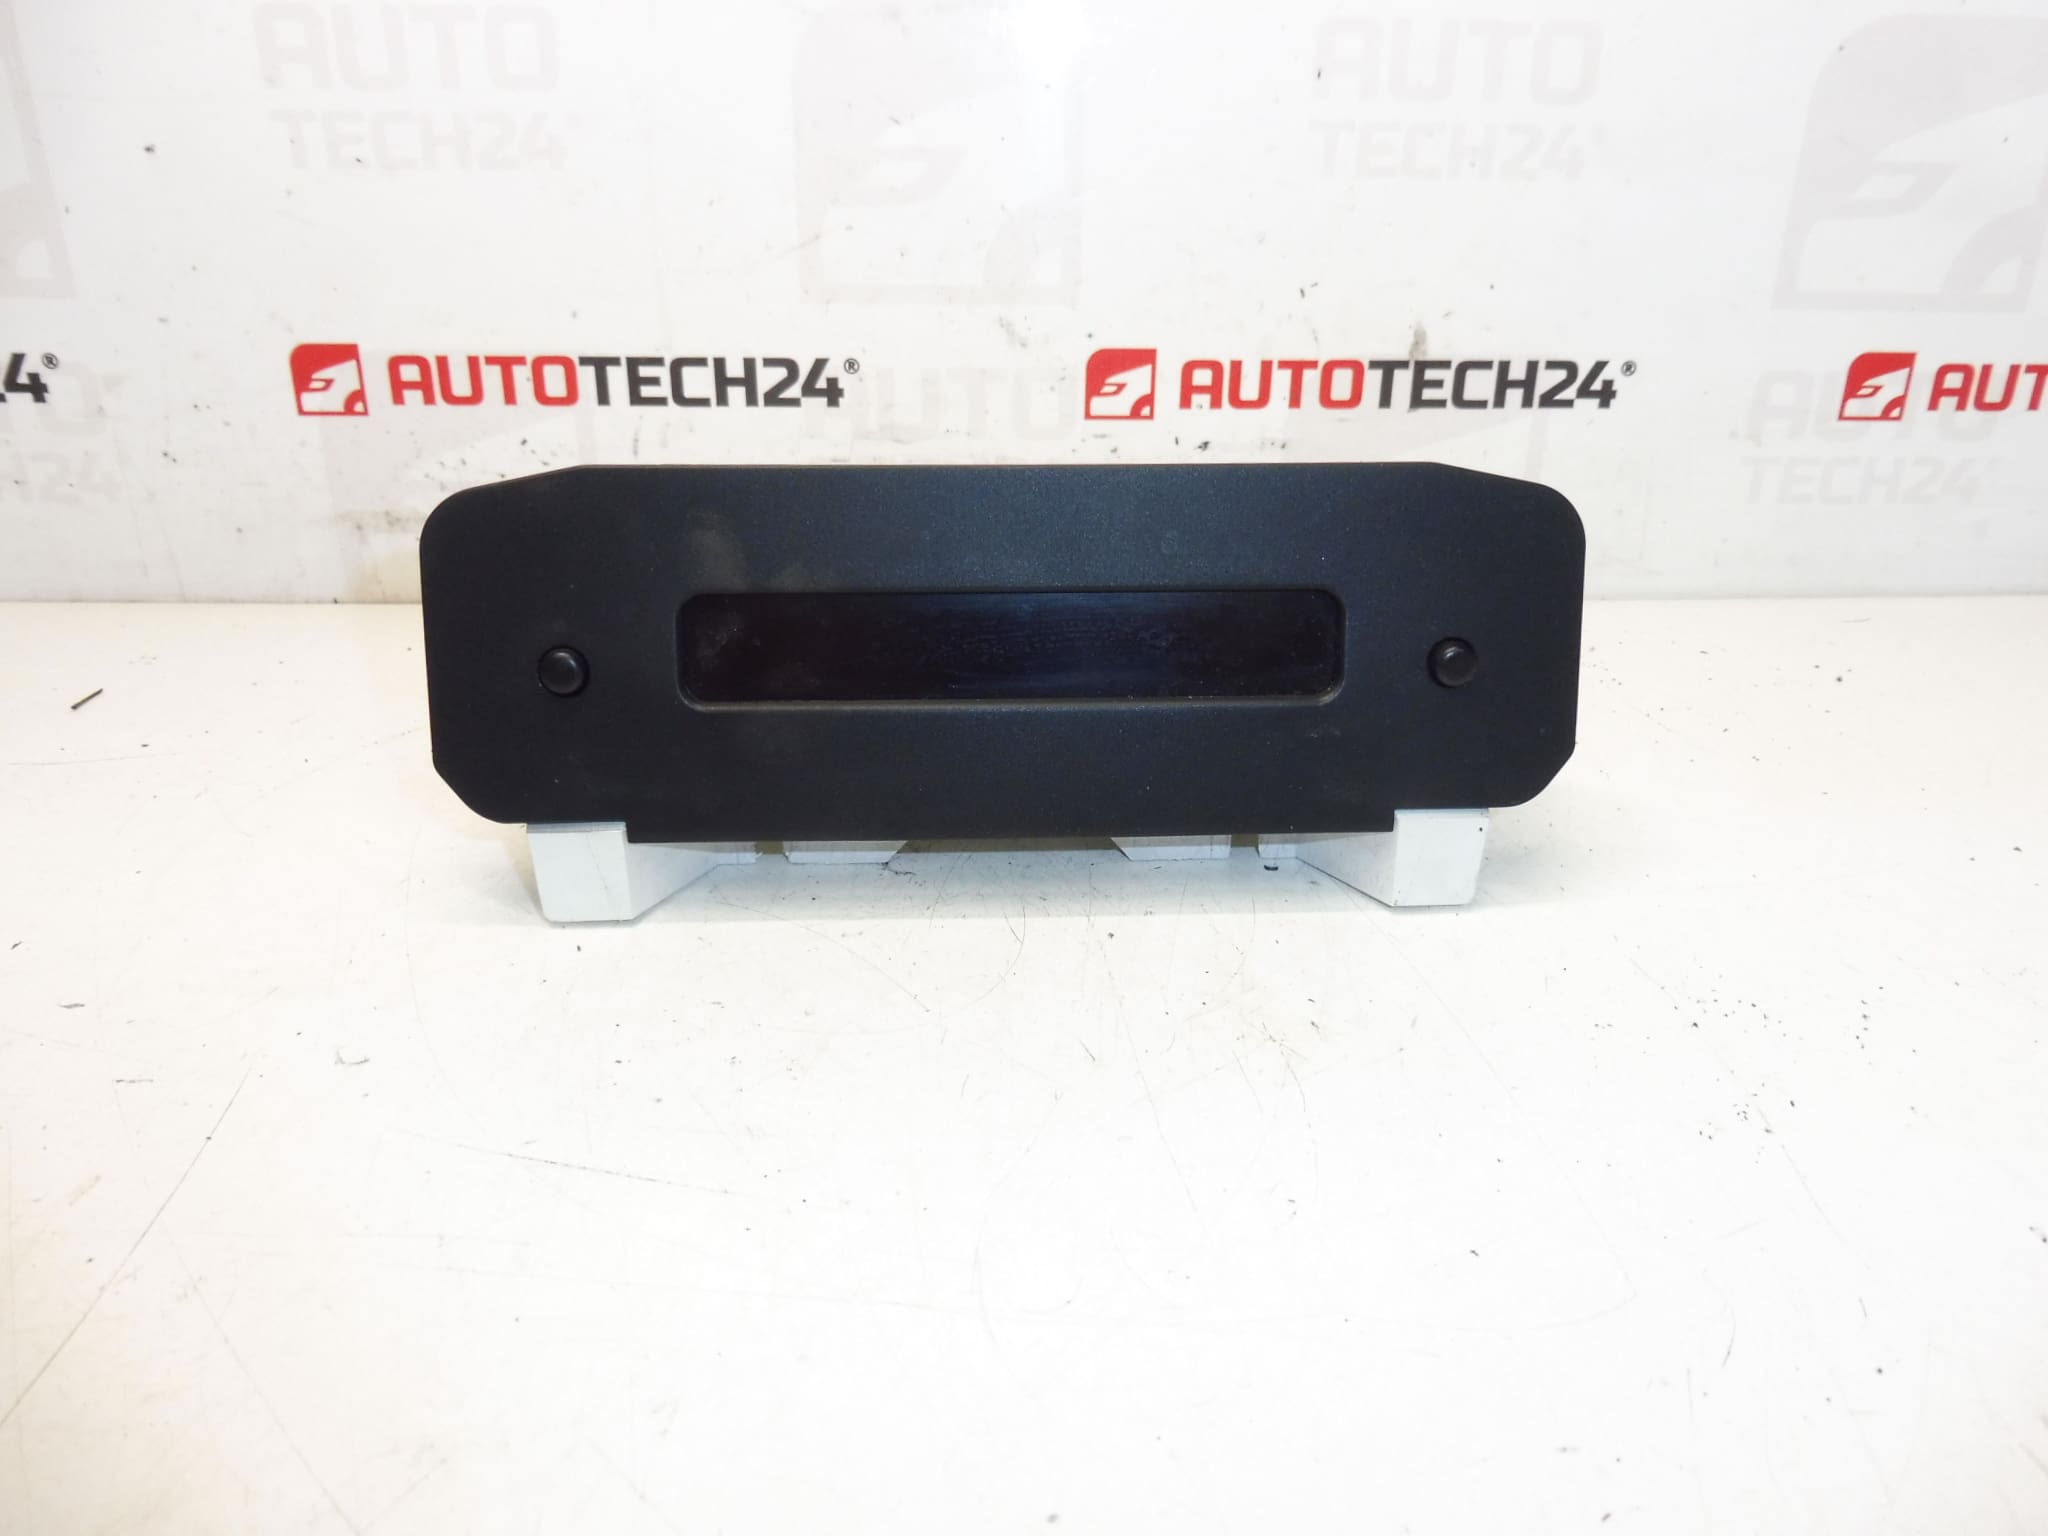
Radio and Trip Computer Display for Peugeot 206
Description
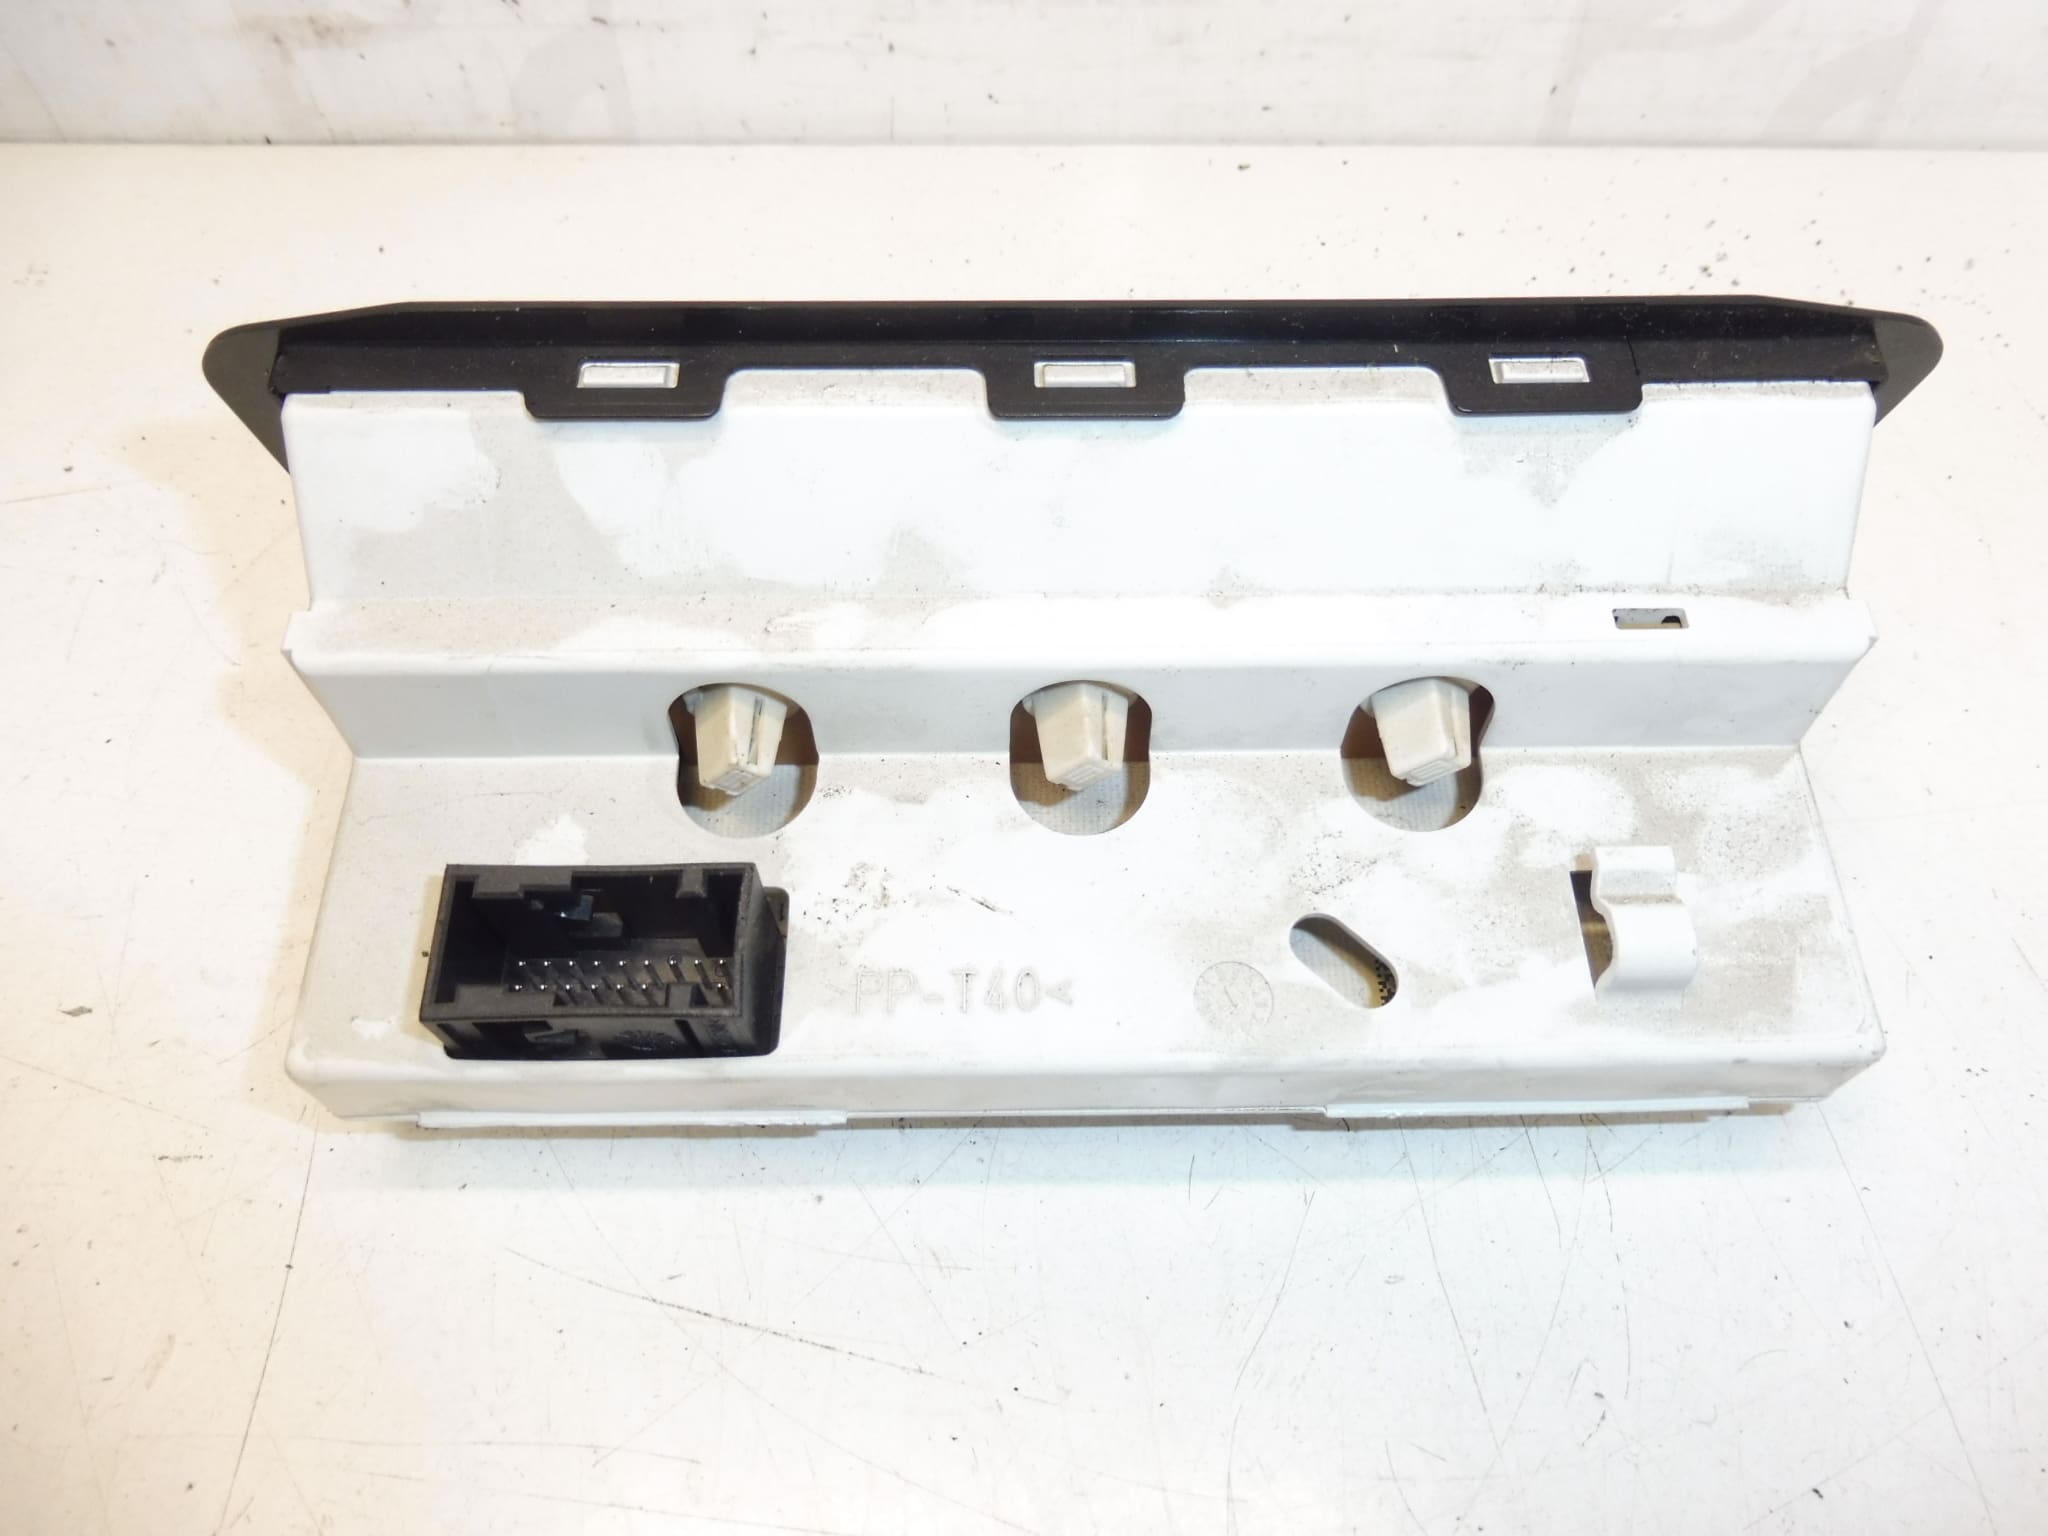
This original-style display unit is designed as a direct replacement for the radio and trip computer screen in Peugeot 206 vehicles. Ideal for professional workshops and DIY mechanics, the unit restores clear readout of radio information, clock, onboard computer data and menu prompts. Frequently searched and ordered by part numbers 96616372XT, 6155CQ and 6155CP, this display is a common repair item on older 206 models.
Benefits
- Direct Fit Replacement: Matches factory dimensions and mounting points for easy installation.
- Improved Readability: Restores correct backlight and pixel information for safe operation while driving.
- Cost-Effective Repair: Replaces a failed display without the need to replace the entire radio or instrument cluster.
- Searchable by OEM Codes: Customers often find this part under codes 96616372XT, 6155CQ or 6155CP.
Technical Information
- Manufacturer: Stellantis / Peugeot
- Model: Peugeot 206 (fits various equipment levels — check unit shape and connector)
- Product Codes: 96616372XT, 6155CQ, 6155CP
- Other Numbers: 6155CP | 6155CQ | 96616372XT
Function And Typical Faults
The display provides visual feedback for the car radio and the onboard trip computer (fuel consumption, range, trip time, etc.). Common failures include loss of backlight, dead pixels, fading contrast, intermittent lines, and complete blank screen. Typical root causes are age-related deterioration of the LCD/backlight, cracked solder joints on the display PCB, connector corrosion, and moisture ingress.
How The Replacement Is Done
Replacement is straightforward for an experienced technician or a competent DIYer with basic tools. General steps:
- Disconnect the negative battery terminal before starting work to avoid short circuits and protect vehicle electronics.
- Remove the dashboard trim surrounding the radio using appropriate trim tools to avoid damage to clips and panels.
- Unscrew and slide out the radio/display assembly from the dash cage.
- Unplug the vehicle wiring harness and any auxiliary connectors from the rear of the unit.
- Swap the old display for the replacement, reconnect the harness and test operation before reassembling the trim.
Installation Recommendations
- Keep connectors clean and dry; apply contact cleaner if oxidation is present.
- Handle the LCD carefully to avoid pressure marks or damage to the viewing surface.
- Test the unit before reinstalling dashboard trim to confirm backlight and information display are working correctly.
- If craftsman-level repairs are required (soldering or PCB work), use an ESD-safe workspace and proper tools or consult a professional electronics technician.
Why This Part Fails Most Often
- Age And Heat: Long-term exposure to heat and thermal cycling causes backlight failure and degraded LCD contrast.
- Cold Solder Joints: Vibration over years can cause solder cracks on the display PCB, producing intermittent or total failure.
- Moisture And Corrosion: Water ingress or humid conditions corrode connectors and electronic contacts.
- Power Spikes: Electrical faults or poor battery connections can damage internal power regulation components.
Compatibility Note
This display is intended for Peugeot 206 vehicles that use the corresponding factory radio/display assembly. Verify the physical shape and connector arrangement match the unit being replaced. Searching by the product codes 96616372XT, 6155CQ or 6155CP will help locate the correct unit for your vehicle.
Keywords For Search Engines
Peugeot 206 display, Radio Display 96616372XT, 6155CQ screen, 6155CP trip computer display, Peugeot 206 radio screen replacement, onboard computer display Peugeot.