Description
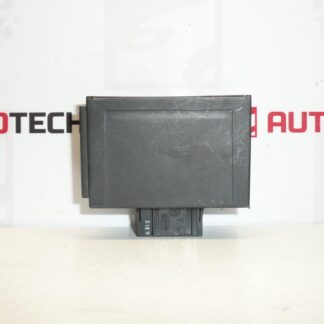
Sunroof control unit for PEUGEOT 307 CC cars up to 2004
Part description
This is a used roof control unit (roof control module) designed for Peugeot 307 CC. This type of electronics is key to the proper functioning of the roof’s mechanics and safety logics – in the event of a malfunction, this typically results in non-functional control, intermittent completion of the cycle, or incorrect status evaluation.
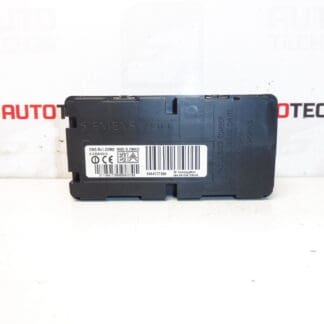
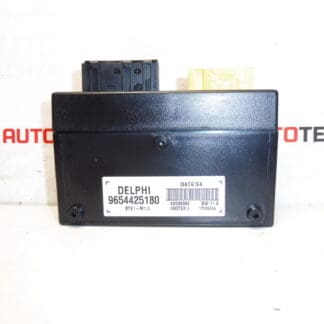
Searches are often by part number, so matching 9654425180 with your original module is critical to selection.
Technical information
- Manufacturer: Stellantis Citroën Peugeot
- Model: Peugeot 307 CC (up to 2004)
- Other numbers: not specified
Product codes
- Product codes: 9654425180, 6556RL
Installation recommendations
Generally/typically for control units, the exact procedure may vary according to the specific design of the car and the installation. Below is a safe, practical procedure for replacing an electronic unit.
1) Before assembly (checks of the used part, what to compare with the old part)
- Compare part number 9654425180 with the old unit (label, print, catalog number).
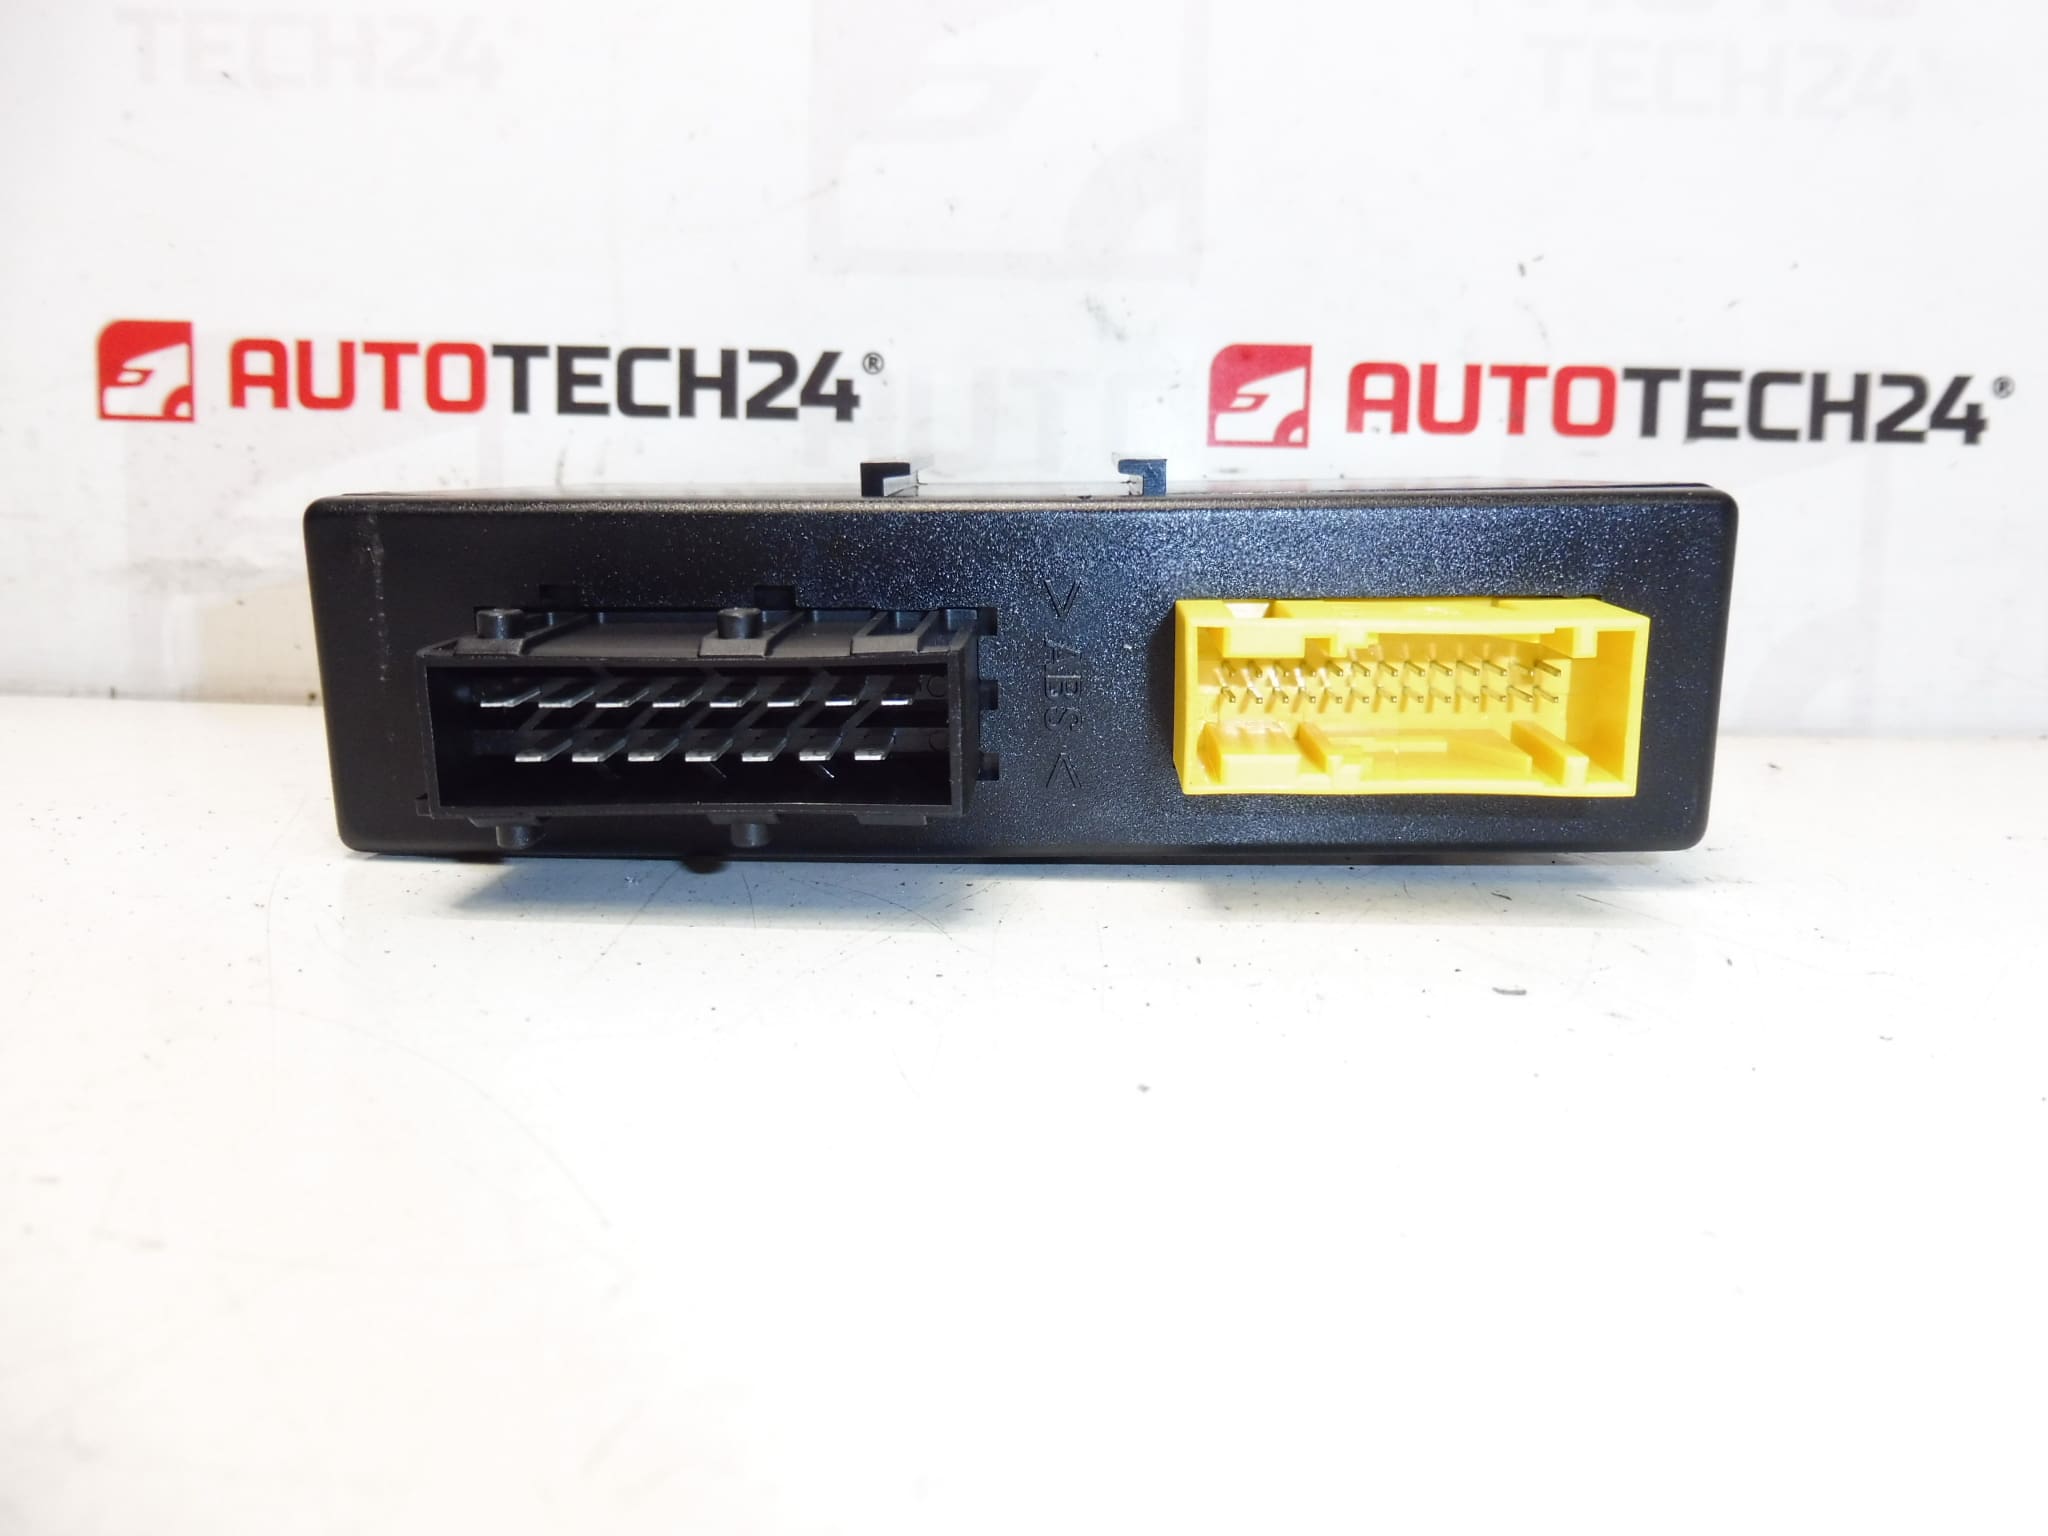
- Check the connectors: same shape, same locking, no bent pins, cracks or signs of overheating.
- Inspect the body of the unit (damage, moisture/oxidation). For parts from the roof, the risk of moisture is higher.
2) Necessary tools and materials (in general, without specific extra parts)
- Basic set of screwdrivers and sockets
- Plastic pry bar for removing upholstery/covers (according to access)
- Electrical contact cleaner (as needed)
- Protective gloves, flashlight
3) Step-by-step assembly procedure
- Turn off the ignition and secure the vehicle against movement.
- Disconnect the battery (for electronic modules, you minimize the risk of short circuits and damage).
- Get access to the unit (removal of covers/trimming depending on the car design).
- Before disconnecting, take a photo of the connection and wiring for correct reassembly.
- Unlock the connectors and disconnect them carefully (do not pull on the cables).
- Dismantle the unit mount and remove the original piece.
- Compare the old and new part side by side (number, connectors, mounts).
- Install the unit in its original location and secure it so that there is no tension on the wiring or connectors.
- Connect the connectors as far as they will go and check that the fuses are properly secured.
- Check that the wiring does not rub anywhere, is not pinched and is routed in the same way as before disassembly.
- Connect the battery.
- Perform a basic functional test of the roof control (without violence and with a ready option to interrupt the process in case of non-standard behavior).
-
4) Post-assembly checks and test drive/function verification
- Verify that the connectors hold and there is no loose wire anywhere.
- Repeatedly test the basic functions of the roof control (opening/closing according to the car’s capabilities) and observe the fluidity and consistency of the behavior.
- If abnormal behavior occurs, abort the test and recheck the connectors and power status.
5) The most common assembly mistakes + how to avoid them
- Disconnecting/connecting live connectors → always disconnect the battery.
- Connectors not clicked in → after connection, check that the fuses are secure and firmly seated.
- Pinched or strained wiring → route the bundles as from the factory, use the original mounts.
- Ignoring traces of moisture/oxidation → clean the contacts and solve the cause of the moisture, otherwise the fault may return.
Assembly and Coding – Important
– The unit is used and is “paired” with the original car (VIN/PIN/keys).
– Commissioning options:
1) Cloning data from the old drive (EEPROM/Flash) – after the clone, the drive is plug and play.
2) Virginization and subsequent initialization/telecoding via DiagBox (possibly online) + customization of keys.
– Recommended to be performed by a specialist with PSA service equipment (DiagBox/Lexia/PP2000).
– Always disconnect the battery before disassembly/assembly and follow the manufacturer’s procedure to avoid damaging the unit.Reasons why the part is damaged
- Moisture and oxidation of connectors (roof system is often exposed to condensation/moisture).
- Voltage fluctuations, low battery or inappropriate disconnection/connection of electricity.
- Mechanical stress on cabling (tension, abrasion, pinching of bundles).
- Bad contacts in the connectors – loose pins, dirt, transition resistors.
- Consequences of a short circuit in the installation or in connected system elements.