Description
MAGNETI MARELLI injection control unit for DPF (diesel particulate filter) for Citroën and Peugeot vehicles.
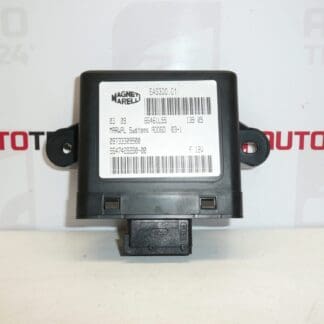
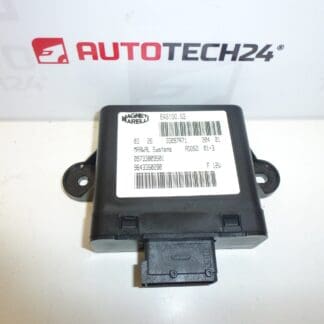
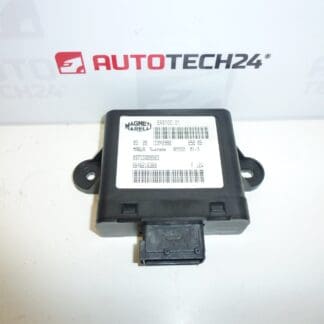
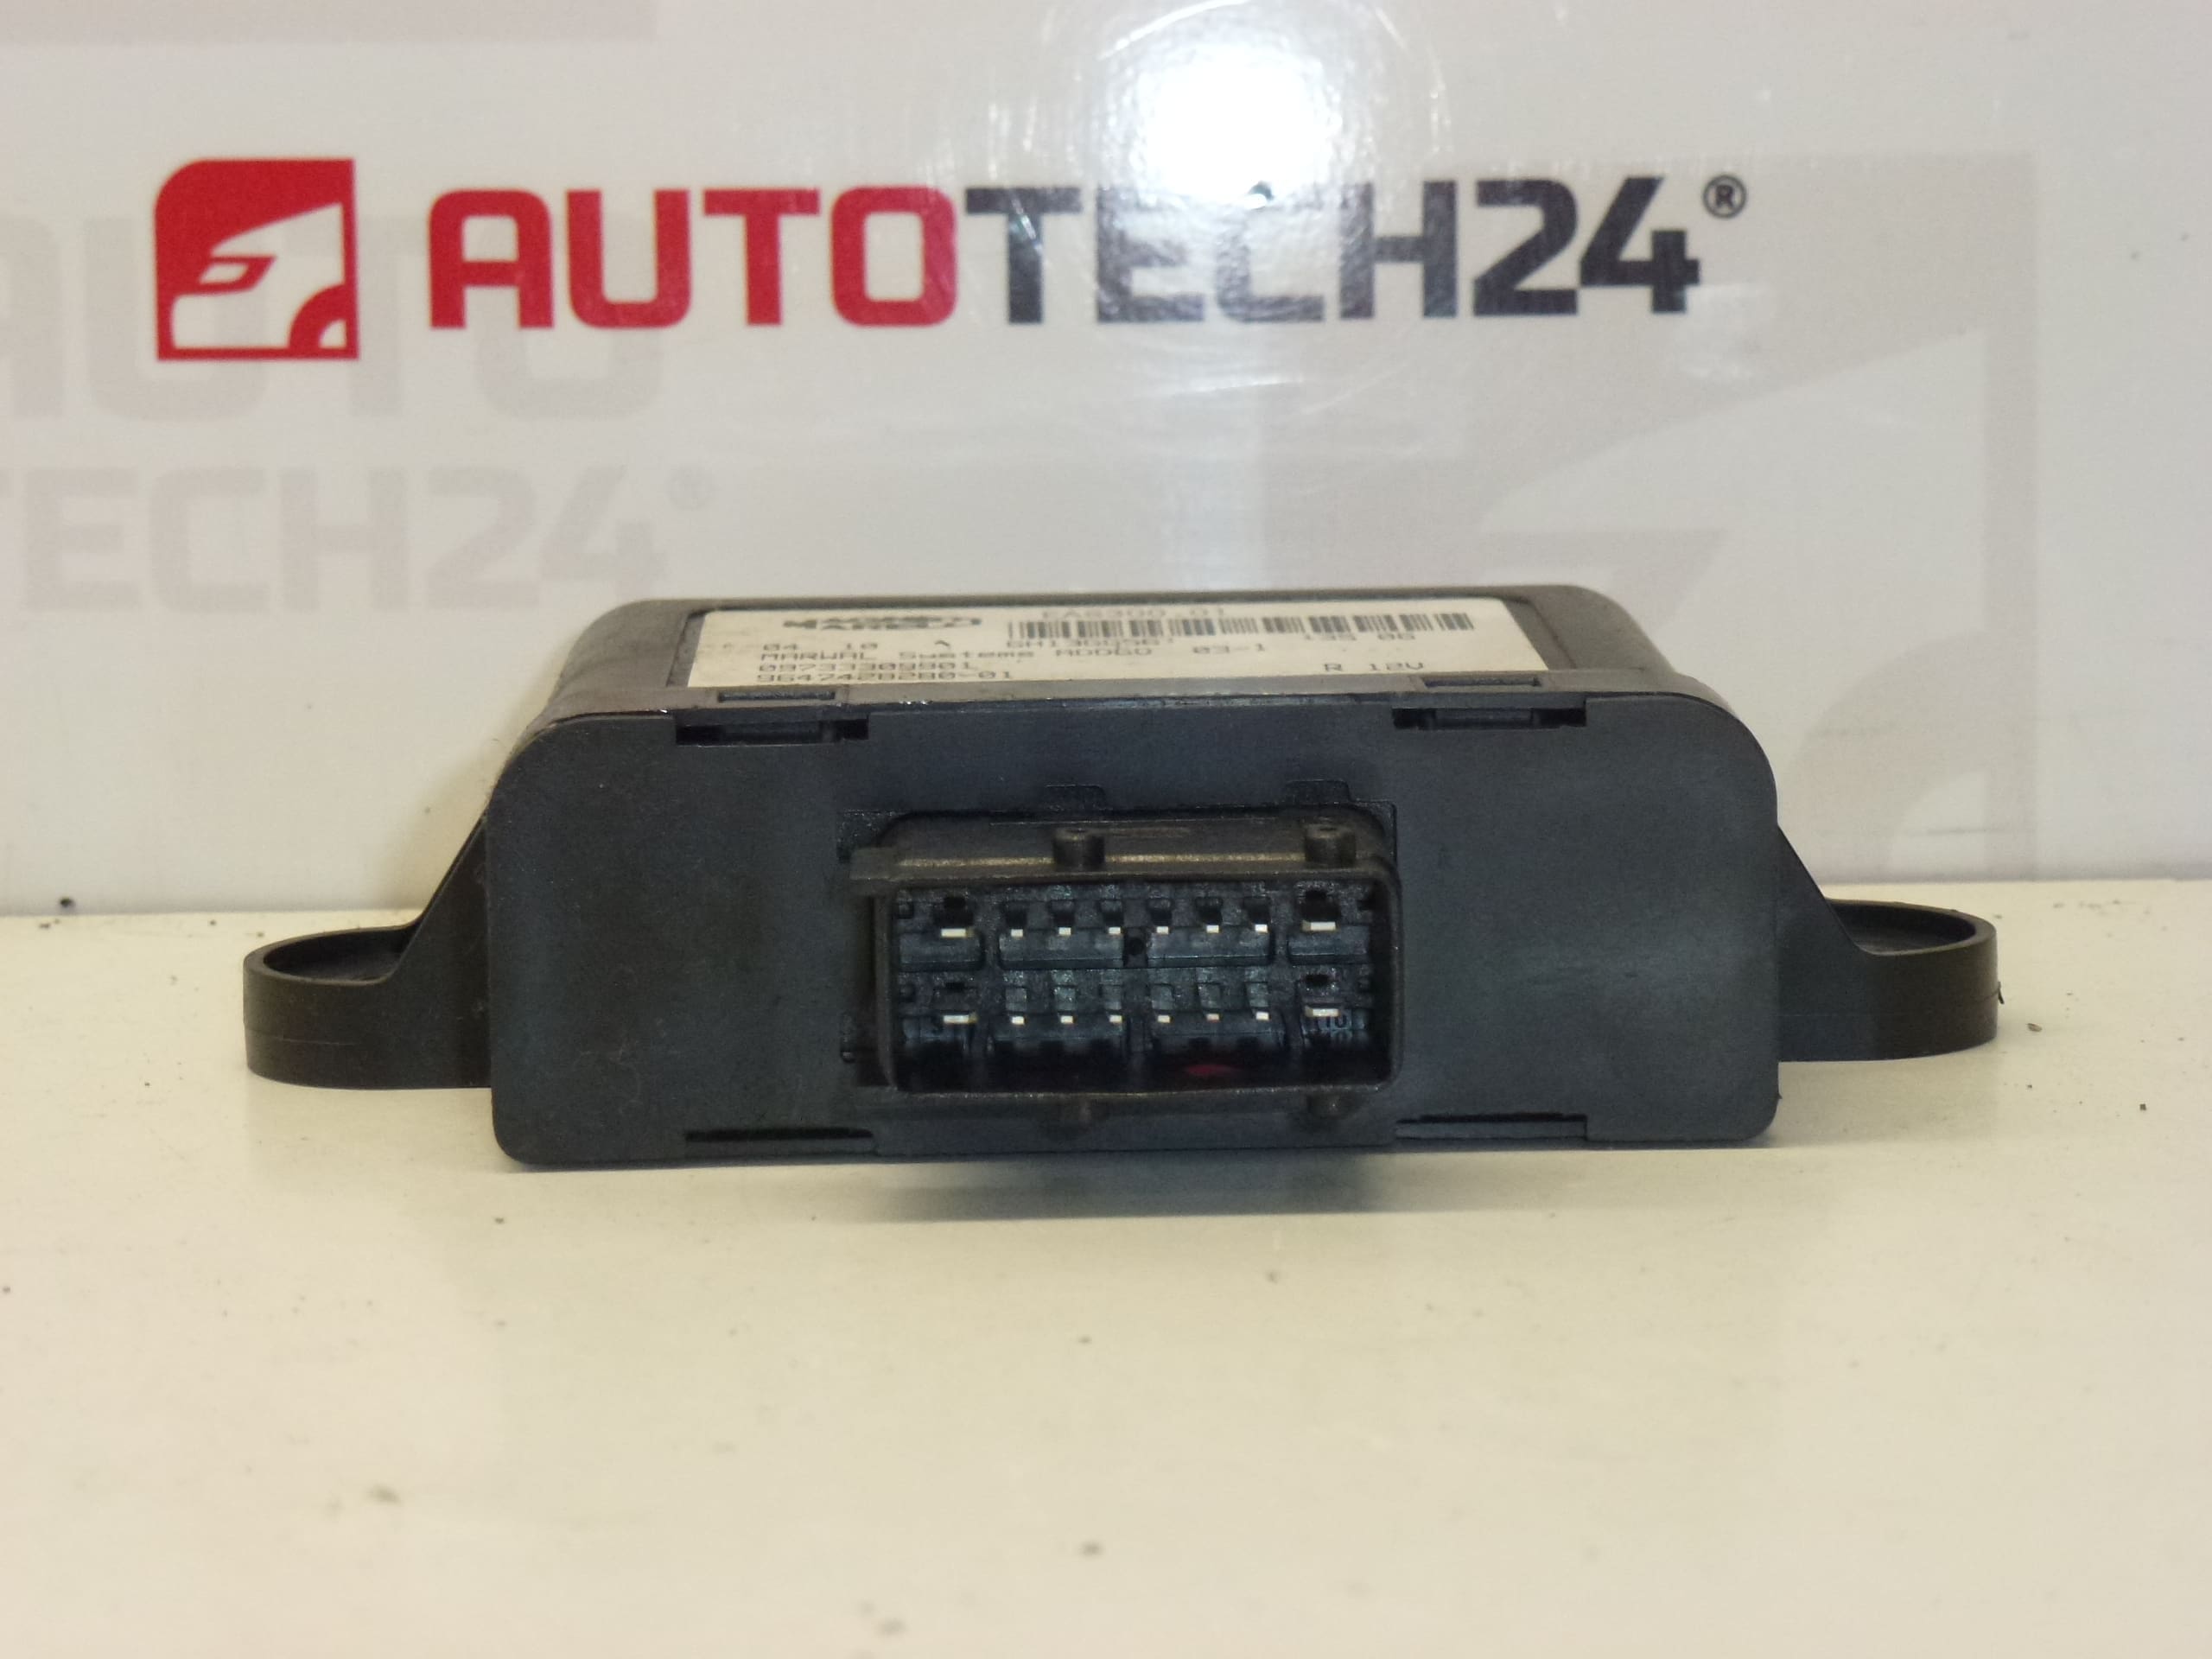
This Magneti Marelli ECU (EAS300.01) is designed to manage injection timing and DPF regeneration for a range of Citroën and Peugeot diesel models. Ideal for professional workshops and experienced DIY mechanics, the unit is commonly searched by its product codes (e.g. 9647428280, 09733309901, 1525CY). It restores proper diesel particulate filter control, helps eliminate fault codes related to FAP/DPF systems and ensures reliable communication with engine sensors for correct regeneration cycles. Supplied for vehicles where this ECU is specified, it is a direct-fit electronic control unit intended to replace a failed or malfunctioning injection/DPF controller.
Technical Information
- Manufacturer: Magneti Marelli
- Model: EAS300.01
- Product Codes: 9647428280, 9647428280-01, 09733309901, 9733309901, 1525CY, 09733309901
- Other Numbers: EAS300.01, 1525CY NFP
Applications
Typical vehicle fitments: Citroën C5, Citroën C8, Peugeot 307, Peugeot 807. Verify the unit part number against the original ECU label before installation.
Function and Overview
This control unit manages fuel injection parameters and oversees DPF regeneration logic. It receives inputs from sensors (engine speed, temperature, pressure, differential pressure across the DPF, etc.), calculates regeneration needs and coordinates injector timing and regeneration strategies. When operating correctly it reduces soot accumulation, controls emissions, and prevents limp-home modes caused by uncontrolled DPF conditions.
How Replacement Is Performed
Replacement should be performed by a qualified technician or an experienced DIY mechanic with basic electrical knowledge. General procedure:
- Disconnect the negative battery terminal before any work.
- Access the ECU location (engine bay or cabin mounting depends on model) and remove any protective covers.
- Carefully unplug electrical connectors and remove mounting fasteners.
- Fit the replacement unit, secure fasteners and reconnect all connectors.
- Perform required initialization/coding as described below to restore full functionality.
Installation Recommendations
Always follow manufacturer removal and installation procedures. Avoid excessive force when disconnecting connectors and protect the unit from moisture and contamination during installation. If possible, perform coding and final checks using PSA diagnostic equipment to ensure proper integration with vehicle systems.
Installation and Coding – Important
- The unit is used and is paired with the original vehicle (VIN/PIN/keys).
- Options to activate the unit:
- Cloning data from the old unit (EEPROM/Flash) – after cloning the unit is plug and play.
- Virginization and subsequent initialization/telecoding via DiagBox (or online) + key adaptation.
- Recommended to be performed by a specialist with PSA service equipment (DiagBox/Lexia/PP2000).
- Always disconnect the battery before removal/installation and follow the manufacturer’s procedure to avoid damaging the unit.
Why This Part Fails Most Often
Common causes of ECU failure include water ingress or corrosion at connectors, thermal stress from prolonged exposure to high underhood temperatures, electrical surges or poor battery/charging system condition, and damage from improper handling. Secondary factors can be repeated DPF regeneration faults or faulty sensors that place extra load on the control unit. Regular inspection of wiring, connector integrity and the charging system can reduce the risk of premature ECU failure.
Notes for Buyers
Search the unit by listed product codes (9647428280, 09733309901, 1525CY, EAS300.01) for quick identification. Compatible with the vehicle models listed above when the OEM part number matches. Proper post-installation coding or cloning is essential for full functionality.