Description
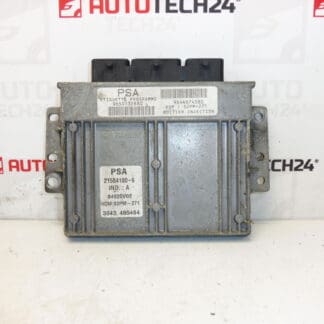
SAGEM control unit for Citroen Xsara Picasso 1.8 16V 6FZ cars
Part description
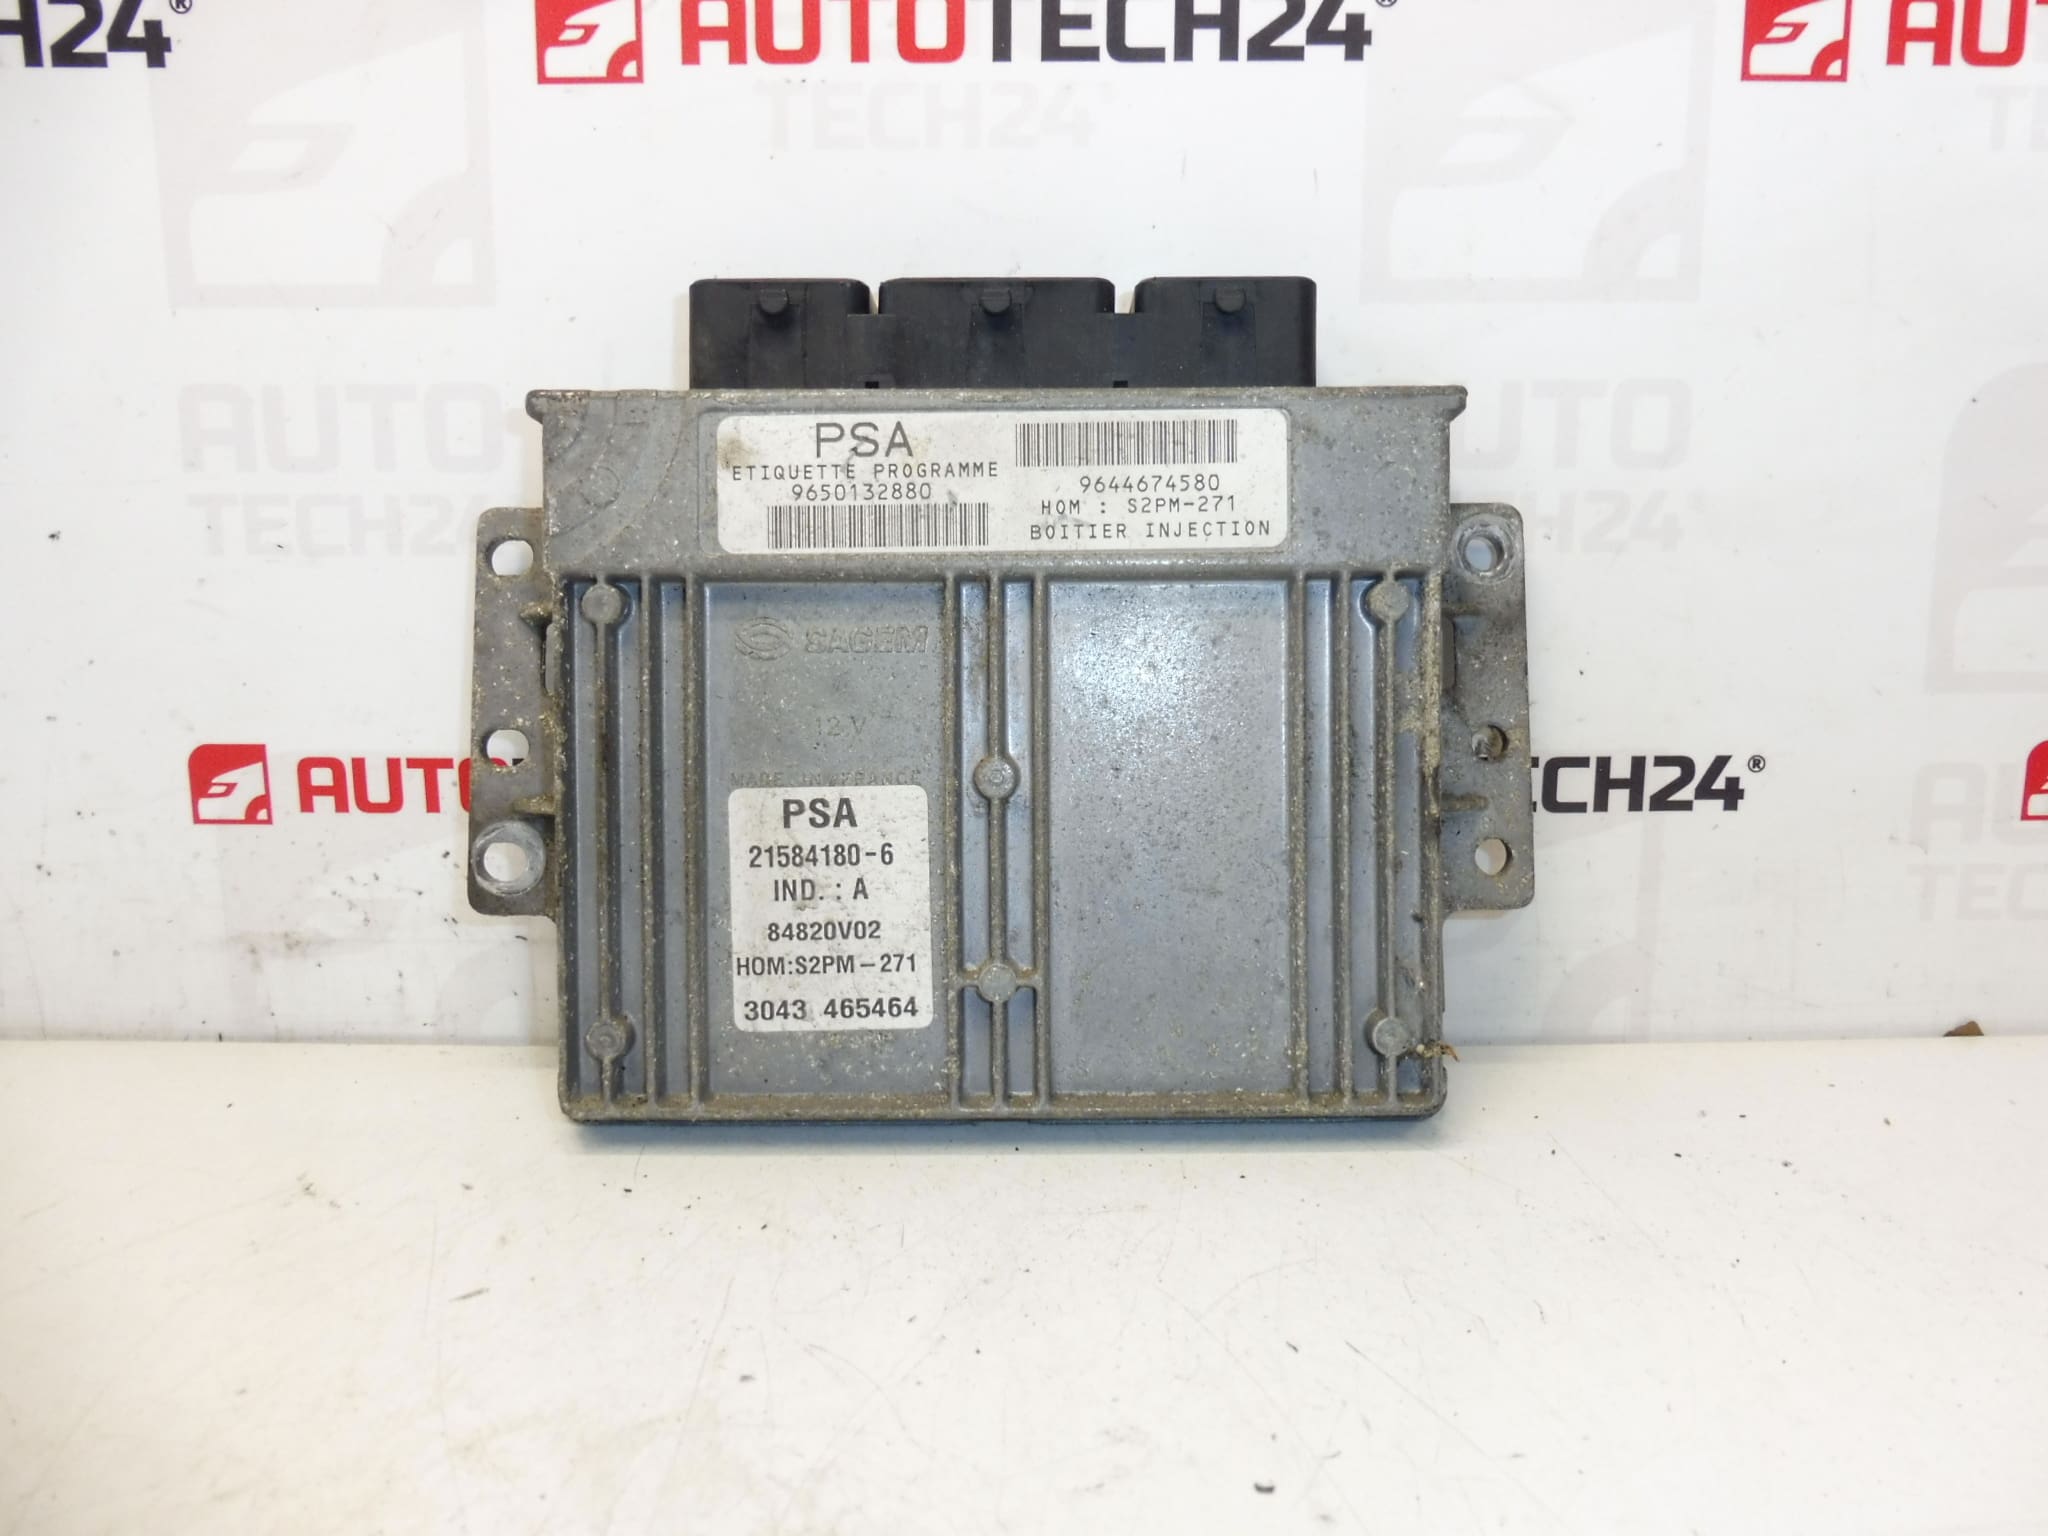
This Sagem S2PM-271 ECU injection control unit is a used original car part intended for Citroën and Peugeot cars within the Stellantis group, while the supplied documents show the Citroën Xsara Picasso 1.8 16V 6FZ model. The part is often searched by serial numbers 9650132880, 9644674580 and 194214, making it easy to correctly identify when replacing the original unit.
The engine control unit is a key part of the electronic control of the engine. Therefore, when replacing, it is important to pay attention not only to the matching of the markings, but also to the overall condition of the connectors and the body of the unit. For mechanics and do-it-yourselfers alike, this is a part that can help troubleshoot engine control problems if the original malfunctioning piece needs to be replaced with the same type.
Technical information
- Manufacturer: Sagem
- Model: S2PM-271
- Other numbers: 9650132880, 9644674580, 194214
Product codes
- Product codes: 9650132880, 9644674580, 194214
- Models from labels/backgrounds: Citroën Xsara Picasso
Installation recommendations
For injection control units, it is necessary to proceed carefully and with respect to the vehicle’s electronics. The exact workflow may vary depending on the specific car model, but in general the following recommendations apply for this type of part.
1) Before assembly
- Check that the markings on the original and the supplied unit match, especially the numbers 9650132880, 9644674580 and 194214.
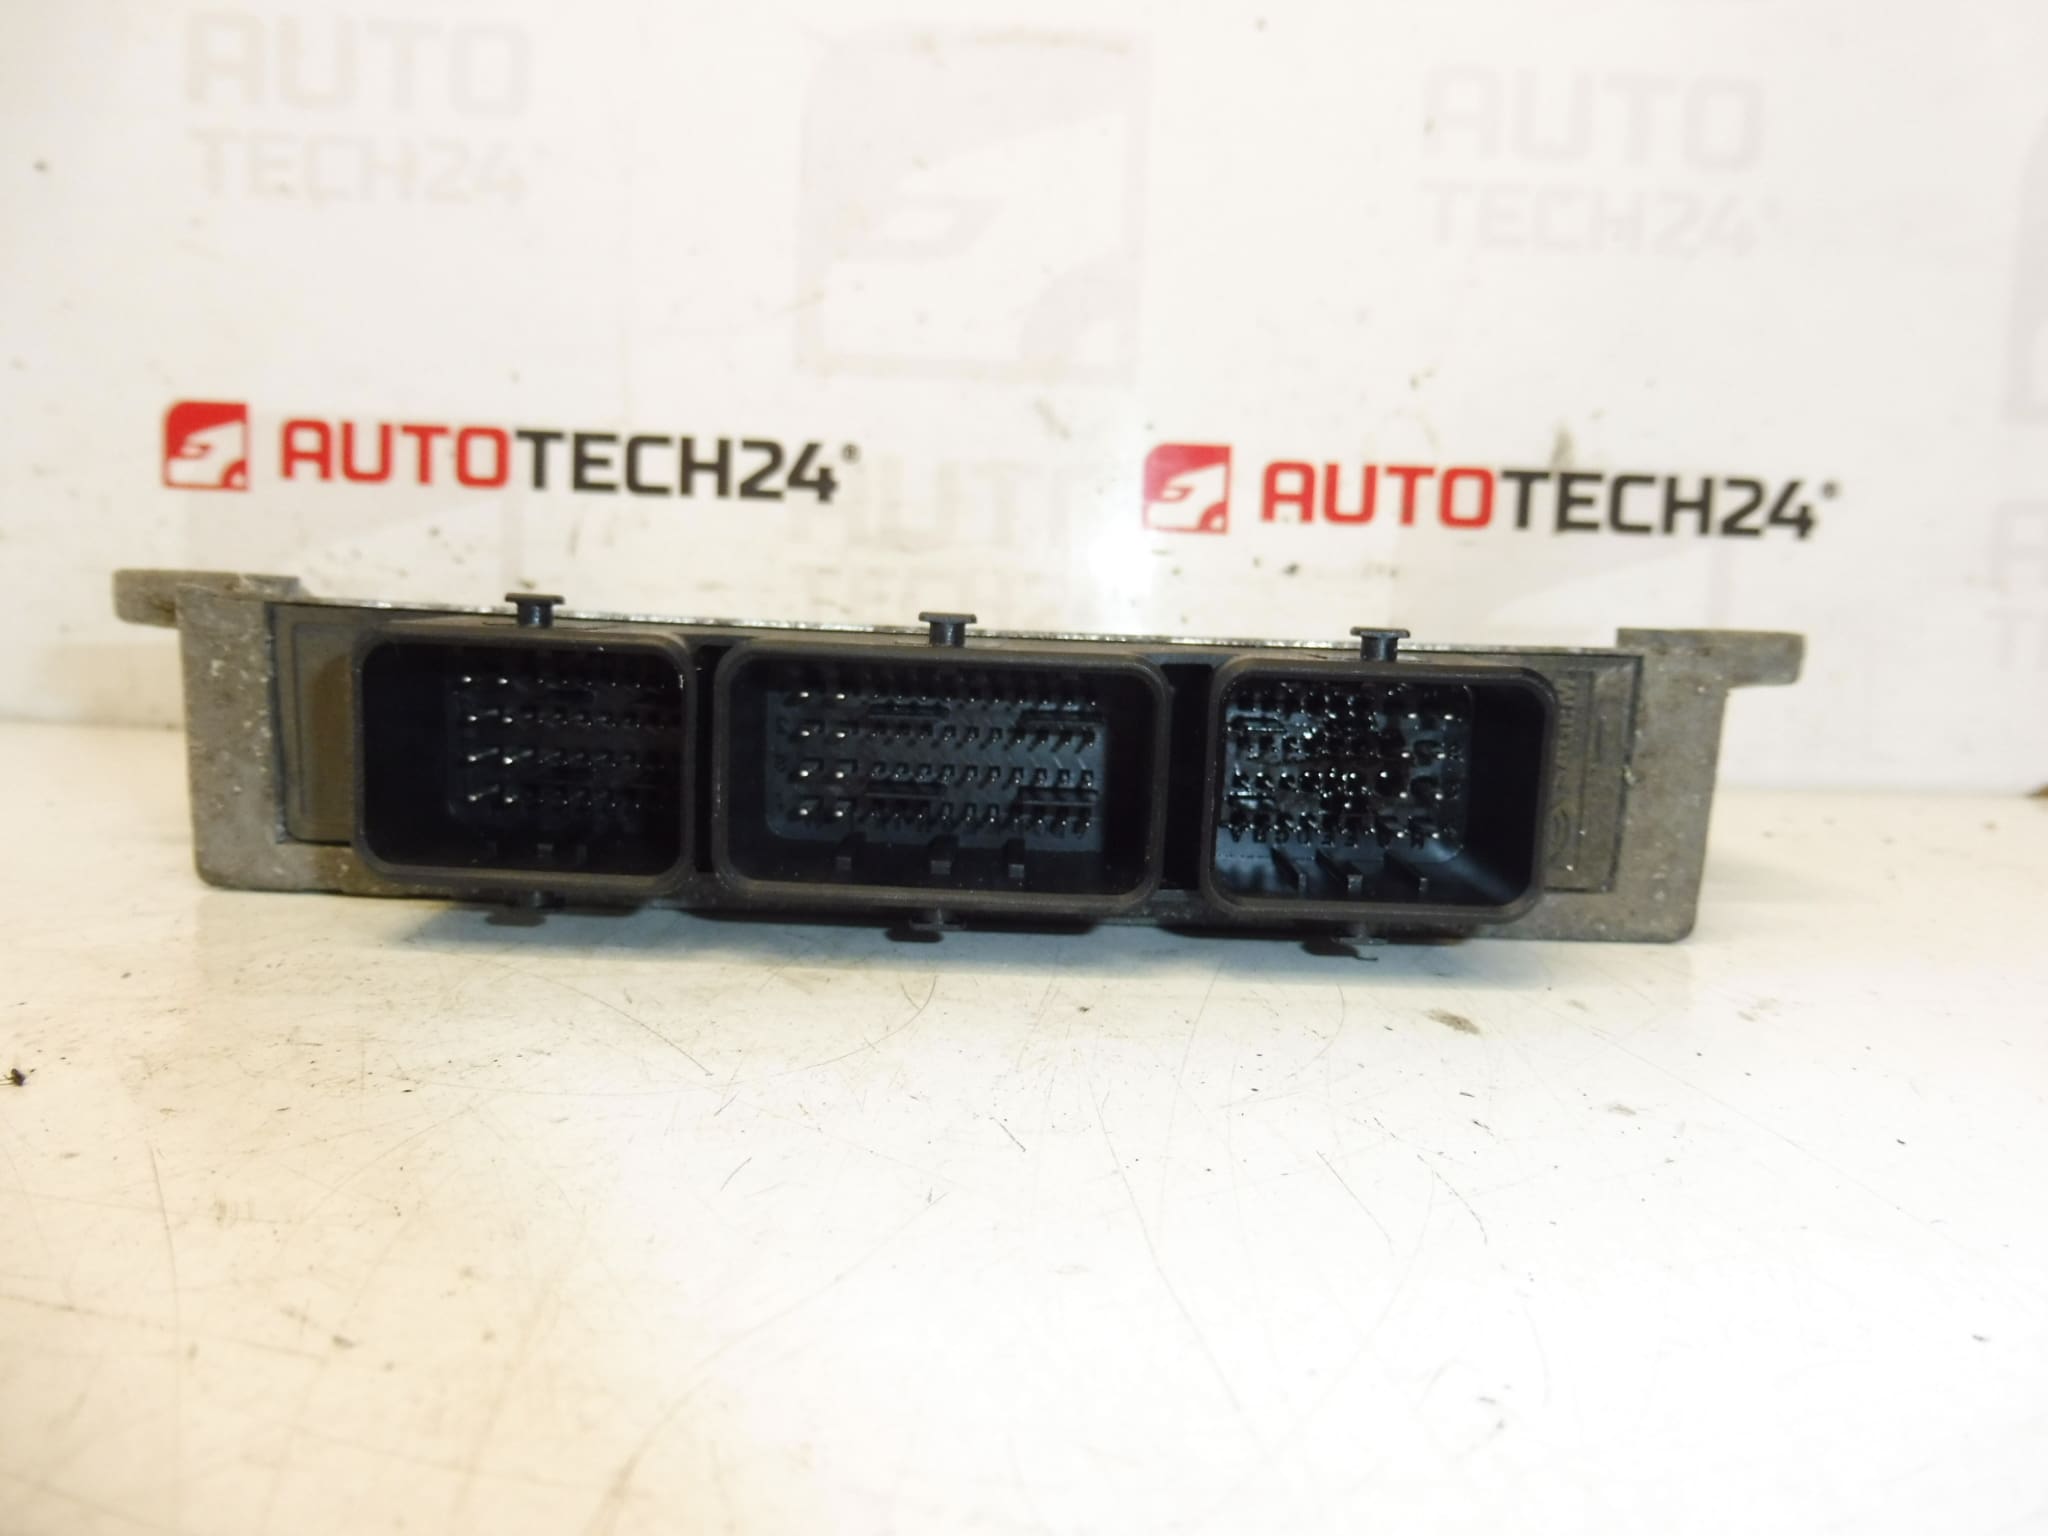
- Compare the type of connectors, their number, shape and condition of the contacts.
- Inspect the body of the unit for mechanical damage, oxidation or contamination.
- Before starting work, disconnect the battery according to normal service practice for working with car electronics.
2) Necessary tools and materials
- common hand tools
- clean work gloves
- means for gentle cleaning of connectors
- diagnostic equipment suitable for PSA vehicles should initialization or customization be required
3) Step-by-step assembly procedure
- Switch off the ignition and secure the vehicle against unwanted movement.
- Disconnect the battery and wait until the electronic systems are completely disconnected.
- Dismantle the original control unit in a manner typical of the vehicle and part storage.
- Disconnect all connectors carefully so as not to damage the latches or pins.
- Compare the original and new part by label, numbers and connector design.
- If necessary, gently clean the contact surfaces and check that the pins are not bent or dirty.
- Place the supplied unit in place and fix it in the same way as the original part.
- Connect the connectors carefully and without using excessive force.
- Reconnect the battery.
- Perform a basic power and communication check of the unit with diagnostics, if available.
- If necessary, arrange to adapt the unit according to the specific vehicle system.
- Verify that no error conditions occur after installation and that the system responds in a standard way.
-
4) Post-assembly checks and test drive/function verification
- Check that all connectors are properly seated and secured.
- Verify the unit’s communication with the vehicle using diagnostics if available.
- Monitor engine behavior after startup and operational stability.
- After a short test drive, check again for any faults or stored errors.
5) The most common assembly mistakes + how to avoid them
- Part exchange based on incomplete marking – always compare all numbers on the label.
- Connector damage when disconnecting – release the latches carefully and without prying with an inappropriate tool.
- Assembly with oxidation or dirt in the contacts – check and clean everything before connecting.
- Connecting or disconnecting a live unit – always disconnect the battery before working.
- Omission of a diagnostic check after installation – after installation it is advisable to verify the proper functioning of the system.
Assembly and Coding – Important
- The unit is used and is “paired” with the original car (VIN/PIN/keys).
- Commissioning options:
- Cloning data from the old drive (EEPROM/Flash) – after the clone, the drive is plug and play.
- Virginization and subsequent initialization/telecoding via DiagBox (possibly online) + customization of keys.
- Recommended to be performed by an expert with PSA service equipment (DiagBox/Lexia/PP2000).
- Always disconnect the battery before disassembly/assembly and follow the manufacturer’s procedure to avoid damaging the unit.
Reasons why the part is damaged
- voltage fluctuations in the on-board network or power supply problems
- intrusion of moisture, oxidation of contacts or long-term exposure to dirt
- mechanical damage during unprofessional disassembly or assembly
- damage to connectors, pins or wiring
- electronic overload due to a fault in related parts of the system
- age of the part and long-term thermal stress in operation