Description
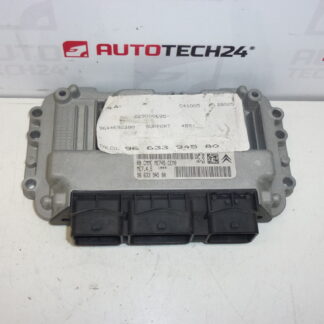
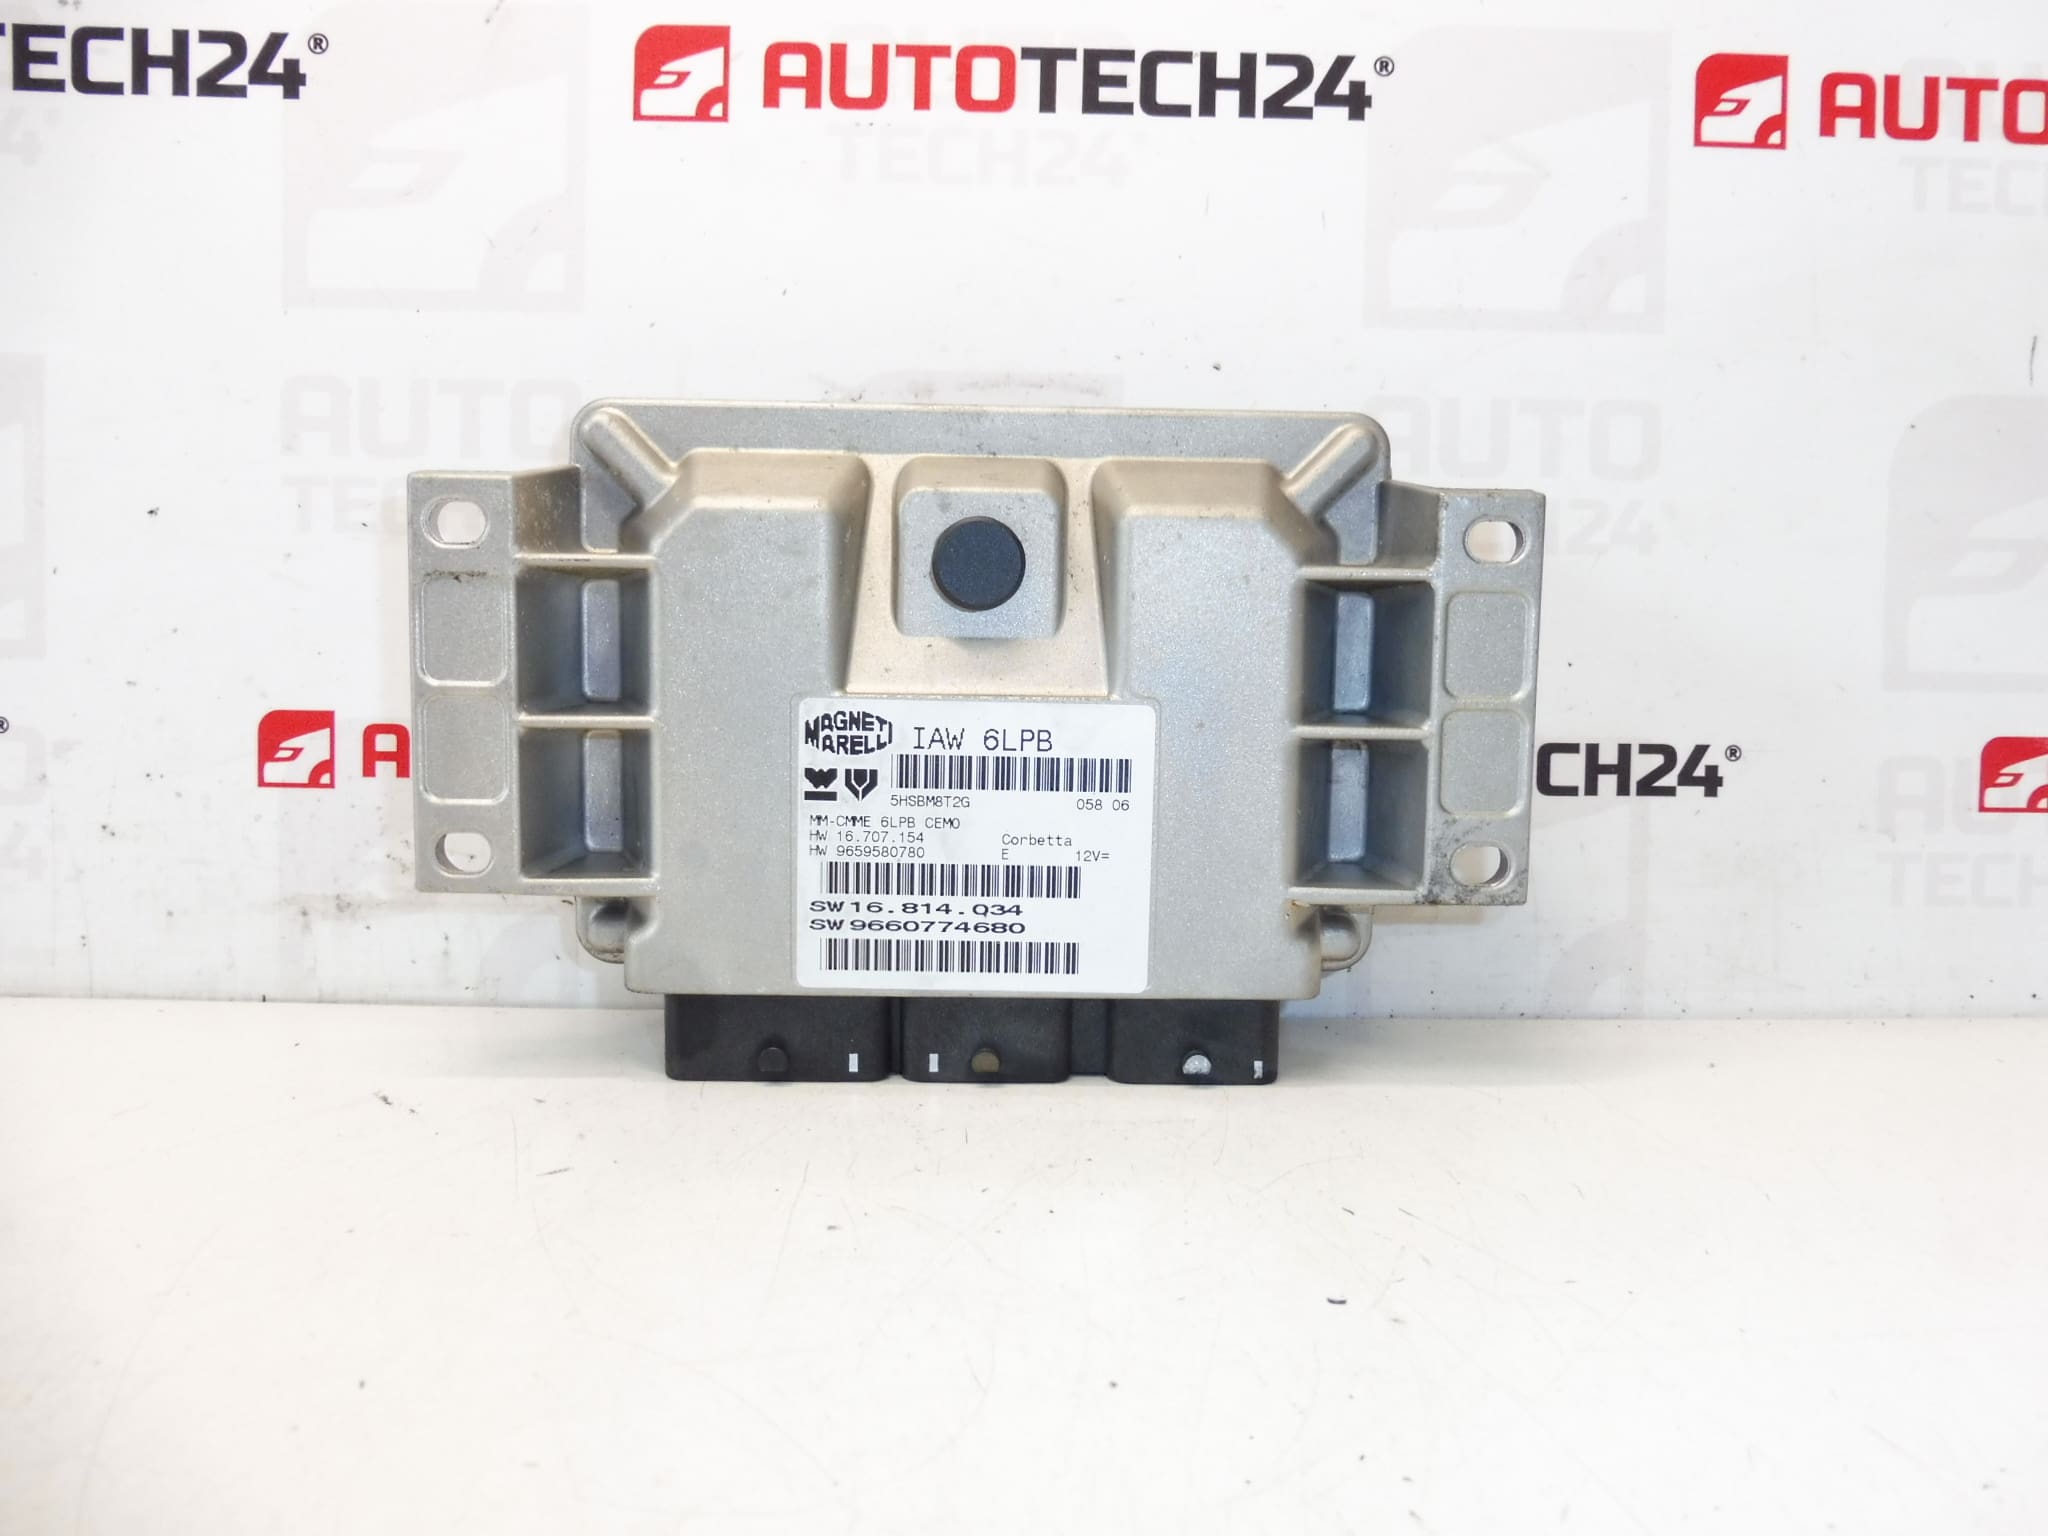
Magneti Marelli IAW 6LPB control unit for Citroën and Peugeot cars
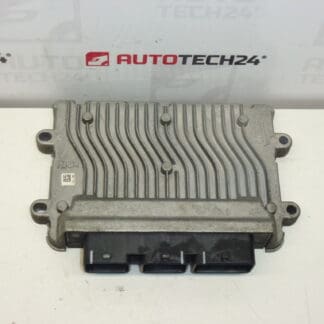
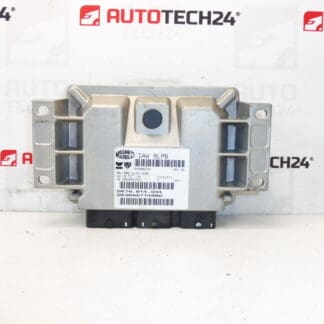
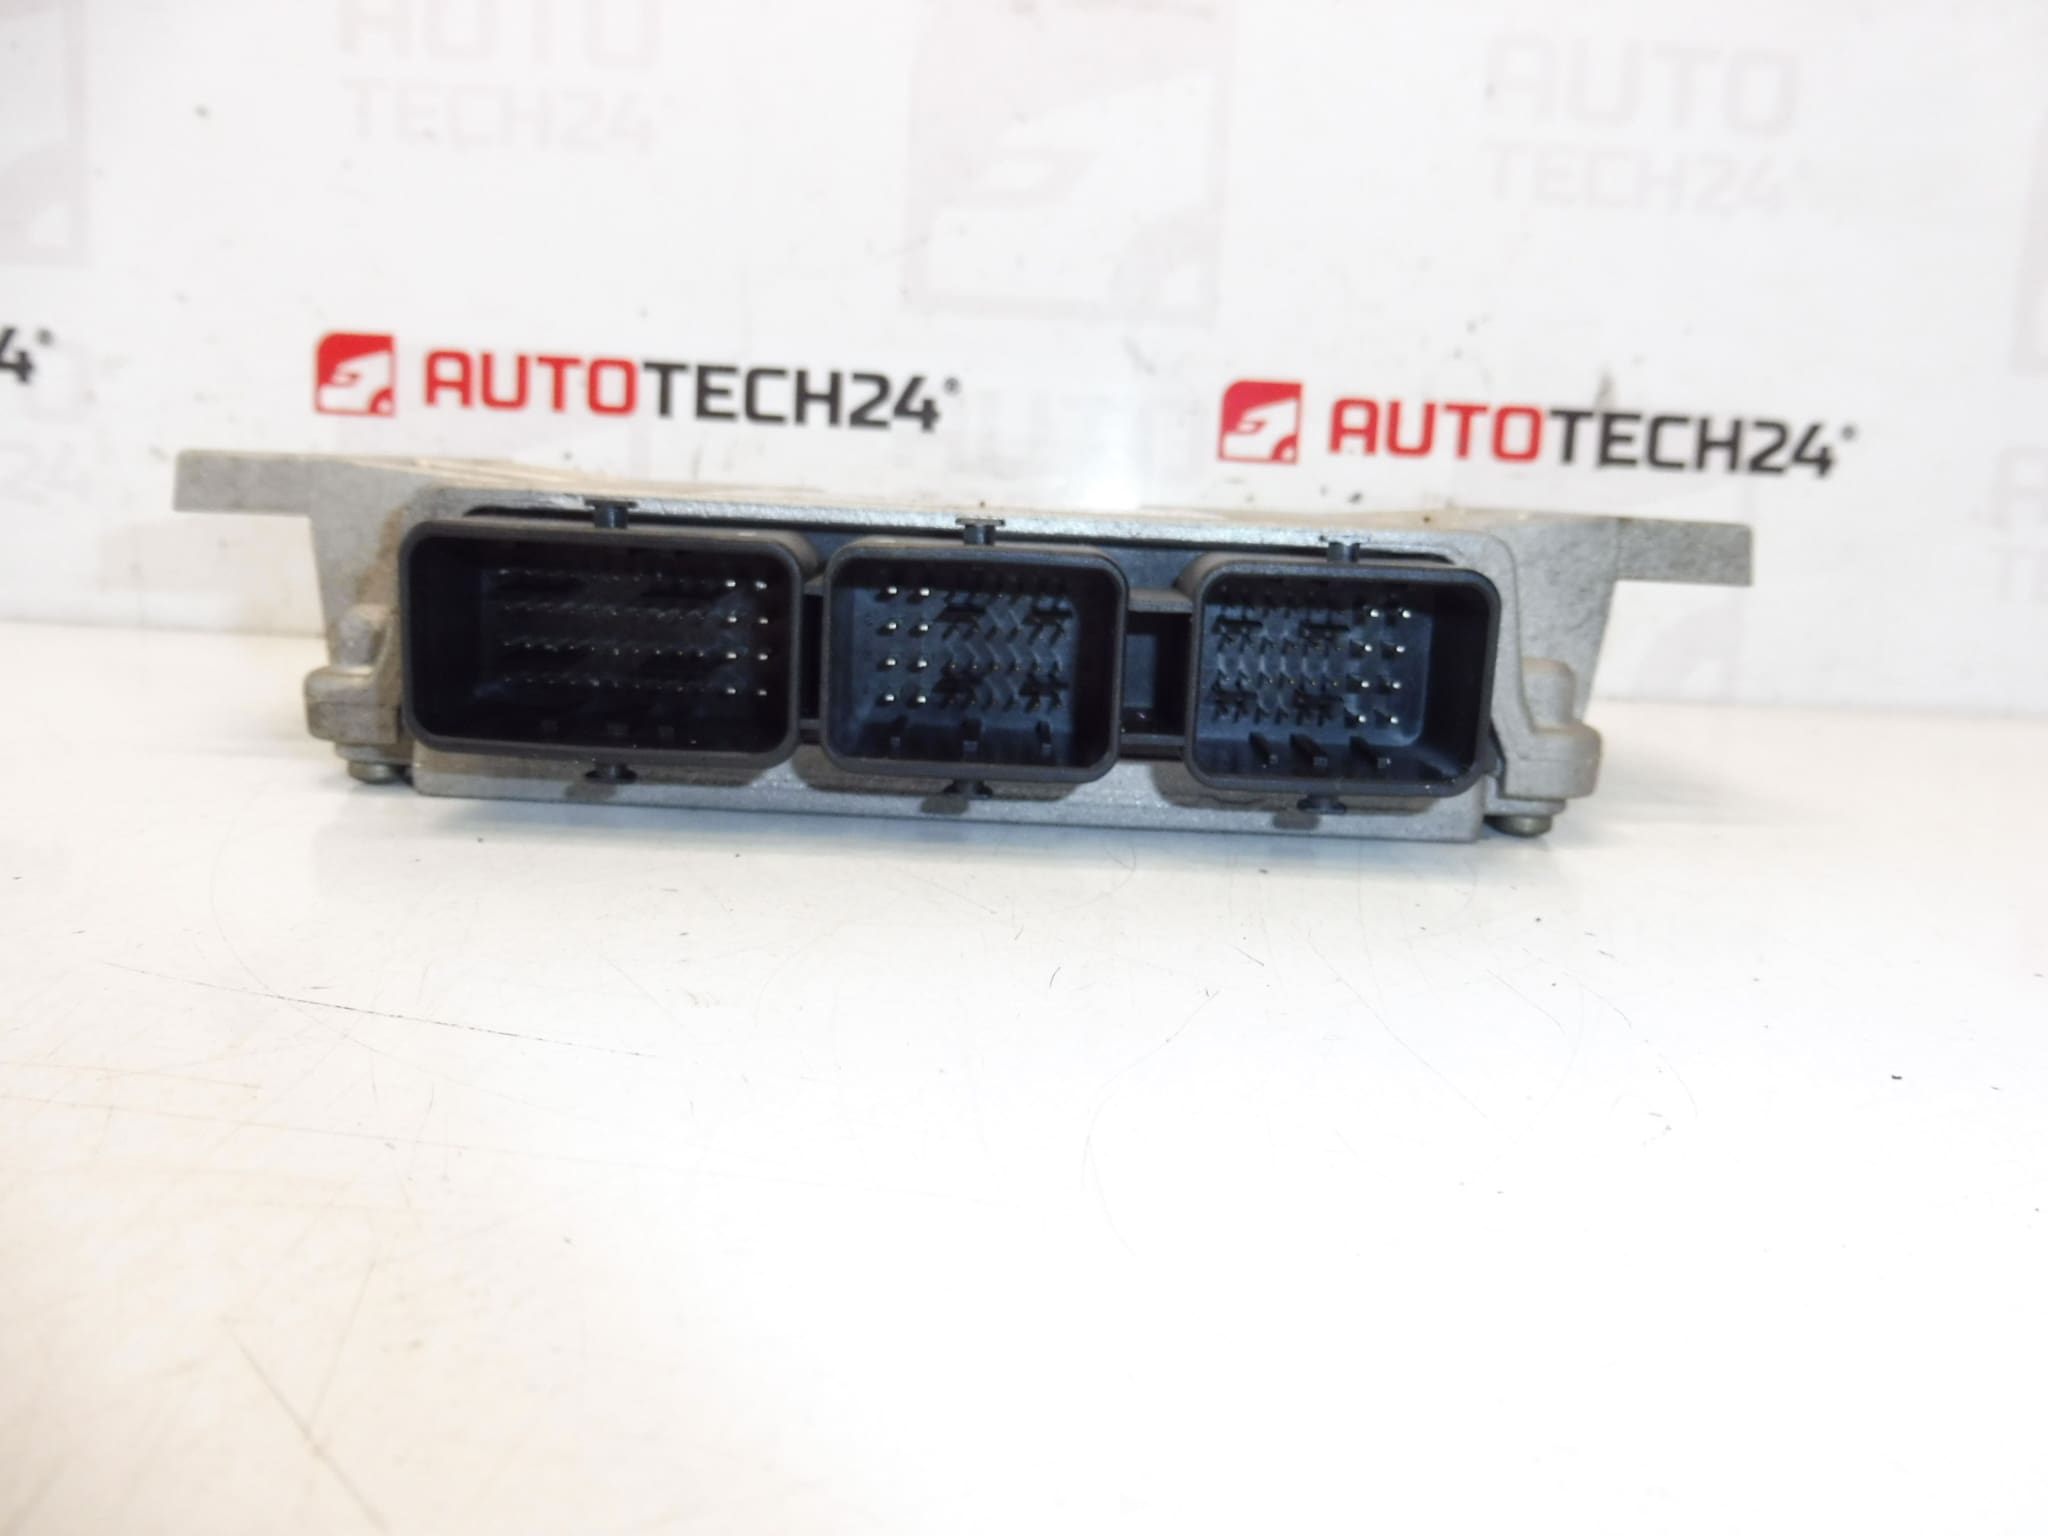
Part description
This ECU injection control unit is a genuine used auto part designed for Citroën and Peugeot cars. It is a Magneti Marelli IAW 6LPB unit, which is often searched for by the manufacturing designation and part numbers. It is especially important for auto mechanics and home repairers to accurately compare the label, connectors and codes listed on the original part.
The unit falls into the category of electric components / injection control unit and is suitable as a replacement for a damaged or non-functioning original piece. When choosing a used ECU, it is crucial to observe the matching of the markings, because it is the product numbers that are decisive when finding the right part.
Technical information
- Manufacturer: Magneti Marelli
- Model: IAW 6LPB
- Other numbers: 9660774680, 9659580780, 19423C4, 1939QZ, 1942ZP
Product codes
- Product codes: 9660774680, 9659580780, 19423C4, 1939QZ, 1942ZP
- Models from labels/backgrounds: Citroën C5, Peugeot 307, Peugeot 407
Installation recommendations
This part is an injection control unit. The exact installation steps may vary depending on the specific model and make of the car, so below is a general and safe procedure typically applicable to replacing this type of part.
1) Before assembly
- Check that the designation Magneti Marelli IAW 6LPB and all important numbers on the label match.
- Compare the connectors, mounts and overall appearance with the old unit.
- Inspect the used part for mechanical damage, oxidation or traces of moisture.
- Before any handling, disconnect the battery according to normal service practice.
2) Necessary tools and materials
- Basic set of hand tools
- Suitable bits or heads for removing covers and brackets
- Cleaning agent for electrical connectors
- Protective gloves and lint-free cloth
- Diagnostic equipment for subsequent adaptation of the unit
3) Step-by-step assembly procedure
- Turn off the ignition and leave the car in idle mode.
- Disconnect the battery.
- Get access to the original control unit by removing the necessary covers or brackets.
- Disconnect all electrical connectors carefully so as not to damage the latches.
- Remove the original unit from the bracket or mount.
- Compare the old and new part by label, numbers and connector designs.
- Clean the connectors and check that they are not dirty or corroded.
- Place the replacement ECU in place and fix it in the same way as the original piece.
- Connect all connectors carefully and without force until they fit properly.
- Reinstall all removed covers and brackets.
- Connect the battery.
- Perform the necessary diagnostic actions according to the type of vehicle and the condition of the unit.
-
4) Post-assembly checks and test drive/function verification
- Check that all connectors are properly seated.
- Verify that the unit communicates with the vehicle system when the ignition is turned on.
- After starting, observe the stability of the engine and any warning messages.
- After successful commissioning, perform a short function verification in normal operation.
5) The most common assembly mistakes + how to avoid them
- Unit exchange based on a similar but not exactly identical number – always compare the entire label carefully.
- Assembly without checking the connectors – dirty or damaged contacts can cause malfunction.
- Manipulation with a connected battery – there is a risk of damage to the electronics.
- Mechanical damage to connector latches during disassembly or assembly – proceed carefully and without violence.
- Underestimation of the diagnostic adjustment of the unit after replacement – often necessary for ECUs.
Assembly and Coding – Important
– The unit is used and is “paired” with the original car (VIN/PIN/keys).
– Commissioning options:
1) Cloning data from the old drive (EEPROM/Flash) – after the clone, the drive is plug and play.
2) Virginization and subsequent initialization/telecoding via DiagBox (possibly online) + customization of keys.
– Recommended to be performed by a specialist with PSA service equipment (DiagBox/Lexia/PP2000).
– Always disconnect the battery before disassembly/assembly and follow the manufacturer’s procedure to avoid damaging the unit.Reasons why the part is damaged
- Moisture, oxidation of contacts or long-term exposure to dirt
- Voltage fluctuations in the vehicle’s electrical system
- Damage to connectors or wiring
- Unprofessional handling during previous disassembly or assembly
- Overheating or long-term load on electronics