Description
Control unit for PEUGEOT 308 1.6 e-HDI START-STOP cars
100% functional
Part description
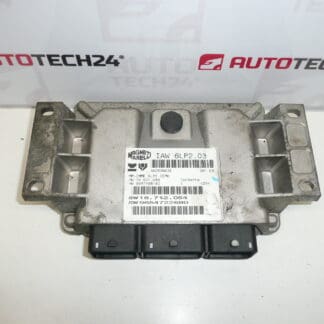
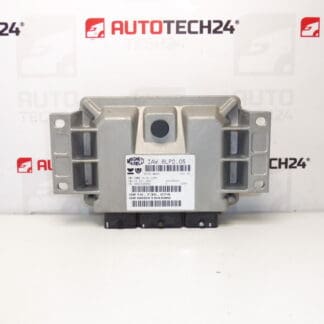
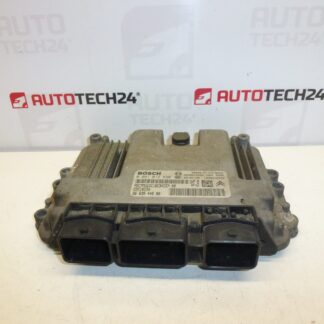
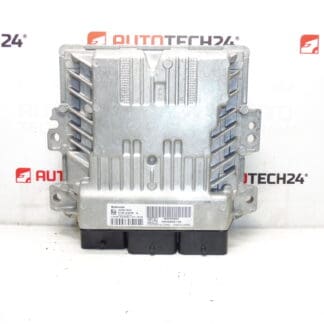
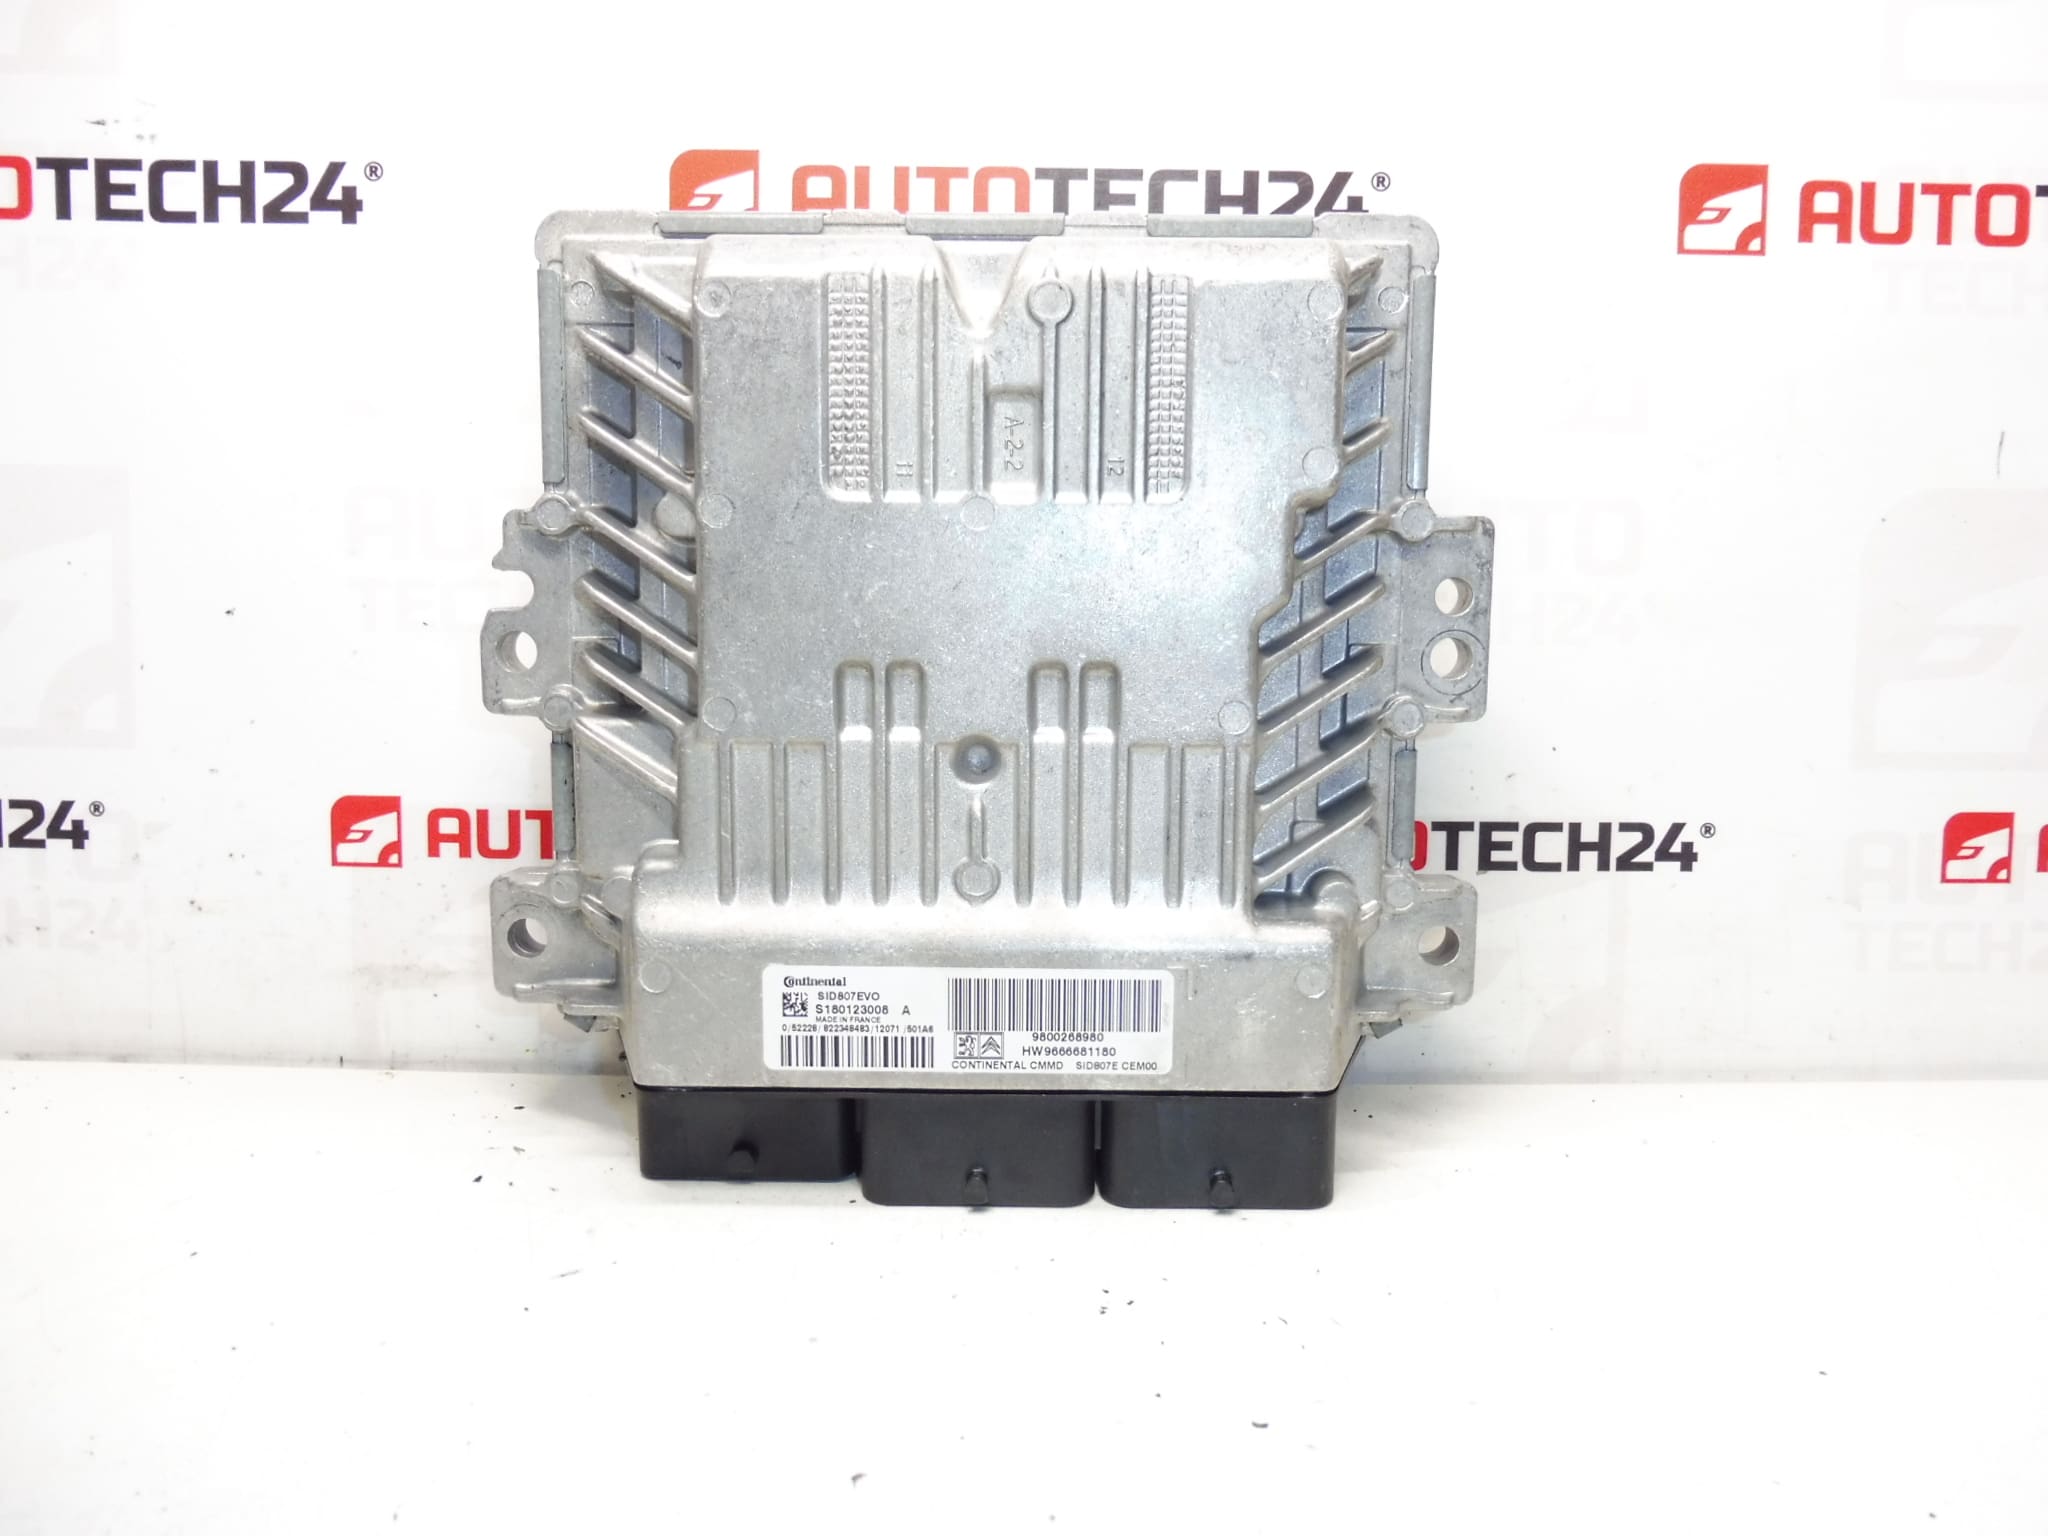
This ECU Continental SID807EVO injection control unit is a used genuine auto part designed for Peugeot 308 1.6 e-HDI START-STOP cars. It is an important electronic component that ensures the control of engine functions and the correct cooperation of downstream systems. When looking for a spare part, matching the product number is essential, so we recommend paying attention to all the listed markings.
The part is suitable for mechanics and more experienced DIYers looking for an original used unit at a reasonable price. The advantage is the preservation of the original design of the manufacturer Continental and the marking, according to which the part can be easily found in the search even when comparing it with the existing unit in the car.
Technical information
- Manufacturer: Continental
- Model: Peugeot 308 1.6 e-HDI START-STOP
- Other numbers: S180123008 A, 9800268980, 9666681180, 1607488880, 1677627080, 1607488980
Product codes
- Product codes: S180123008 A, 9800268980, 9666681180, 1607488880, 1677627080, 1607488980
- Models from labels/backgrounds: Peugeot 308
Installation recommendations
This part is an injection control unit. The exact replacement procedure may vary according to the specific design of the car, so below we present a generally valid and safe procedure typical for this type of part.
1) Before assembly
- Check that all numbers on the original and new units match.
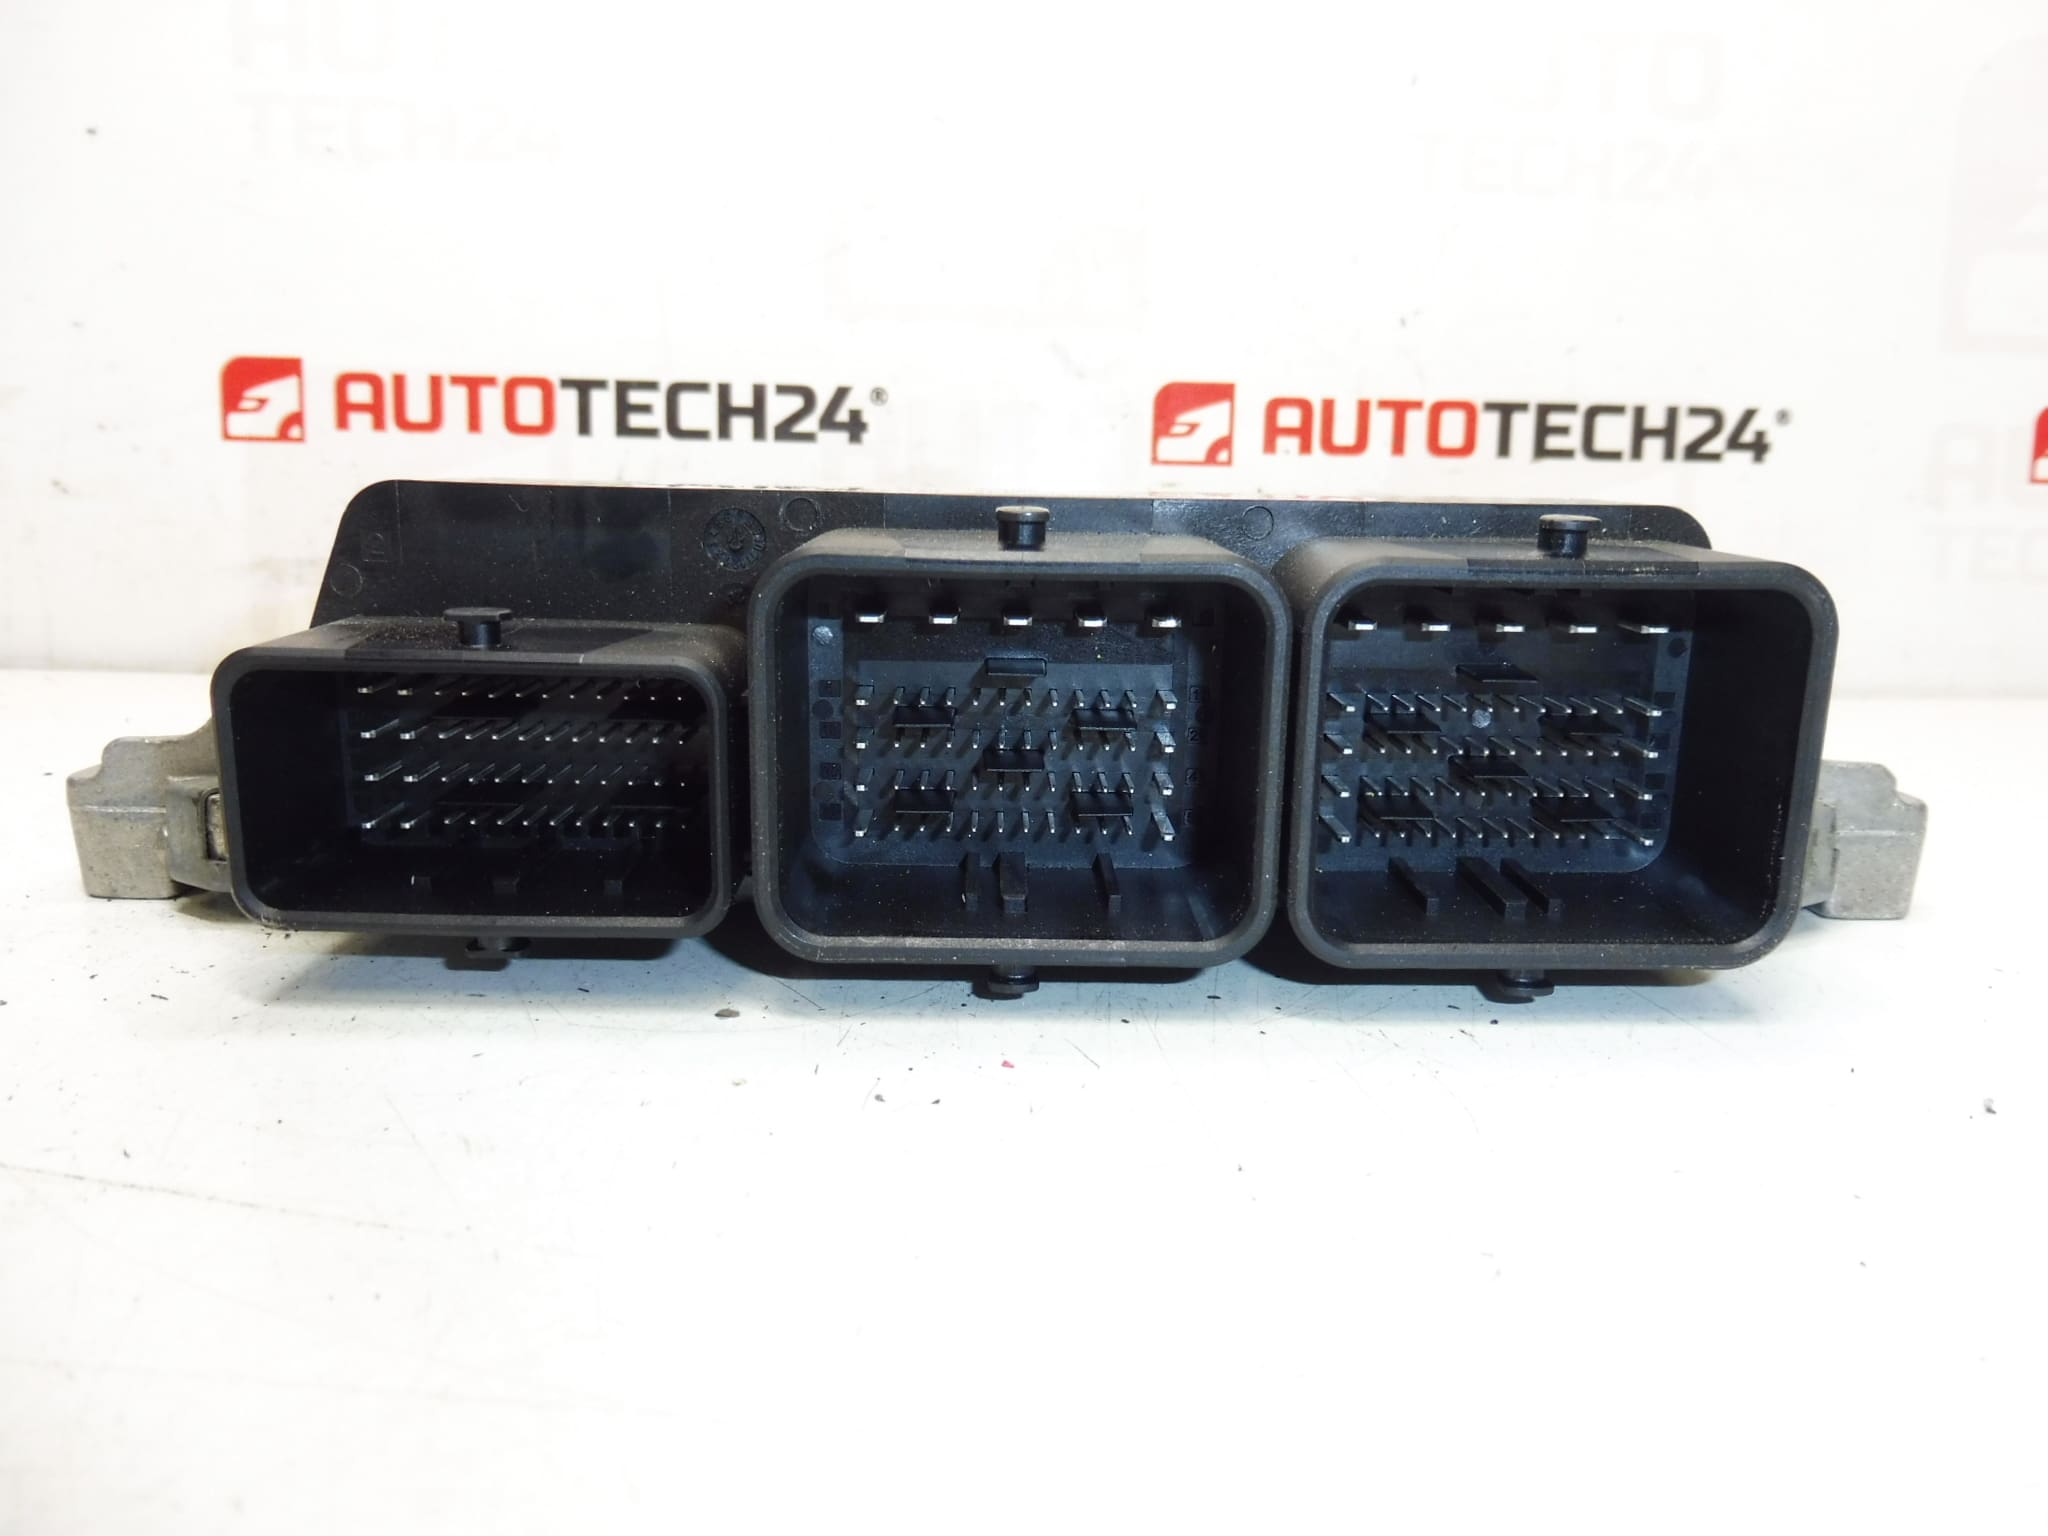
- Compare the type of connectors, their number and the overall appearance of the unit.
- Inspect the condition of the connector pins, whether they are bent, oxidized or mechanically damaged.
- Verify that the unit case is not cracked, deformed or affected by moisture.
- Before starting work, turn off the ignition and secure the vehicle against unwanted movement.
2) Necessary tools and materials
- Basic set of hand tools
- Suitable attachments for removing covers and holders
- Cleaning agent for electrical contacts
- Clean lint-free cloth
- Diagnostic equipment for subsequent commissioning
3) Step-by-step assembly procedure
- Turn the ignition off and remove the key or disable the vehicle system according to normal service procedure.
- Disconnect the battery to minimize the risk of damaging the electronics.
- Access the unit by removing any necessary covers or brackets.
- Before disassembling the original unit, check the markings and compare them with the replacement part.
- Disconnect the electrical connectors carefully, without using excessive force and without prying into the locking elements.
- Unmount the original drive from its storage.
- Clean the installation area and check the condition of the connectors and cabling.
- Place the replacement unit in place and fix it in the same way as the original part.
- Connect the connectors so that they are properly seated and secured.
- Reinstall all removed covers and brackets.
- Connect the battery.
- Perform a diagnostic check and subsequent commissioning of the unit according to the equipment and procedure for the vehicle.
-
4) Post-assembly checks and test drive/function verification
- Check if the vehicle is communicating with the diagnostics.
- Verify that the connectors are tight and there is no loose wiring anywhere.
- After starting the system, observe whether there are any non-standard electronic manifestations.
- If the condition of the vehicle allows it, carry out a function verification in normal operation and check the behavior of the motor control.
5) The most common assembly mistakes + how to avoid them
- Assembly without unit code comparison – always compare all labels first.
- Damage to connectors due to rough handling – disconnect and connect connectors carefully.
- Connecting or disconnecting a live unit – always disconnect the battery first.
- Neglecting oxidation and dirt control – clean contact surfaces and surroundings before assembly.
- Expecting immediate functionality without a software solution – professional intervention may be needed for used control units.
Assembly and Coding – Important
- The unit is used and is “paired” with the original car (VIN/PIN/keys).
- Commissioning options:
- Cloning data from the old drive (EEPROM/Flash) – after the clone, the drive is plug and play.
- Virginization and subsequent initialization/telecoding via DiagBox (possibly online) + customization of keys.
- Recommended to be performed by an expert with PSA service equipment (DiagBox/Lexia/PP2000).
- Always disconnect the battery before disassembly/assembly and follow the manufacturer’s procedure to avoid damaging the unit.
Reasons why the part is damaged
- Voltage fluctuations in the on-board network or problems with the accumulator or recharging.
- Intrusion of moisture into the space of the unit or connectors.
- Oxidation of contacts and long-term neglected state of cabling.
- Mechanical damage during unprofessional disassembly or assembly.
- Short circuit in the vehicle electrical installation.
- Excessive thermal load and age of electronic components.