Description
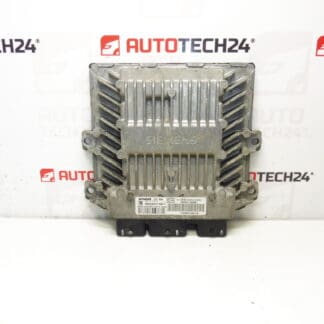
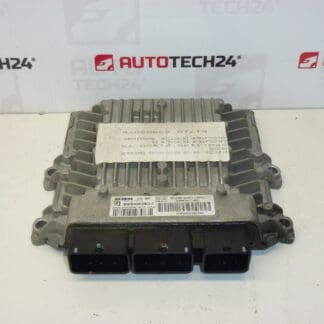
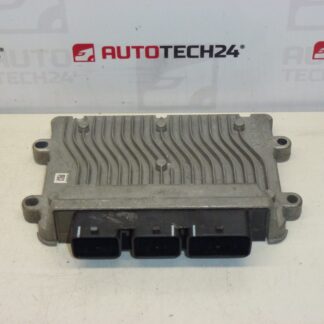
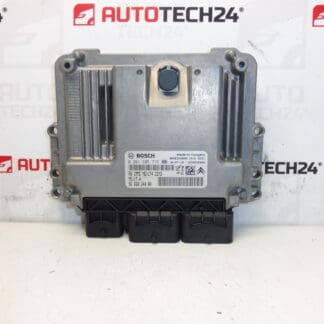
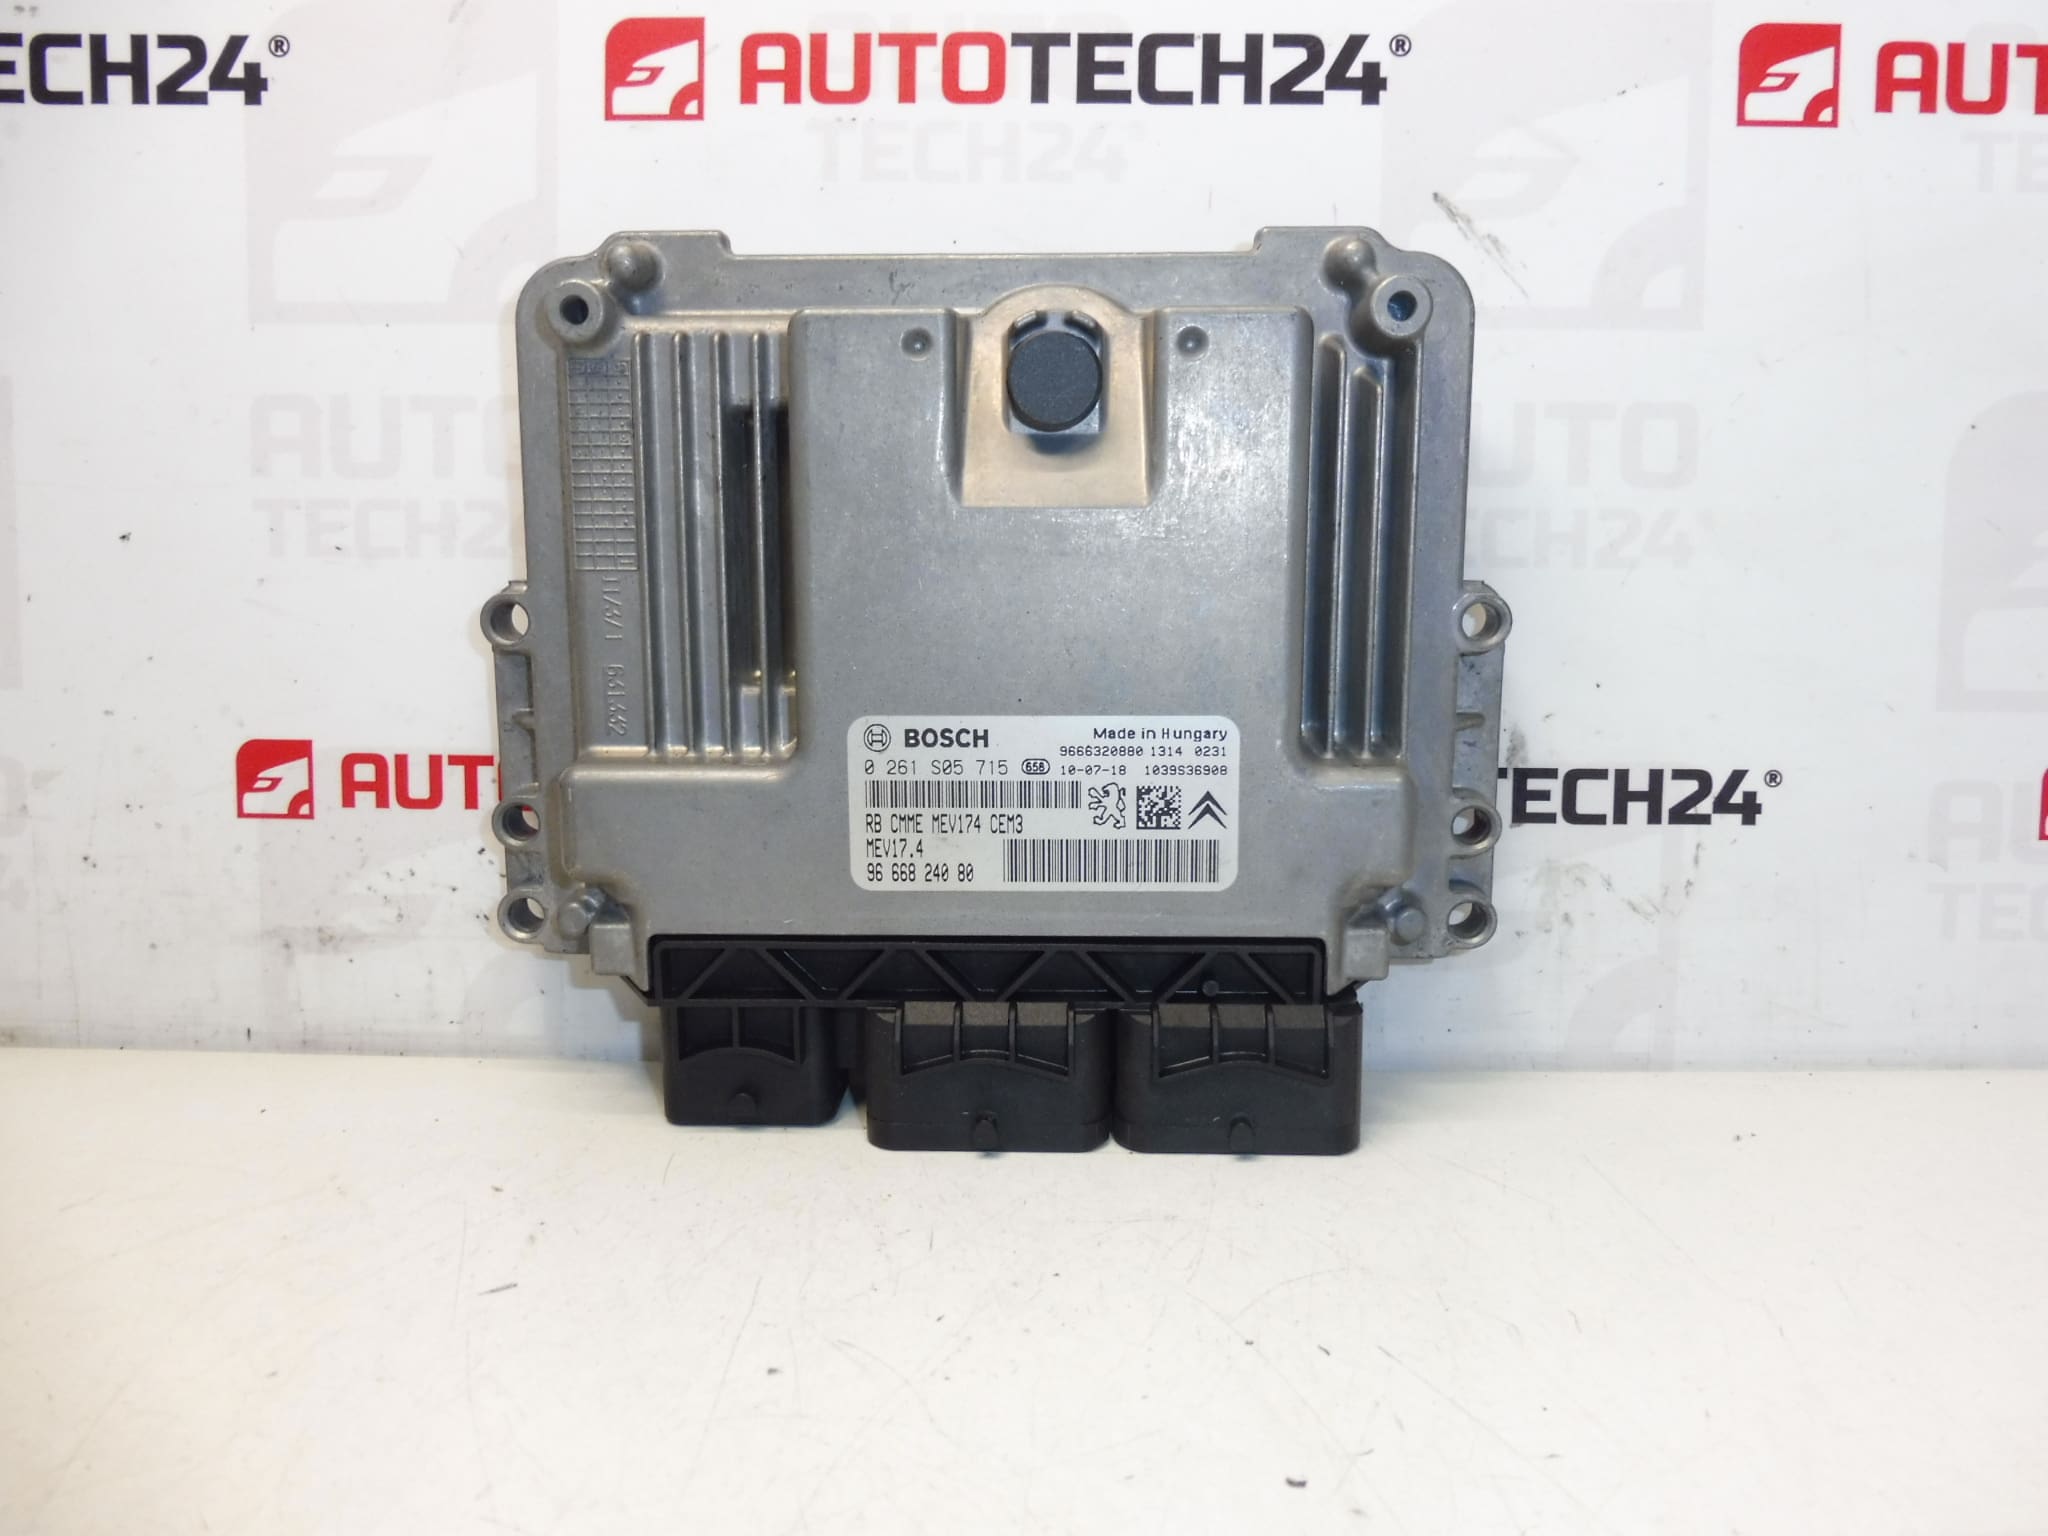
BOSCH injection control unit for CITROEN and PEUGEOT cars with 1.6 VTI engine
It is from a PEUGEOT 308 1.6 VTi 5FS
Part description
This Bosch injection control unit is a used genuine auto part designed for Citroën and Peugeot cars. It is an important electronic component of the engine control system, which processes operational data and participates in the correct function of the injection and engine operation.
The part comes from a Peugeot 308 1.6 VTi 5FS, which is important information when comparing to the original unit. When looking for the right part, it is essential to be guided primarily by the unit number, because with control units, code matching is key for further assembly, data transfer or subsequent commissioning.
For auto mechanics and home repairers, this part is a suitable choice in case of replacement after a defect in the original ECU, when solving problems with engine electronics or as a spare part for professional vehicle commissioning.
Technical information
- Manufacturer: Bosch
- Model: Peugeot 308 1.6 VTi 5FS
- Other numbers: 0261S05715, 9666824080, 9666320880, 1610570880, 1943WS
Product codes
Installation recommendations
This part is an injection control unit, so it is necessary to proceed carefully and with respect to the vehicle’s electronics during assembly. The exact procedure may vary depending on the specific car model, but the steps below are common practice for this type of part.
1) Before assembly
- Check that the markings of the original and replacement units match, especially 0261S05715 and other codes listed.
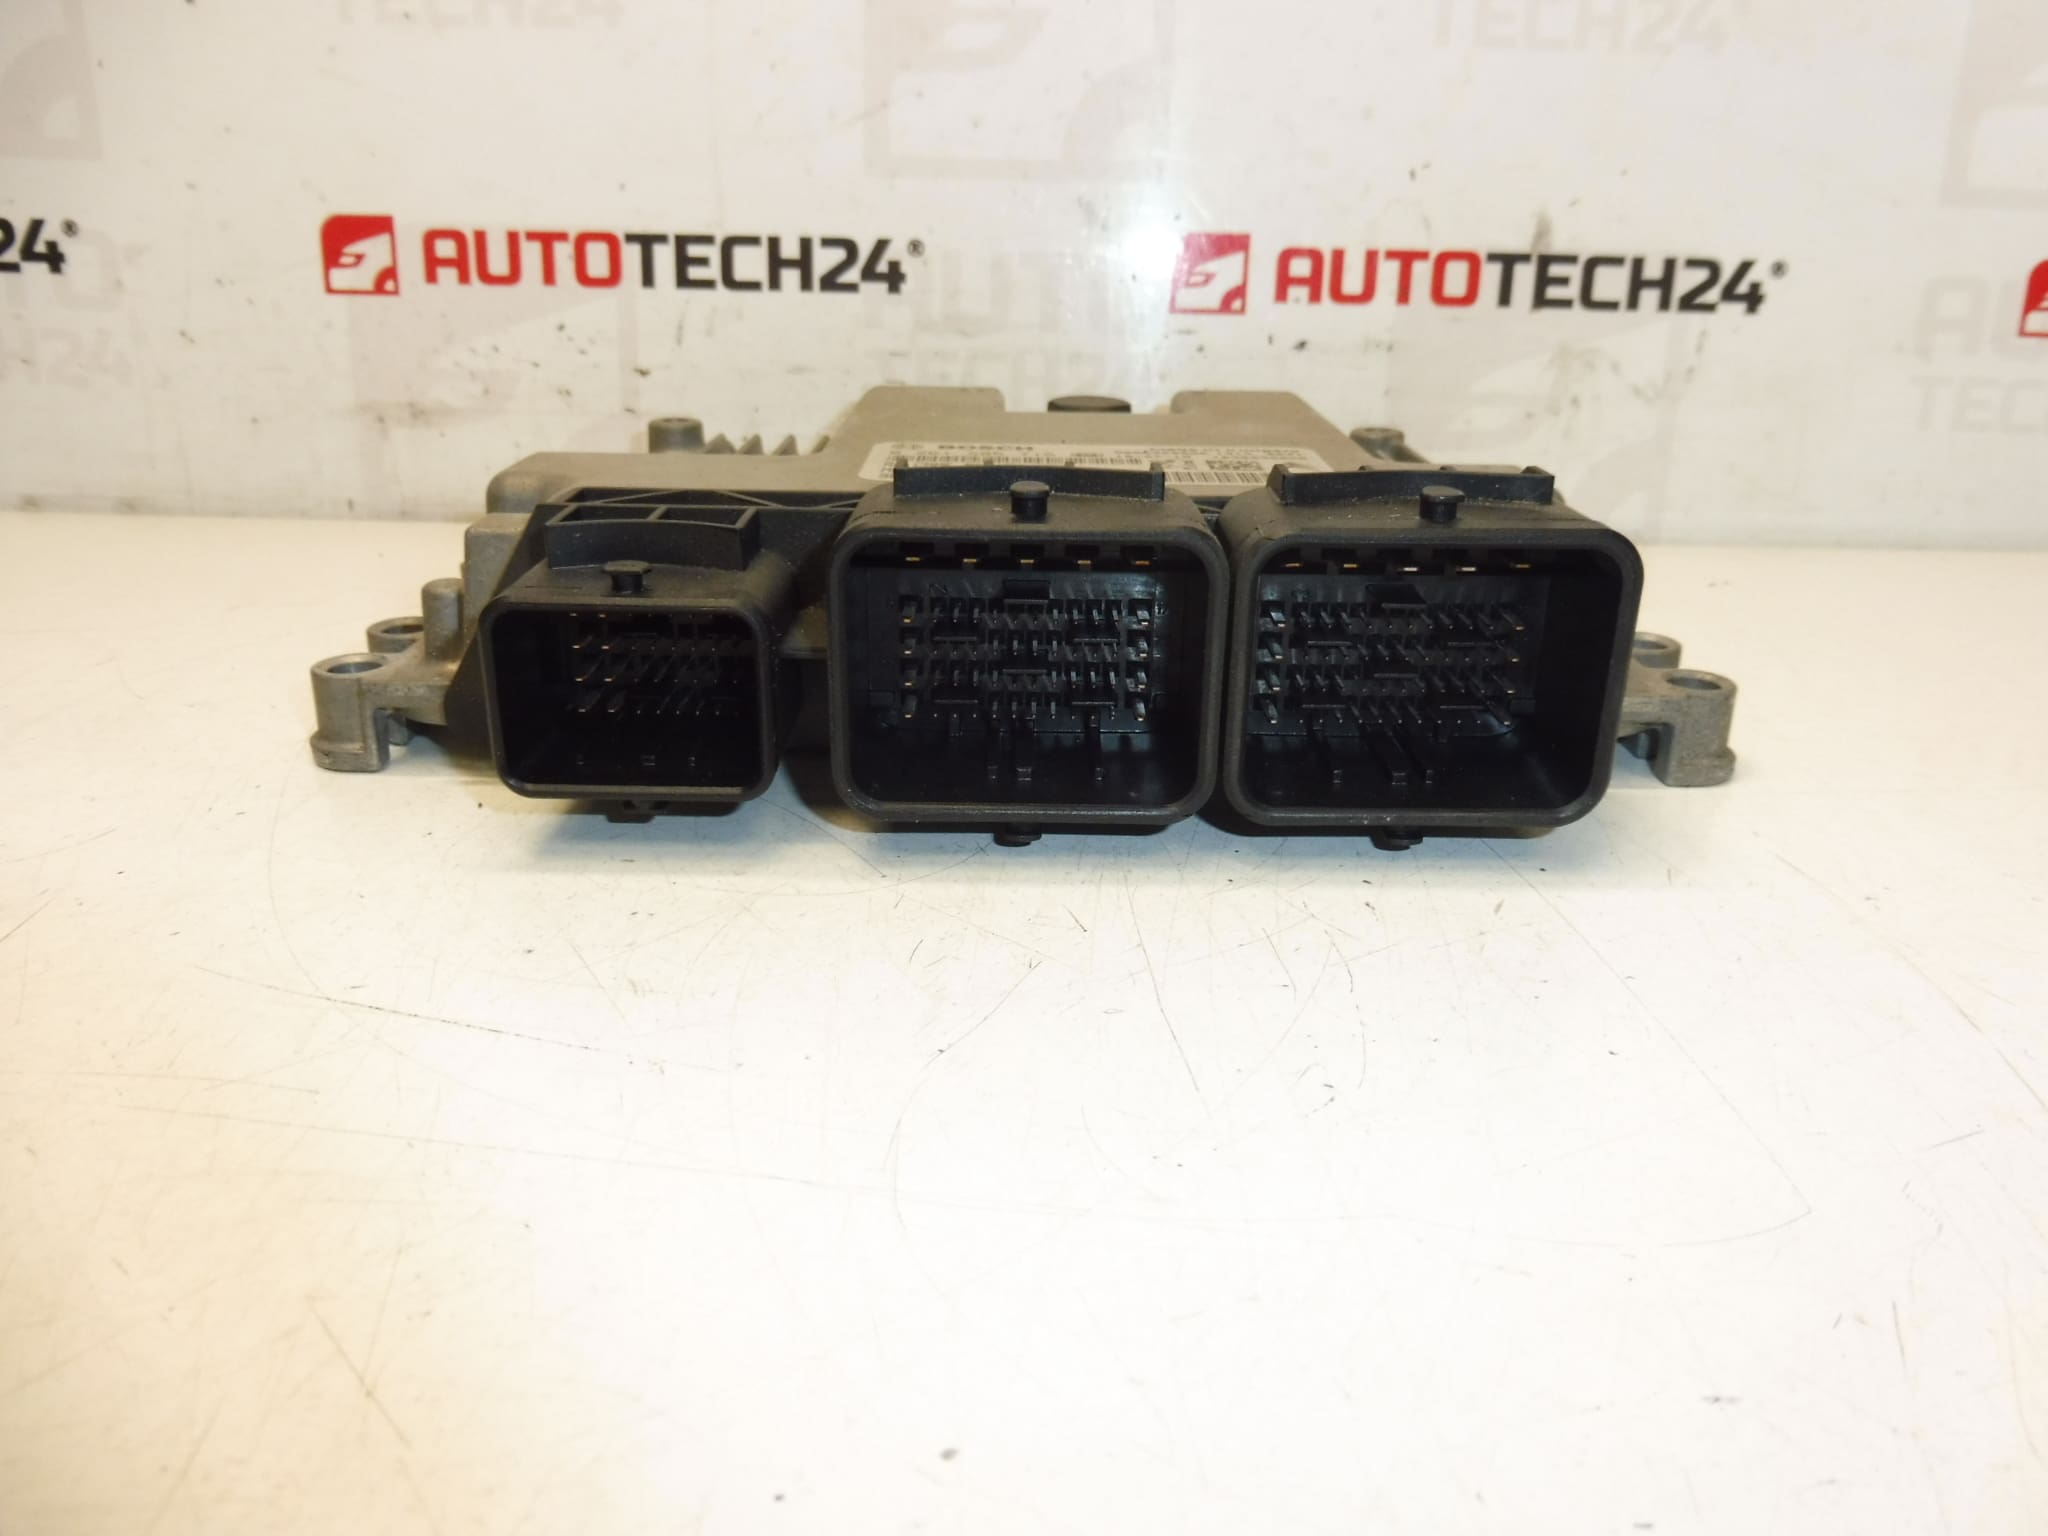
- Compare the connectors, their number, shape, orientation and general condition of the contacts.
- Visually check whether the unit case is cracked, deformed, or affected by corrosion or moisture.
- Check the condition of the pins in the connectors, whether they are bent, pressed or dirty.
- Before starting work, disconnect the battery according to the usual principles of safe work with vehicle electronics.
2) Necessary tools and materials
- A common set of hand tools
- Suitable attachments for disassembling the unit’s mounting
- Cleaning agent for electrical contacts
- Protective gloves
- Diagnostic equipment for subsequent commissioning
3) Step-by-step assembly procedure
- Turn off the ignition and leave the vehicle in idle mode.
- Disconnect the battery to avoid damaging the electronics or causing communication errors.
- Access the original control unit according to the design of the specific car.
- Carefully disconnect all connectors without excessive prying or force.
- Unmount the old unit and remove it from the vehicle.
- Compare the old and new part by all available numbers, connectors and designs.
- If necessary, gently clean the connectors and check their condition.
- Place the replacement unit in place and fix it in the original way.
- Connect the connectors so that they are properly seated and secured.
- Reconnect the battery.
- Perform a diagnostic check and verify the unit’s communication with the vehicle system.
- If necessary, have the unit professionally transferred, initialized or otherwise set up.
-
4) Post-assembly checks and test drive/function verification
- Verify that the unit is communicating with the diagnostics.
- Check that all connectors are properly seated and secured.
- After starting the engine, monitor the running stability and basic functionality of the system.
- Check for communication or motor control related faults.
- After successful commissioning, perform a short function verification in normal operation.
5) The most common assembly mistakes + how to avoid them
- Unit swap by incomplete designation – always compare all available part numbers.
- Assembly with a damaged connector – before connecting, check the pins and the securing of the connector.
- Connecting while the power is on – always work with the battery disconnected.
- Underestimation of the need for software commissioning – used ECUs may require professional intervention.
- Rough handling of the unit – protect electronic parts from shock, moisture and static electricity.
Assembly and Coding – Important
- The unit is used and is “paired” with the original car (VIN/PIN/keys).
- Commissioning options:
- Cloning data from the old drive (EEPROM/Flash) – after the clone, the drive is plug and play.
- Virginization and subsequent initialization/telecoding via DiagBox (possibly online) + customization of keys.
- Recommended to be performed by an expert with PSA service equipment (DiagBox/Lexia/PP2000).
- Always disconnect the battery before disassembly/assembly and follow the manufacturer’s procedure to avoid damaging the unit.
Reasons why the part is damaged
- Voltage fluctuations in the on-board network or problems with the vehicle’s power supply
- Moisture, contact oxidation or leakage into the connector area
- Cabling damage, short circuit or transient resistances in the connectors
- Inappropriate handling during previous disassembly or assembly
- Surge during starting, recharging or when other electrical parts fail
- Natural wear and tear of electronics due to age and operation