Description
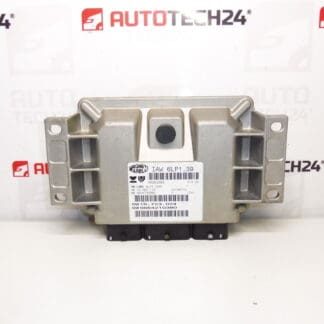
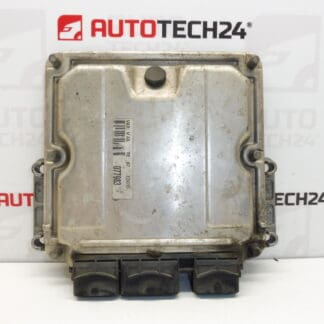
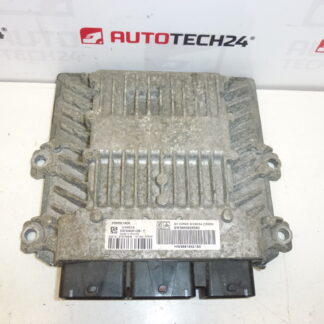
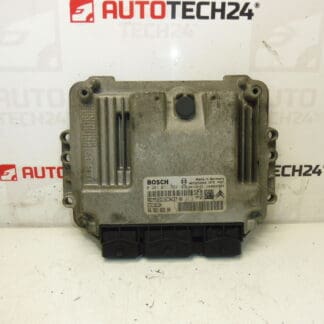
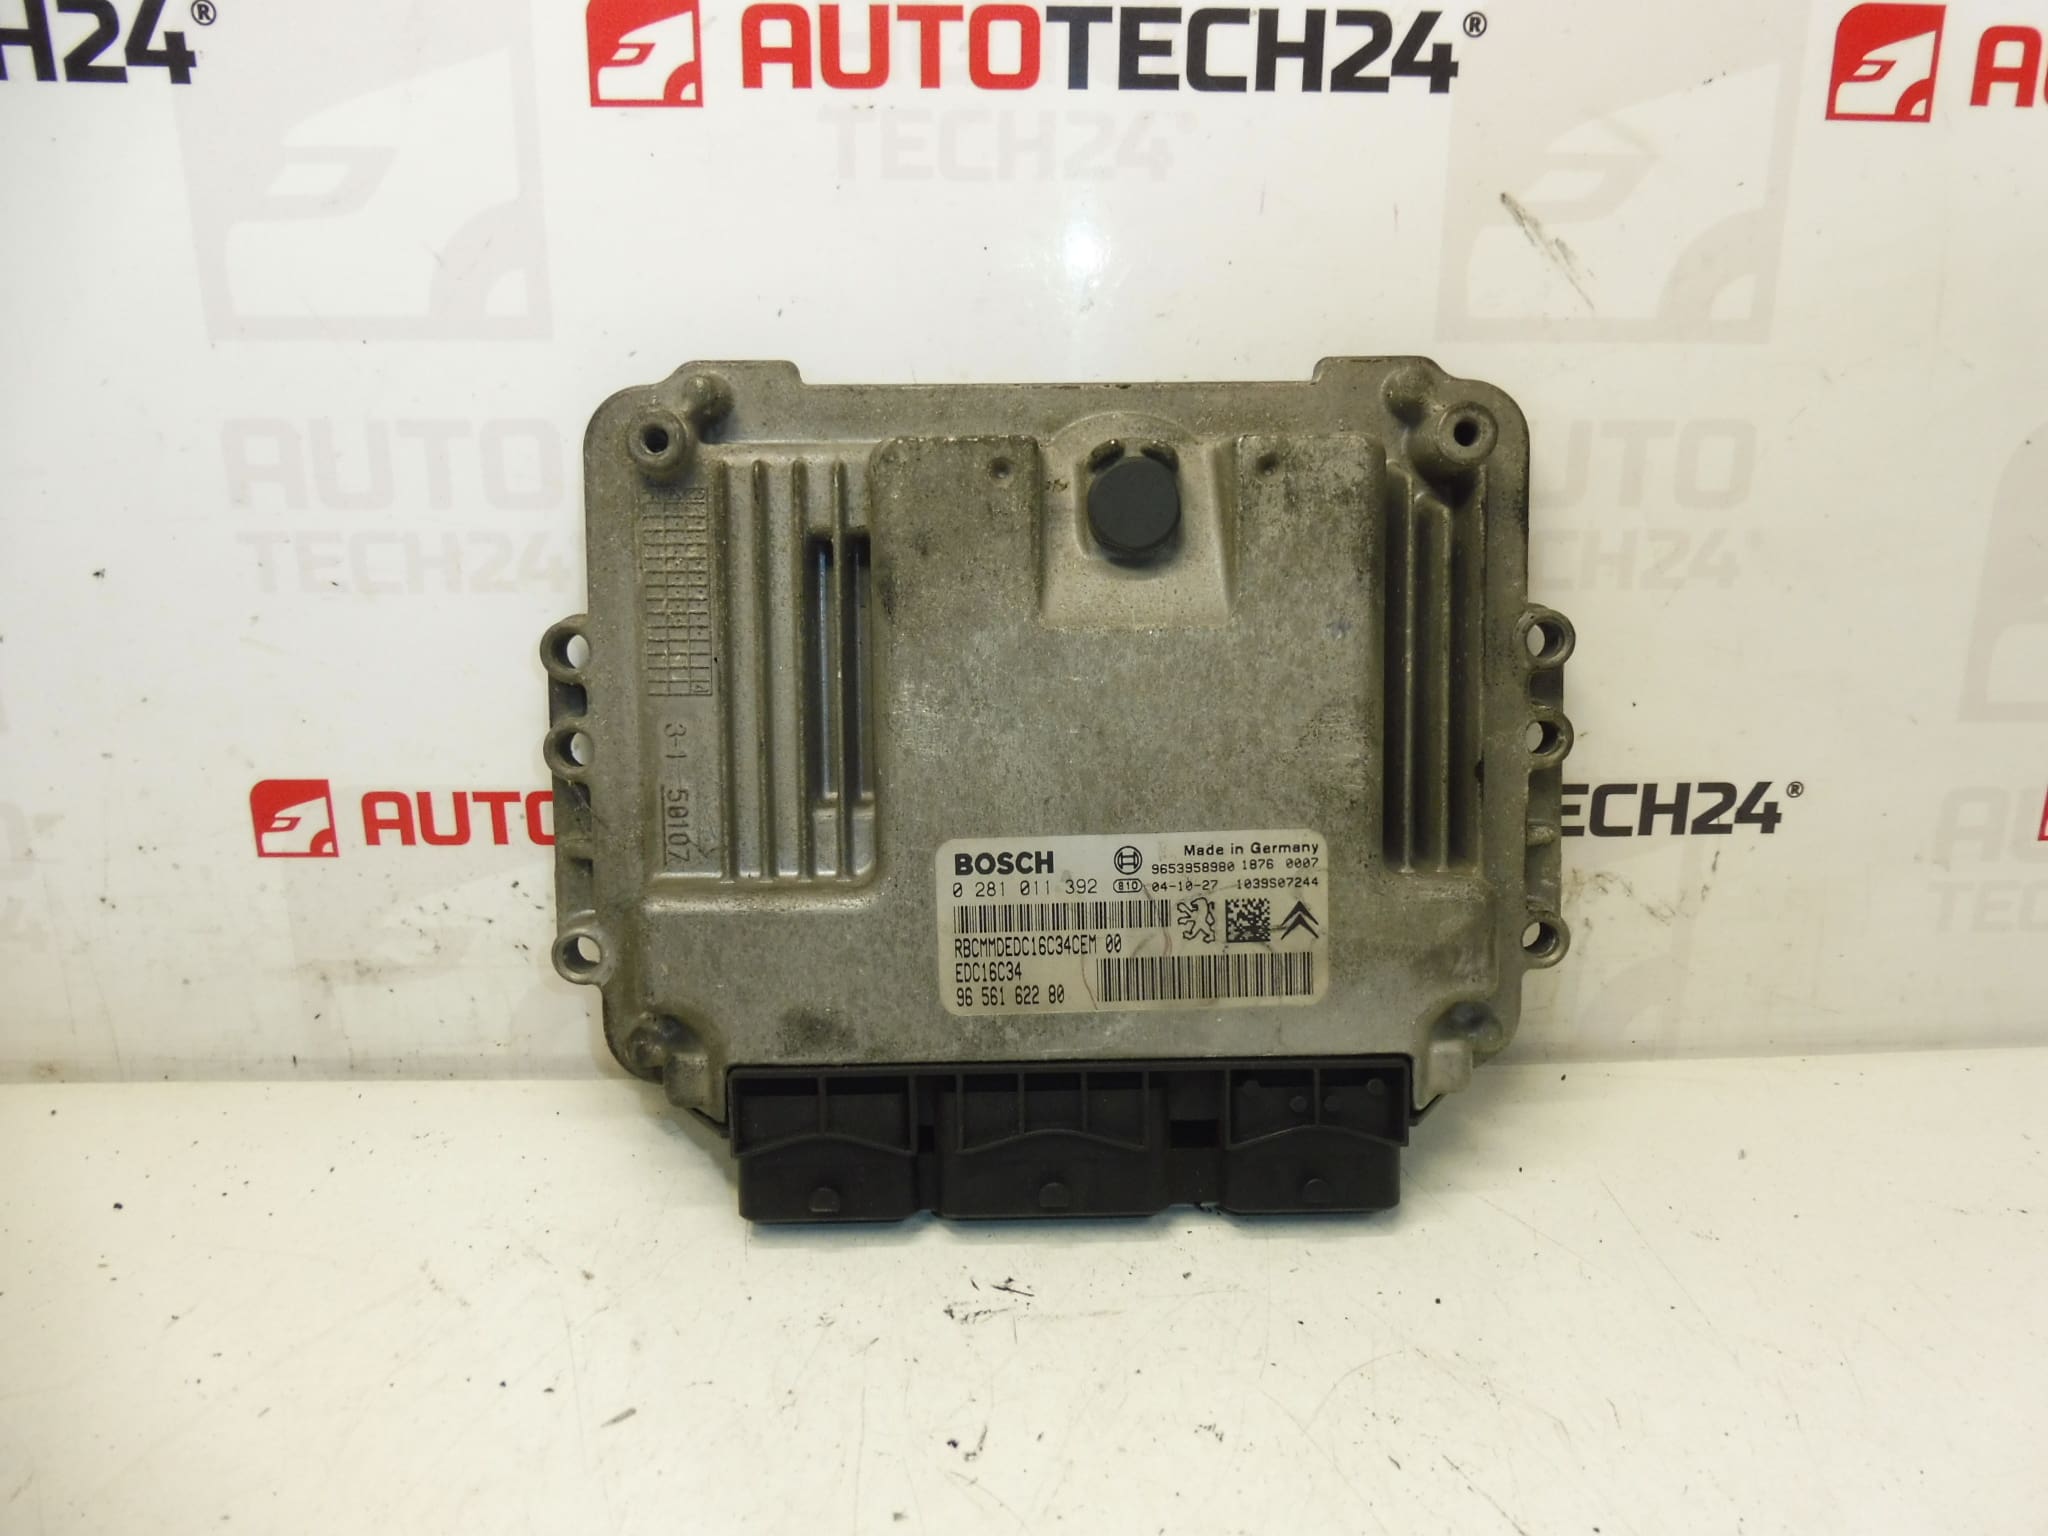
Engine Control Unit BOSCH EDC16C34 for CITROËN XSARA PICASSO 1.6 HDI 9HZ
The Bosch EDC16C34 Engine Control Unit (ECU) is a direct replacement option for Citroën Xsara Picasso 1.6 HDi (engine code 9HZ) vehicles. Designed for diesel common-rail injection management, this control unit handles fuel injection timing, injector control, turbo boost regulation and emission-relevant functions to ensure smooth performance and efficient fuel consumption. Ideal for professional workshops and experienced DIY mechanics searching by part numbers (e.g. 0281011392, 9656162280), this listing highlights technical details and practical guidance to support correct selection and installation.
Technical Information
- Manufacturer: Bosch
- Model: Citroën Xsara Picasso 1.6 HDi (9HZ)
- Product Codes: 0281011392
- Additional Numbers: 9656162280, 9653958980, 1939AR, 281011392
- Unit Type: EDC16C34 Diesel Injection Control Unit
Installation And Coding – Important
- The unit is used and is “paired” with the original vehicle (VIN/PIN/keys).
- Options To Enable Operation:
- Cloning data from the old unit (EEPROM/Flash) – after cloning the unit is plug and play.
- Virginization and subsequent initialization/telecoding via DiagBox (or online) + key adaptation.
- Recommended to be carried out by a technician with PSA service equipment (DiagBox/Lexia/PP2000).
- Always disconnect the battery before removal/installation and follow the manufacturer’s procedure to avoid damaging the unit.
Installation Recommendations
- Disconnect the vehicle battery before any work to prevent electrical damage.
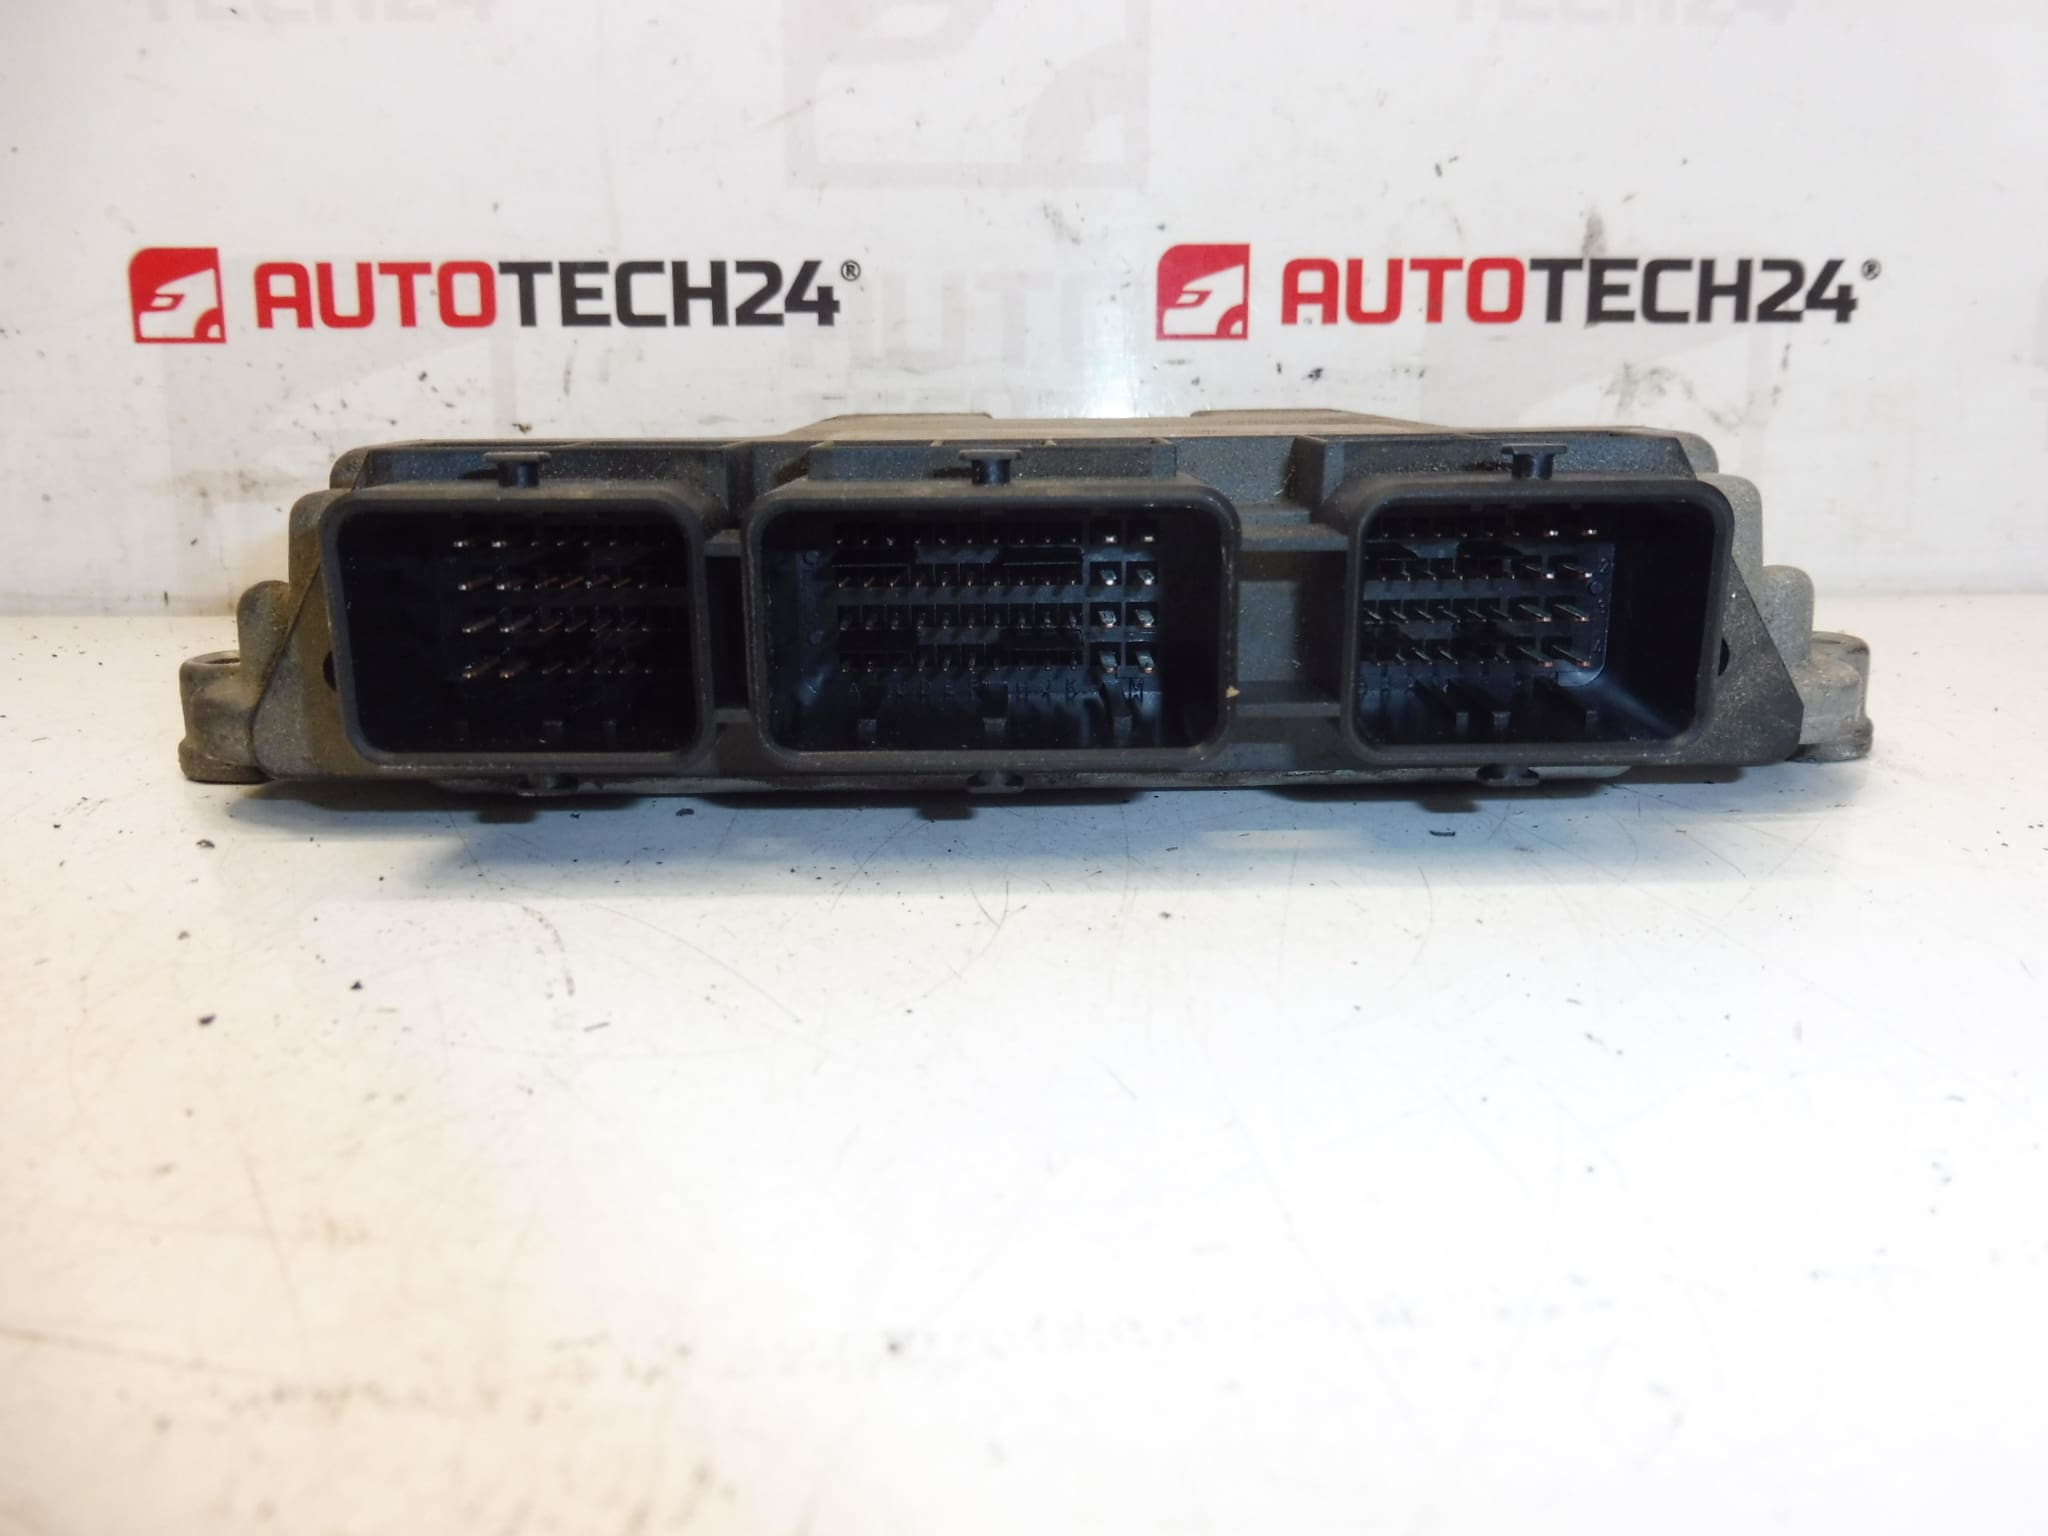
- Work in a dry, clean environment and handle the ECU by its housing; avoid touching connector pins or circuit board areas.
- Inspect connector pins and wiring harness for corrosion or damage; repair connectors before fitting the new unit.
- Secure the ECU in the original mounting position and ensure seals or gaskets are intact to prevent moisture ingress.
- After mechanical installation, perform cloning or coding as required (see Installation And Coding – Important). Proper coding is necessary for full functionality.
Why This Part Fails Most Often
- Moisture Ingress And Corrosion: Water or condensation entering the ECU housing or connector area can corrode contacts and components.
- Electrical Surges And Bad Grounding: Voltage spikes, poor grounding or jump-starting errors can damage internal electronics.
- Thermal Stress And Vibration: Repeated heating/cooling cycles and engine vibrations can cause solder joint cracks or component fatigue.
- Connector Damage Or Wiring Faults: Loose or corroded pins often produce intermittent faults that affect ECU operation.
Typical Symptoms
- Engine Does Not Start Or Cranks Without Fuel Delivery.
- Engine Runs Rough, Loses Power Or Enters Limp Mode.
- Illuminated Engine Fault Light And Stored Injection/ECU-Related Fault Codes.
- Increased Fuel Consumption Or Irregular Idling.
How The Replacement Is Typically Performed
- Prepare: Park on a level surface, engage the parking brake, and disconnect the negative battery terminal.
- Access: Remove trim panels or glovebox as required to reach the ECU mounting location on the vehicle.
- Disconnect: Unplug the wiring harness connectors carefully and remove any securing screws or brackets.
- Swap: Fit the replacement unit, secure it mechanically and reconnect the wiring harness.
- Coding/Initialization: Perform cloning or virginization and telecoding with appropriate diagnostic equipment to restore full functionality.
Final Notes
This ECU is intended for mechanics and experienced DIYers familiar with injection system diagnostics and coding procedures. Using the correct diagnostic tools and following the recommended procedures significantly reduces the risk of improper installation. If you require data cloning or telecoding, engage a technician with PSA service tools to ensure reliable commissioning.