Description
Power supply protection and control unit for Peugeot 508 vehicles
Part description
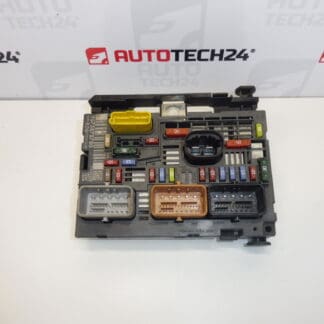
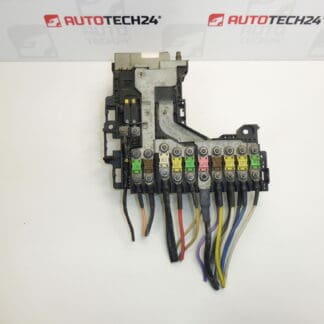
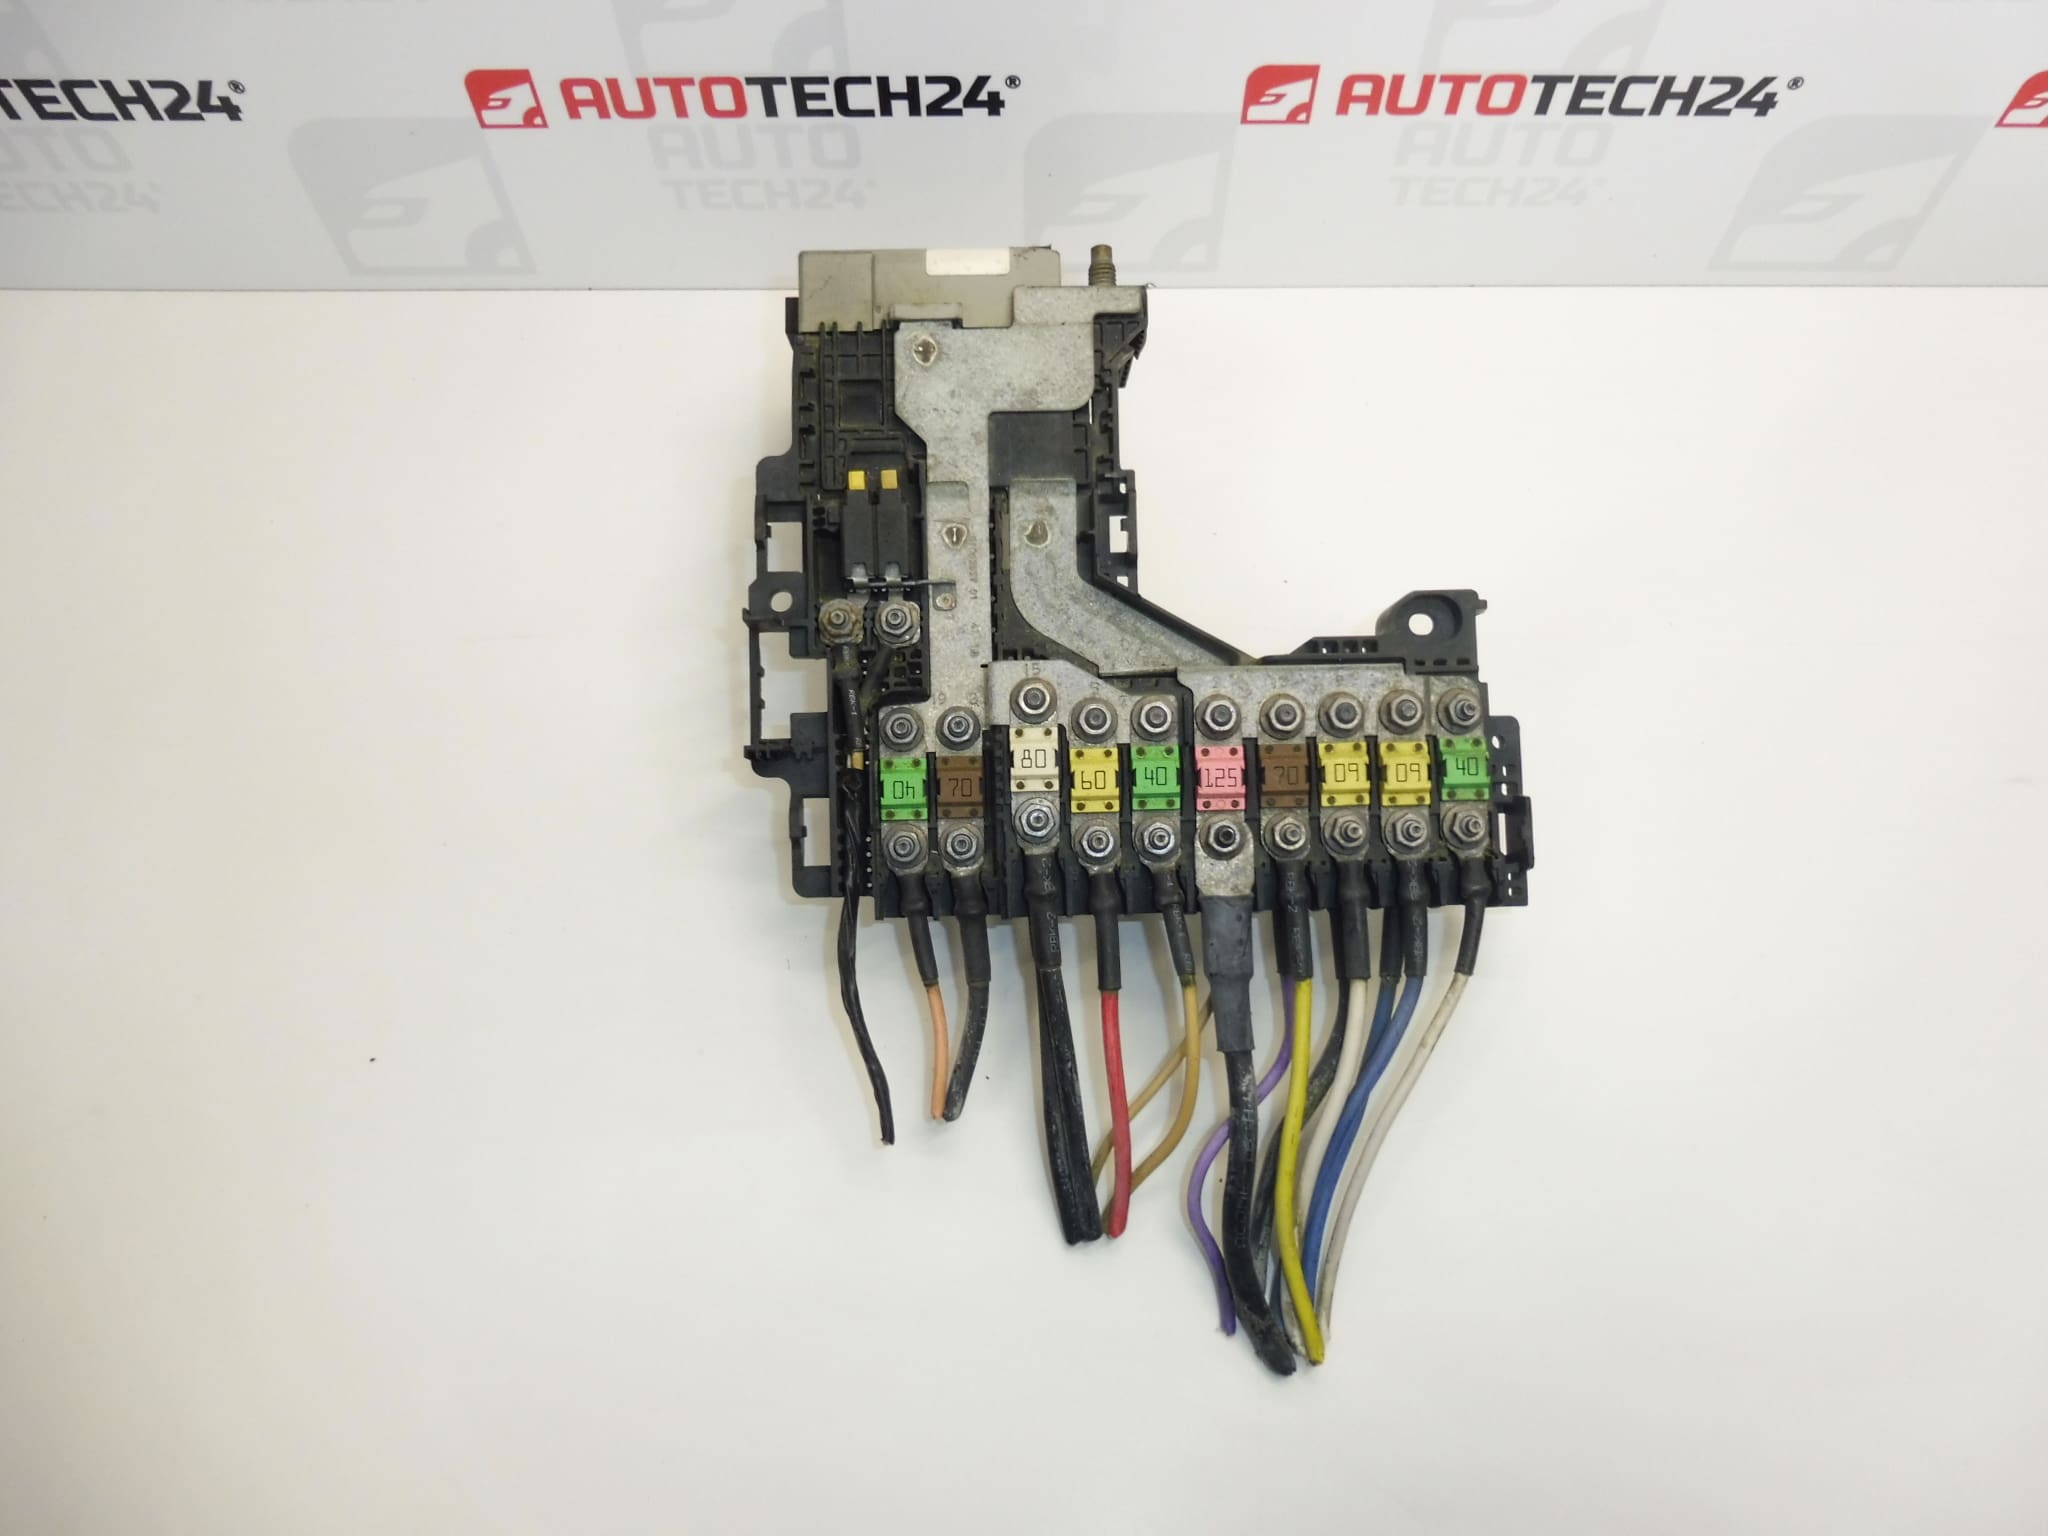
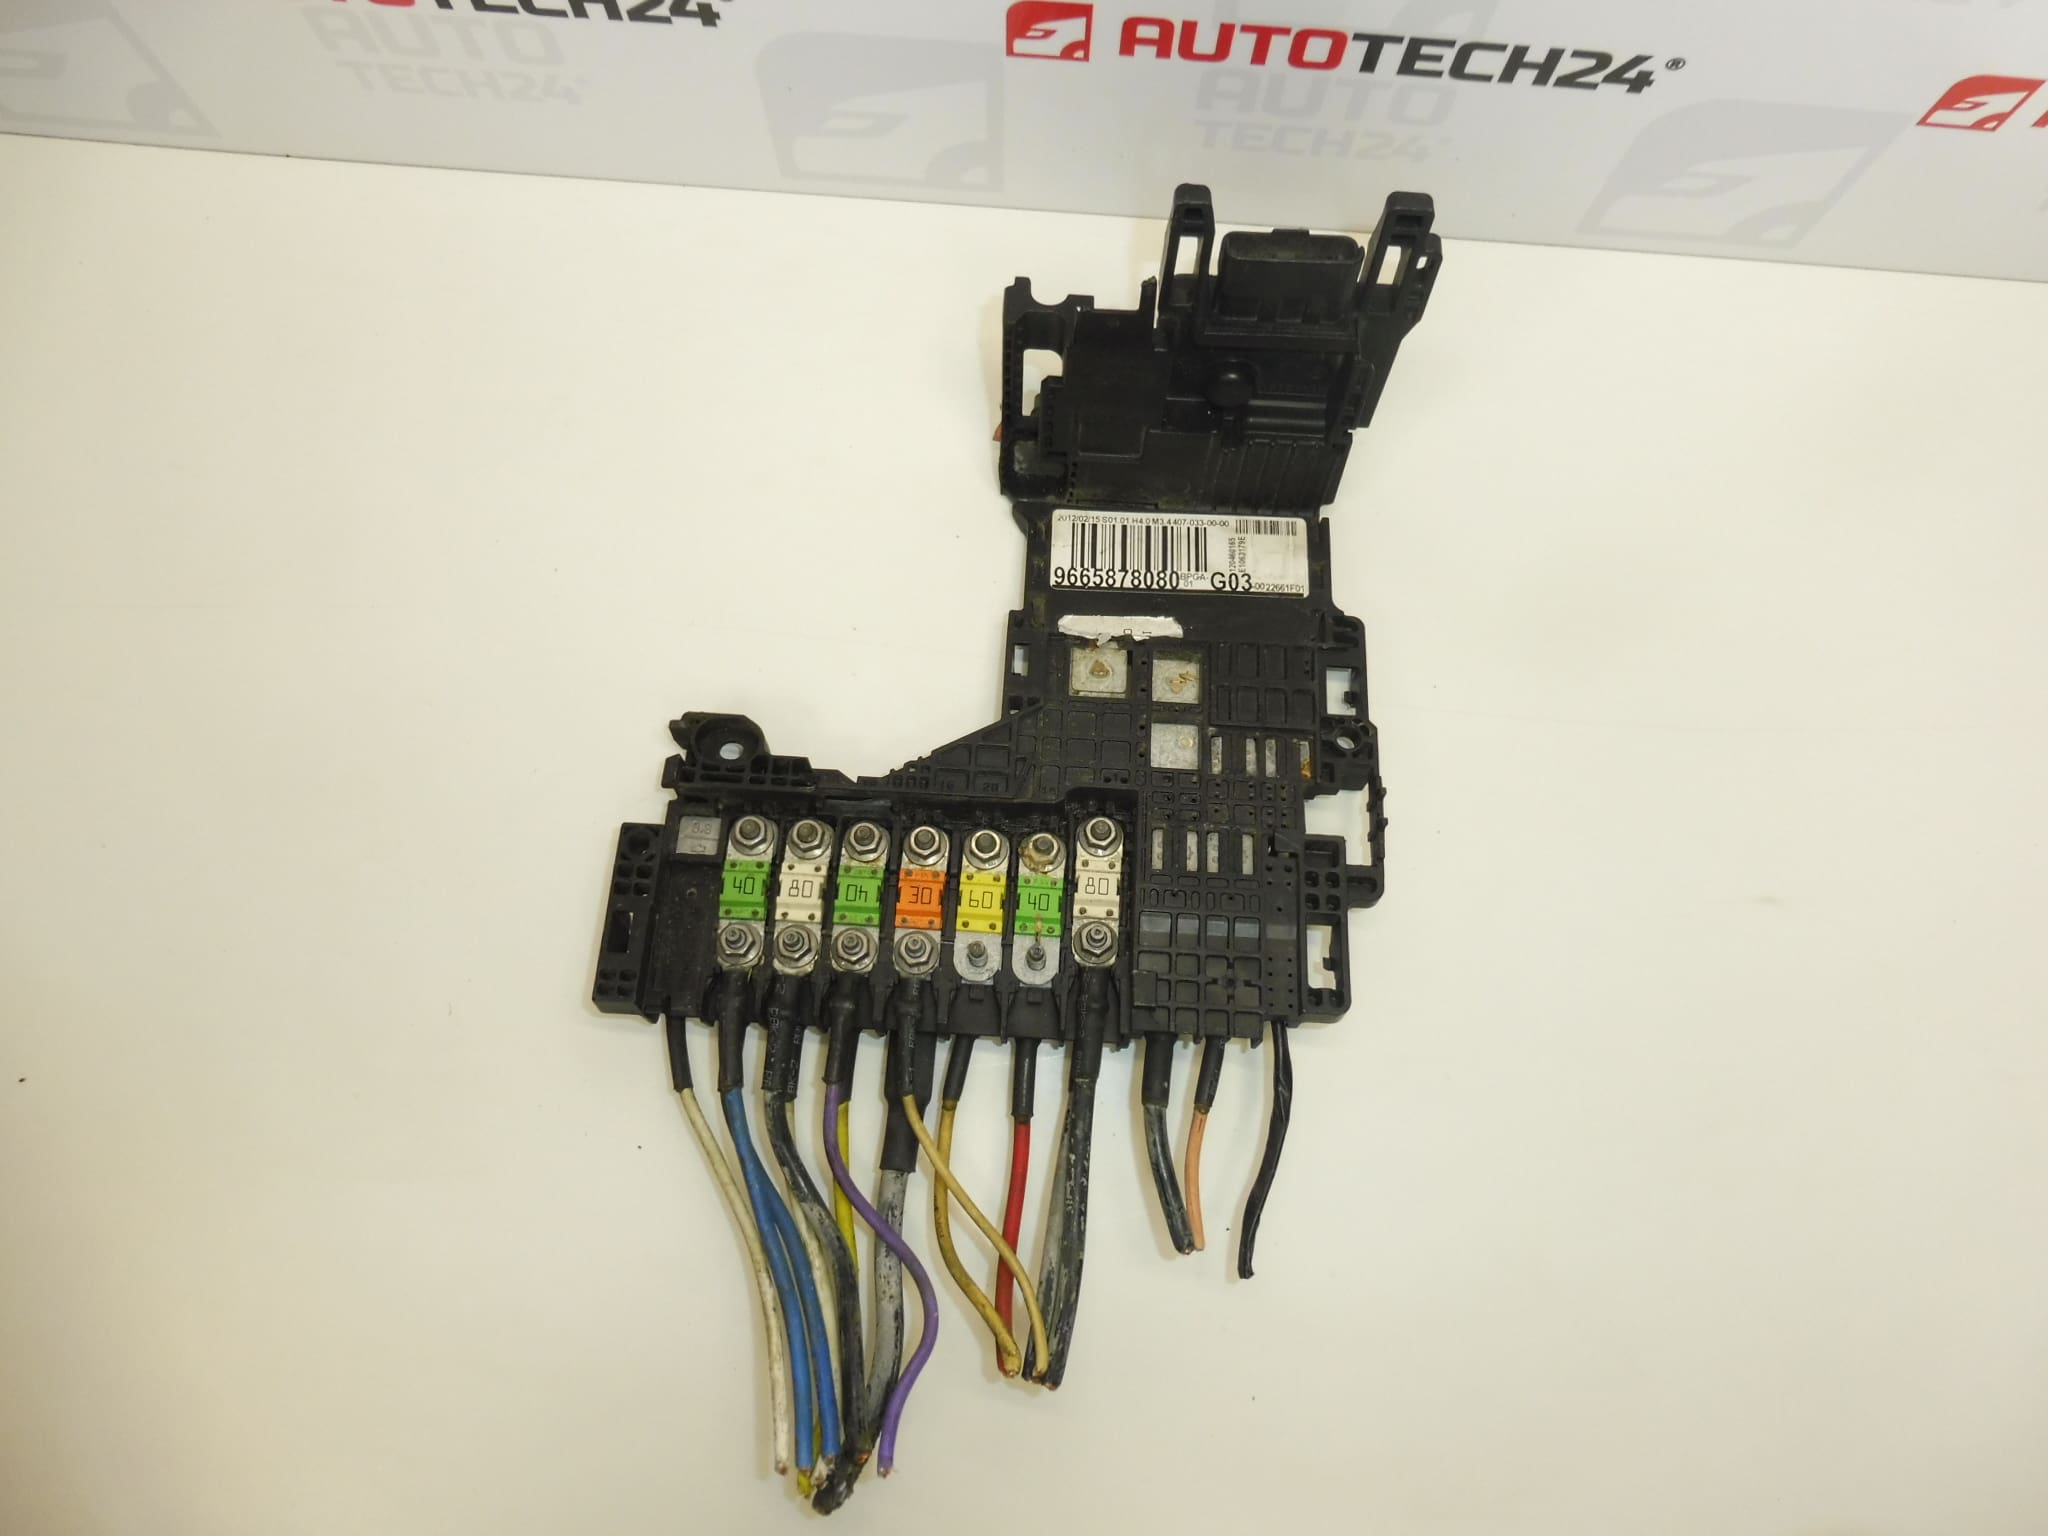
Peugeot 508 power supply control fuse module, part number 9665878080 is a used electrical part designed to protect and control the vehicle’s power supply. The documentation classifies it in the BSM category. When repairing the power supply system, it can be used as a replacement for the original module, provided its markings and design match.
When selecting a part, refer primarily to the product number 9665878080 and compare it with the existing part. The model name alone is not enough to determine the correct variant. The fault should be diagnosed before replacement, as similar problems can also be caused by damaged wires, connectors, or insufficient power supply.
Technical information
- Manufacturer: not specified.
- Model: Peugeot 508; marking on labels: “Puegeot 508”.
- Other numbers: not specified.
- Part type: fuse module – power supply protection and control unit.
- Category: BSM / electrical components / control units.
- Condition: used part.
- Model years and engine variants: not specified.
Product codes
- Product codes: 9665878080.
Compare the number shown with the markings on the original module. Also check the housing shape, mounting points, and electrical connection design.
Installation recommendations
The following procedure is general for this type of electrical module. The exact access to the part, disconnection sequence, and any required service operations depend on the specific vehicle configuration. Follow the manufacturer’s service procedure; we recommend having installation carried out by someone experienced in automotive electrical systems.
1) Before installation
- Compare the part number, all available markings, connectors, their mechanical locks, and mounting points with the old module.
- Inspect the used part: check for cracks, deformation, signs of moisture, corrosion, and overheating. Contacts must not be loose, bent, or pushed in.
- Check the wiring and power connections. A short circuit or high contact resistance that has not been resolved can also damage the replacement module.
- If the configuration includes replaceable fuses, check their specification against the vehicle documentation, not just the supplied part.
2) Tools and materials required
- Standard hand tools suitable for the fasteners used, and tools for carefully releasing covers and connector locks.
- A flashlight, materials for labeling the wiring, and clean, dry cloths.
- A suitable measuring instrument and, if necessary, diagnostic equipment; carry out measurements according to the wiring diagram.
3) Step-by-step installation procedure
- Park the vehicle safely, secure it against movement, and switch off electrical accessories and the ignition.
- Follow the manufacturer’s procedure for allowing the electronics to enter sleep mode, then disconnect the battery according to the service instructions.
- Access the module by removing any necessary covers or access components. The extent of this work depends on the vehicle configuration.
- Photograph or label the wiring and individual connections to prevent mix-ups during reassembly.
- Release the connector locks and disconnect them carefully. Do not pull on the wires or force the locks.
- Release the original module’s fasteners and remove it without straining the surrounding wiring harnesses.
- Check the mounting surfaces, brackets, and connections. Resolve any water ingress, wiring damage, or burnt contacts before installation.
- Compare the two modules once again and fit the replacement part into the bracket without putting it under strain. Secure it according to the manufacturer’s specifications.
- Connect the connectors and check that each is fully inserted and locked. Route the wiring as it was originally and reinstall the protective components.
- Reconnect the battery according to the manufacturer’s procedure and carry out the prescribed steps to return the electrical system to operation.
4) Post-installation checks and function verification
Check the operation of the affected electrical circuits and look for any vehicle warnings. Carry out a diagnostic check if necessary. Watch for signs of overheated connections, odors, or power interruptions; if any occur, stop the test. Only carry out a short test drive after successfully checking the functions while stationary, and only if the vehicle is safe to operate.
5) Common installation mistakes and how to avoid them
- Selecting a part based only on the car model: also compare the part number and physical design.
- Working with the power on: follow the prescribed battery disconnection procedure before disconnecting anything.
- Connectors not fully closed: check the position of the locks and ensure each connection is properly seated.
- Leaving the cause of the original fault unresolved: eliminate any short circuit, water ingress, or damaged connections before replacement.
- Incorrect fuse protection: do not bypass fuses or replace them with ratings other than those specified by the manufacturer.
Reasons why the part may be damaged
In general, the following factors can cause damage to this type of electrical module; this is not a description of faults in the part being offered:
- Moisture and water ingress, which can cause corrosion of contacts and conductive paths.
- A short circuit or excessive load on a connected electrical circuit.
- Loose or oxidized connections that cause high contact resistance and localized overheating.
- Voltage spikes or incorrect handling when working with the battery.
- Mechanical damage to the housing, contacts, or connector locks during careless removal.