Description
Battery State of Charge Unit for CITROËN and PEUGEOT vehicles
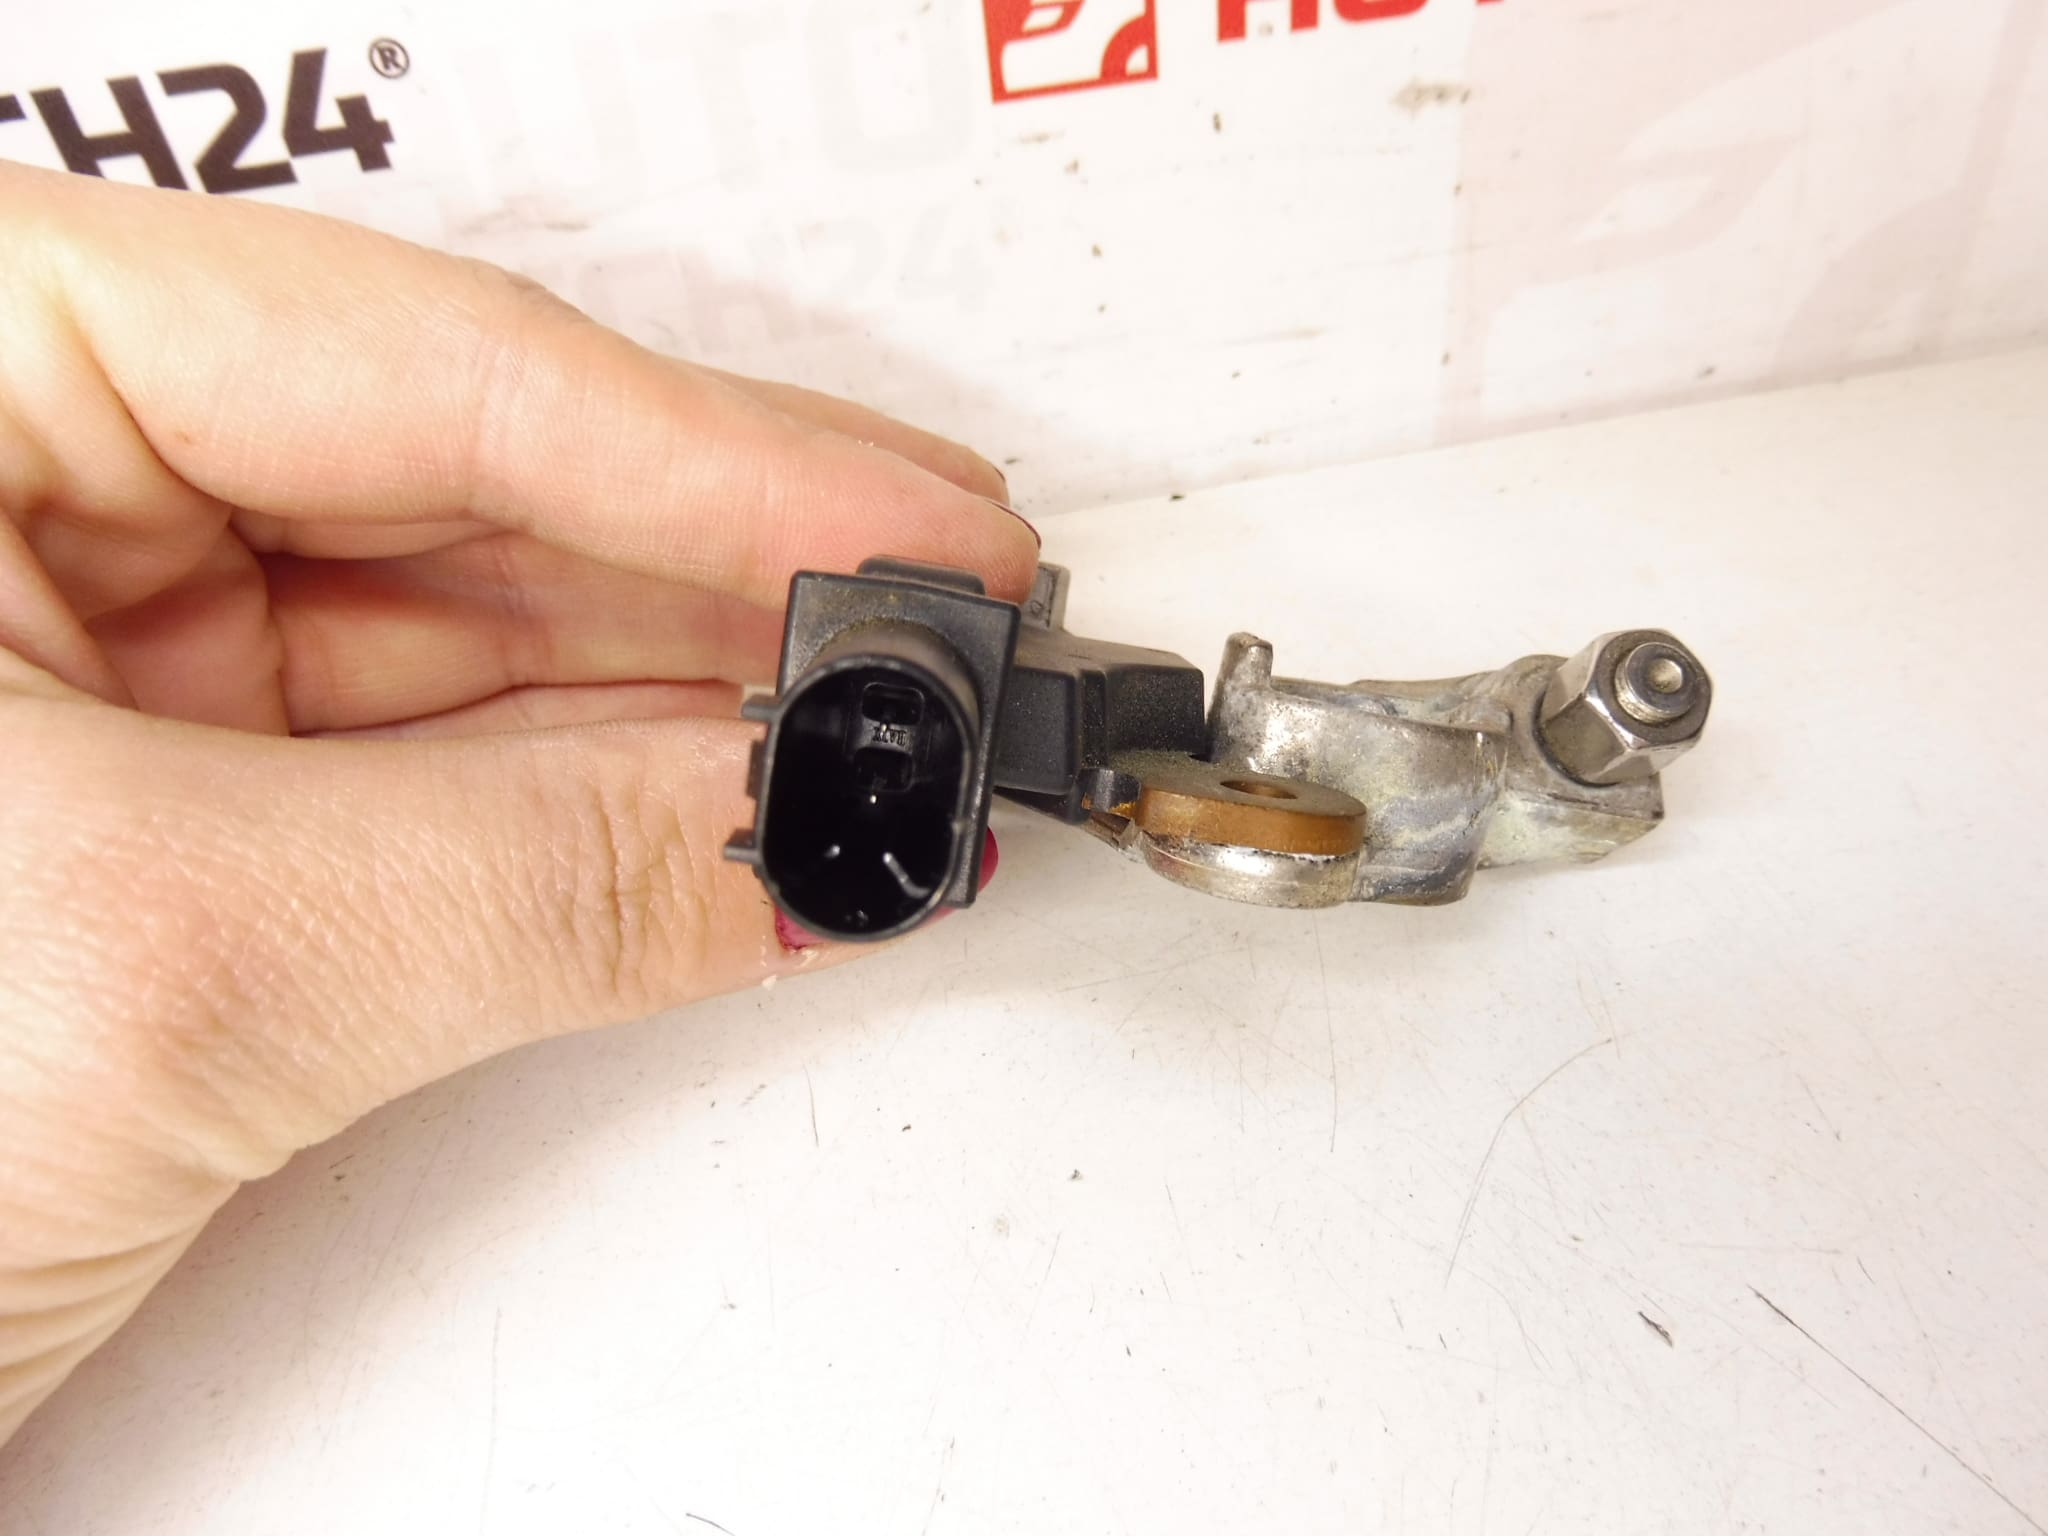
Product Overview
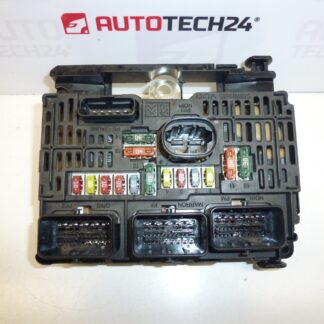
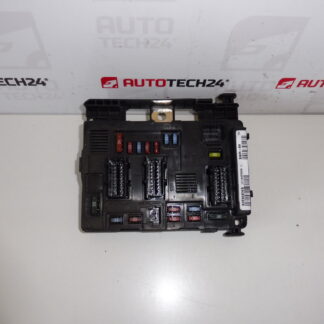
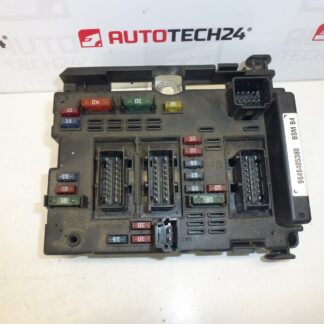
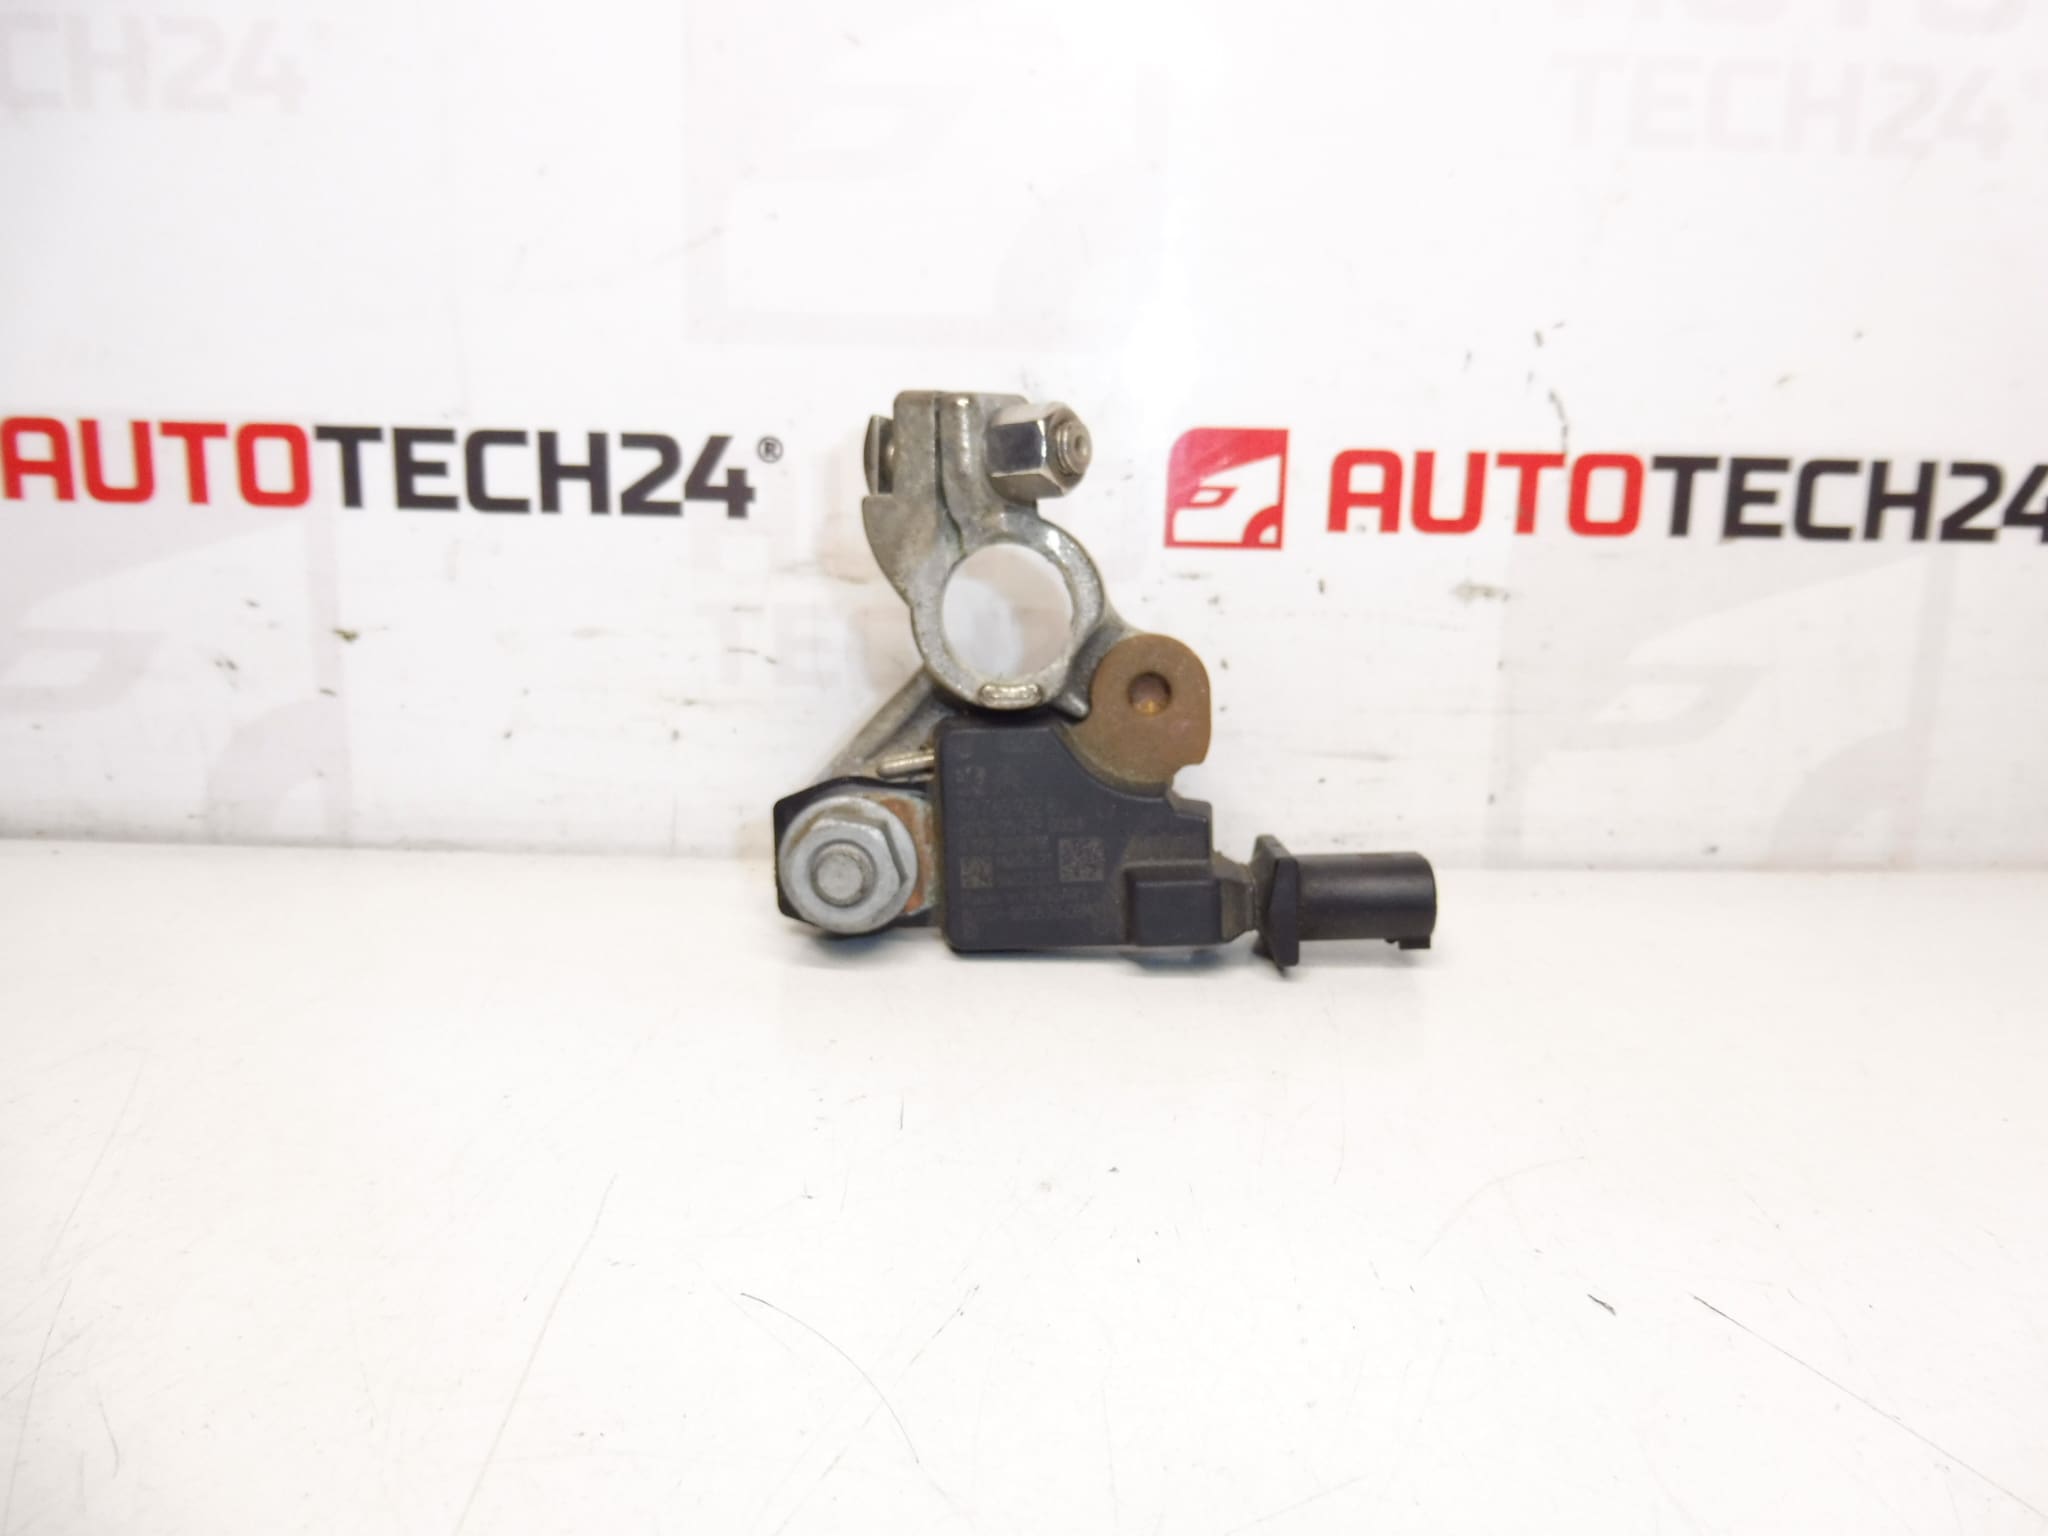
This Battery State of Charge Unit (commonly referenced by part numbers 9676592280, 9802043580 or 6500KV) is designed for select Citroën and Peugeot models to monitor and report the battery’s state of charge to the vehicle network. The module plays a key role in charging regulation, start‑stop management and ensuring reliable engine starts. Frequently searched by its product codes, this unit is a direct‑fit replacement for vehicles in the listed model ranges and is aimed at professional technicians and experienced DIY mechanics.
Features And Benefits
- Accurate Battery Monitoring: Measures battery voltage and charge state to optimise charging strategy.
- Improved Charging Management: Works with vehicle electronics to control alternator behavior and support stop‑start systems.
- Plug‑In Replacement: Matches OEM mounting and connector layout for straightforward swap on compatible models.
- Diagnostic Friendly: Identifiable by common PSA part numbers used in service literature and diagnostic tools.
Compatibility
Typical Fitment Includes: Citroën C4, Citroën C4 II, Citroën C4 Picasso, Peugeot 3008 I, Peugeot 308, Peugeot 5008 I. Always check the part number against the vehicle’s parts list for exact fitment.
Technical Information
- Manufacturer: Stellantis (Citroën/Peugeot)
- Model(s): Citroën C4; Citroën C4 II; Citroën C4 Picasso; Peugeot 3008 I; Peugeot 308; Peugeot 5008 I
- Product Codes: 9676592280; 9802043580
- Additional Numbers: 6500KV
How The Unit Works
The unit continuously monitors battery voltage, current draw patterns and state of charge, and communicates this data to the vehicle’s control modules. Based on these inputs, the vehicle adjusts alternator output and stop‑start logic to preserve battery life and ensure reliable starting. A malfunctioning unit can cause incorrect charging, premature battery discharge, unexpected stop‑start behavior or warning lights on the dashboard.
Replacement Procedure (Overview)
1) Prepare: Park on level ground, engage parking brake and remove all loads. Always follow safety rules for working on electrical systems.
2) Disconnect Battery: Before starting, disconnect the negative battery terminal to prevent short circuits and protect vehicle electronics.
3) Access Unit: Locate the module (typically near the battery or in the engine bay electrical area), remove any covers or battery tray if required.
4) Disconnect Connectors: Carefully release the electrical connectors and any locking tabs. Inspect connectors and wiring for corrosion or damage.
5) Remove Mounting: Unscrew mounting fasteners and remove the old unit. Fit the replacement in the same orientation and secure with correct fasteners.
6) Reconnect And Test: Reconnect the electrical connectors, reconnect the battery, and verify system operation. Use a diagnostic tool to clear any fault codes and monitor battery/charging parameters after installation.
Installation Recommendations
- Always Disconnect The Battery Before Removal Or Installation To Avoid Damage To Electronics.
- Check Connectors And Wiring For Corrosion Or Loose Pins; Repair Before Installing The New Unit.
- Use Proper Tools And Follow Manufacturer Torque Specifications For Fasteners.
- After Installation, Use A Diagnostic Scanner To Clear Fault Codes And Verify Charging System Operation.
- If The Vehicle Exhibits Persistent Charging Or Start‑Stop Faults After Replacement, Inspect The Battery And Alternator For Underlying Issues.
Most Common Reasons For Failure
- Corrosion Or Water Ingress Into Connectors Causing Intermittent Contacts.
- Thermal Stress From High Engine Bay Temperatures Over Time.
- Electrical Transients Or Voltage Spikes From A Faulty Alternator.
- Physical Damage From Improper Handling Or Impact.
- Age‑Related Component Degradation Leading To Inaccurate Measurements.
Service Life And Notes
Service life depends on vehicle use, environment and maintenance. Units often function for many years under normal conditions; failures are more likely in vehicles exposed to moisture, poor battery condition or charging system faults. When replacing this module, also assess the battery and alternator to prevent repeat failures.
Who Should Install
Suitable for experienced DIY mechanics with electrical experience and basic diagnostic equipment. For complex fault diagnosis, intermittent issues or if in doubt, have the replacement performed by a professional workshop with appropriate diagnostic tools.