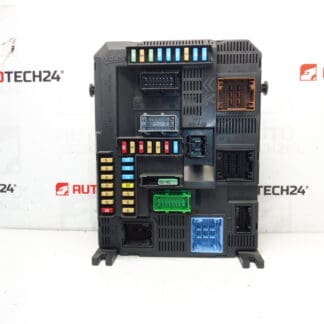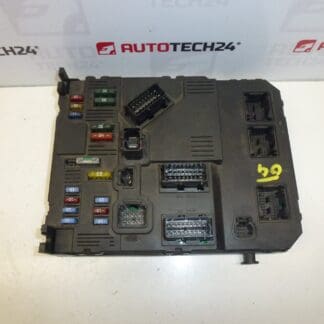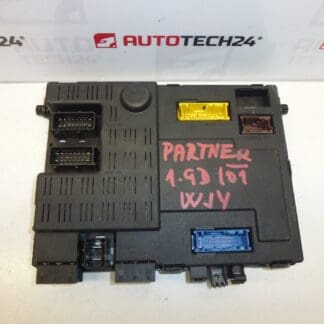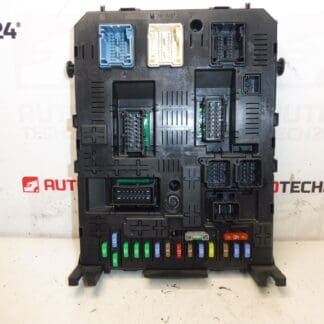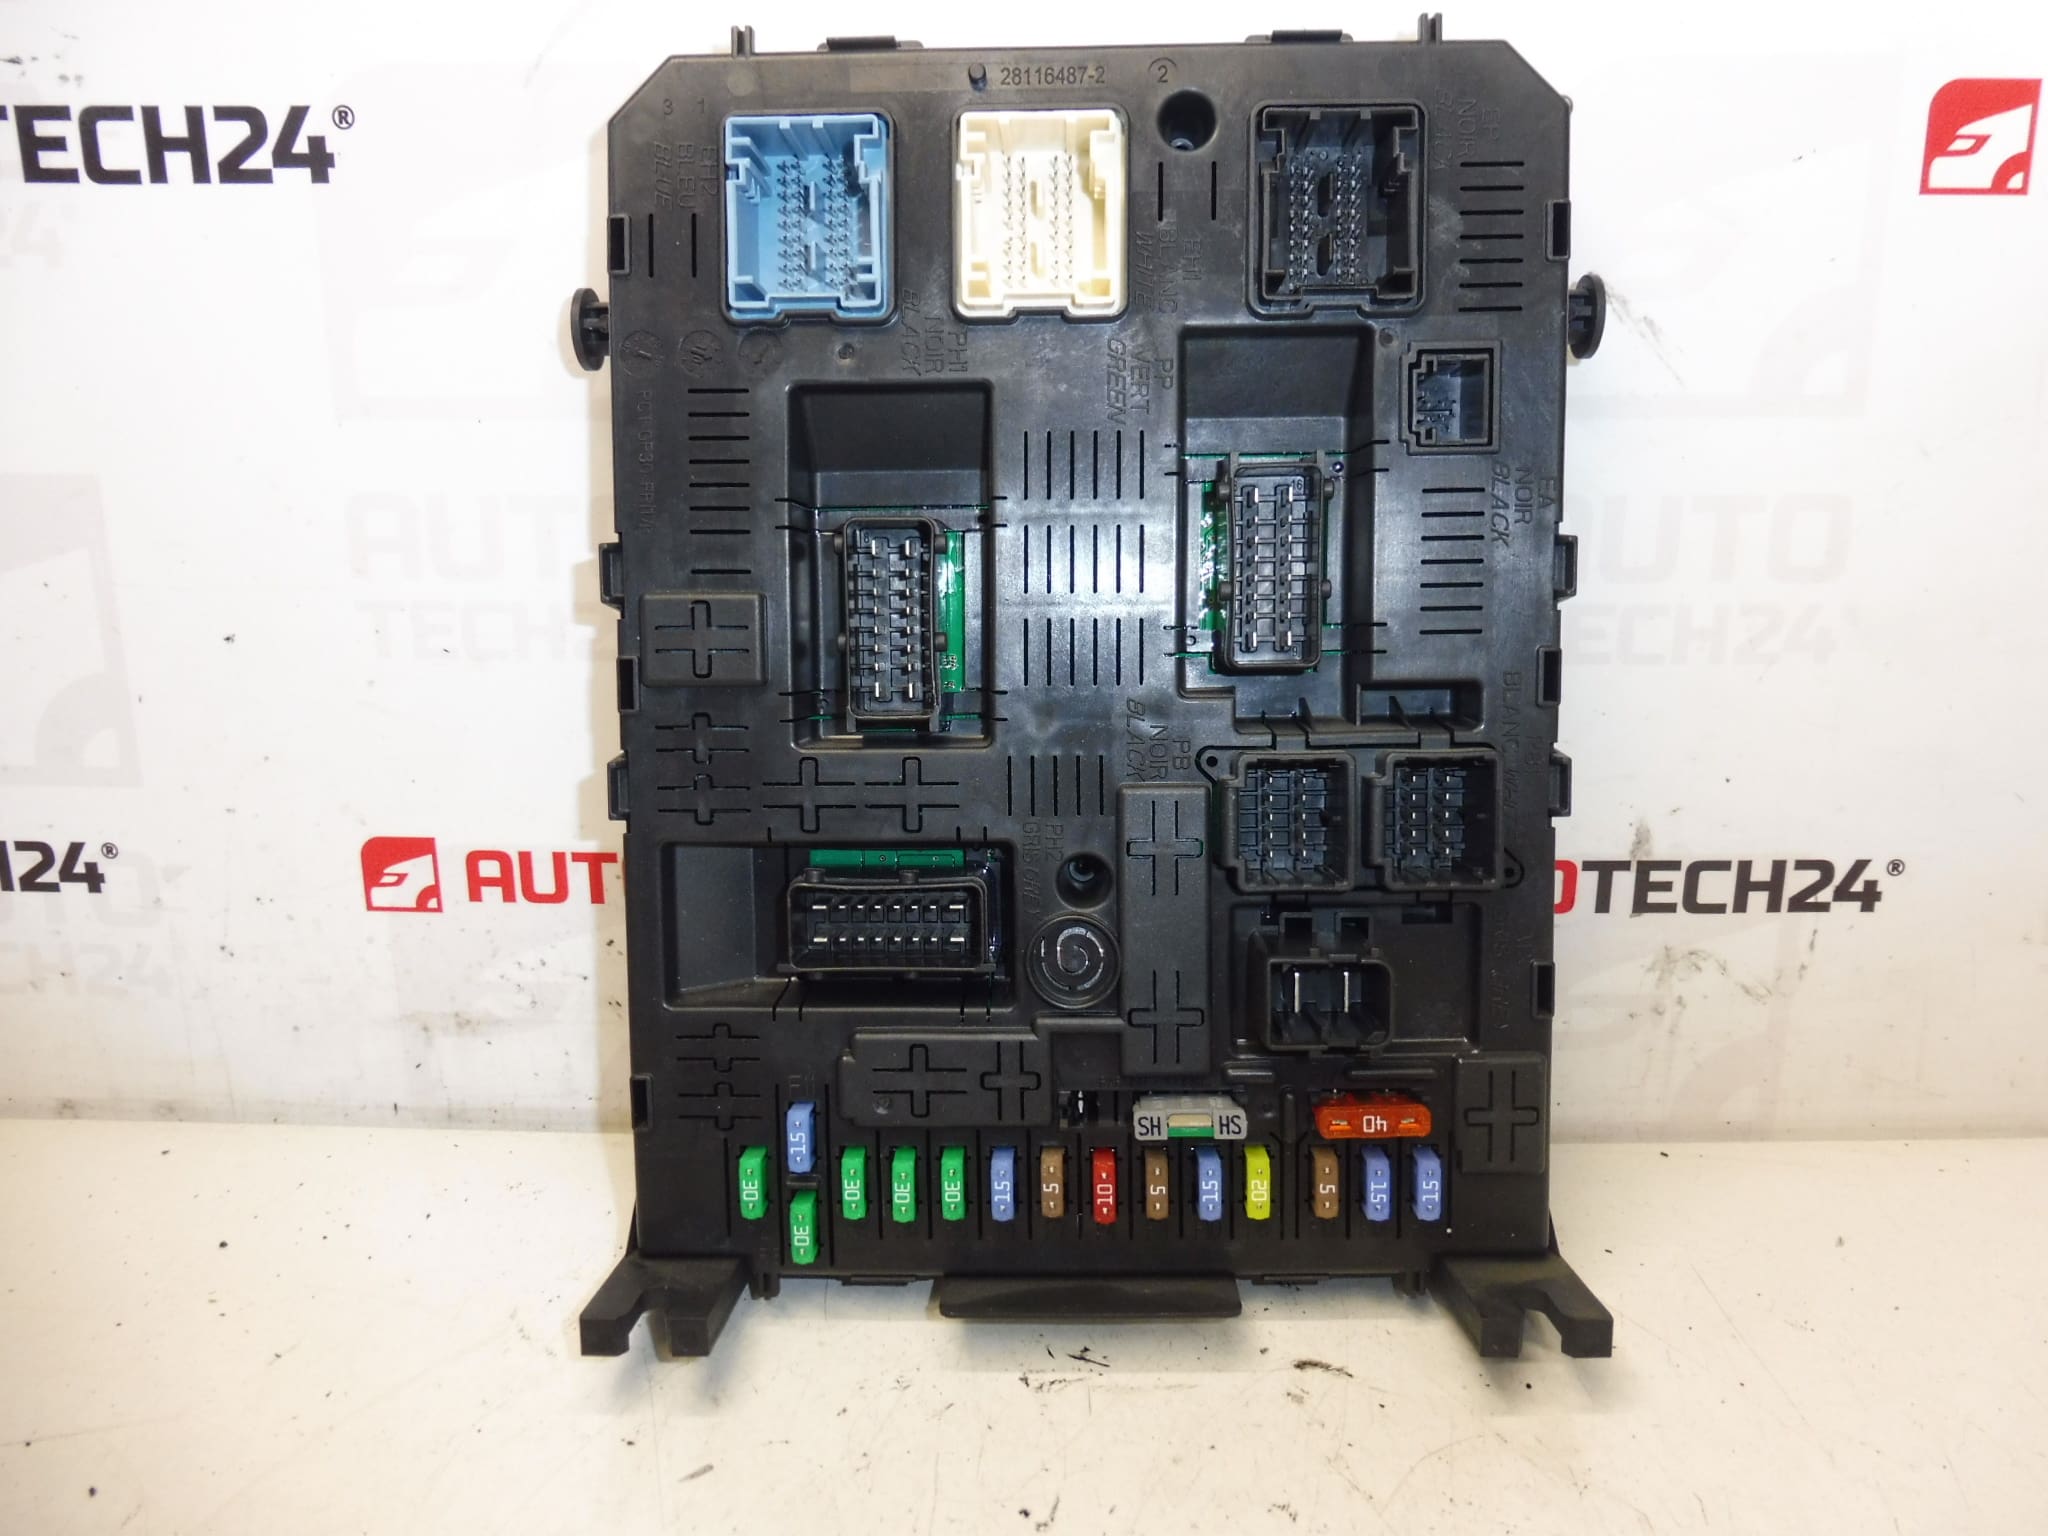
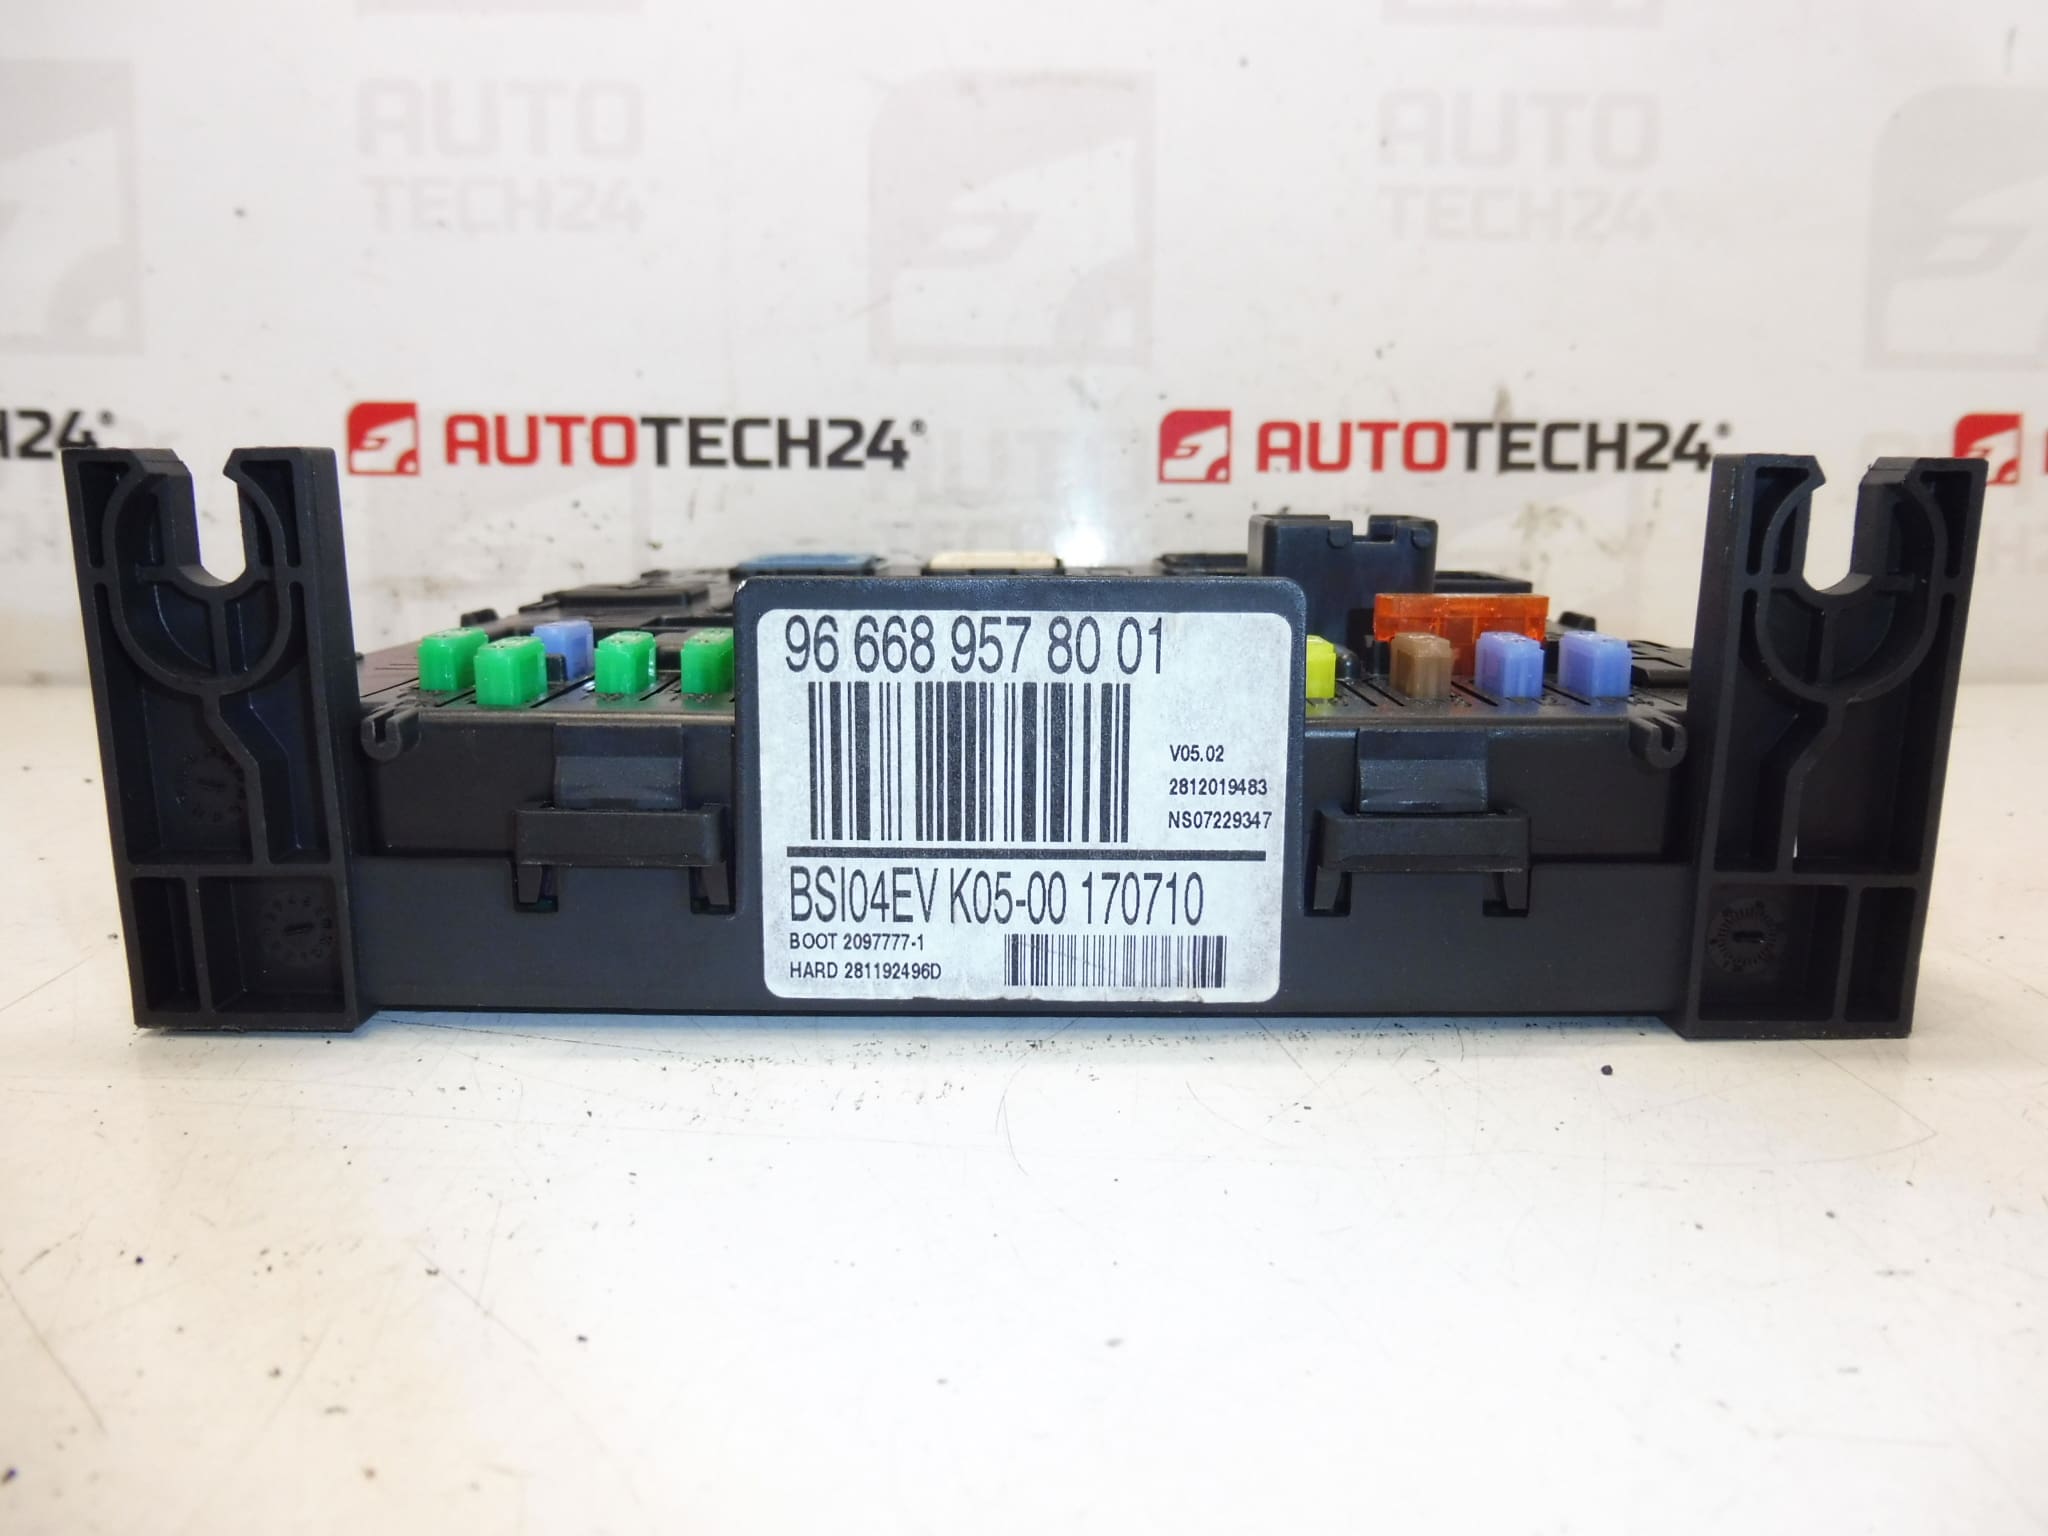
Description
BSI BSI04EV K05-00 JOHNSON CONTROLS for CITROEN and PEUGEOT cars
It is from a PEUGEOT 308
Part description
This BSI comfort unit is an original used part designed for Citroën and Peugeot cars. It is an electronic control unit from the BSI – comfort units category, which is also commonly searched for by specific production numbers. This makes it particularly suitable for auto mechanics and more experienced DIYers who are looking for the right part according to the markings on the label.
The BSI04EV K05-00 unit from Johnson Controls comes from a Peugeot 308. Therefore, when choosing, it is important to compare not only the part number itself, but also all other designations listed on the unit label. For electronic modules of this type, code matching is essential for correct use.
Technical information
- Manufacturer: Johnson Controls
- Model: BSI04EV K05-00
- Other numbers: 9666895780 01, 658059, 1663370480
- Vehicle brand: Citroën, Peugeot
- Part origin: Peugeot 308
- Category: BSI – comfort unit | Electrical components | Control units
Product codes
- Product codes: 9666895780 01, 658059, 1663370480, BSI04EV K05-00
- Models mentioned in the documents: Citroën C4, Peugeot 308
Installation recommendations
This part is a BSI unit, i.e. an electronic module, where care must be taken and the exact steps may vary depending on the specific design of the car. Below is a practical procedure based on common practice for mounting this type of part.
1) Before assembly
- Check whether the designation BSI04EV K05-00 and other numbers on the label match the old part.
- Compare the connectors, their number, shape and overall condition of the unit case.
- Check for damage to the packaging, holders, connector pins or locking elements.
- Before any handling, disconnect the battery and wait according to normal service practice for the electrical system to come to rest.
2) Necessary tools and materials
- A common set of hand tools
- Suitable tools for removing covers and trims
- Clean work gloves
- Electrical contact cleaner suitable for car electrics
- Diagnostic equipment compatible with PSA systems
3) Step-by-step assembly procedure
- Secure the vehicle against movement and turn off the ignition.
- Disconnect the battery and allow the vehicle to idle following normal safe electronics practice.
- Remove the necessary covers to gain access to the original BSI unit.
- Carefully document the connection of the connectors and their positions to avoid confusion during assembly.
- Carefully disconnect the connectors without using excessive force and check their condition.
- Remove the original drive from the mount or storage.
- Compare the old and new unit by labels, connectors and design.
- Place the used unit in place and secure it properly.
- Connect all connectors so that they are fully seated and properly secured.
- Reinstall all removed covers and trim.
- Connect the battery.
- Perform the diagnostic actions required to put the unit into operation according to the specific condition of the vehicle and the unit.
-
4) Post-assembly checks and test drive/function verification
- Check if the vehicle wakes up correctly after switching on the ignition.
- Verify basic comfort and electrical functions commonly associated with BSI.
- Check the communication of the unit and the presence of possible error messages using diagnostics.
- After successful commissioning, perform a short verification of the vehicle’s function in normal operation.
5) The most common assembly mistakes + how to avoid them
- Unit swap by incomplete number – always compare all markings on the label.
- Connecting or disconnecting while powered – always disconnect the battery before handling.
- Connector damage – release the connectors gently and never pull on the wiring.
- Underestimation of post-installation diagnostics – with BSI units, checking communication and correct commissioning is essential.
- The unit is used and is “paired” with the original car (VIN/PIN/keys).
- Commissioning options:
- Cloning data from the old drive (EEPROM/Flash) – after the clone, the drive is plug and play.
- Virginization and subsequent initialization/telecoding via DiagBox (possibly online) + customization of keys.
- Recommended to be performed by an expert with PSA service equipment (DiagBox/Lexia/PP2000).
- Always disconnect the battery before disassembly/assembly and follow the manufacturer’s procedure to avoid damaging the unit.
- Voltage fluctuations in the electrical installation – overvoltage, a weak battery or problems in the power supply can put a strain on the electronics.
- Moisture and oxidation – penetration of moisture into the connectors or the unit itself is a frequent cause of malfunctions.
- Damage to connectors and wiring – loose, bent or corroded contacts can cause malfunctions or communication drops.
- Improper assembly handling – connecting under voltage or rough handling can damage the unit.
- Natural wear and tear of electronics – internal components and connections may fail over time.
Assembly and Coding – Important